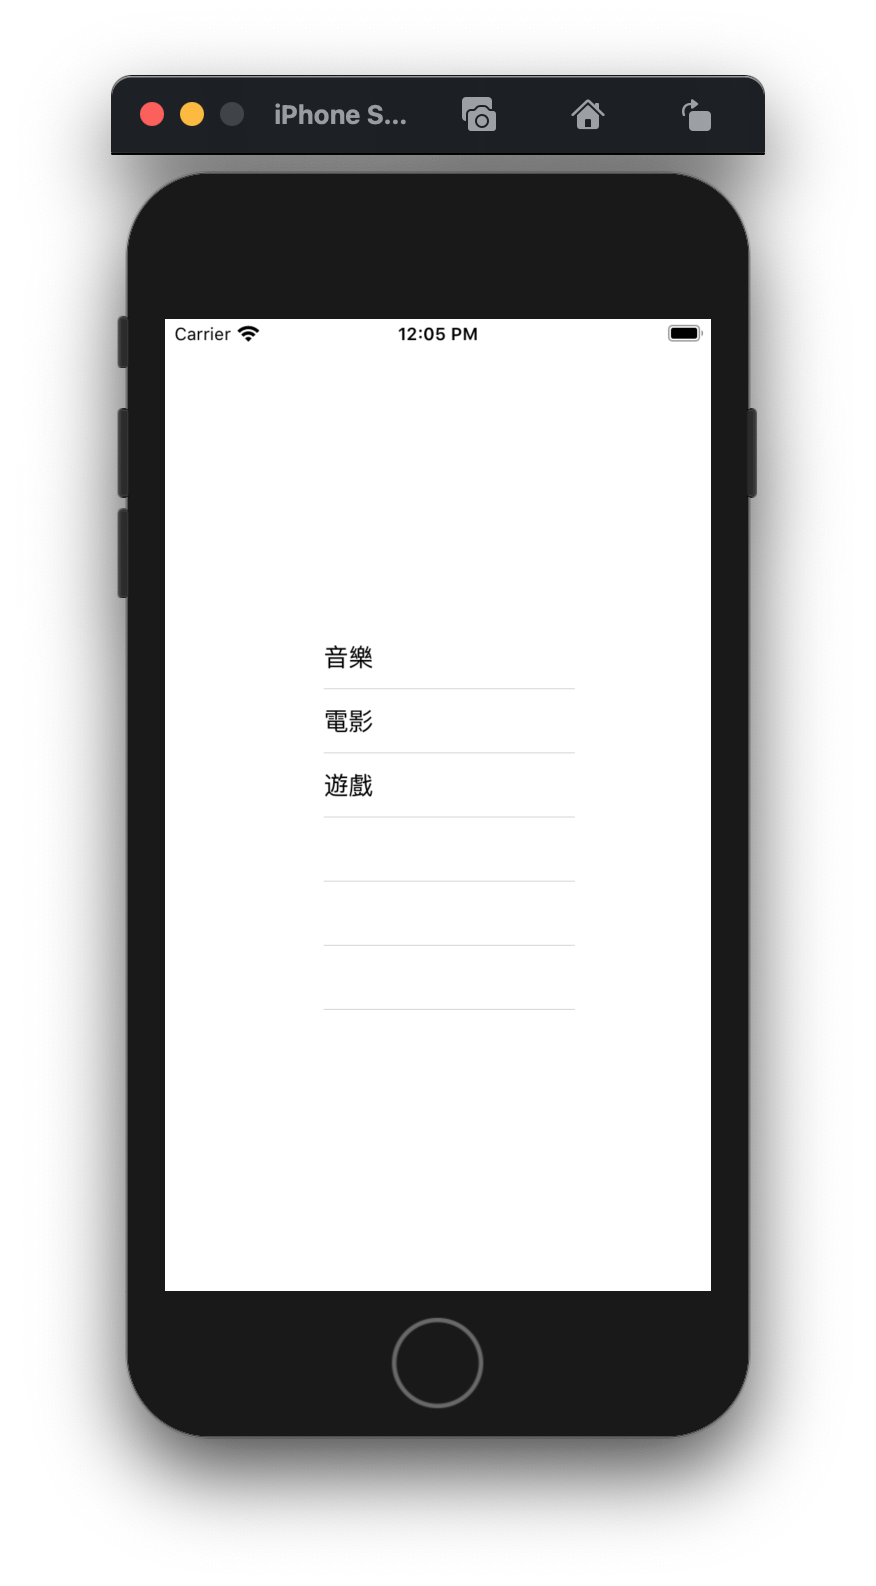
表格(Table View)可以將資料整齊的呈現在畫面上,今天來學習表格最基礎的用法。
首先在手機畫面中放入一個 Table View 元件,再用藍線設定 Table View 元件在 View Controller 上的 dataSource 與 delegate,並新增一個儲存格(Table View Cell)。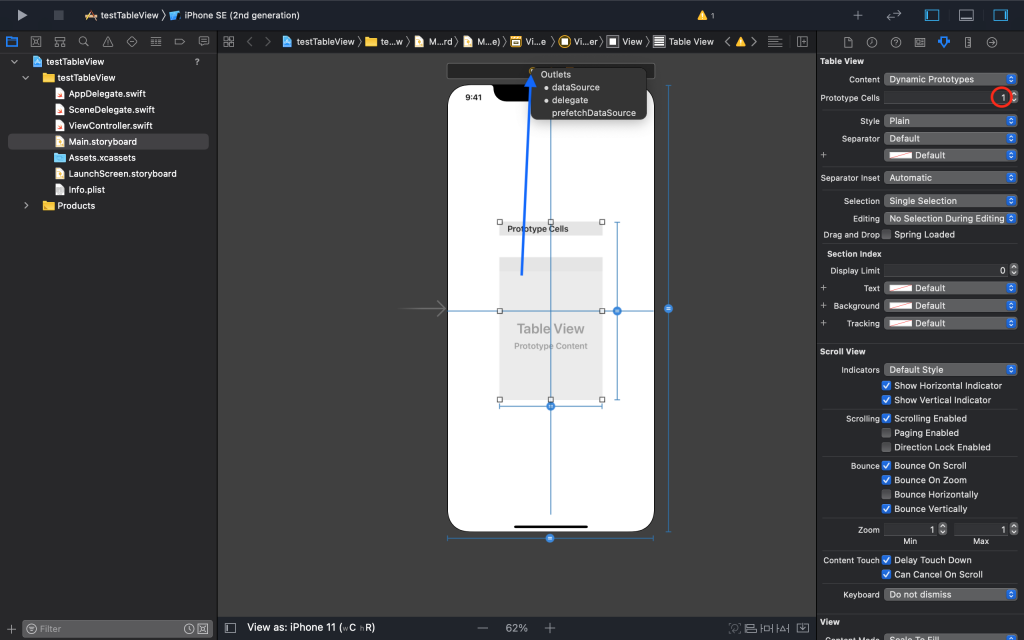
點選儲存格,設定它的識別碼。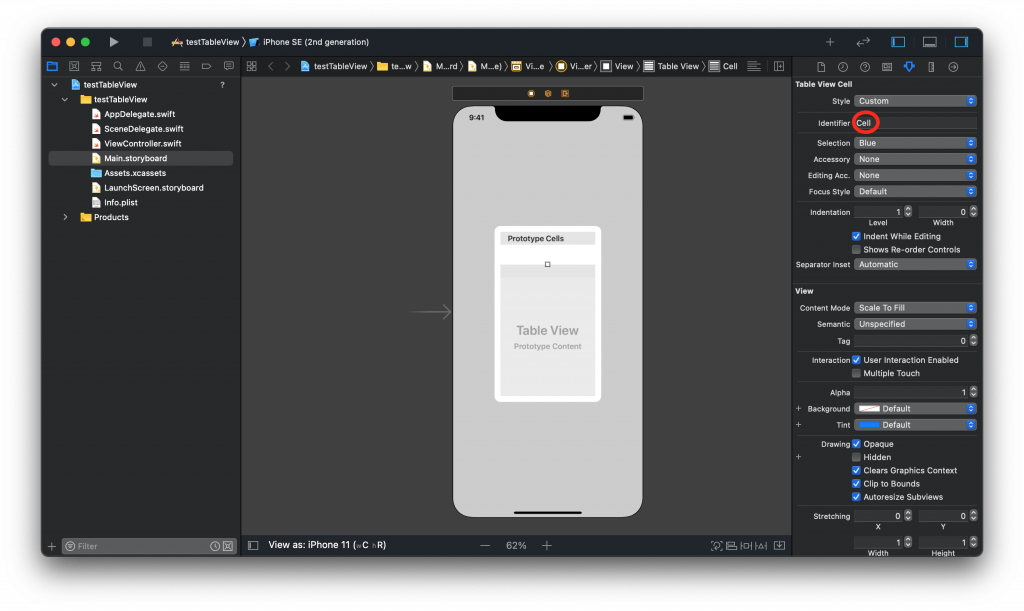
開啟 ViewController.swift 讓類別符合 UITableViewDataSource 與 UITableViewDelegate 協定的規範。我們可以看到 Xcode 會報錯,因為我們還沒有寫三階段的對話函數。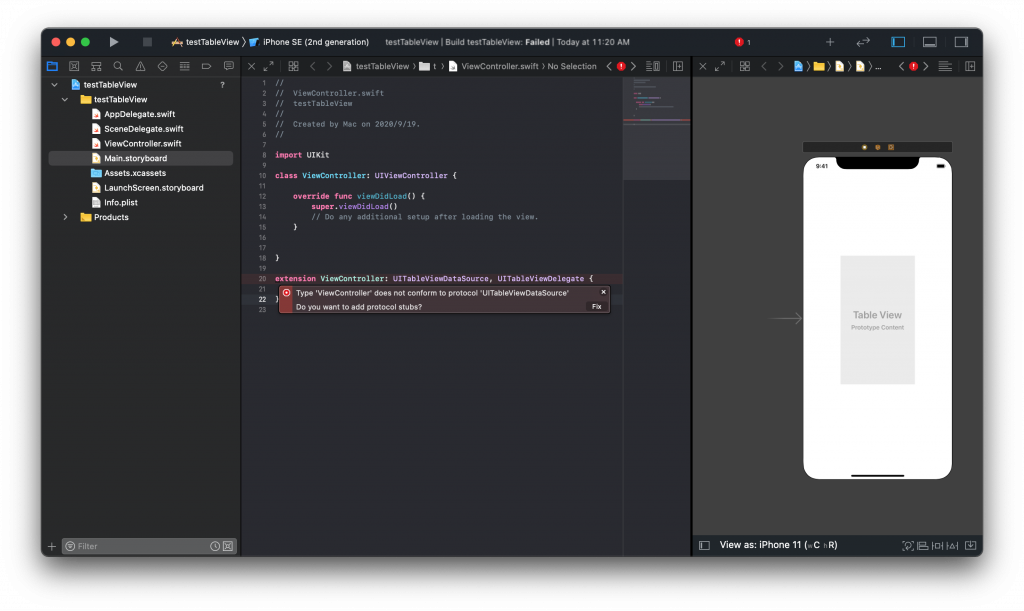
接著我們可以宣告一個陣列,裡面存放著我們要顯示的內容。
var list = ["音樂", "電影", "遊戲"]
func numberOfSections(in tableView: UITableView) -> Int {
    return 1
}
如果區段有兩個以上並想做到間隔的效果,Table View 的 Style 請設成 Grouped。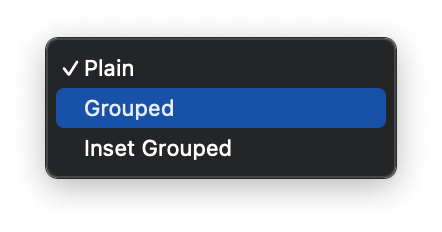
func tableView(_ tableView: UITableView, numberOfRowsInSection section: Int) -> Int {
    return list.count // 因為我們要呈現 list 的內容,所以回傳 list 內的個數,當有兩個以上的區段時,要根據 section 做判斷
}
func tableView(_ tableView: UITableView, cellForRowAt indexPath: IndexPath) -> UITableViewCell {
    let cell = tableView.dequeueReusableCell(withIdentifier: "Cell", for: indexPath) // Cell 就是我們的儲存格識別碼
    cell.textLabel?.text = list[indexPath.row]
    return cell
}
大功告成!