我們都是第一次過自己的人生,所以會笨拙生疏,所以會覺得抱歉,所以有點小失誤也是可以的。 -- 《沒關係,是愛情啊》
根據上一篇把模版引擎的環境建立好後,我們要來小小的實作一下,讓語法使用上更加熟悉。
thymeleaf 使用Expression Syntax(表示式語法)將內文替換掉。
Expressions 表達式,表達式會產生一個值,例如 100 + x, fn(1, 2)。
${...}來表現*{...},類似變數表示式,但上層需要有一個變數物件,子層承接上下文。<!--由於在這個div獲得了todos的物件,所以他的子元素就可以直接獲得todos中的屬性值-->
<div th:object="${todos}">
<span th:text="*{task}">...</span>
</div>
@{...},把一個資訊新增到URL中<a href="main.html" th:href="@{/add}">
#{...} ,將它外部化單獨在文件中,通常用於多國語系,以下有一個例子。(1)先在application.yml 配置spring 的多國語系
spring:
	messages:
    fallback-to-system-locale: false # 找不到當前語言檔時,至系統默認index.properties
    basename: static/lang/index # 將語言檔配置在static/lang底下,預設為index
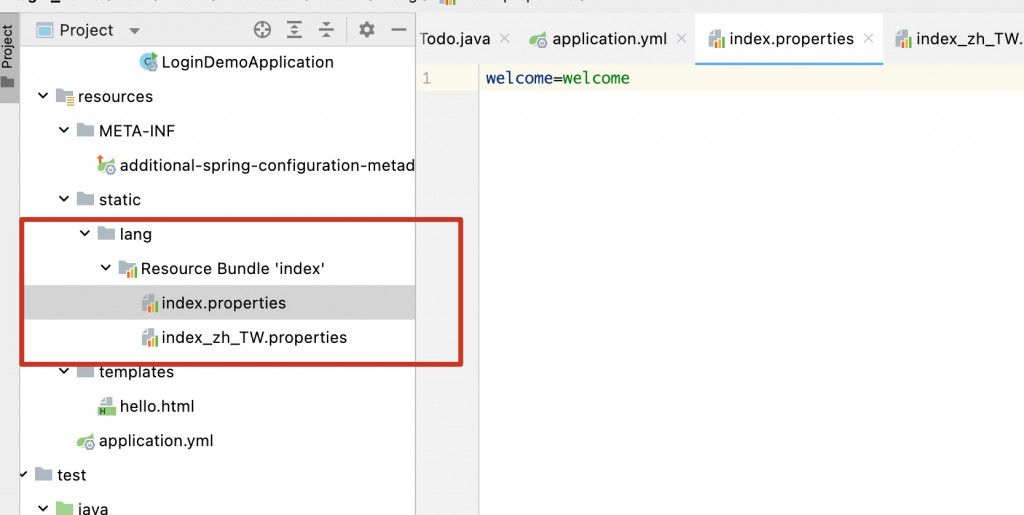
(2)添加語言檔
welcome=welcome
welcome=歡迎
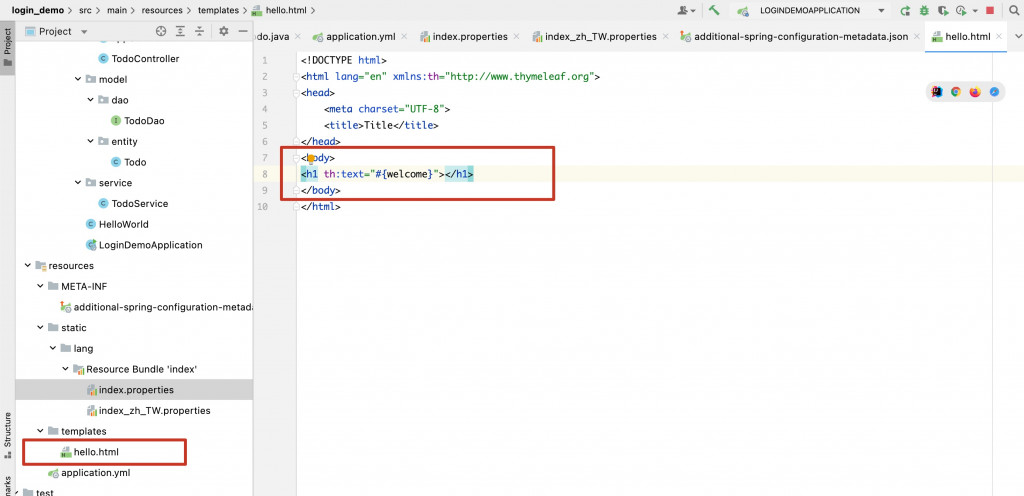
(3)透過#{...} 取得語言文字
<!-- 對應到語言檔的key-->
<h1 th:text="#{welcome}"></h1>
我們也可以利用數學運算子(+, -, *, /),比較運算子(>, <, >=, <= ),條件運算子(If-then、If-then-else),透過傳遞來的變數做內文的渲染。
<h1 th:text="'Welcome CaiLi. ' + ${hello}"></h1>
以下實作幾個小範例
在controller裡,標註一個@GetMapping("person") 指到一個showGender的方法將gender變數傳遞給person html。
@Controller
public class appController {
	@GetMapping("person")
	    public String showGender(Model model) {
	        model.addAttribute("gender", "female");
	        return "person";
	 }
}
利用th:if 判別傳遞過來的變數來決定要不要顯示區塊,以下會顯示"我是女生"。
<!DOCTYPE html>
<html lang="en" xmlns:th="http://www.thymeleaf.org">
<head>
    <meta charset="UTF-8">
    <title>Title</title>
</head>
<body>
		<p th:if="${gender} == 'male'">我是男生</p>
		<p th:if="${gender} == 'female'">我是女生</p>
</body>
</html>
在controller 裡,傳遞一個list 想要渲染出來的list.html列出1~10。
@Controller
public class appController {
    @GetMapping("list")
    public String listNumber (Model model) {
        List<String> list = new ArrayList<>();
        for(int i = 0; i<= 10; i++) {
            list.add("This is ArrayList" + i);
        }
        model.addAttribute("list", list);
        return "list";
    }
}
list.html 取得傳遞過來的參數
<!DOCTYPE html>
<html lang="en" xmlns:th="http://www.thymeleaf.org">
<head>
    <meta charset="UTF-8">
</head>
<body>
   <!--用th:each接收一個可迭代的物件,將thymeleaf傳遞過來的參數"list",別名為i-->
    <ul th:each="i:${list}">
        <!--將i渲染至畫面-->
        <li th:text="${i}">
        </li>
    </ul>
</body>
</html>
th:object 完成物件屬性的簡寫下一層區塊可以直接透過*{...}選擇object中的屬性,示意圖如下。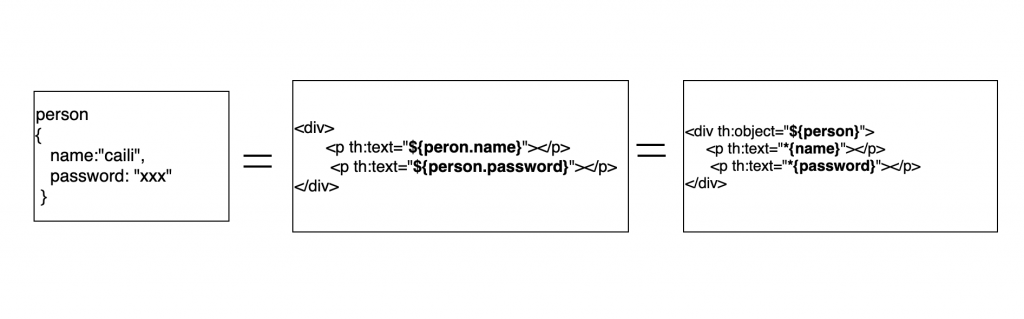
實作一個表單,裡面有兩個輸入框,輸入框預設值為Person.java 物件值。
首先,先建一個Person.java Person類別。
package com.caili.todolist;

public class Person {
    String name;
    String password;

    public String getName() {
        return name;
    }

    public void setName(String name) {
        this.name = name;
    }

    public String getPassword() {
        return password;
    }

    public void setPassword(String password) {
        this.password = password;
    }
}
在Controller 裡標註@Controller 為一個web請求,並創建一個方法標註其@GetMapping("/form")
請求/form 要到這個方法裡回傳資料至form.html。
package com.caili.todolist;

import org.springframework.stereotype.Controller;
import org.springframework.ui.Model;
import org.springframework.web.bind.annotation.GetMapping;

@Controller
public class AppController {
    @GetMapping("/form")
    public String form(Model model) {
        Person person = new Person(); // 將Person 實體化
        model.addAttribute("person", person);
        return "form"; // 導至form.html
    }
}
form.html取得數據,th:object="${person}" 接收一個傳遞過來person資料,而底下的變數則可以用*{name} 來取得person物件的name。
<!DOCTYPE html>
<html lang="en" xmlns:th="http://www.thymeleaf.org">
<head>
<meta charset="UTF-8">
<title>form</title>
</head>
<body>
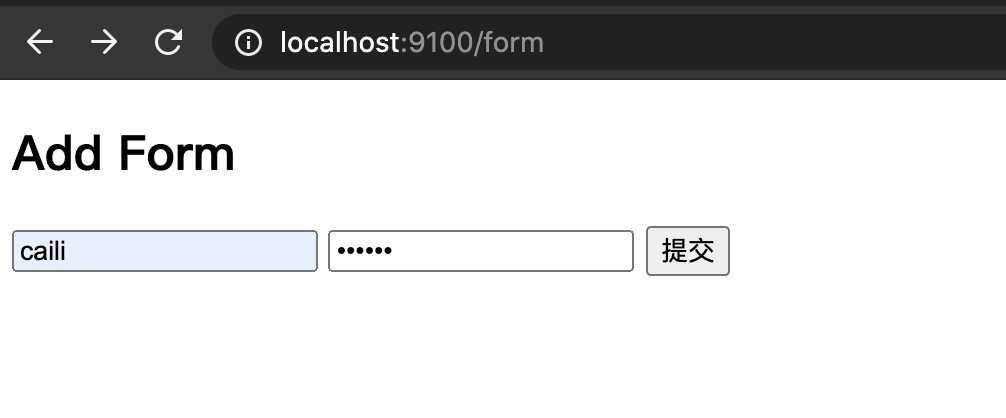
<h2>Add Form</h2>
<form action="#" th:action="@{/add}" th:object="${person}" method="post">
<input type="text" th:field="*{name}"/>
<input type="text" th:field="*{password}"/>
<input type="submit"/>
</form>
</body>
</html>
(1)創建一個 AppController.java 標註其為@Controller ,並建立兩個方法,一個form()標註為@GetMapping("/form") 另一個add()標註為@PostMapping("/add") ,我們來實作這兩個方法吧!
@ModelAttribute 接收web 返回的值,再將它添至model 屬性上,並導至add.html。package com.caili.todolist;
import org.springframework.stereotype.Controller;
import org.springframework.ui.Model;
import org.springframework.web.bind.annotation.GetMapping;
import org.springframework.web.bind.annotation.ModelAttribute;
import org.springframework.web.bind.annotation.PostMapping;
@Controller
public class AppController {
@GetMapping("/form")
public String form(Model model) {
Person person = new Person(); // 前一個範例有新增Person.java 的class
model.addAttribute("person", person);
return "form";
}
@PostMapping("/add")
public String add(@ModelAttribute Person person, Model model) {
model.addAttribute("person", person);
return "add";
}
}
th:action="@{/add}" 觸發submit 時,form action 導至 /add 路徑,form 方法為POST
<!DOCTYPE html>
<html lang="en" xmlns:th="http://www.thymeleaf.org">
<head>
    <meta charset="UTF-8">
    <title>form</title>
</head>
<body>

<h2>Add Form</h2>
<form action="#" th:action="@{/add}" th:object="${person}" method="post">
    <input type="text" th:field="*{name}"/>
    <input type="password" th:field="*{password}"/>
    <input type="submit"/>
</form>
</body>
</html>
<!DOCTYPE html>
<html lang="en" xmlns:th="http://www.thymeleaf.org">
<head>
<meta charset="UTF-8">
<title>顯示</title>
</head>
<body>
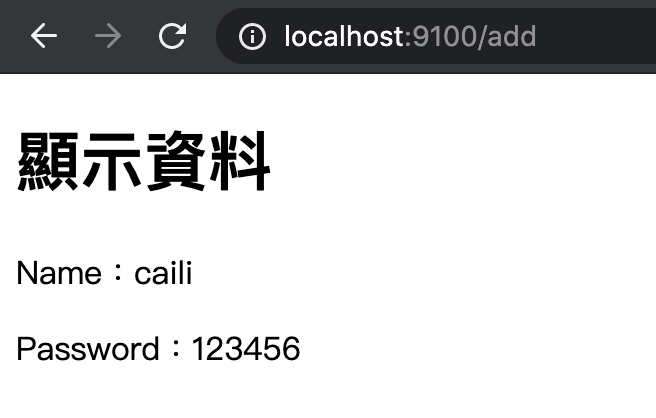
<h1>顯示資料</h1>
<p th:text="'Name:' + ${person.name}"></p>
<p th:text="'Password:'+ ${person.password}"></p>
<p></p>
</body>
</html>
SpringBoot Thymeleaf的介紹、基礎語法及頁面佈局