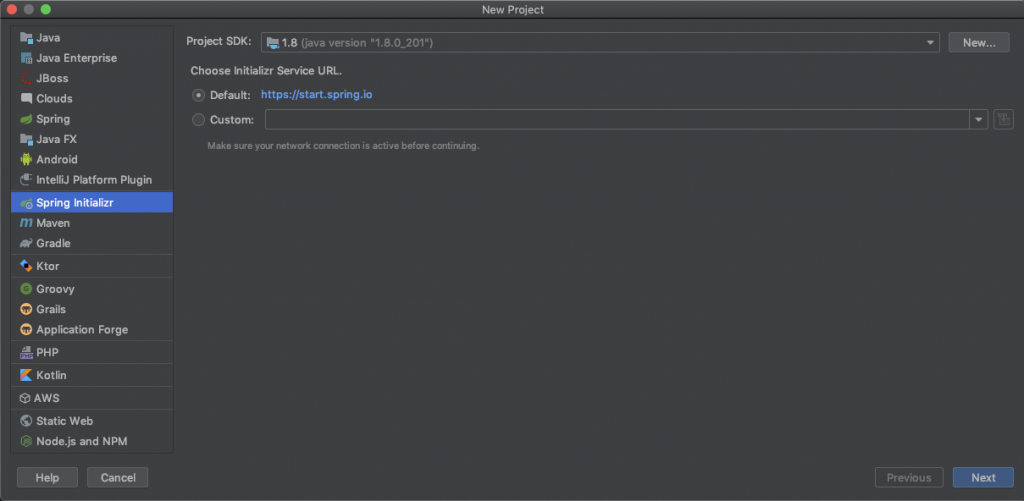
接下來,這篇文章將帶大家建置 Spring Boot 專案,本系列文章使用的編輯器為 Intellij ,但因為使用的 intellij 為 ultimate 版本,ultimate 本身其實會內建許多工具,例如建立 Spring Boot 專案時會有一個快速建置 Spring Boot 專案的選項 Spring Initializr,如下圖:
如果正在閱讀的朋友是使用 community 版本的話,大家可以到 intellij 的 Preferences → Plugins → 安裝 Spring Assistant 套件,即可在 Create 專案裡面找到 Spring Boot 起始專案建立選項,如下圖(1)、(2)所示:
(1) 至 intellij 的 Preferences → Plugins → 搜尋 Spring Assistant 套件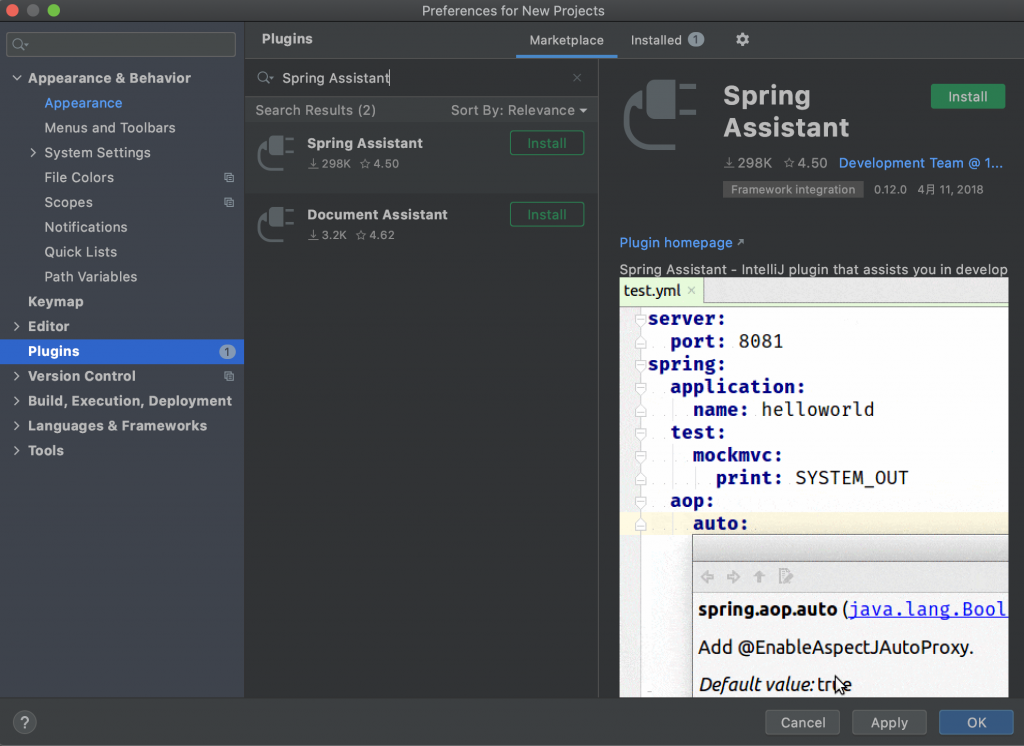
(2) 建立專案(New → Project)時,會出現 Spring Assistant 選項,即可像 ultimate 版本快速建置 Spring Boot 專案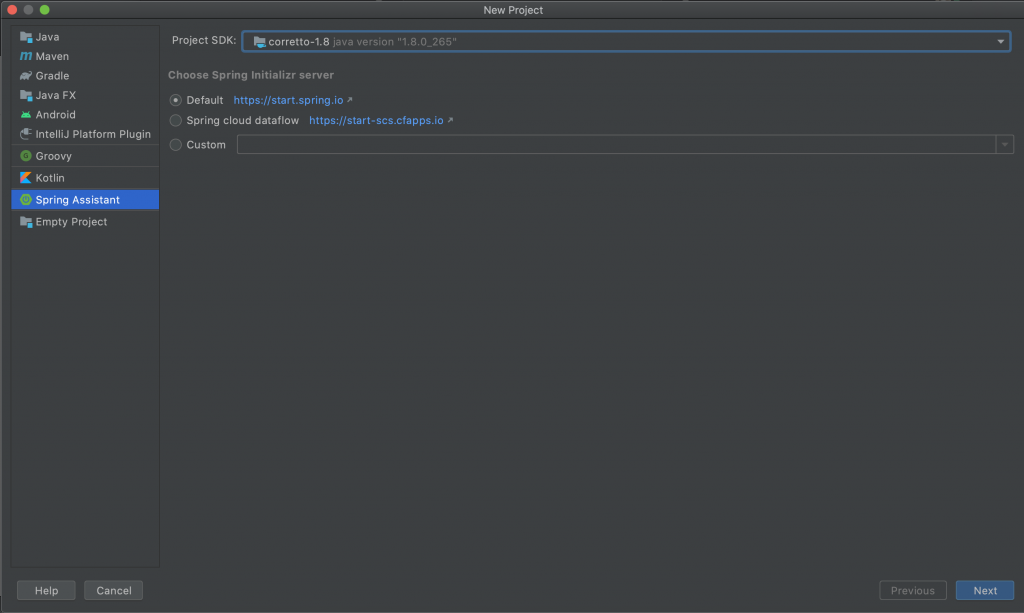
接下來,我們就來建置一個 Spring Boot 專案:
(1) 開啟 intellij 編輯器 → New → Project 建立專案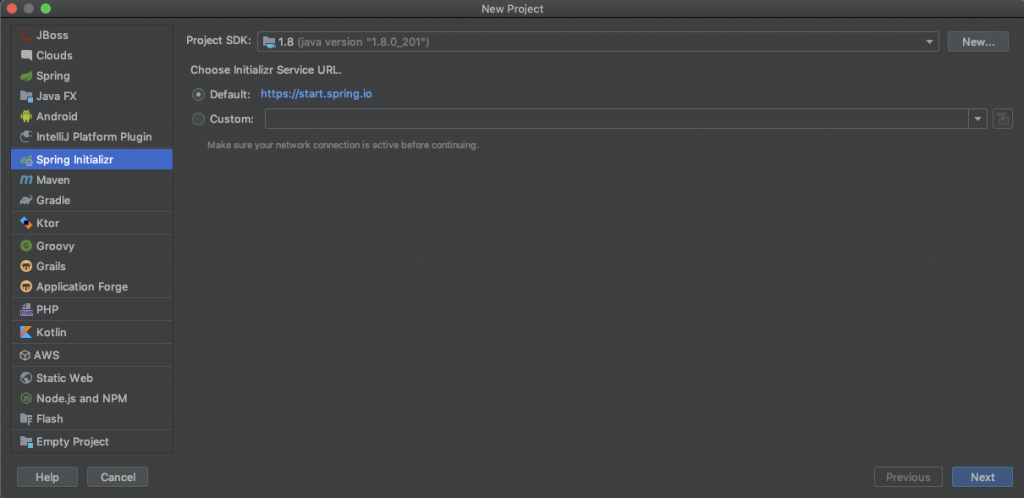
(2) 此頁面是可以設定 Project Metadata 資訊,資料除了meta設定以外,要記得在 Language 選擇 Kotlin,Java 版本要記得用自己環境裝的JDK版本,此範例使用 Java 8 進行開發,Type 選擇使用 Maven Project (下一個章節也會介紹如何用 Gradle 建置專案)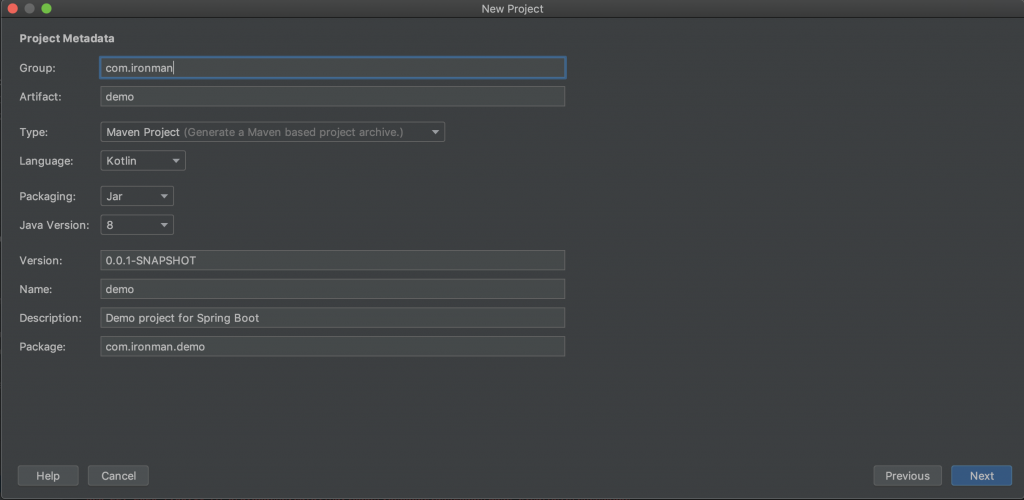
(3) 設定 Spring Boot 版本與勾選需要的套件,這邊可以先勾選 Web -> Spring Web,Spring Boot 版本選擇 2.3.4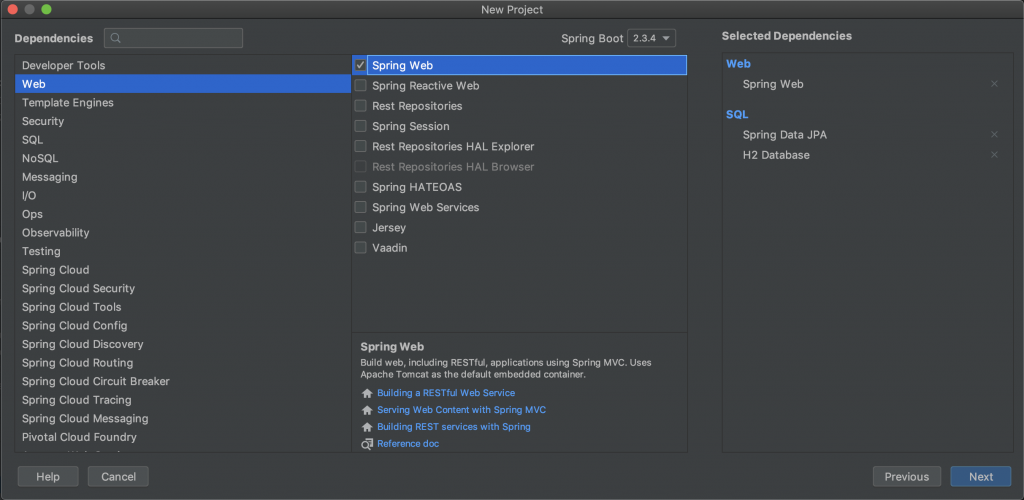
(4) 設定專案路徑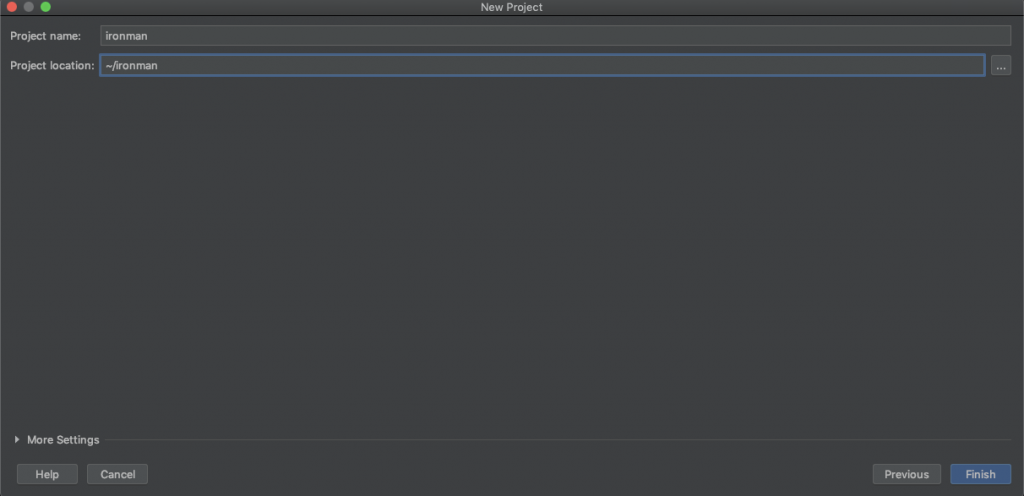
(5) 若您的版本為 ultimate 版本,可以直接點擊右上角執行專案,可以參考下面第一張圖(a),如果是 Community 版本,因為沒有預設啟動功能,但仍可以利用右側 Maven 區塊點擊 Plugins → spring-boot → spring-boot:run 的方式運行專案,則參考下面第二張圖(b)
a. ultimate 版本直接點擊右上角運行鈕(三角形)運行專案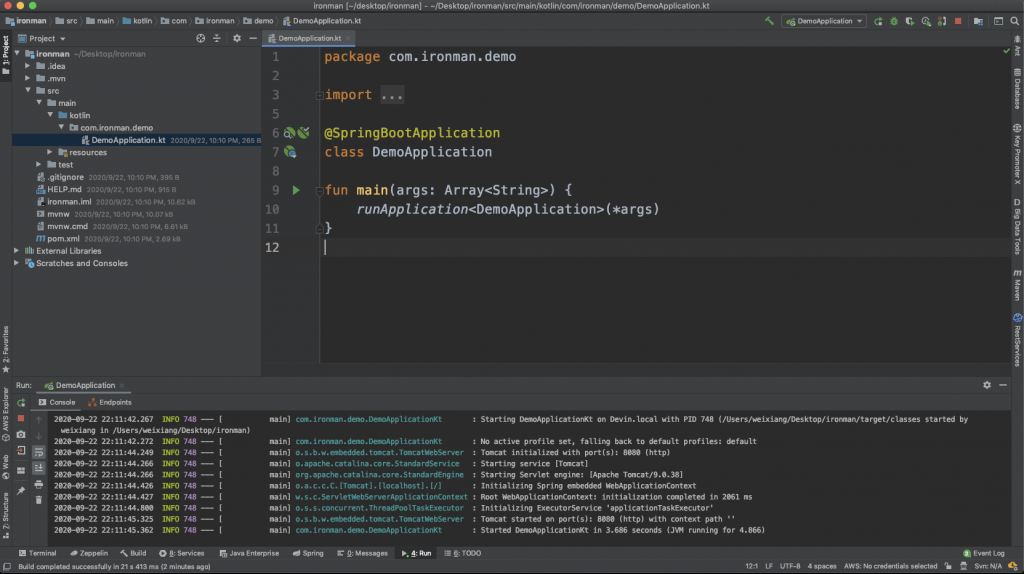
b. community 版本可以用 Maven 區塊點擊 Plugins → spring-boot → spring-boot:run 的方式運行專案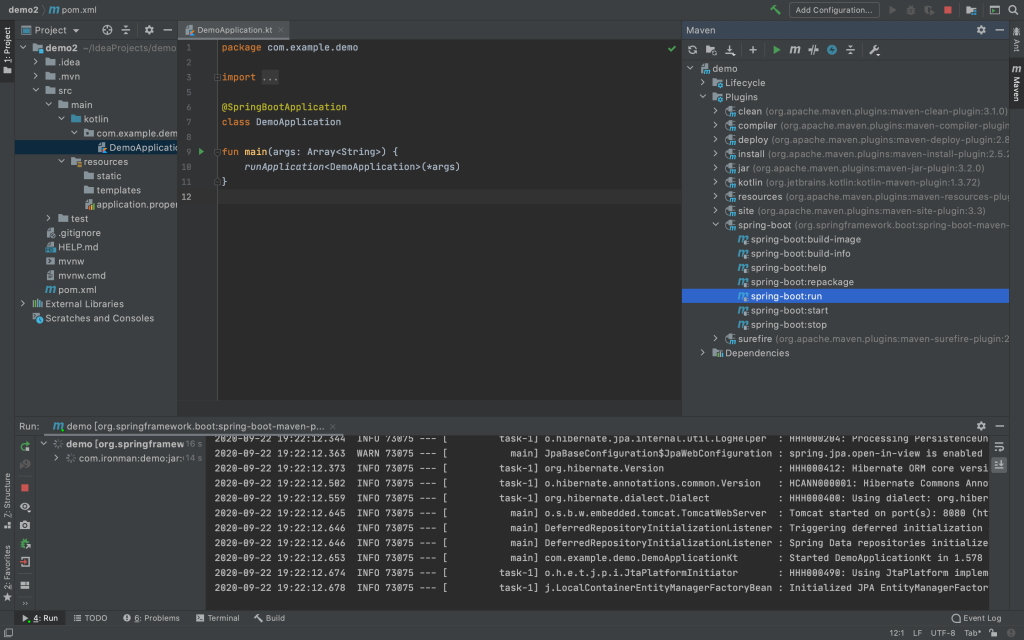
(6) 可以在 DemoApplication.kt 檔案中加入下面這段程式,請參考下面圖(a),加入程式碼後再重新運行程式,打開瀏覽器進入(http://localhost:8080/hello)即可看到「Hello, Kotlin」文字,可參考下圖(b)、(c)
a. 在 DemoApplication.kt 直接在下面加入以下程式
@RestController
class HomeController() {
    @GetMapping("/hello")
    fun getHelloString(): String {
        return "Hello, Kotlin"
    }
}
b. 加入程式碼後的結果圖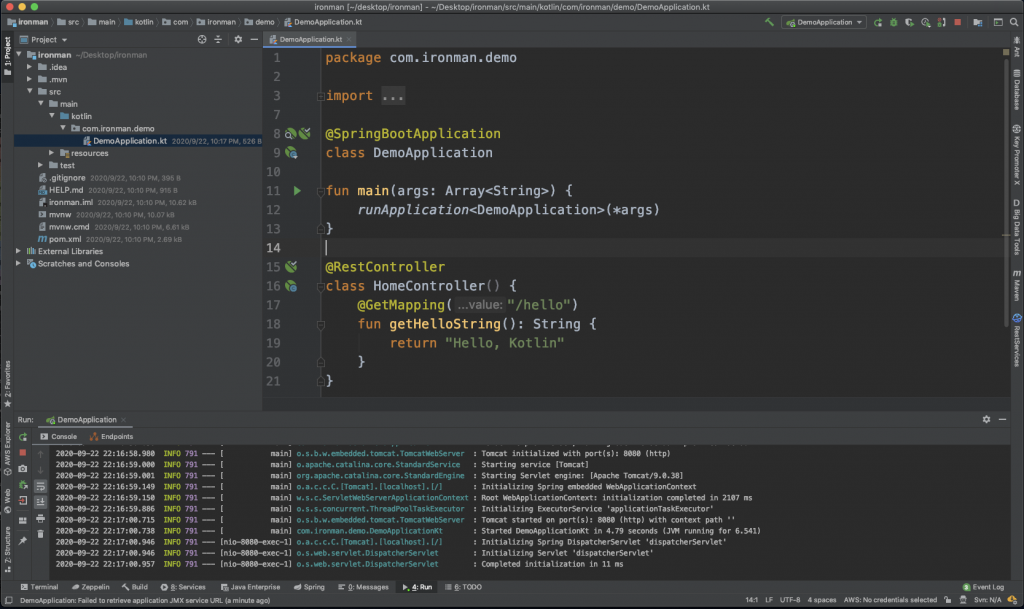
c. 執行專案後,打開瀏覽器觀看執行結果「Hello, Kotlin」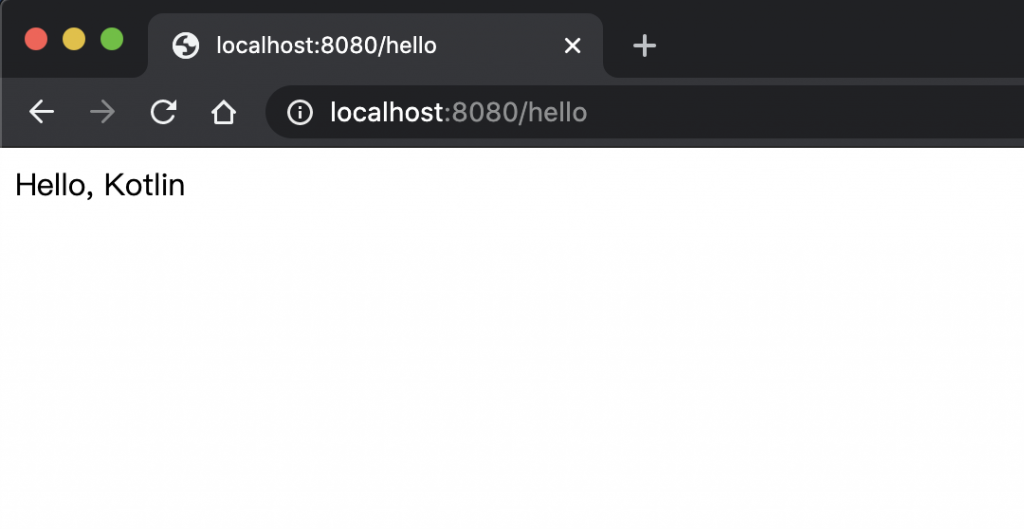
以上,我們已經完成 Spring Boot 專案建置,也成功設計了一隻取得「Hello, Kotlin」文字的API,我們可以感受到 Spring Boot 協助我們快速進入開發,若是使用以往的Spring配置,可能還需要設定非常多環境設定才可以進行開發動作,而後續章節會陸續開始說明每個 Spring Boot 開發應用。