今天要介紹三個非常常用的基本元件,
並將他們三個組合來練習使用。
EditText:輸入欄位
TextView:字串顯示欄位
Button:按鈕
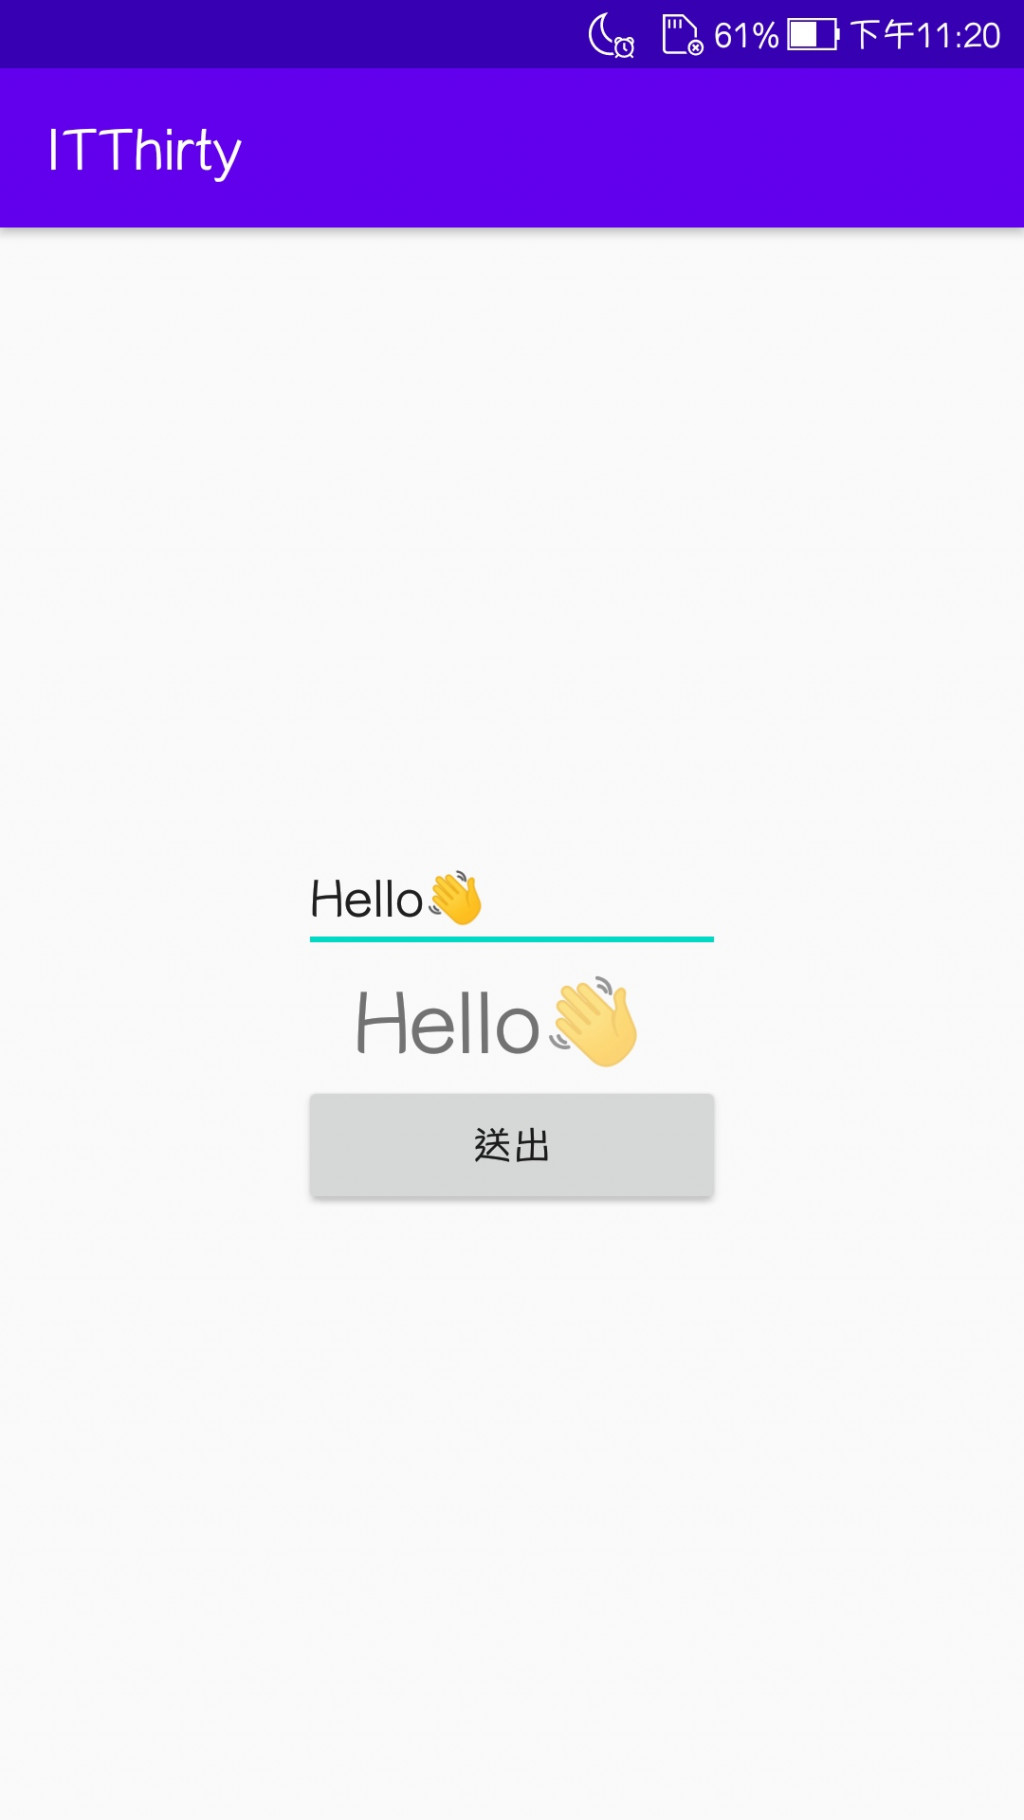
在輸入欄位輸入字串,
按下送出按紐後,
字串顯示欄位顯示出剛剛輸入的字串。

物件寬度
(1)直接輸入固定數值(單位建議使用dp)
(2)match_parent
跟隨父容器大小
(3)wrap_content
依照物件內容自適應大小
物件高度
物件ID
LinearLayout我只更動兩個屬性
LinearLayout的必要屬性
horizontal(水平排序)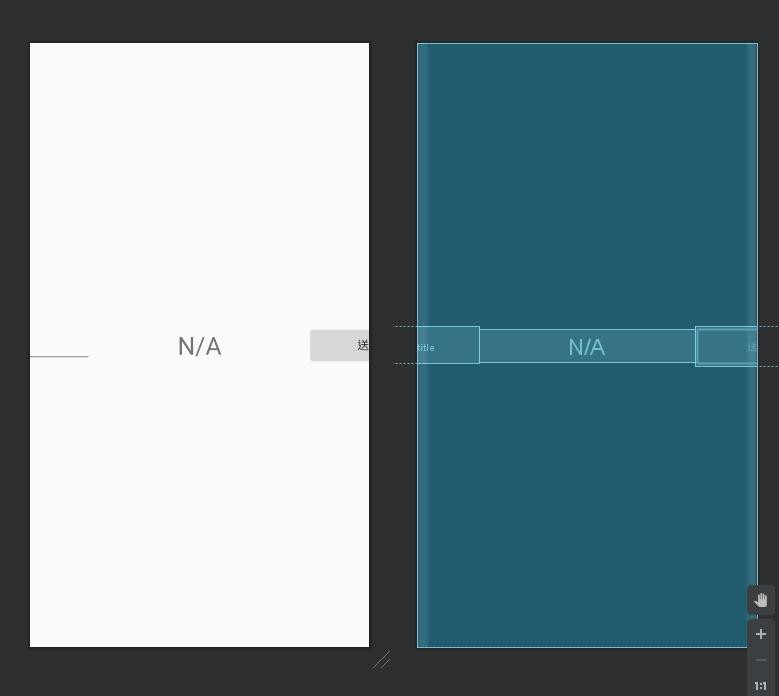
vertical(垂直排序)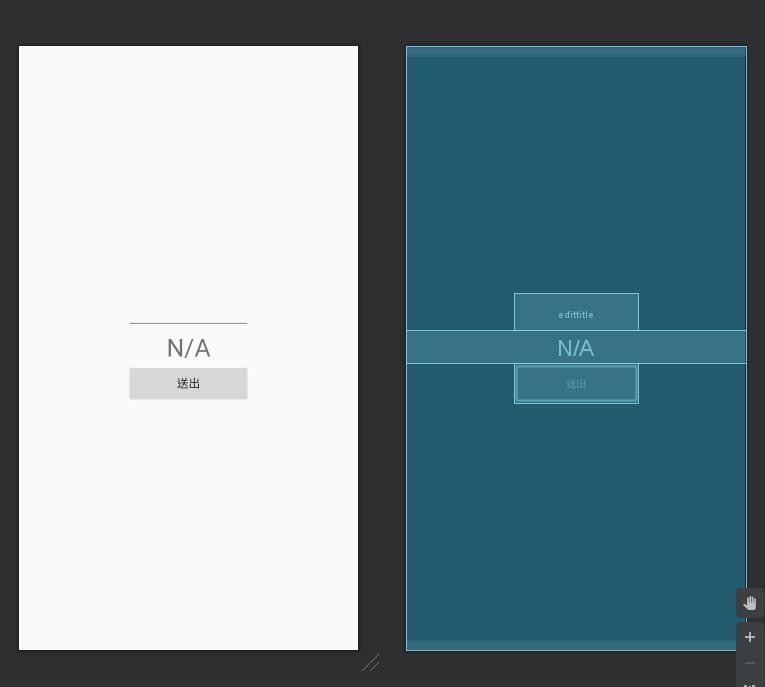
物件對齊
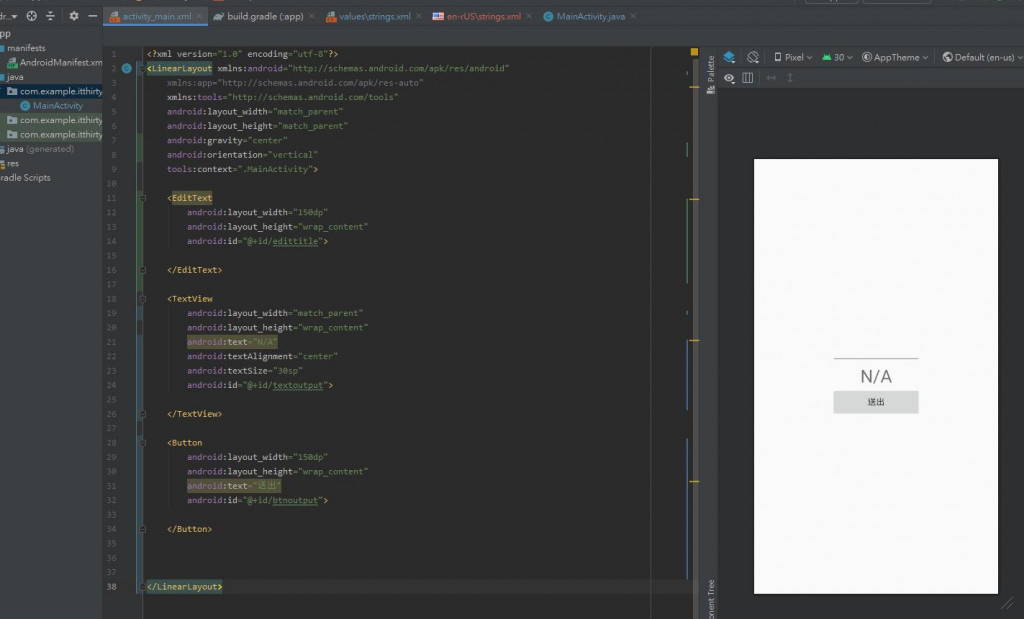
<LinearLayout xmlns:android="http://schemas.android.com/apk/res/android"
    xmlns:app="http://schemas.android.com/apk/res-auto"
    xmlns:tools="http://schemas.android.com/tools"
    android:layout_width="match_parent"
    android:layout_height="match_parent"
    android:gravity="center"
    android:orientation="vertical"
    tools:context=".MainActivity">

</LinearLayout>
<EditText
    android:layout_width="150dp"
    android:layout_height="wrap_content"
    android:id="@+id/edittitle">

</EditText>
顯示文字
顯示文字對齊
顯示文字大小(單位建議使用sp)
<TextView
    android:layout_width="match_parent"
    android:layout_height="wrap_content"
    android:text="N/A"
    android:textAlignment="center"
    android:textSize="30sp"
    android:id="@+id/textoutput">

</TextView>
顯示文字
<Button
    android:layout_width="150dp"
    android:layout_height="wrap_content"
    android:text="送出"
    android:id="@+id/btnoutput">

</Button>
private EditText edittitle;
private TextView textoutput;
private Button btnoutput;
edittitle = (EditText) findViewById(R.id.edittitle);
textoutput = (TextView) findViewById(R.id.textoutput);
btnoutput = (Button) findViewById(R.id.btnoutput);
btnoutput.setOnClickListener(new View.OnClickListener() {
    @Override
    public void onClick(View view) {
        textoutput.setText(edittitle.getText());
    }
});