各位好,今天要來介紹如何使用 Azure CLI 建立開發 chatbot 需要用到的雲端資源。
0.1 準備好一個 Azure Account
0.2 建立 Azure CLI 環境
Intsall Azure Command-Line Interface (CLI)
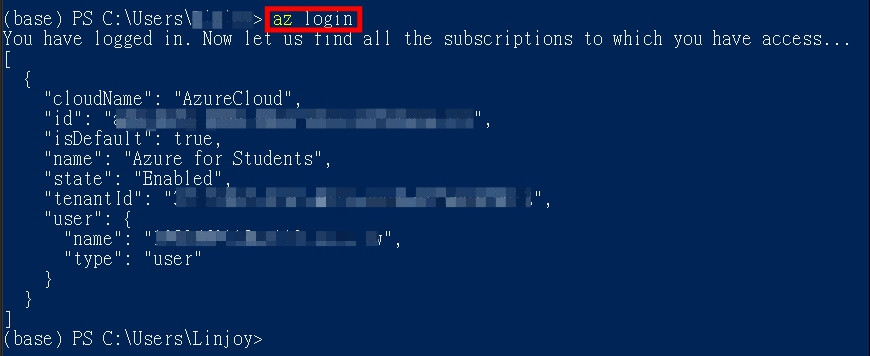
1.1 打開一個 terminal,輸入以下指令
az login
1.2 在瀏覽器輸入帳密後,成功之後會顯示以下畫面
2.1 在 terminal 輸入以下指令
<任何獨一無二的英文名稱>
<至少輸入16個字元 英文 or 數字>
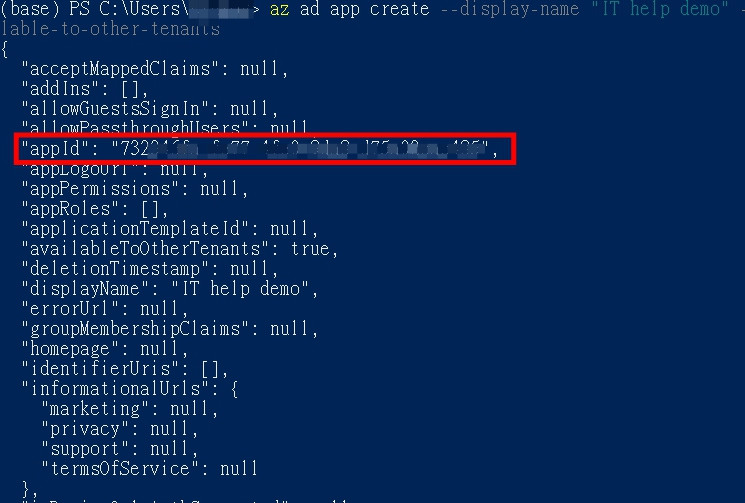
az ad app create --display-name "displayName" --password "AtLeastSixteenCharacters_0" --available-to-other-tenants
2.2 建立完成後複製 output 的 appid
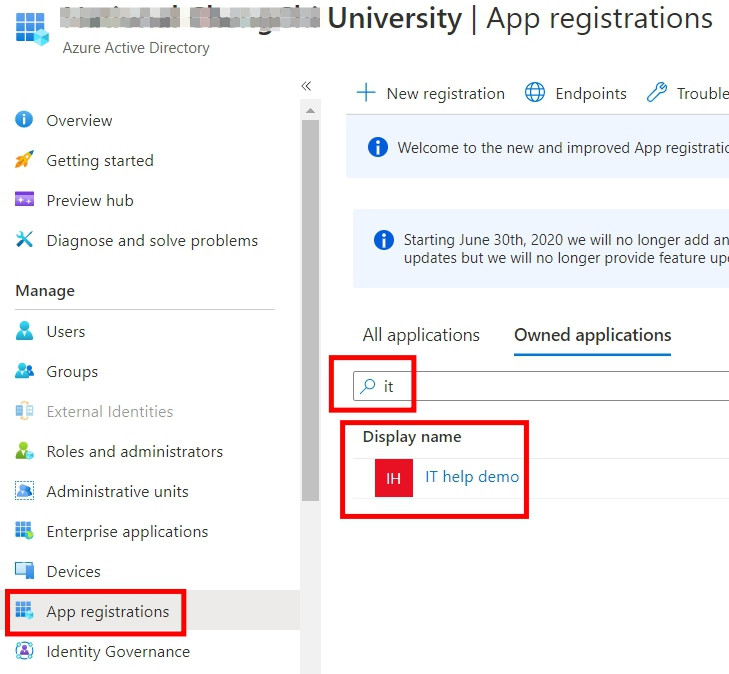
2.3 前往 Azure Portal 上的 App registration
2.4 搜尋你剛剛輸入的 displayname,成功的話,就會搜尋的到
3.1 將 terminal 當前的路徑改成前天操作的 echo bot 的資料夾
cd "<那個資料夾的絕對位置>"

3.2 在 terminal 輸入以下指令
<已經建立好的 Resource Group 名稱>
./deploymentTemplates/template-with-preexisting-rg.json
<前面步驟複製的 appid>
<步驟 2.1 的密碼>
<起一個 Bot Channel Registration 的名字>
<起一個 App Service 名字>
<起一個 App Service Plan 的名字>
<任何地區代碼> 像 "East US"
az group deployment create --resource-group "<name-of-resource-group>" --template-file "./deploymentTemplates/template-with-preexisting-rg.json" --parameters appId="<app-id-from-previous-step>" appSecret="<password-from-previous-step>" botId="<id or bot-app-service-name>" newWebAppName="<bot-app-service-name>" newAppServicePlanName="<name-of-app-service-plan>" appServicePlanLocation="<region-location-name>"

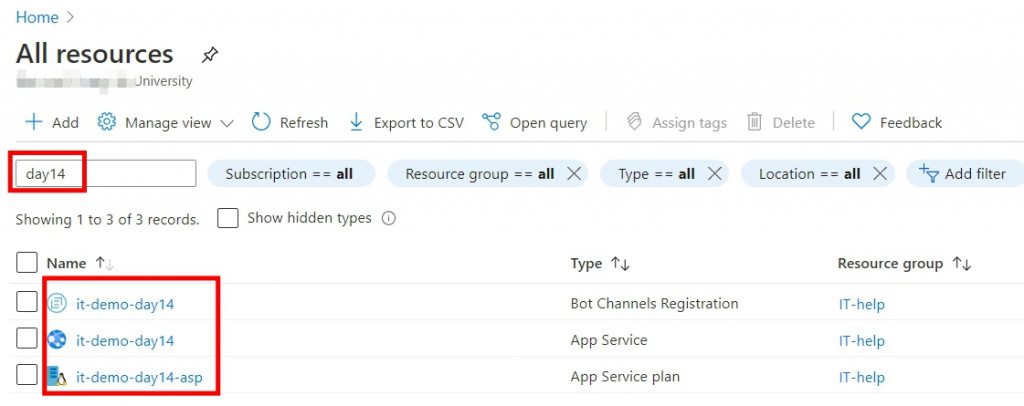
3.3 前往 Azure Portal 上的 All resource,成功建立的話則會像下圖一樣多了 3 個服務
以上是今天的操作步驟,明天將會介紹如何單純利用 Azure Portal 達成以上同樣的目標。![]()
