透過前面的20天(其實只有19天)
我們對Codeigniter都有一定的認識了。
接下來,我們做更實際一點的應用
現在幾乎每一個網站,都具有會員制,
不論是登入拿好禮,或是登入做消費。
都需要我們的資料做註冊、做登入。
身為網頁工程師,是該自己動手刻一個網頁註冊和登入吧!
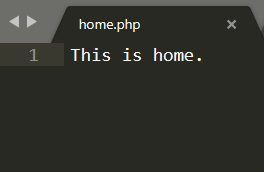
首先,我們利用之前閒置的pages/home.php來做註冊/登入的引導介面。
將內容修改成:
<button onclick="register()">Register註冊</button>

<button onclick="login();">Login登入</button>

<script type="text/javascript">
function login()
{
    window.location.href="login";
}
function register()
{
    window.location.href="register";
}
</script>
這裡我們簡單的直接使用js做網頁重新引導~
接著,到pages底下新增login.php和register.php
register.php的內容:
<!DOCTYPE html>
<html>
    <head>
        <meta charset="utf-8">
        <title>Home</title>
    </head>
    <body>
        <form action="" method="post">
            <fieldset >
                <legend>登入帳密</legend>
                    <label>帳號:<input type="text" name="username" placeholder="帳號"><br></label>
                    <label>密碼:<input type="password" name="password" placeholder="密碼"><br></label>
                    <label>確認密碼:<input type="password" name="checkPassword" placeholder="請再次輸入密碼"></label>
            </fieldset>
            <fieldset>
                <legend>個人資訊</legend>
                    姓名:<label><input type="text" name="name" placeholder="姓名"><br></label>
                    性別:<label><input type="radio" name="gender" value="0" checked>女</label>
                        <label><input type="radio" name="gender" value="1">男<br></label>
                    自介:<br><textarea name="about" rows="8" cols="80"></textarea><br>
            </fieldset>
            <button type="submit">送出</button>
        </form>
    </body>
</html>
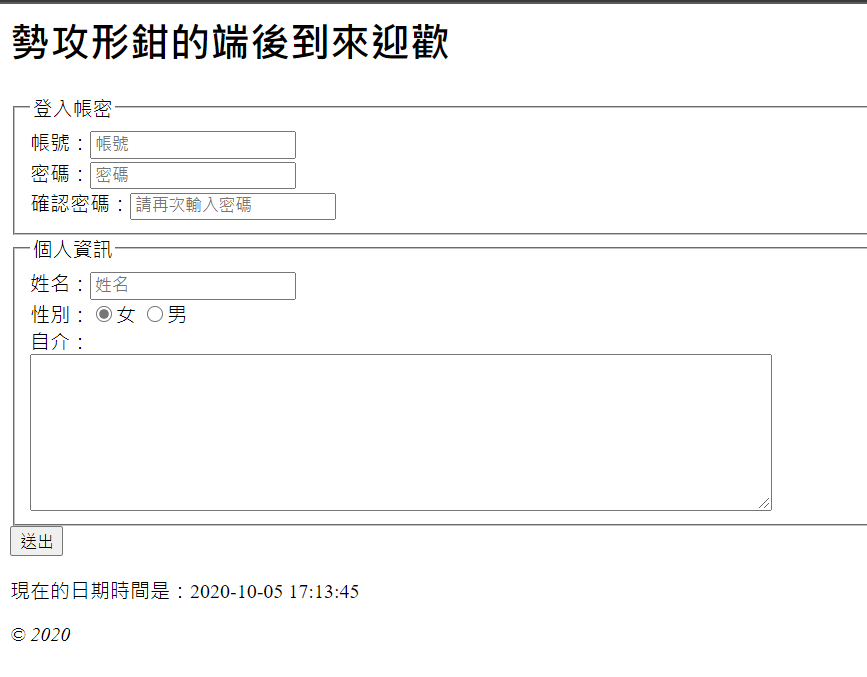
接著,打開 http://localhost/ci/index.php/ 應該就會看到如下:
點擊register註冊的按鈕,就會被導向到http://localhost/ci/index.php/register
是不是蠻簡單的呢><
題外話:
雖然有時候有點偷懶,但是不知不覺就已經堅持了20天,
快結束了,大家一起加油!!
然後筆者為了趕作業DL已經連續Coding了快一天半![]()
要來好好放鬆了QQ
