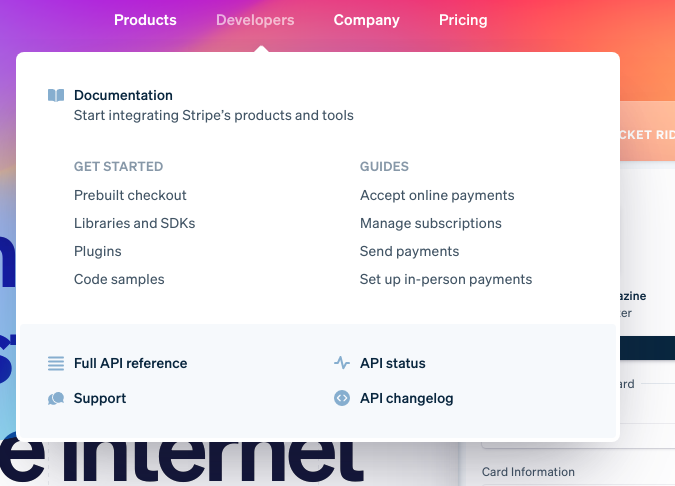
今天要來做的是做出stripe網站上,游標選到nav bar上就出現選單的效果

const triggers = document.querySelectorAll('.cool > li');
const background = document.querySelector('.dropdownBackground');
const nav = document.querySelector('.top');

function handelEnter() {
    console.log('enter!!');
}

function handelLeave() {
    console.log('leave!!');
}

triggers.forEach(trigger => trigger.addEventListener('mouseenter', handelEnter));
triggers.forEach(trigger => trigger.addEventListener('mouseleave', handelLeave));
首先,我們要先選定上圖的三個列表元素,還有當dropodown出現時,要加上一個背景,再來是nav bar
這邊需要兩個函式,分別處理游標移入跟移出
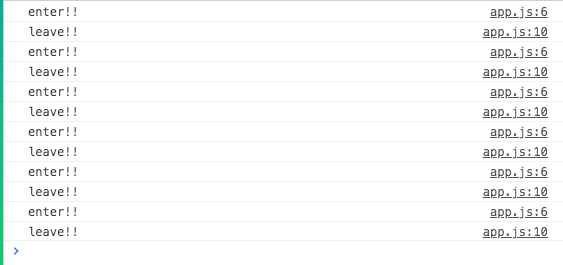
接下來,當游標移入時,我們要幫觸發函式的列表元素加上trigger-enter以及trigger-enter-active
function handelEnter() {
    console.log('enter!!');
    this.classList.add('trigger-enter')
    setTimeout(() => {this.classList.add('trigger-enter-active')}, 150)
}

function handelLeave() {
    console.log('leave!!');
    this.classList.remove('trigger-enter', 'trigger-enter-active')
}

setTimeout()方法會幫接下來要觸發的函式加上一個計時器,讓其可以延遲觸發,時間以毫秒計算
這邊要替出現的選單加上背景
function handelEnter() {
    // ...
    background.classList.add('open');
}

function handelLeave() {
    // ...
    background.classList.remove('open');
}
背景的CSS設定就由原作者提供,這邊只需要加上一個open class,透明度就會被設為1
.dropdownBackground {
    width: 100px;
    height: 100px;
    position: absolute;
    background: #fff;
    border-radius: 4px;
    box-shadow: 0 50px 100px rgba(50, 50, 93, .1), 0 15px 35px rgba(50, 50, 93, .15), 0 5px 15px rgba(0, 0, 0, .1);
    transition: all 0.3s, opacity 0.1s, transform 0.2s;
    transform-origin: 50% 0;
    display: flex;
    justify-content: center;
    opacity: 0;
}

.dropdownBackground.open {
    opacity: 1;
}
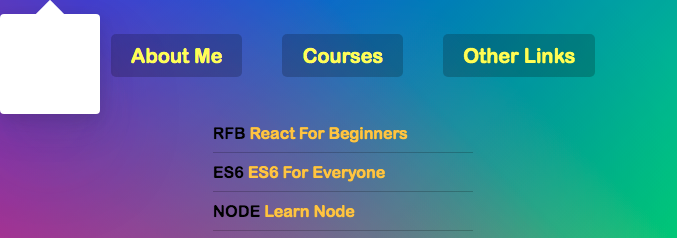
接下來要開始處理選單背景的大小和位置
function handelEnter() {
		// ...
    const dropdown = this.querySelector('.dropdown');
    console.log(dropdown);
}
這邊要在游標移入的時候選定選單,因為這邊總共有三個選單,而每一個的大小都不一樣
function handelEnter() {
		// ...
    const dropdown = this.querySelector('.dropdown');
		const dropdownCoords = dropdown.getBoundingClientRect()
}
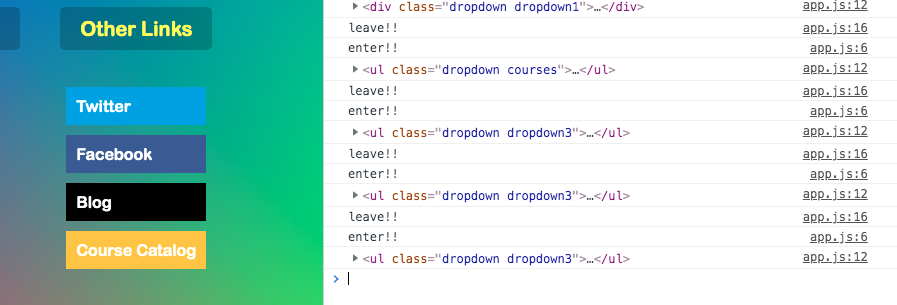
接下來用之前提過的getBoundingClientRect(),取得列表的大小和位置
function handelEnter() {
		// ...
		const coords = {
		    height: dropdownCoords.height,
		    width: dropdownCoords.width
		};

		background.style.setProperty('width', `${coords.width}px`);
		background.style.setProperty('height', `${coords.height}px`);
}
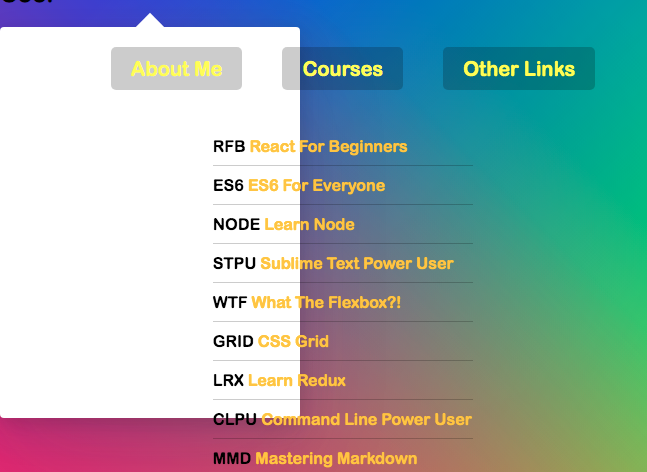
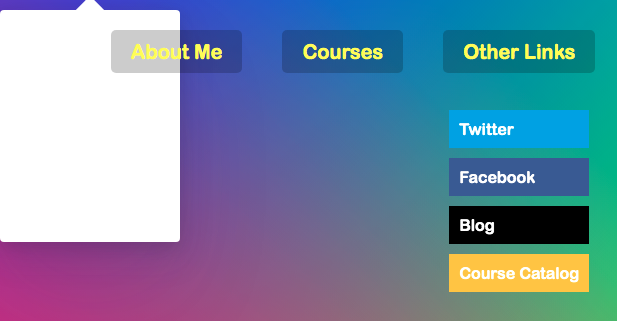
這邊先帶入列表大小的數據,由下兩圖可以看到選單背景的大小不同
function handelEnter() {
		// ...
		const coords = {
        height: dropdownCoords.height,
        width: dropdownCoords.width,
        top: dropdownCoords.top,
        left: dropdownCoords.left
    };

		background.style.setProperty('width', `${coords.width}px`);
		background.style.setProperty('height', `${coords.height}px`);
		background.style.setProperty('transform', `translate(${coords.left}px, ${coords.top}px)`);
}
這邊帶入位置資訊,背景好像就對上了(?
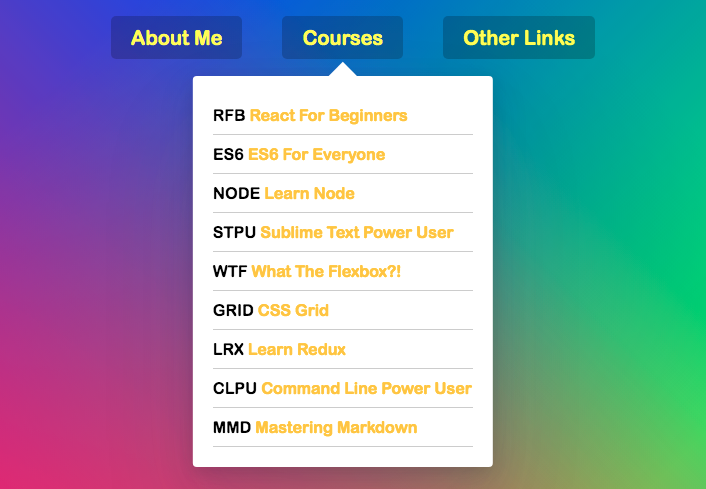
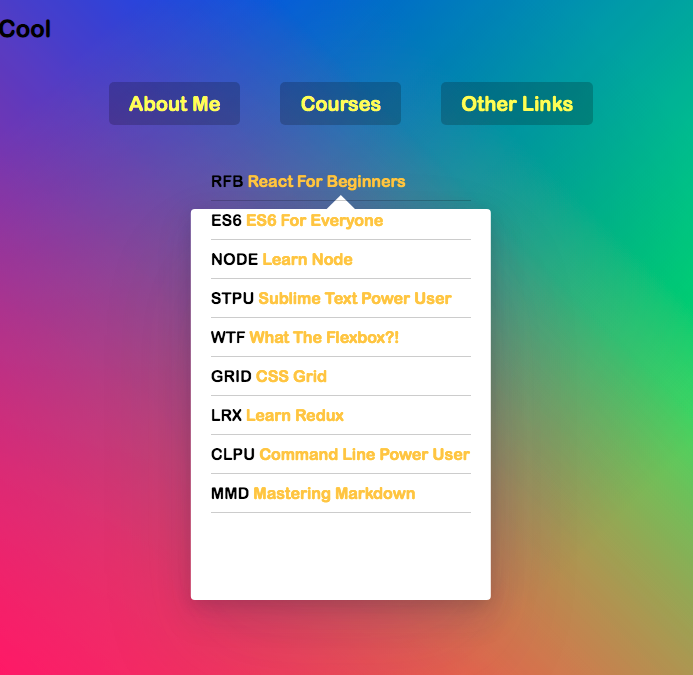
但是如果在列表元素上面還有其他html元素呢?
const coords = {
    height: dropdownCoords.height,
    width: dropdownCoords.width,
    top: dropdownCoords.top - navCoords.top,
    left: dropdownCoords.left - navCoords.left
};
所以,我們還會需要nav bar的位置,然後自己做一下計算
Ta-da!這樣問題就解決囉
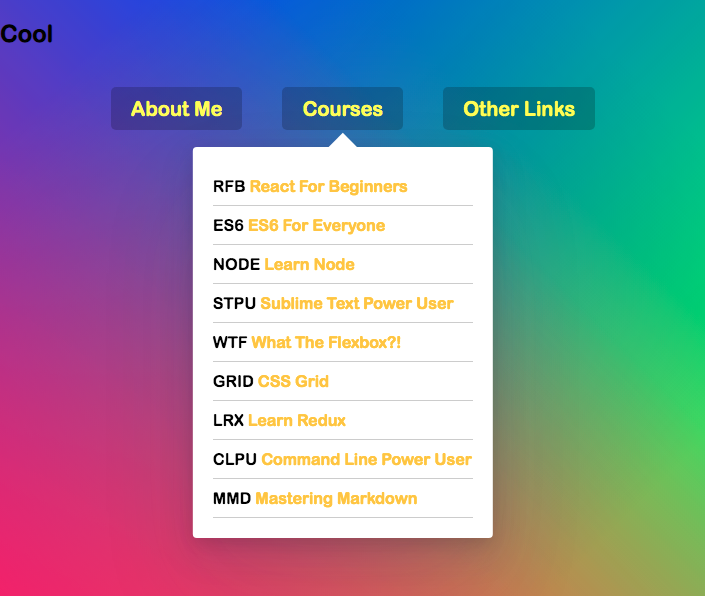
讓我們仔細看一下html現在的狀態

咦!?怎麼明明沒選任何列表,但class卻有trigger-enter-active呢?
這是因為我們在加上class的時候有做一點延遲,當我們的游標快速移動,選過這些列表元素,但trigger-enter-active還沒出現,然後就離開了,所以應該被移除的class就在移除之後出現
這邊原作者提出兩種解法:
setTimeout(() => {
		if(this.classList.contains('trigger-enter') {
				this.classList.add('trigger-enter-active')
		}
}, 150)
這邊的思路跟加上判斷式差不多,要先滿足第一個條件,然後才會執行接下來的動作
setTimeout(() => this.classList.contains('trigger-enter') && this.classList.add('trigger-enter-active'), 150);
