首先想把自己比較熟悉的領域做分享,
今天主要是分享OCR套件的安裝與使用,
而懂得使用這樣的招式之後,
未來我們可以製作自己的RPA程式,
加上演算法上的應用來幫助秘書小姐、人資小姐或是公會小姐,處理冗雜的文書作業。
OCR(Optical Character Recognition),主要是將圖像轉成文字,
下面介紹一些如何使用這個技能的方法。
首先是免費開源的pyTesseract:
https://github.com/UB-Mannheim/tesseract/wiki
我會下載windows 32bit的版本來安裝,
下載時間有點長,完成之後進行安裝:
pip install pytesseract
再來是程式上的使用:
from PIL import Image
from PIL import ImageFilter
import pytesseract
import cv2

#指定安裝tesseract時,執行程式路徑
pytesseract.pytesseract.tesseract_cmd = r'D:\ract\tesseract.exe'

img = Image.open("test29.jpg")
#調整圖片
new_size = tuple(2*x for x in img.size)
# 濾淨效果
img = img.filter(ImageFilter.DETAIL)
# img = img.resize(new_size, Image.BILINEAR)
img.show()

#辨識的語言是否有繁體中文
# text = pytesseract.image_to_string( img,lang="chi_tra")
text = pytesseract.image_to_string( img)

print(text)

with open("./0001.txt","w",1,"utf-8") as fn:
    fn.write(text)
而是否使用濾鏡及挑整大小,可以看辨識的準確度來決定。
在圖片中文字結構還不是太複雜的時候,
使用pytesseract是比較方便的,
但是當圖片中結構或是文字比較複雜的時候,
就會有辨識不準的情況發生。
這個時候我會使用GCP的google client vision 來幫我做OCR的處理。
之所以選用GCP的服務是因為我對GCP比較熟,
也有人分享了三家OCR的效果,基本上差異不大。
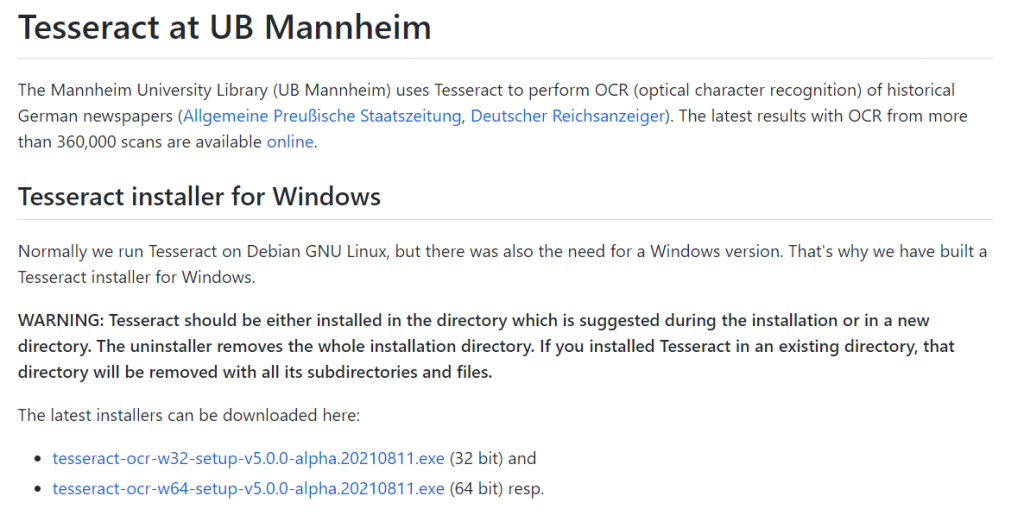
首先,先在自己的GCP平台,開啟使用Cloud vision API,
在切換到IAM與管理 服務號頁面,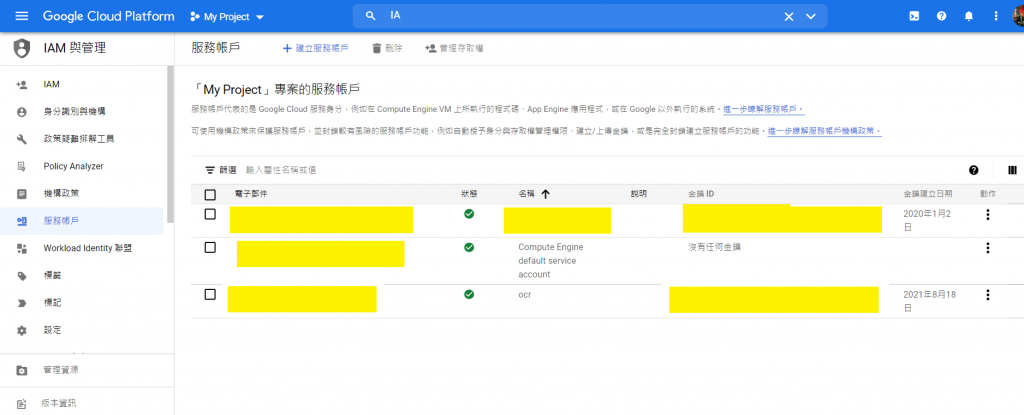
點選管理金鑰: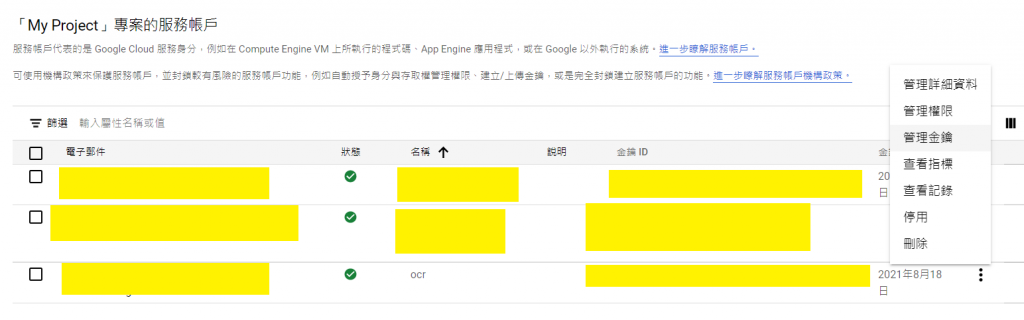
新增金鑰: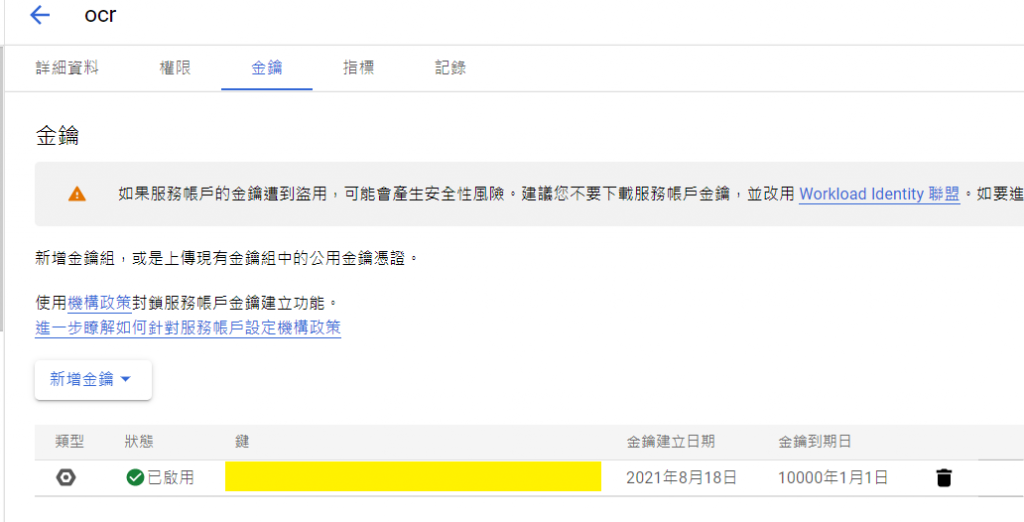
金鑰為一個json檔案,進行儲存之後,我們可以先安裝辨識套件:
pip install google-cloud-vision
辨識程式:
from google.cloud import vision
import io
import os

#你的金鑰json檔案
credential_path = "cred.json"
os.environ['GOOGLE_APPLICATION_CREDENTIALS'] = credential_path

client = vision.ImageAnnotatorClient()

with io.open('api.png', 'rb') as image_file:
    content = image_file.read()

image = vision.Image(content=content)

response = client.text_detection(image=image)
texts = response.text_annotations
print('Texts:')

for text in texts:
    print(text)
    print(type(text))

print(texts[0].description)
可以發現執行之後, 回傳的texts[0].description為一個字串,
是所有辨識到的文字,然後以換行座分隔,
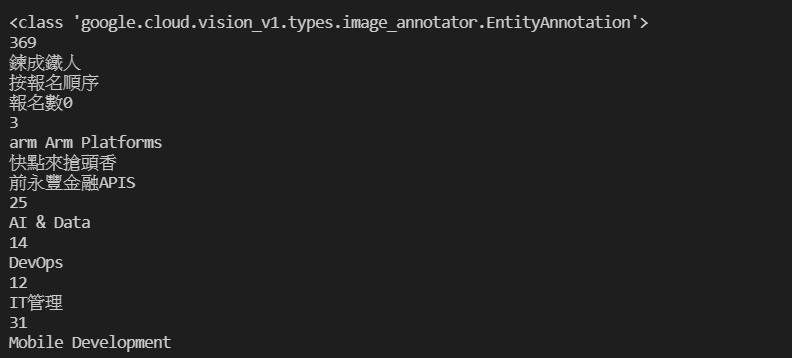
而後面的元素,會回傳description(文字內容)及bounding_poly(文字座標)。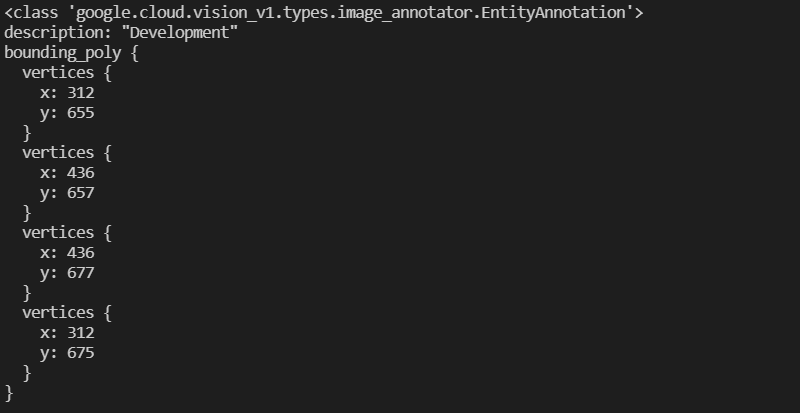
而未來打造RPA系統,就會以這裡的回傳資訊為基礎。