RadioButton是個選擇項目的功能,今天透過一個買車票的例子,來講解RadioButton的用法及效果。
在實做之前還要先提一下Radiogroup,因為RadioButton其功能就是多選一,不過每個RadioButton都是獨立的,必須先將多個RadioButton包在Radiogroup內形成一個Group,才能讓RadioButton的多選一功能運作,以下是一組Radiogroup的演示。
<RadioGroup
        android:id="@+id/ticketNumber"
        android:layout_width="202dp"
        android:layout_height="54dp"
        android:layout_marginTop="20dp"
        android:orientation="horizontal"
        app:layout_constraintEnd_toEndOf="parent"
        app:layout_constraintHorizontal_bias="0.176"
        app:layout_constraintStart_toEndOf="@+id/textView2"
        app:layout_constraintTop_toBottomOf="@+id/ticketType"
        tools:ignore="MissingConstraints">

        <RadioButton
            android:id="@+id/radioButton4"
            android:layout_width="wrap_content"
            android:layout_height="wrap_content"
            android:text="1" />

        <RadioButton
            android:id="@+id/radioButton5"
            android:layout_width="wrap_content"
            android:layout_height="wrap_content"
            android:text="2" />

        <RadioButton
            android:id="@+id/radioButton8"
            android:layout_width="wrap_content"
            android:layout_height="wrap_content"
            android:text="3" />

        <RadioButton
            android:id="@+id/radioButton9"
            android:layout_width="wrap_content"
            android:layout_height="wrap_content"
            android:text="4" />

    </RadioGroup>
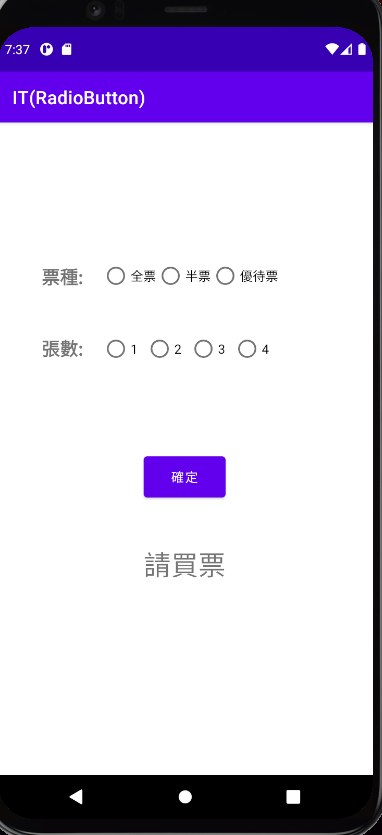
首先拉出RadioButton並放入RadioGroup中,這裡我用了兩個Group,分別代表為票種和張數,並且設定RadioGroup的android:orientation=”horizontal”,預設為vertical,這裡可以依自己的需要調整RadioButton的排列。
public class MainActivity extends AppCompatActivity {
@Override
protected void onCreate(Bundle savedInstanceState) {
super.onCreate(savedInstanceState);
setContentView(R.layout.activity_main);
Button bt1 = (Button) findViewById(R.id.bt1);
bt1.setOnClickListener(new View.OnClickListener() {
public void onClick(View v) {
TextView txv = (TextView) findViewById(R.id.txv);
RadioGroup ticketType =
(RadioGroup) findViewById(R.id.ticketType);
RadioGroup tickeNumber =
(RadioGroup) findViewById(R.id.ticketNumber);
RadioButton type = (RadioButton)findViewById(
ticketType.getCheckedRadioButtonId());
RadioButton number = (RadioButton)findViewById(
tickeNumber.getCheckedRadioButtonId());
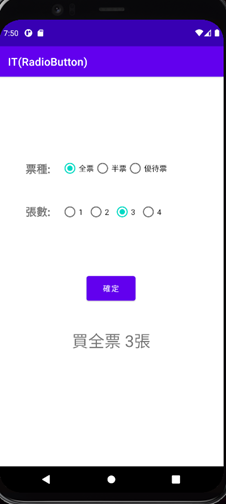
txv.setText("買"+type.getText()+" "+number.getText()+"張");
}
});
}
}
這裡Button的按紐事件與以前介紹的不同,是透過.setOnClickListener做到的,雖然程式碼不同不過效果是相同的。
先取得分別Radiogroup的物件,再從中取得裡面的RadioButton,不過這裡就不一一宣告RadioButton的物件了,因為主要是需要被選擇按鈕的資訊,所以透過getCheckRadioButtonId()找到被選擇的項目並宣告,就能達到取得正確被選擇的資料。
RadioButton就講到這裡,謝謝大家。