Fragment 通常被嵌入在Activity,不過它其實跟Activity很像,都可以包含佈局。Fragment能放我們手機或平板在直立或橫豎時有不一樣的呈現,舉個最簡單的例子,就我們使用的手機設定,通常只能塞下一個fragment如下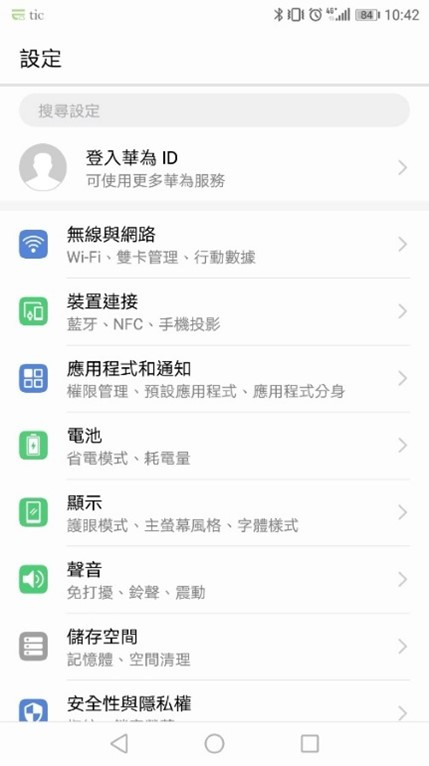
而平板的設定是能夠塞下兩個Fragment。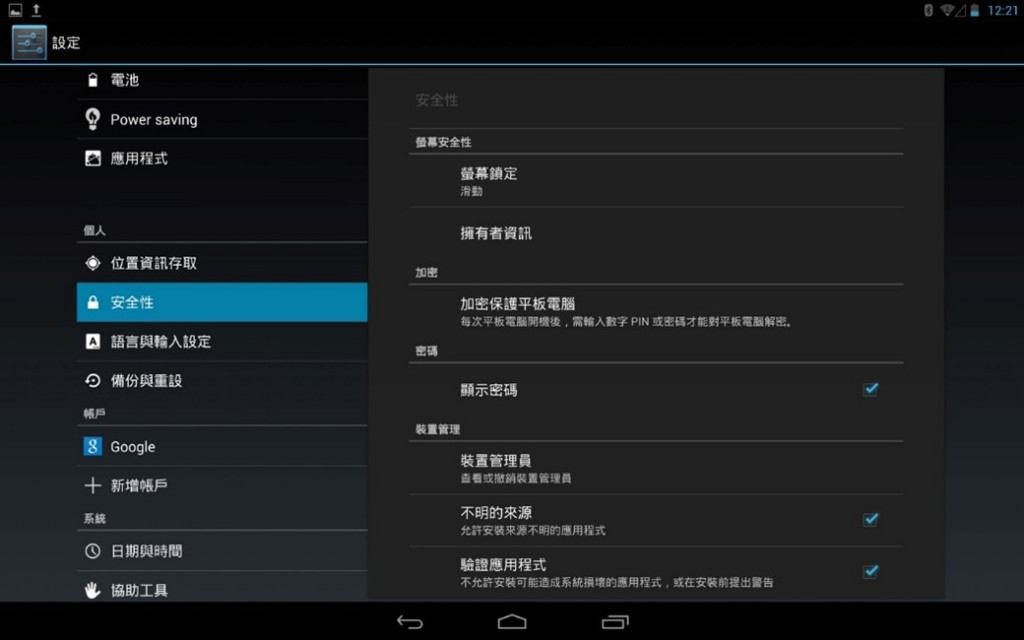
這樣舉例完希望讓各位對Fragment有點感覺,接下來我講透過程式碼簡單講解Fragment的用法。
<androidx.constraintlayout.widget.ConstraintLayout xmlns:android="http://schemas.android.com/apk/res/android"
    xmlns:app="http://schemas.android.com/apk/res-auto"
    xmlns:tools="http://schemas.android.com/tools"
    android:layout_width="match_parent"
    android:layout_height="match_parent"
    tools:context=".MainActivity">

    <Button
        android:id="@+id/bt1"
        android:layout_width="0dp"
        android:layout_height="wrap_content"
        android:text="Change A"
        app:layout_constraintEnd_toStartOf="@+id/guideline3"
        app:layout_constraintStart_toStartOf="parent"
        app:layout_constraintTop_toTopOf="parent" />

    <Button
        android:id="@+id/bt2"
        android:layout_width="0dp"
        android:layout_height="wrap_content"
        android:text="Change B"
        app:layout_constraintEnd_toEndOf="parent"
        app:layout_constraintStart_toStartOf="@+id/guideline3"
        app:layout_constraintTop_toTopOf="parent" />

    <androidx.constraintlayout.widget.Guideline
        android:id="@+id/guideline3"
        android:layout_width="wrap_content"
        android:layout_height="wrap_content"
        android:orientation="vertical"
        app:layout_constraintGuide_begin="205dp" />

    <FrameLayout
        android:id="@+id/fl_container"
        android:layout_width="match_parent"
        android:layout_height="0dp"
        app:layout_constraintBottom_toBottomOf="parent"
        app:layout_constraintTop_toBottomOf="@+id/bt1" />
</androidx.constraintlayout.widget.ConstraintLayout>
接者設置Fragment的layout,在res/layout中加入layout_a,layout_b,並簡單設置Textview的兩個的佈局。
<androidx.constraintlayout.widget.ConstraintLayout
    xmlns:android="http://schemas.android.com/apk/res/android"
    xmlns:app="http://schemas.android.com/apk/res-auto"
    xmlns:tools="http://schemas.android.com/tools"
    android:layout_width="match_parent"
    android:layout_height="match_parent">

    <TextView
        android:id="@+id/textView"
        android:layout_width="wrap_content"
        android:layout_height="wrap_content"
        android:layout_marginStart="124dp"
        android:layout_marginLeft="124dp"
        android:layout_marginTop="356dp"
        android:text="Fragment A"
        android:textSize="30sp"
        app:layout_constraintStart_toStartOf="parent"
        app:layout_constraintTop_toTopOf="parent" />
</androidx.constraintlayout.widget.ConstraintLayout>
新增兩個Class來用創建Fragment(AFragment,BFragment),這裡可以詳讀Fragment的生命週期,比較能了解Fragment的在創建時的步驟和啟動時機,以下是簡單創立Fragment的參考範例。
public class AFragment extends Fragment {
    private TextView tx1;
    @Nullable
    @Override
    public View onCreateView(@NonNull LayoutInflater inflater, @Nullable ViewGroup container, @Nullable Bundle savedInstanceState) {
        View view = inflater.inflate(R.layout.layout_a,container,false);
        return view;
    }

    @Override
    public void onViewCreated(@NonNull View view, @Nullable Bundle savedInstanceState) {
        super.onViewCreated(view, savedInstanceState);
        tx1 = (TextView) view.findViewById(R.id.textView);
    }
}
最後到MainActivity.java檔中綁定Fragment
public class MainActivity extends AppCompatActivity {
    private Button bt1;
    private Button bt2;
    private AFragment aFragment;
    private BFragment bFragment;
    @Override
    protected void onCreate(Bundle savedInstanceState) {
        super.onCreate(savedInstanceState);
        setContentView(R.layout.activity_main);

        bt1 = (Button)findViewById(R.id.bt1);
        bt2 = (Button)findViewById(R.id.bt2);
        aFragment = new AFragment();
        //透過getSupportFragmentManager(),獲取FragmentManager並使用beginTransaction()
          開啟一個事務。最後將Fragmnet加入容器內的方法,可以使用add。
        getSupportFragmentManager().beginTransaction().add(R.id.fl_container,aFragment,"A").commit();
        bt1.setOnClickListener(new View.OnClickListener() {
            @Override
            public void onClick(View v) {
                if(aFragment == null)
                    aFragment = new AFragment();
                //這裡要做到替換的效果,所以我們用replace做到取代。
                getSupportFragmentManager().beginTransaction()
                                           .replace(R.id.fl_container,aFragment,"A").commit();
            }
        });
        bt2.setOnClickListener(new View.OnClickListener() {
            @Override
            public void onClick(View v) {
                if(bFragment == null)
                    bFragment = new BFragment();
                getSupportFragmentManager().beginTransaction()
                                           .replace(R.id.fl_container,bFragment,"B").commit();
            }
        });
    }
}
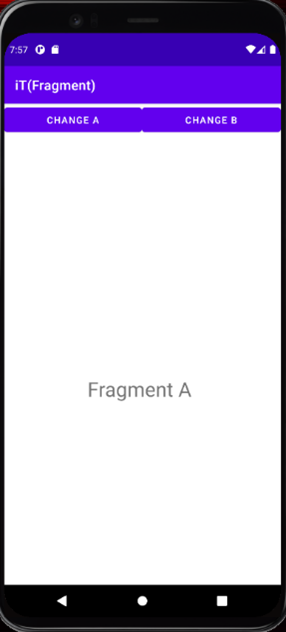
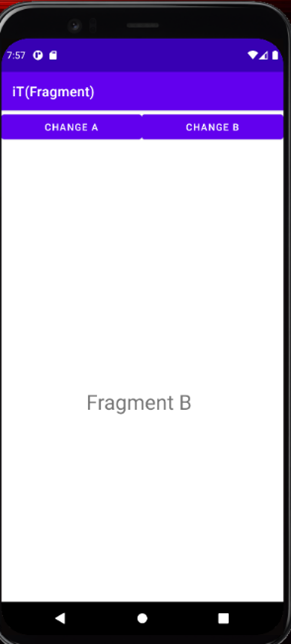
可以看到它與以往的Activity跳轉不同,按鈕的部分被保留了下來。
以上就是今天Fragment的介紹,謝謝大家~


 iThome鐵人賽