接下來讓我們開始來實際安裝TiDB。
TiDB在4.0版本之後推出了Tiup這個安裝工具。功能十分齊全,前面提到的各種server,包括TiDB、PD、TiKV、TiFlash等主要結構,以及監控相關的promethus,grafana,alertmanager,monitoring等工具,皆可以透過Tiup達到快速部署。
安裝上也很方便,首先到curl --proto '=https' --tlsv1.2 -sSf https://tiup-mirrors.pingcap.com/install.sh | sh下載後安裝
出現以下圖示就安裝完成了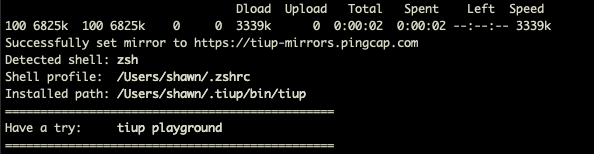
輸入tiup --version可以看到目前安裝的tiup版本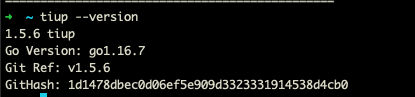
接下來輸入tiup playground快速的安裝一個測試的TiDB,裡頭包括prometheus、tidb、pd、tidb、tiflash各一個,也可以自己指定每個server的數量。可以看到最後面會列出如何連結到資料庫以及相關的監控。
如果本機原本就已經安裝過mysql,那就可以用mysql client直接連進TiDB,port號為4000。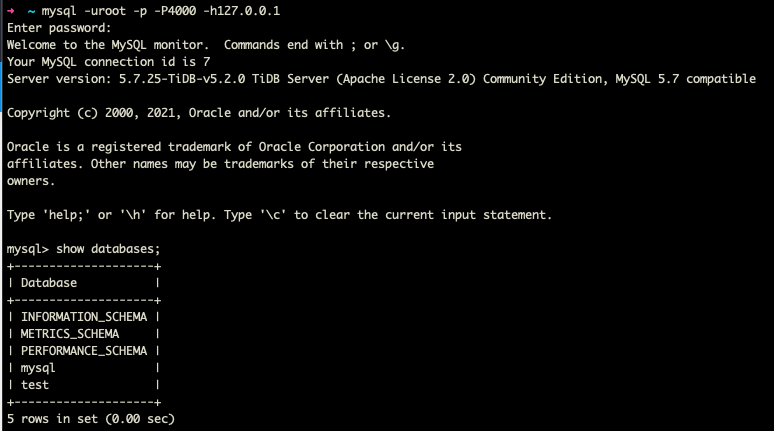
如果是要在正式環境上部署,就要用tiup cluster指令。支援的功能較常使用到的depoly部署,check檢查機器設定,scale-in縮減cluster,scale-out擴充cluster,display列出清單,destroy刪除cluster等等。
首先我們使用指令tiup cluster template > topology.yaml產生預設的初始化檔案。
將產生出來的yaml檔案,把ip改成實際的機器ip。然後執行tiup cluster check ./topo.yaml -u root,會先對個機器的設定做檢查,如果有問題的部分會有紅字Fail提醒。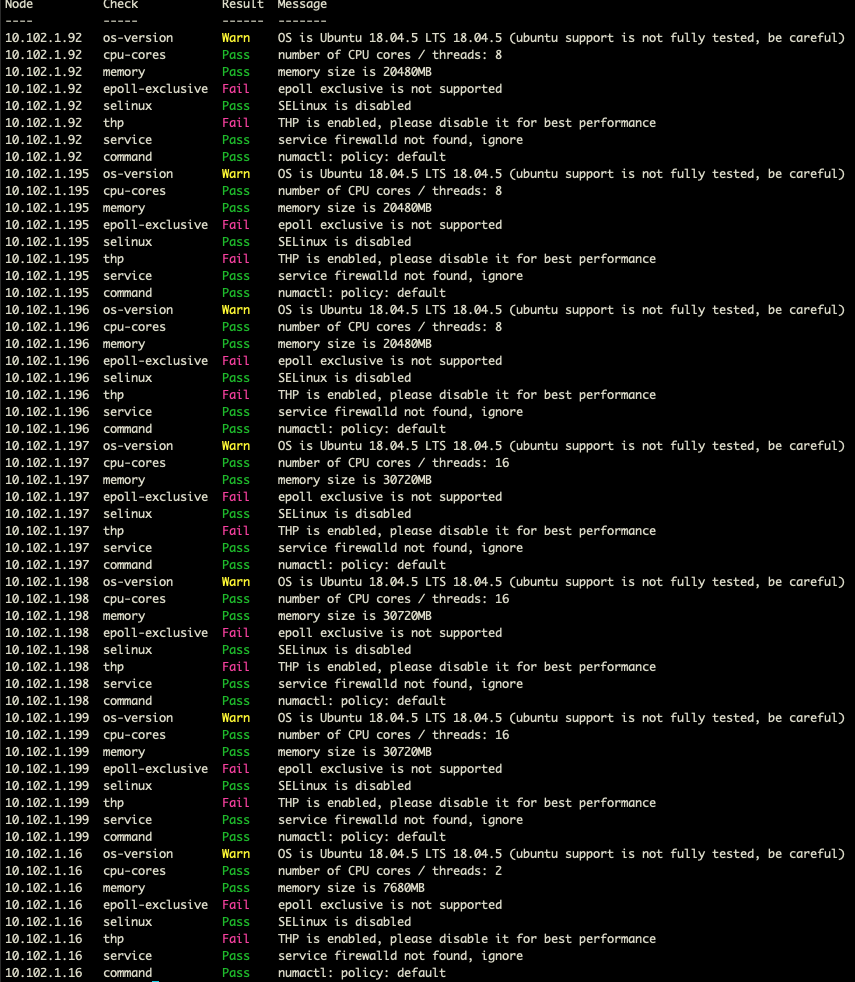
反覆檢查直到紅字部分改為正常,就可以開始deploy的動作,以下是在雲端上的測試,我建立一個名稱為tidb-test的集群。
執行tiup cluster deploy tidb-test ./topo.yaml --user root [-p] [-i /home/root/.ssh/gcp_rsa]
按下Y繼續。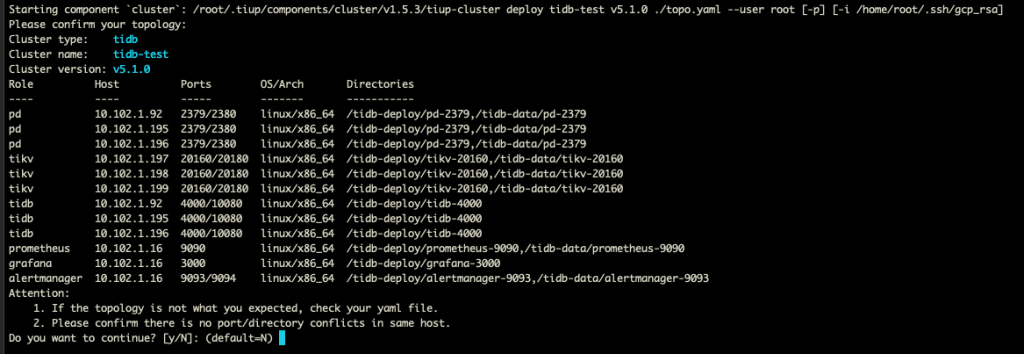
安裝完成後執行tiup cluster start tidb-test啟動。
然後執行 tiup cluster display tidb-test確認狀態。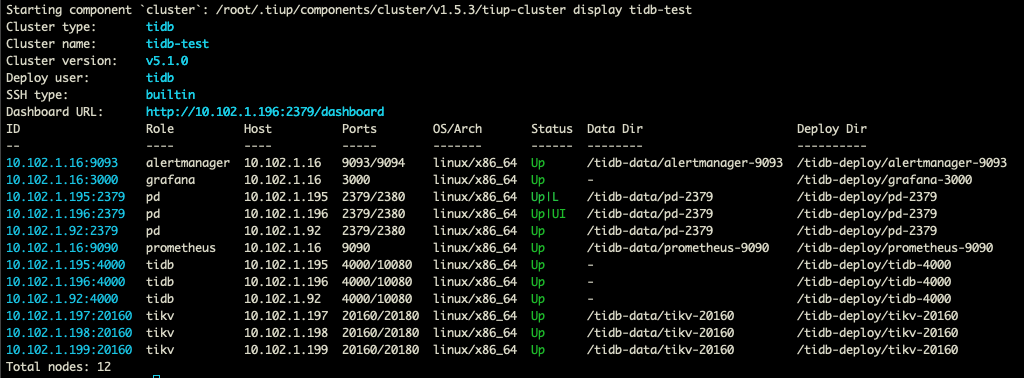
如圖所示,則TiDB就安裝完成了。
執行
tiup cluster deploy tidb-test ./topo.yaml --user root [-p] [-i /home/root/.ssh/gcp_rsa]
這邊要在 cluster-name 後面加上 tidb version