Hi,搭給賀,我是Charlie!
在Day01當中,我們安裝了所需的套件跟軟體,還做了版面。
接下來,我們要開啟新的專案,並且開始頁面規劃囉。
================================◉‿◉=================================
先建立兩個資料夾:backend & frontend。
在frontend的資料夾,檔案路徑列打上cmd進入命令提示字元,並在打開的命令提示字元中,打入:
$ npm install -g vue
此命令為安裝node module,通用為npm install [module name]。
而在node module的安裝中,又分為兩種形式:
全域安裝的話就是在每個地方都能使用,專案安裝的話就是僅在這個專案中可使用。
接下來安裝vue-cli:
$ npm install -g @vue/cli
安裝好後,我們利用vue-cli來建立專案:
$ vue create keyboardmarket
create之後先進入Vue CLI介面,先選擇Default([Vue 2] babel,eslint),並等待建立專案完成,出現這個畫面就代表初始化成功:
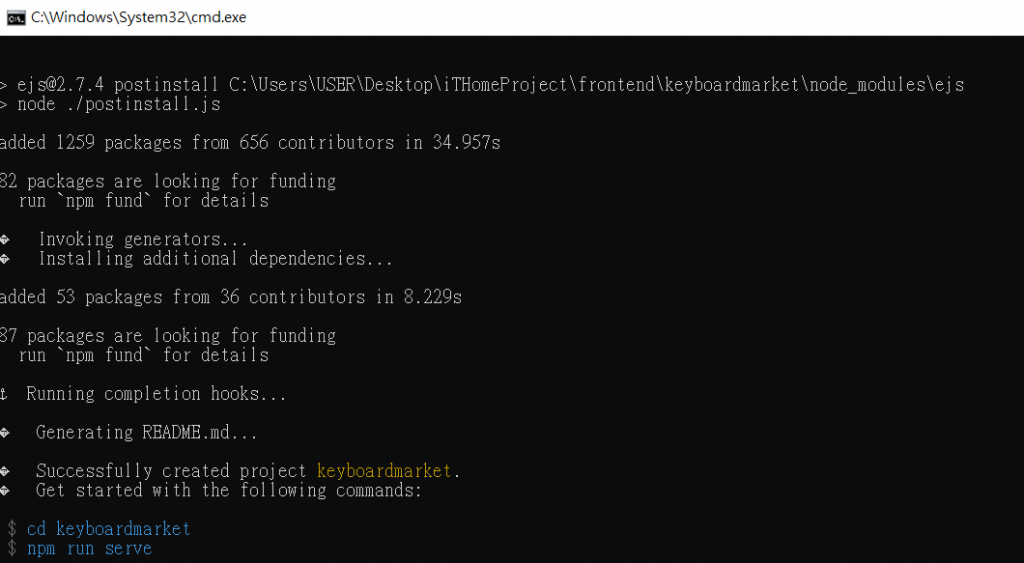
這個初始化成功包含了以下訊息:
此時到frontend中看,可以看到已經建立好的專案,我們進到專案資料夾,並試著啟動專案。
使用cd keyboardmarket進入到專案資料夾,打入以下指令:
$ npm run serve
出現這個畫面就代表運行成功囉: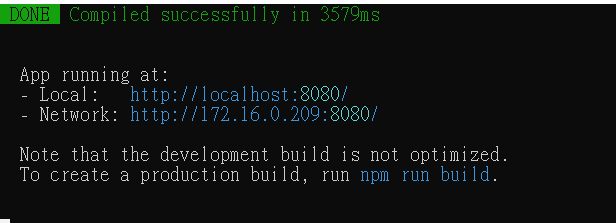
運行成功後打開瀏覽器輸入localhost:8080,可以看到此畫面: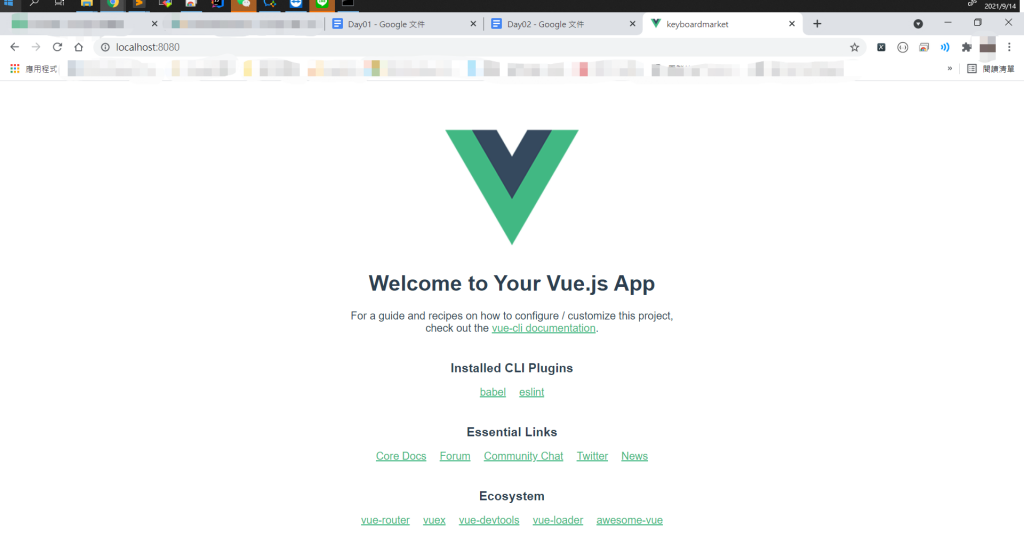
先在backend資料夾內打開cmd,並在cmd內打入:
$ django-admin startproject keyboardmarket
此命令是使用django-admin,也就是django預先安裝的套件,新增一個名為keyboardmarket的project。
生成完後,可以看到backend中出現了專案資料夾,打入以下的指令試著啟動專案:
$ python manage.py runserver
並在瀏覽器中輸入localhost:8000,出現這畫面的話就代表運行成功: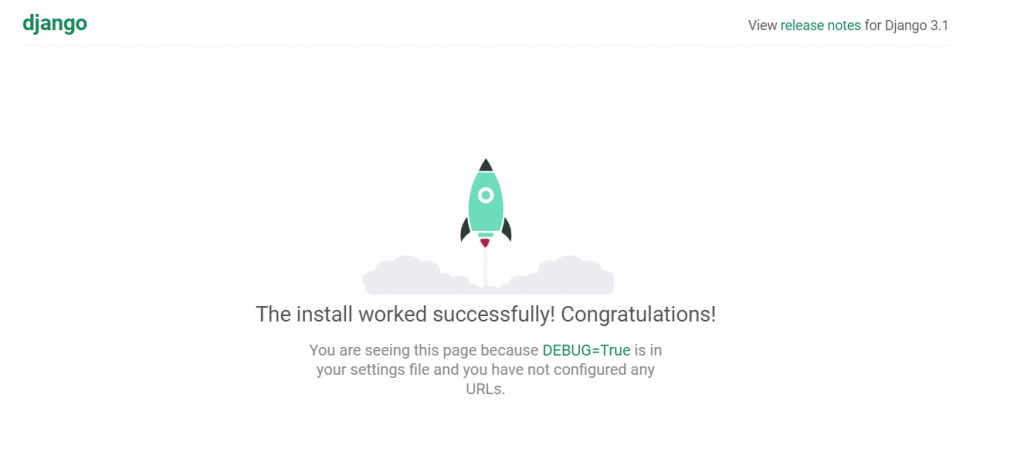
在使用bootstrap-vue之前,我們必須安裝另外一個套件:vue-router。
vue-router為路由器,功用是配置網站路由,例如我們URL中輸入:
localhost:8080/#/index
這時候配置的router就會把路徑導到index的組件。
由於我們使用的sublime text有Terminal Plugin,所以我們可以打開package.json文件,並在上方按右鍵 > Open Terminal Here,進入命令提示字元介面: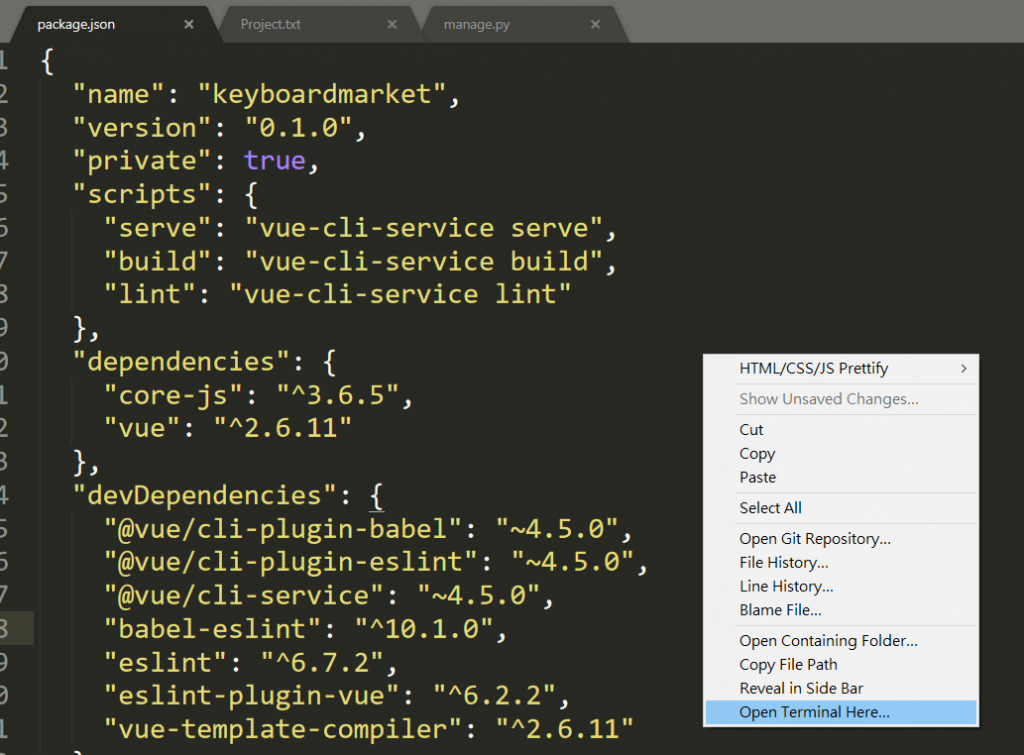
如果右鍵打開的是powershell,可以參考以下的文章修改:
https://packagecontrol.io/packages/Terminal
打開命令提示字元後,使用以下的指令安裝;
$ npm install --save vue-router
安裝完成後,我們必須先設定我們的專案使用vue-router,在專案中的src先新建一個router的資料夾,並在裡面新增index.js:
新增完後,打入下面的程式碼:
import Vue from 'vue'
import Router from 'vue-router'

// 讓vue可以正常使用Router套件
Vue.use(Router)

/*
新增routes常數列表,包含多個Map
每個Map包含不同的path
格式為:
{
  path:'URL路徑,例如index為/index',
  name:'Path名稱',
  component: 組件名稱,例如index的組件為indexPage.vue,就是引入並且填indexPage
}
*/
const routes = [
]

/*
新增Router物件,
base為基本路徑,
routes則為上面新增的常數路徑列表
*/
var router = new Router({
  routes
})

/*
預設index.js引入會返回router物件
*/
export default router


export default router
接著打開src\main.js,引入router並且使用:
import router from './router'

new Vue({
  render: h => h(App),
  router // 新增router到這邊
}).$mount('#app')
接著修改App.vue,讓router轉送的view可以顯示其中:
<template>
  <router-view></router-view>
</template>
接著我們試試看router,在routes中建立以下路徑:
import helloPage from '@/components/HelloWorld.vue'

const routes = [
  {
    path: "/hello",
    name: "helloPage",
    component: helloPage
  }
]
**** 注意! 在撰寫vue檔案的時候,請務必注意空格跟tab是否混用,以及縮牌是否正確 ****
新增完後,一樣使用npm run serve啟動專案,並且輸入localhost:8080/#/hello測試:
如果看到這個頁面,就代表router運行成功囉!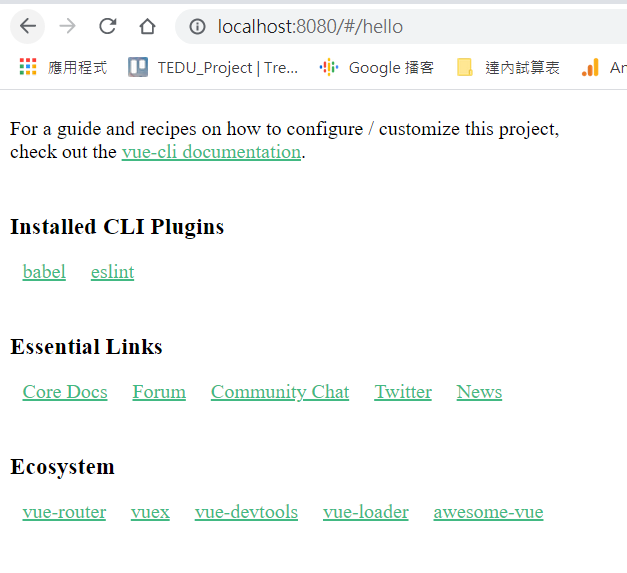
bootstrap-vue是bootstrap的vue版,裡面支持了很多bootstrap的組件,官網網址如下:
https://code.z01.com/bootstrap-vue/docs/
官網文檔可以從首頁的Doc進入,可以看到裡面Components的部分,裡面有很多可用的組件範例: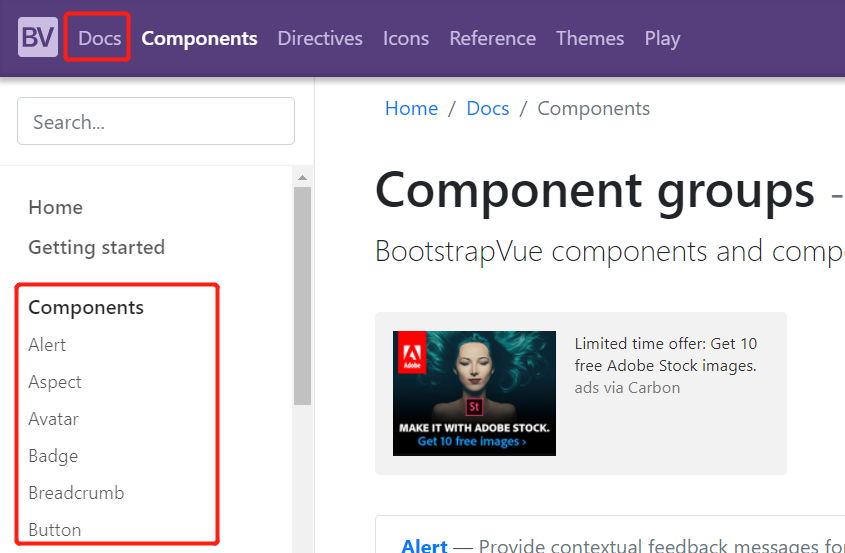
首先先安裝所需的套件,一樣到package.json所在資料夾,輸入以下指令安裝:
$ npm install --save bootstrap-vue
$ npm install --save bootstrap
安裝完後,在main.js當中新增程式碼,使用bootstrap-vue:
import { BootstrapVue } from 'bootstrap-vue'
import 'bootstrap/dist/css/bootstrap.css'
import 'bootstrap-vue/dist/bootstrap-vue.css'

Vue.use(BootstrapVue)
接著我們在components中新增indexPage.vue,新增以下程式碼:
<template>
	<div id="app">
		<h1>index</h1>
		<b-button variant="danger">Test Button</b-button>
	</div>
</template>

<script>
  export default{
    name:"indexPage",
    data(){
      return {
        isLogin: false
      }
    }
  }
</script>
並在routes中新增path:
  {
    path: "/index",
    name: "indexPage",
    component: indexPage
  }
因為Vue.js支援熱重啟,所以直接前往localhost:8080/#/index,看到以下結果就成功囉: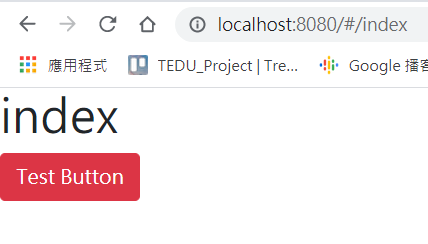
在此,會發現無論是title還是ico,都是vue預設的。
為了要使用自己的ico(Hatchful下載的圖示裡面有)跟title,必須修改一些程式碼。
首先是title:
在routes裡面新增meta屬性:
  {
    path: "/index",
    name: "indexPage",
    component: indexPage,
    meta: {
      title: '首頁'
    }
  }
接著設定routes在進入路徑前,載入title屬性:
router.beforeEach((to,from,next) => {
  if(to.meta.title){
    document.title = to.meta.title
  }
  next()
})
接著我們在template當中新增link icon語句,並且用html包起全部語句:
<template>
	<html lang="zh-Hant-TW">
		<link rel="icon" type="image/x-con" href="@/assets/favicon.ico">
		<div id="app">
			<b-button varient="danger">button test</b-button>
		</div>
	</html>
</template>
重新運行過後,就可以看到favico跟title都正確了:
而bootstrap-vue我們主要會使用到navbar、carousel、Table、form等組件,還有boostrap當中最為重要的Grid-System。
另外在此推薦一個iconhub,這裡面可以下載svg icon,這個專案中的icon很多也是這裡下載的:
https://iconhub.io/
最後完成了首頁,還有專案架構: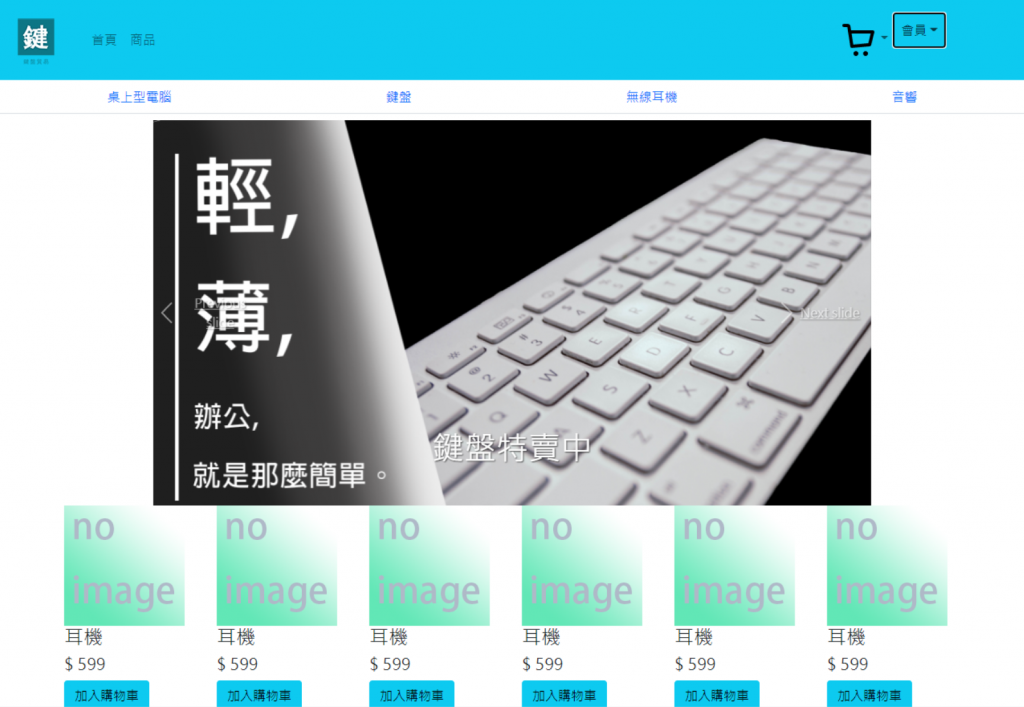
================================◉‿◉=================================
Day02到這邊結束,在Day02當中,我們完成了首頁,然後把整個專案都建立起來了。在Day03當中,我們將繼續刻畫頁面,See ya next day!
