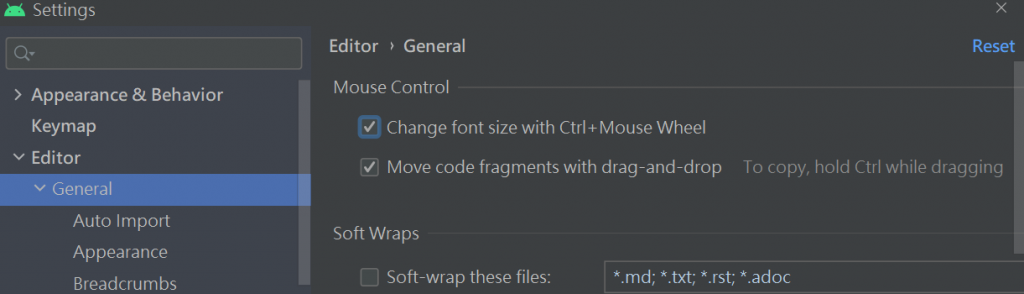
2021/01/15再用https://developer.android.com/studio
的最新版本 再寫一次~
margin邊界
padding內距
gravity 對齊-置中
text
textview 只能看不能輸入(結帳結果)
plain text 輸入框(文字+數字)
password(Numeric)輸入框(數字)
要有綁定才不會顯示紅色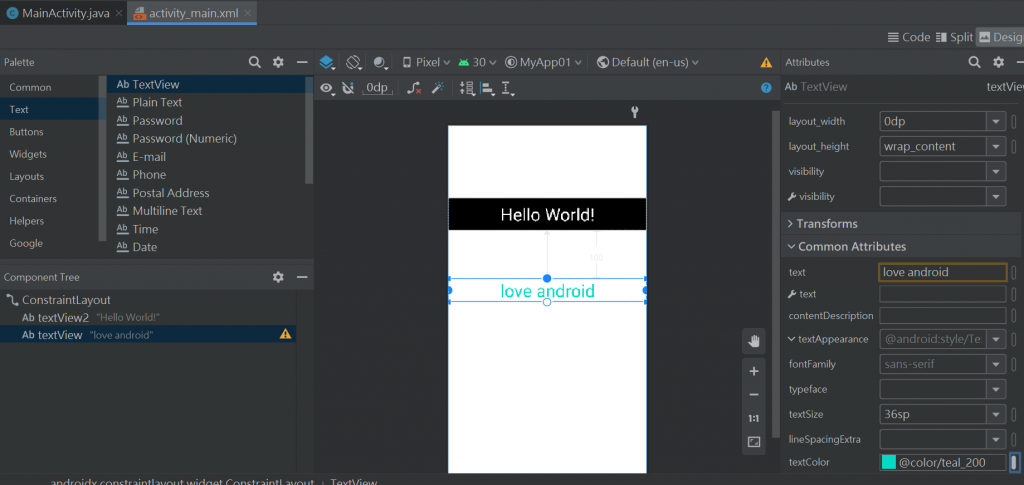
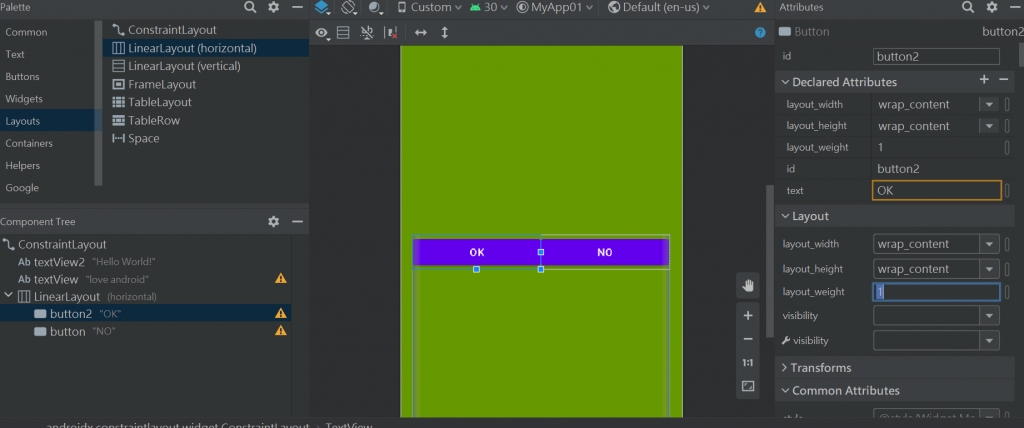
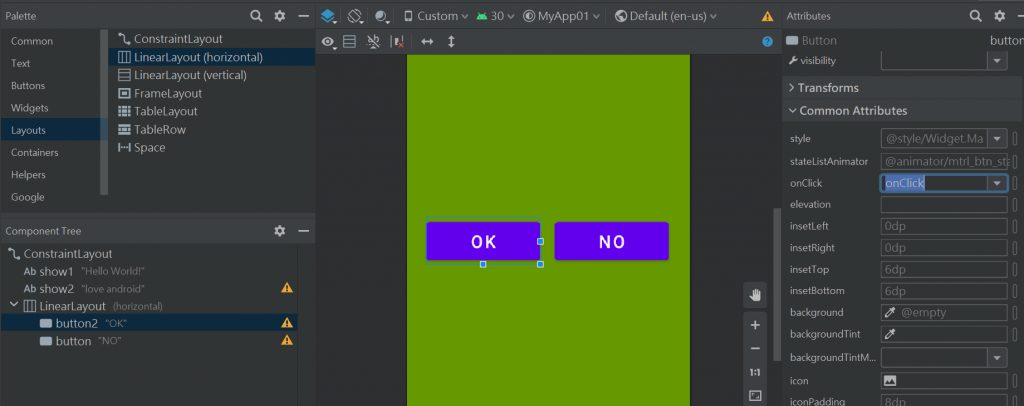
Layouts容器-LinerLayout(horizonal)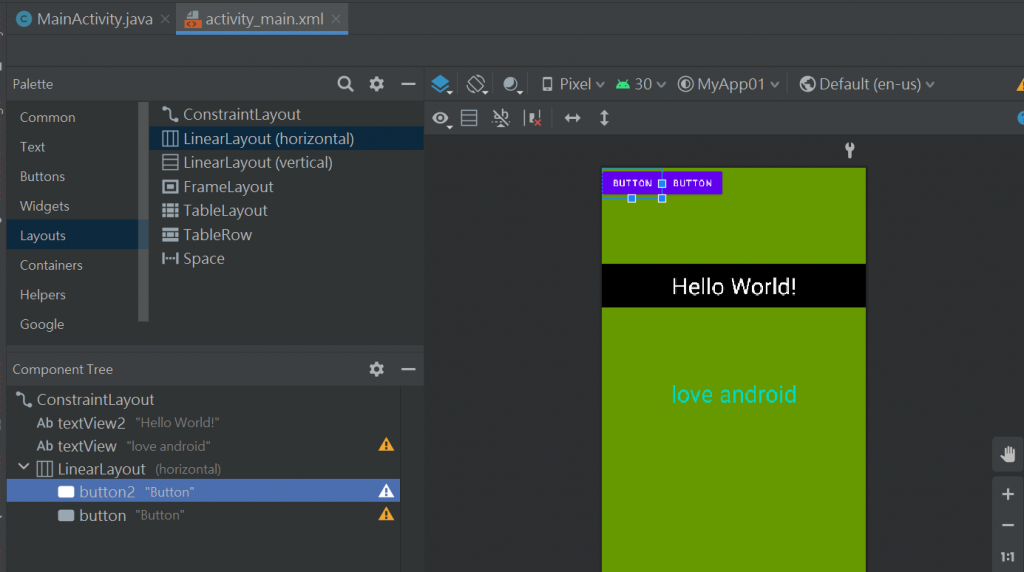
layout_wight是比例:按兩個按鈕是1:1
button的內距-layout_margin
比例10dp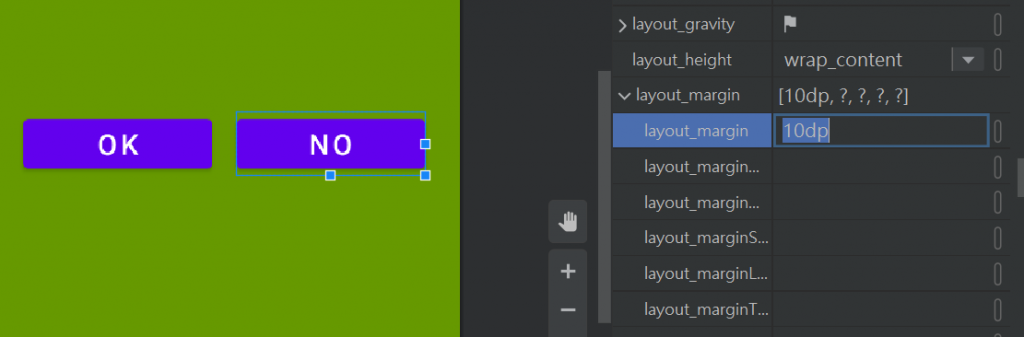

讓按鈕動起來的2種辦法:(要滾瓜爛熟)
1.(xml)對按鈕綁定屬性onClick
2.(java)找"No"設定偵聽器
SOP:
id就是變數
1-改顯示id為show1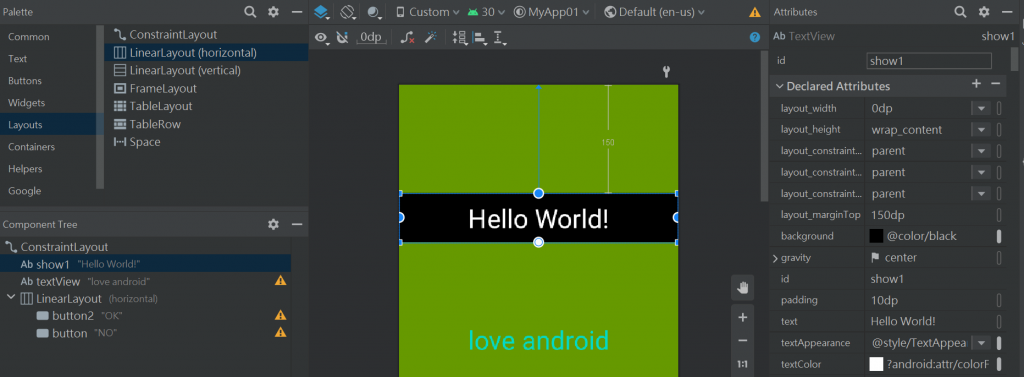
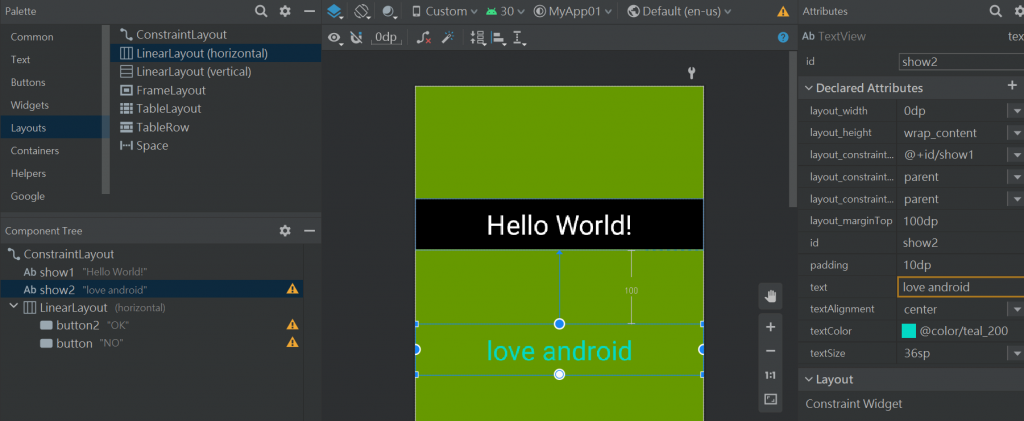
2-改顯示id為show2
3-button找到onClick然後裡面也是寫onClick
4-到XML檔-燈點-Create 'onClick(View)' in 'MainActivity'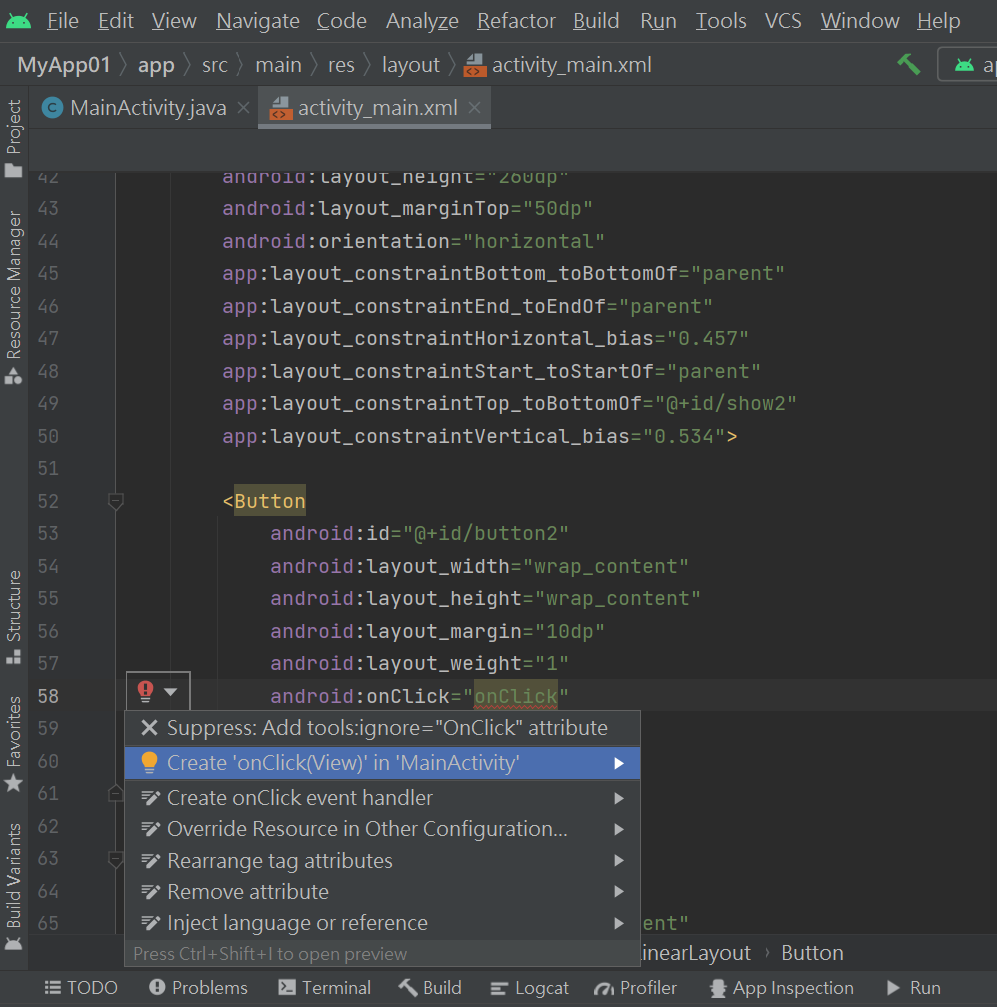
5-點了會跳到.java檔
alt+enter 也可以出現燈泡-燈點-Create 'onClick(View)' in 'MainActivity'
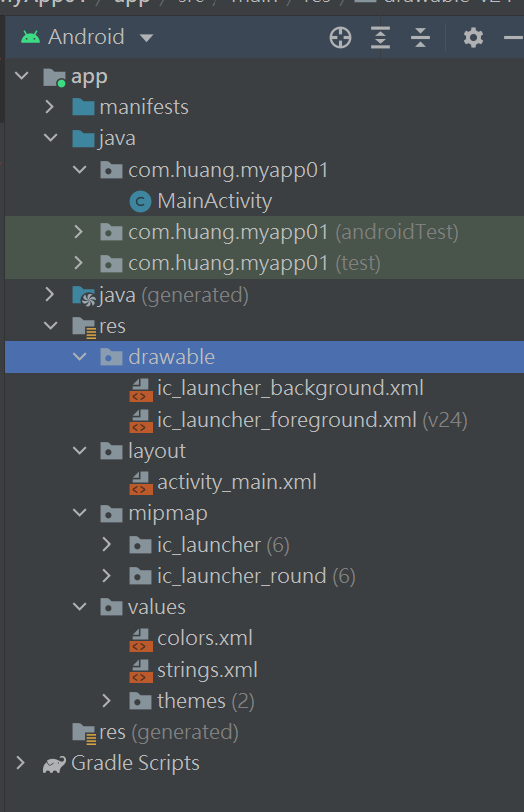
package com.huang.myapp01;

import androidx.appcompat.app.AppCompatActivity;

import android.os.Bundle;
import android.view.View;

public class MainActivity extends AppCompatActivity {

    @Override
    protected void onCreate(Bundle savedInstanceState) {
        super.onCreate(savedInstanceState);
        setContentView(R.layout.activity_main);
    }

    public void onClick(View view) {
    }
}
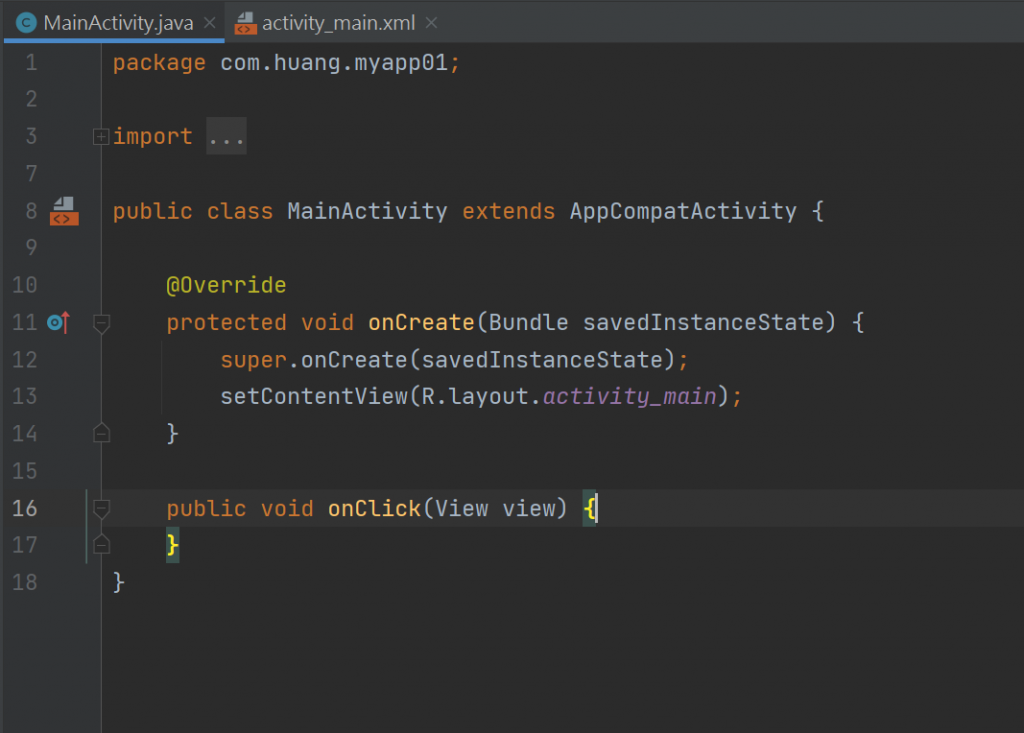
就不會有反紅問題
因為有加入..這裡就是綁好的按紐:
public void onClick(View view) {
    }
6- java檔
宣告元件變數
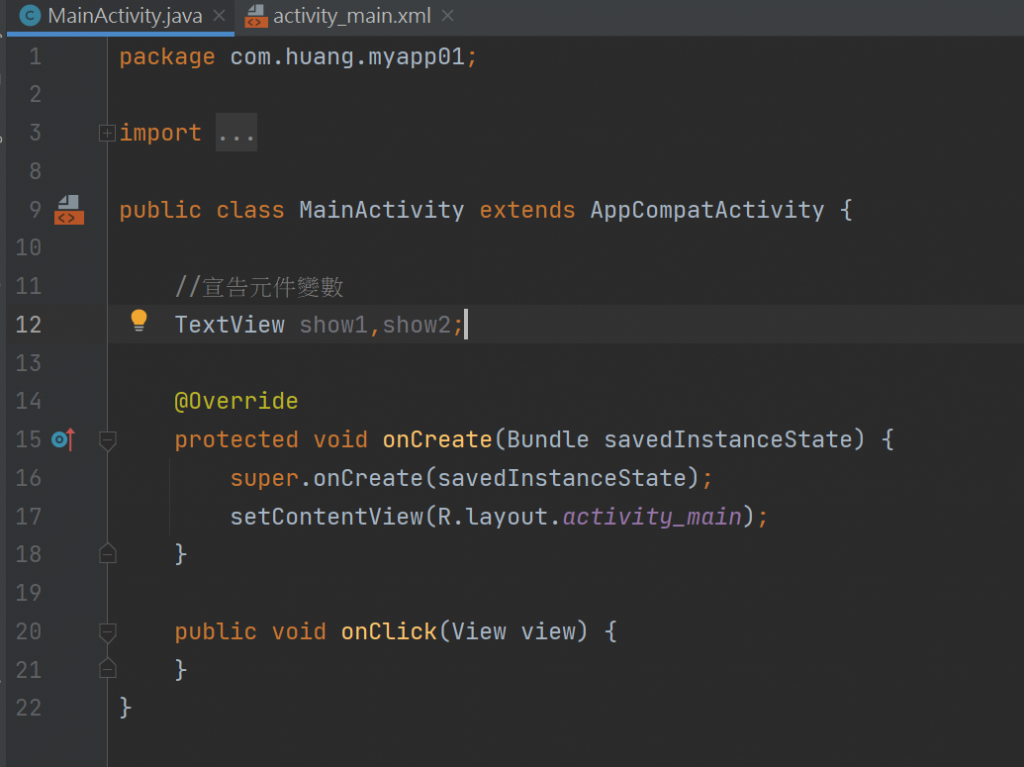
按alt+enter選 import class
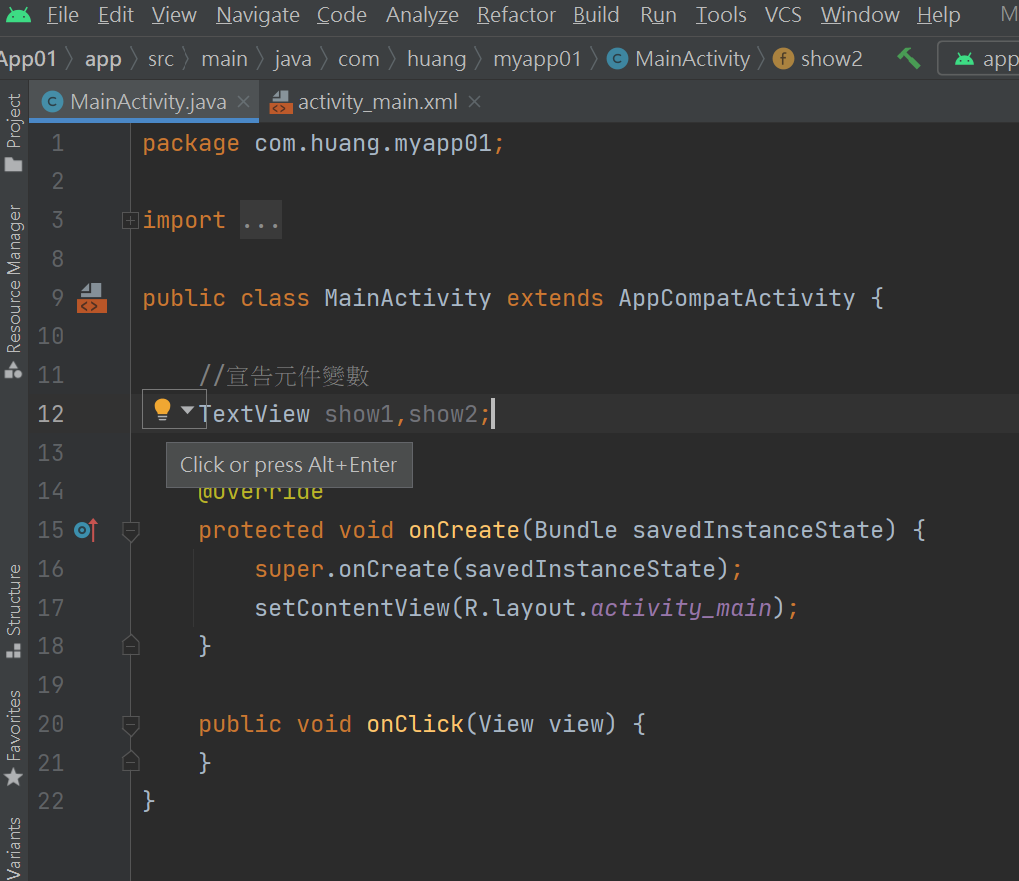
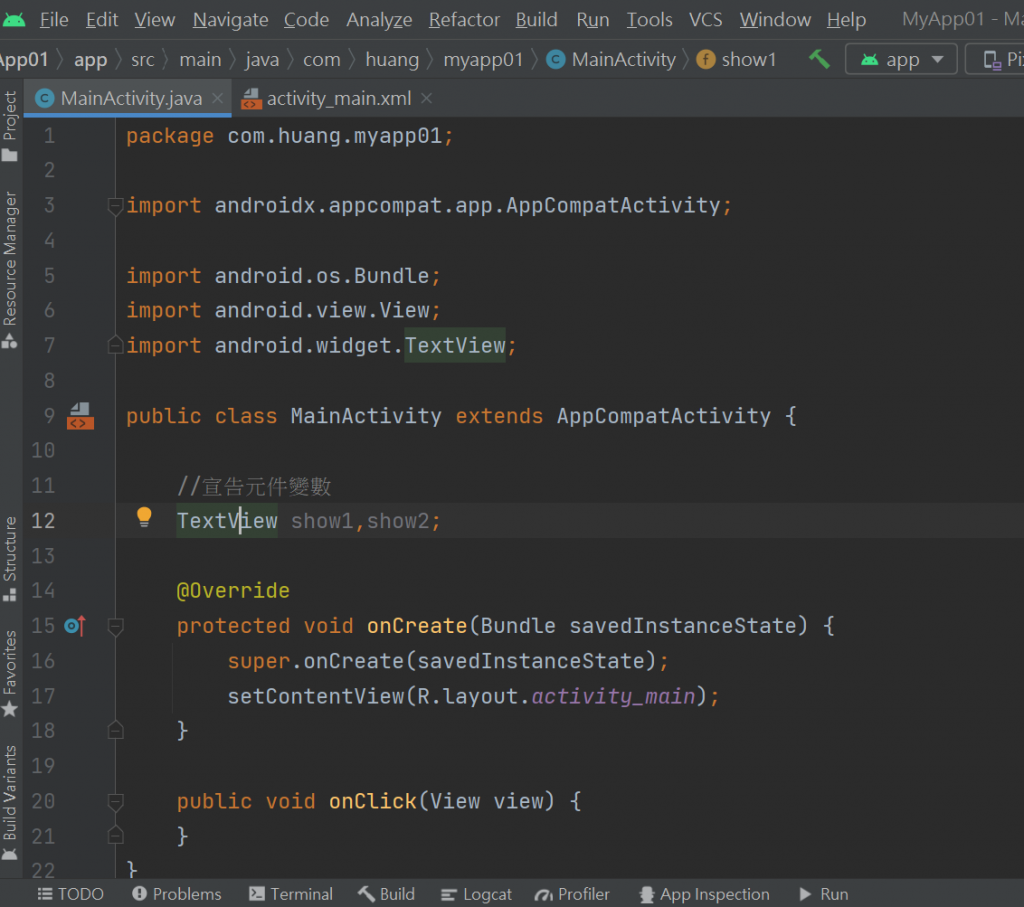
7-變數宣告
//初始化元件
        show1 = findViewById(R.id.show1);
        show2 = findViewById(R.id.show2);
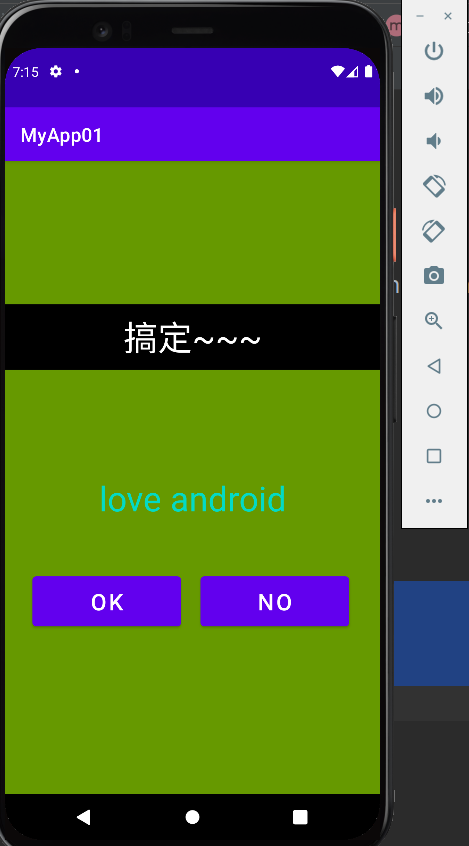
8-定義按鈕按下去會顯示
//按鈕1綁定onClick屬性
public void onClick(View view) {
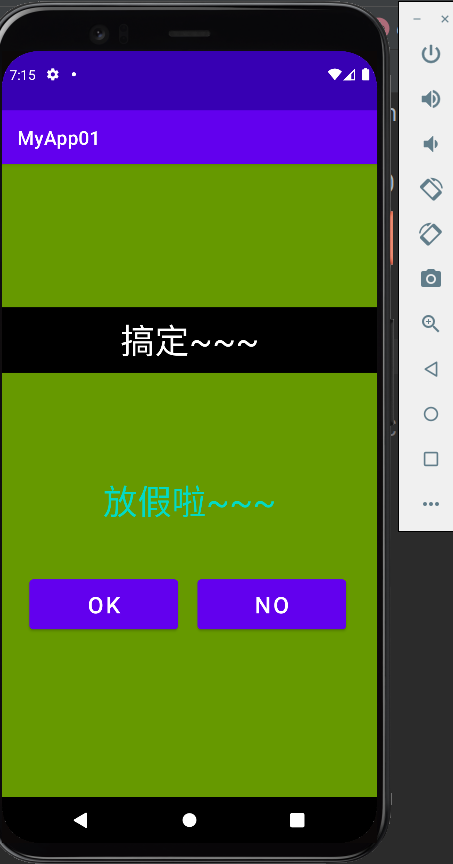
show1.setText("搞定~~~");
}
9-OK按鈕會動
package com.huang.myapp01;

import androidx.appcompat.app.AppCompatActivity;

import android.os.Bundle;
import android.view.View;
import android.widget.TextView;

public class MainActivity extends AppCompatActivity {

    //宣告元件變數
    TextView show1,show2;

    @Override
    protected void onCreate(Bundle savedInstanceState) {
        super.onCreate(savedInstanceState);
        setContentView(R.layout.activity_main);

        //初始化元件
        show1 = findViewById(R.id.show1);
        show2 = findViewById(R.id.show2);

    }
    //按鈕1綁定onClick屬性
    public void onClick(View view) {
        show1.setText("搞定~~~");
    }
}
10-NO按鍵用java檔操作變數名稱button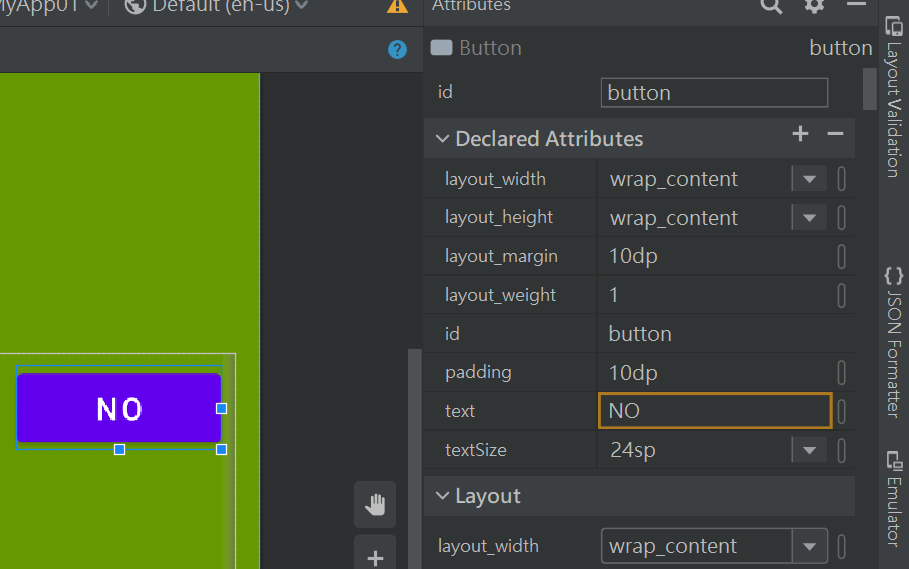
package com.huang.myapp01;

import androidx.appcompat.app.AppCompatActivity;

import android.os.Bundle;
import android.view.View;
import android.widget.Button;
import android.widget.TextView;

public class MainActivity extends AppCompatActivity {

    //宣告元件變數
    TextView show1,show2;
    Button button;

    @Override
    protected void onCreate(Bundle savedInstanceState) {
        super.onCreate(savedInstanceState);
        setContentView(R.layout.activity_main);

        //初始化元件
        show1 = findViewById(R.id.show1);
        show2 = findViewById(R.id.show2);
        button =findViewById(R.id.button);

    }
    //按鈕1綁定onClick屬性
    public void onClick(View view) {
        show1.setText("搞定~~~");
    }
}
11-加增聽器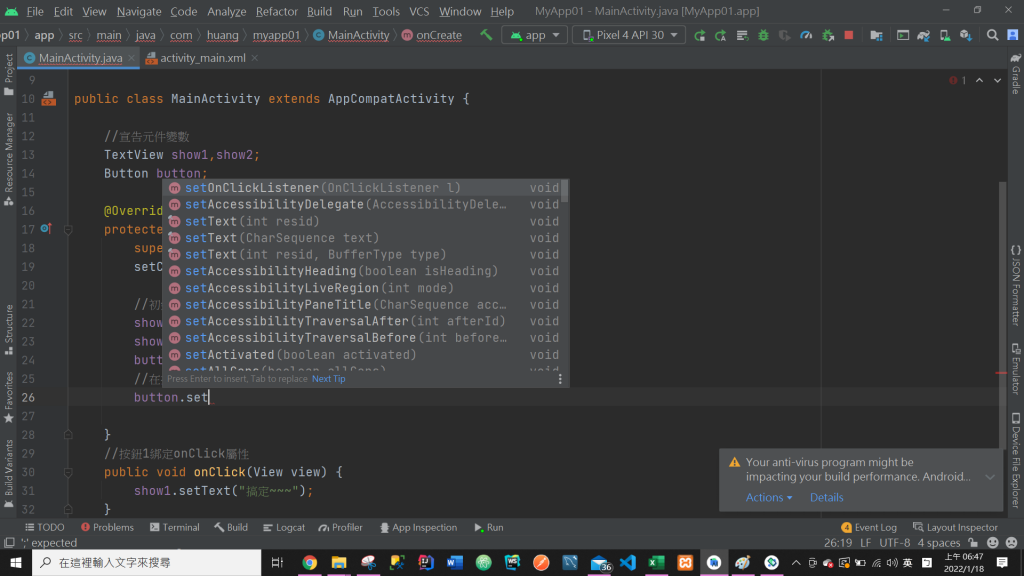
12-加增聽器-要用選的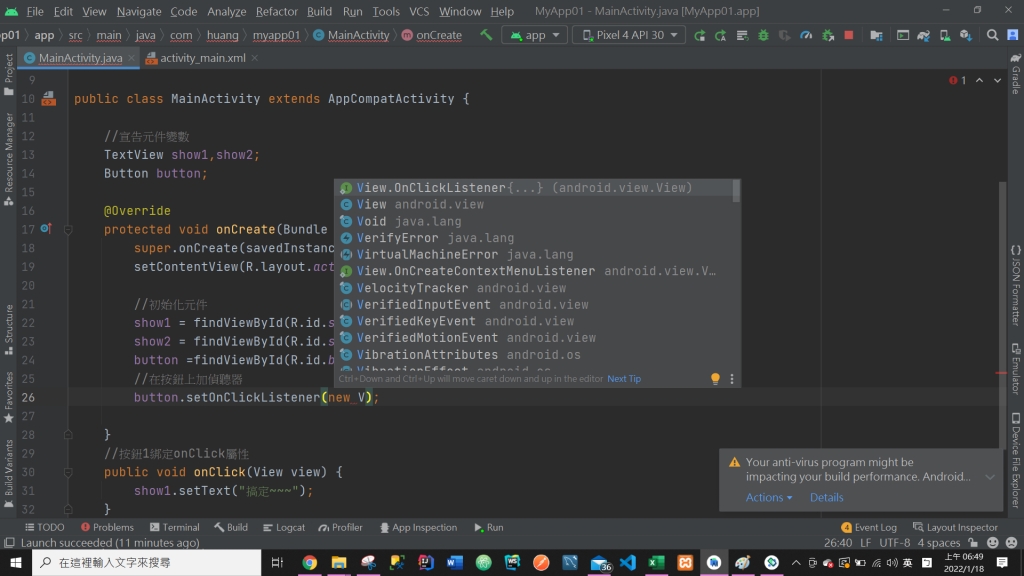
button.setOnClickListener(new View.OnClickListener() {
            @Override
            public void onClick(View v) {

            }
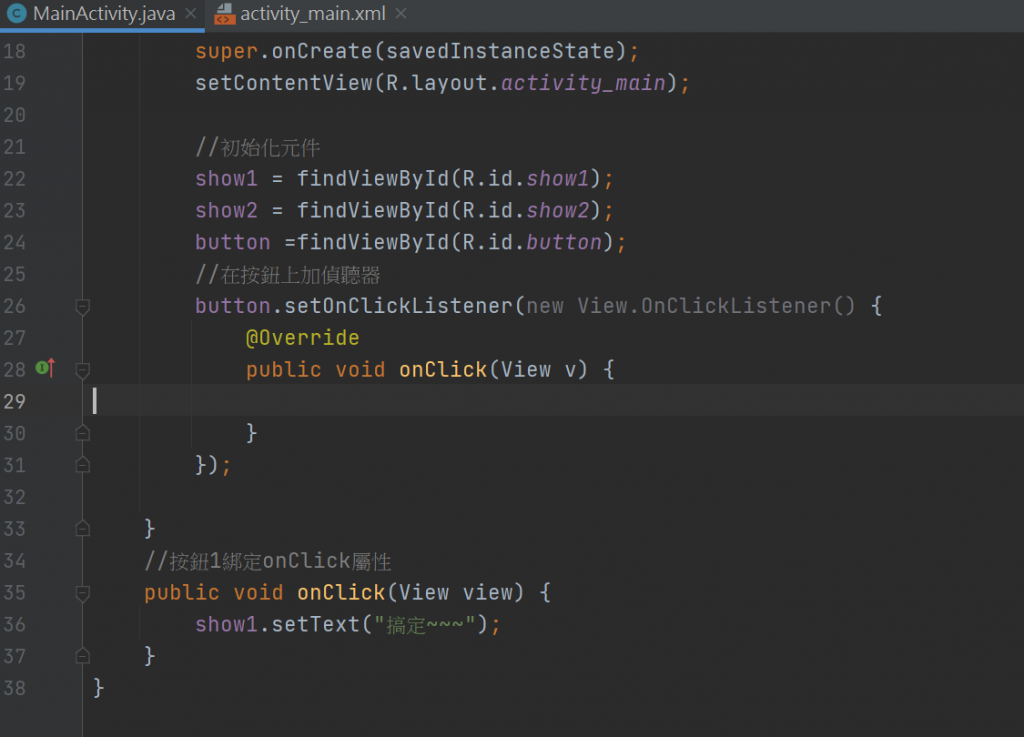
13-增加按鈕動作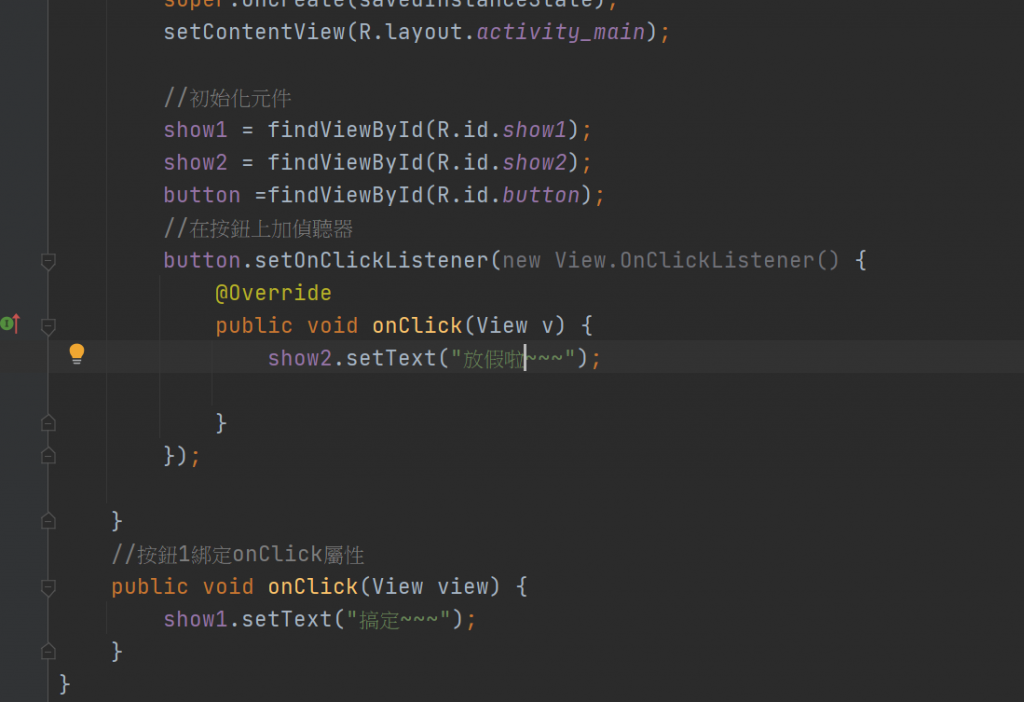
package com.huang.myapp01;

import androidx.appcompat.app.AppCompatActivity;

import android.os.Bundle;
import android.view.View;
import android.widget.Button;
import android.widget.TextView;

public class MainActivity extends AppCompatActivity {

    //宣告元件變數
    TextView show1,show2;
    Button button;

    @Override
    protected void onCreate(Bundle savedInstanceState) {
        super.onCreate(savedInstanceState);
        setContentView(R.layout.activity_main);

        //初始化元件
        show1 = findViewById(R.id.show1);
        show2 = findViewById(R.id.show2);
        button =findViewById(R.id.button);
        //在按鈕上加偵聽器
        button.setOnClickListener(new View.OnClickListener() {
            @Override
            public void onClick(View v) {
                show2.setText("放假啦~~~");

            }
        });

    }
    //按鈕1綁定onClick屬性
    public void onClick(View view) {
        show1.setText("搞定~~~");
    }
}

package com.huang.myapp01;

import androidx.appcompat.app.AppCompatActivity;

import android.os.Bundle;
import android.view.View;
import android.widget.TextView;

public class MainActivity extends AppCompatActivity {

    //宣告元件變數
    TextView show1,show2;

    @Override
    protected void onCreate(Bundle savedInstanceState) {
        super.onCreate(savedInstanceState);
        setContentView(R.layout.activity_main);
    }

    public void onClick(View view) {
    }
}
7-
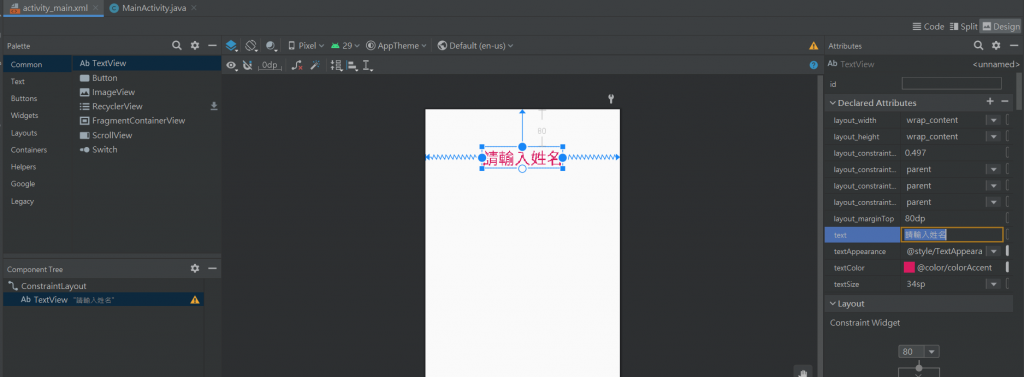
在design上面看到的黃色!還可以運行..紅色!不行代表錯誤
這次之前舊的版本寫出調查表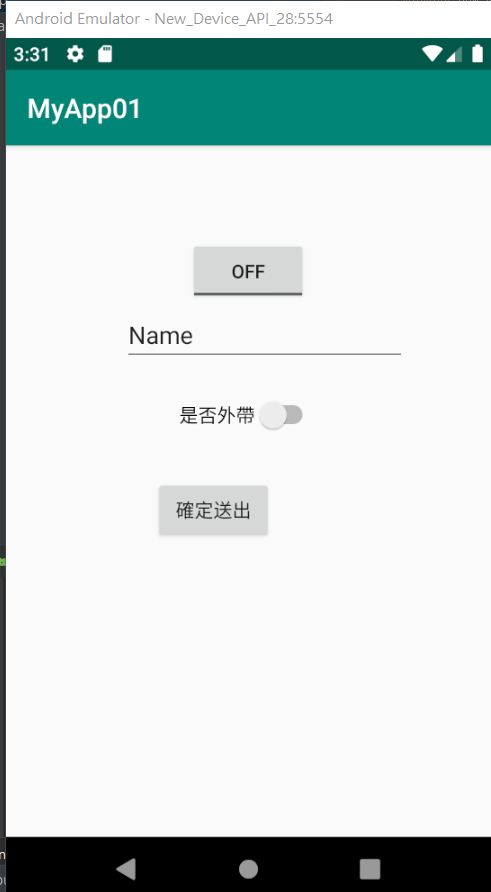
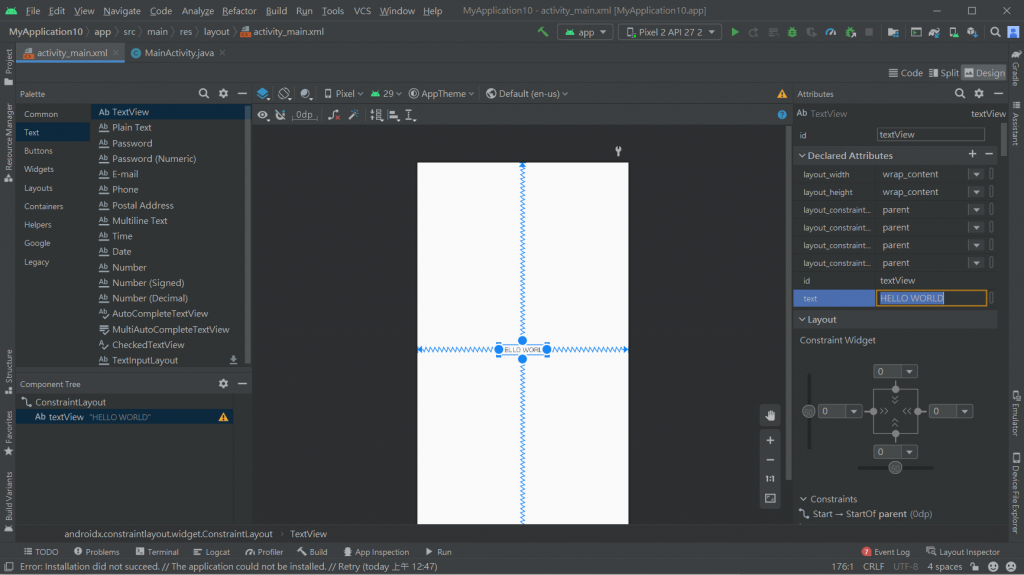
id是被定義屬性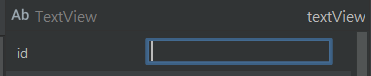
wrap_content=內容多大就佔多大
我們很常在拖拉完物件之後都會看到旁邊有一個小的黃色驚嘆號,為什麼會有這個驚嘆號?該怎麼消掉呢?
可以參考這篇https://www.ruyut.com/2018/12/android-studio-String.html
這個黃色驚嘆號代表你的字串沒有設定在@String資源中
覺得最重要的就是字要變大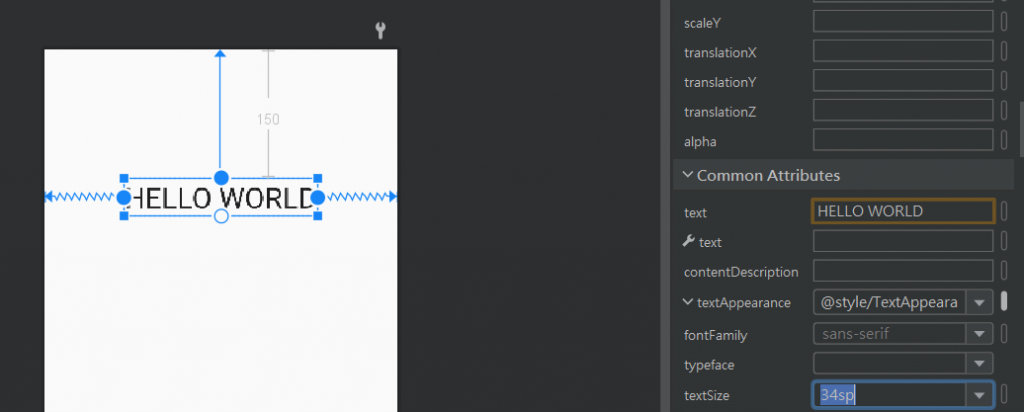
覺得最重要的就是顏色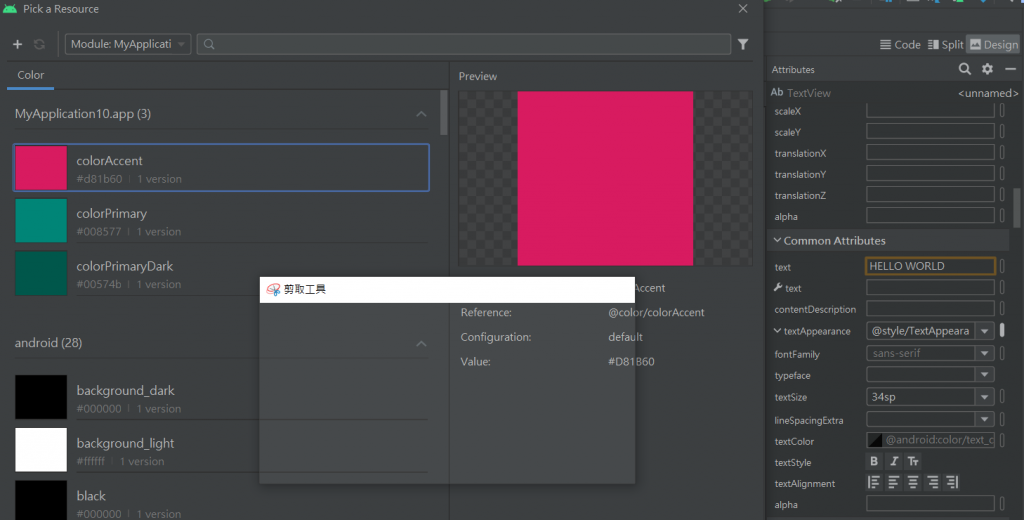
textcolor就是顏色的部分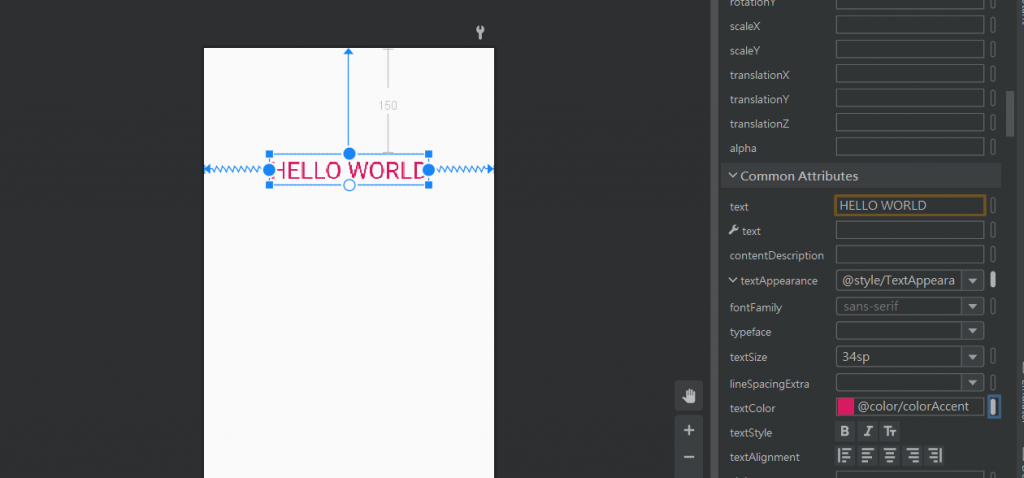
再來是邊界padding分別顯示的是上/下/左/右
來真的寫程式碼:
由上到下~
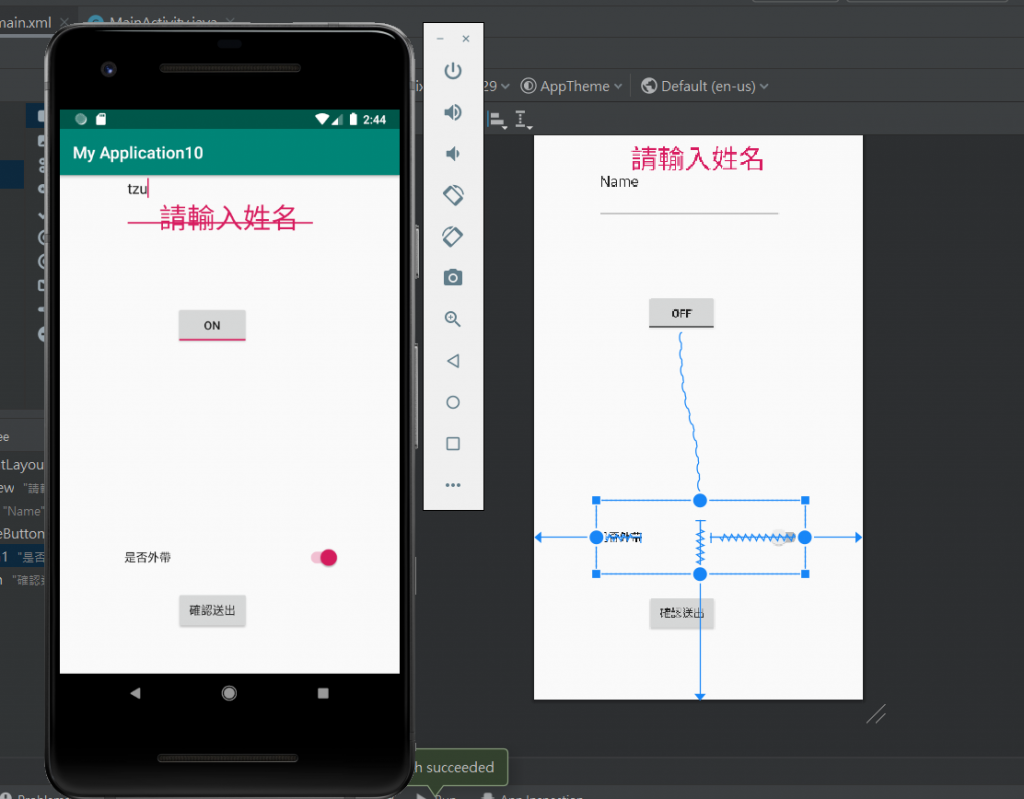
放入可以打字的文字是選-Plain Text
推薦一個舊版的教學網址..可是不是中文QQ-https://www.youtube.com/watch?v=V0AETAjxqLI
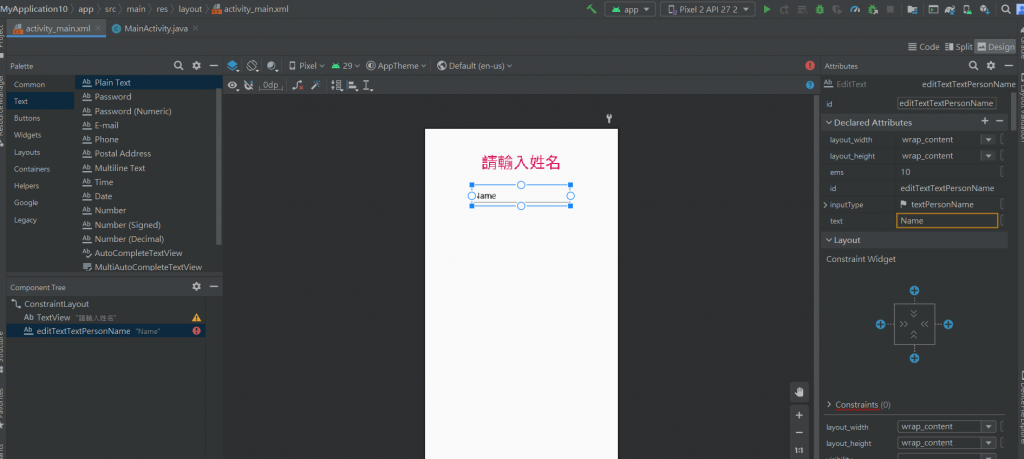
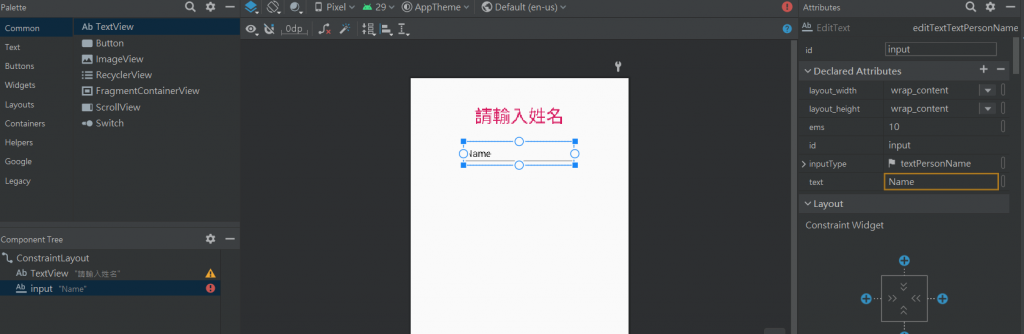
id命名一下~input
增加按鈕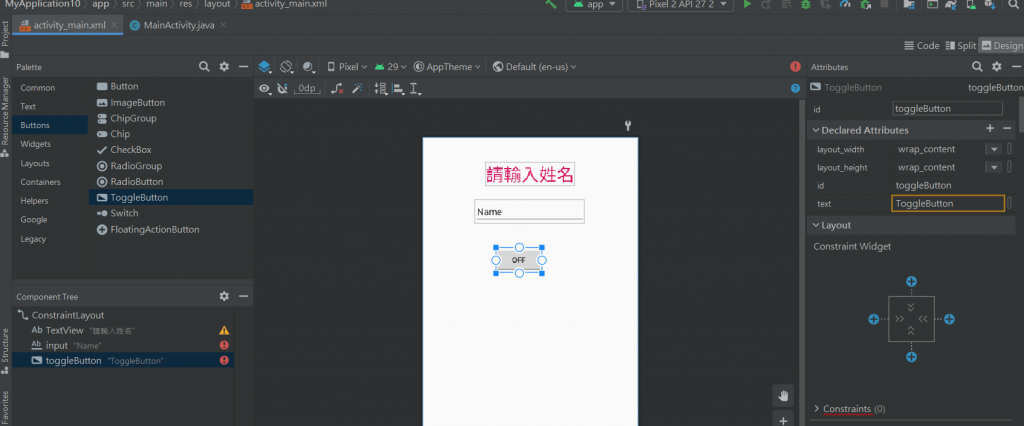
增加swith -像是一個開關
可以參考連結-https://www.runoob.com/w3cnote/android-tutorial-togglebutton-switch.html
要確認四邊至少要有一邊有綁-不然就會像模擬器這樣跑掉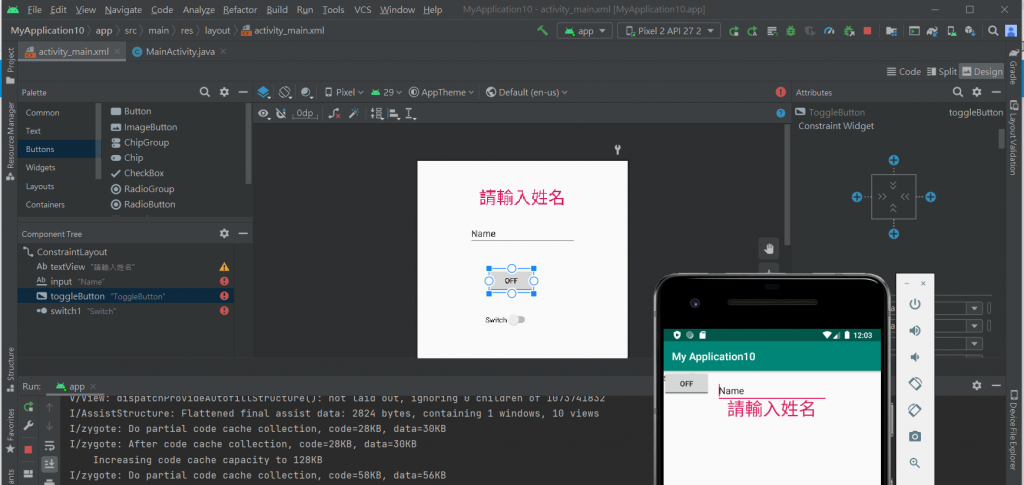
結果調一調反而是input不好綁定0.0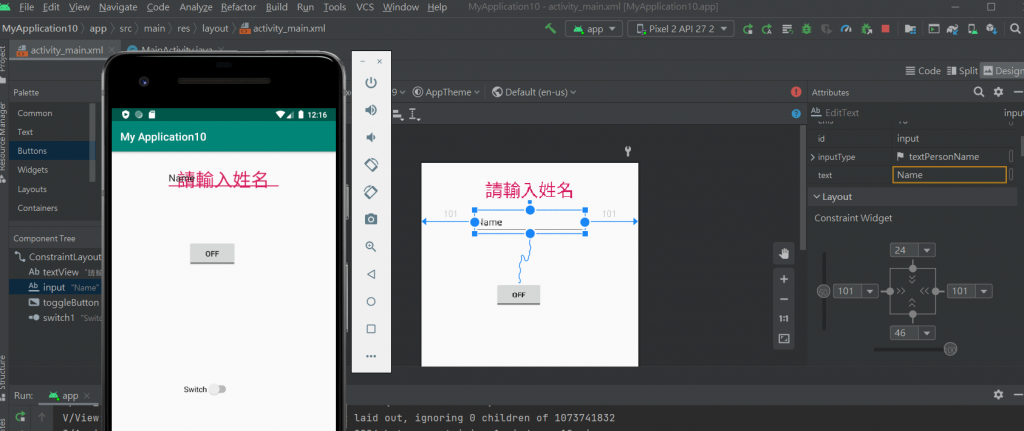
後來發現他是寫框太小..然後就解決所有反紅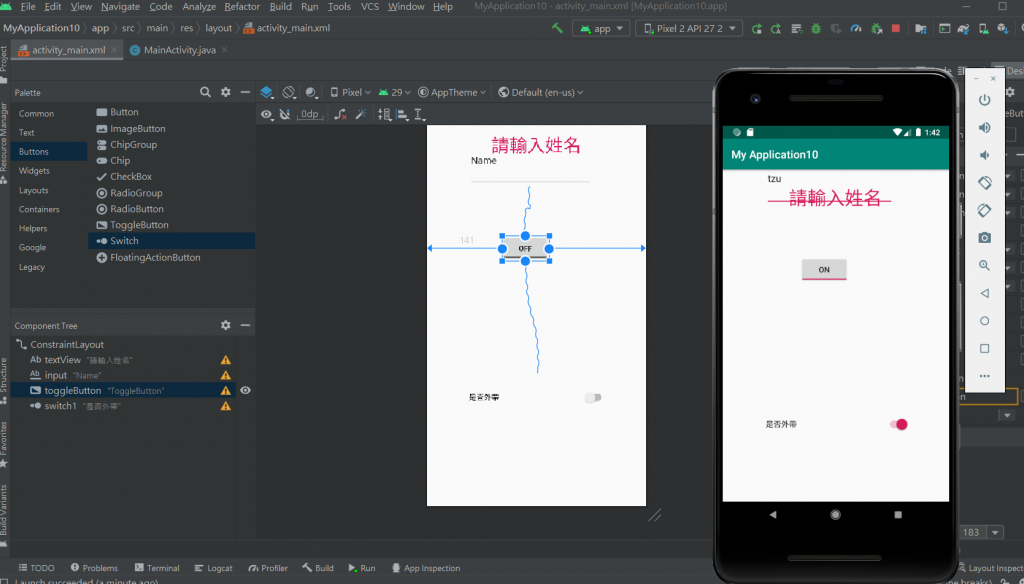
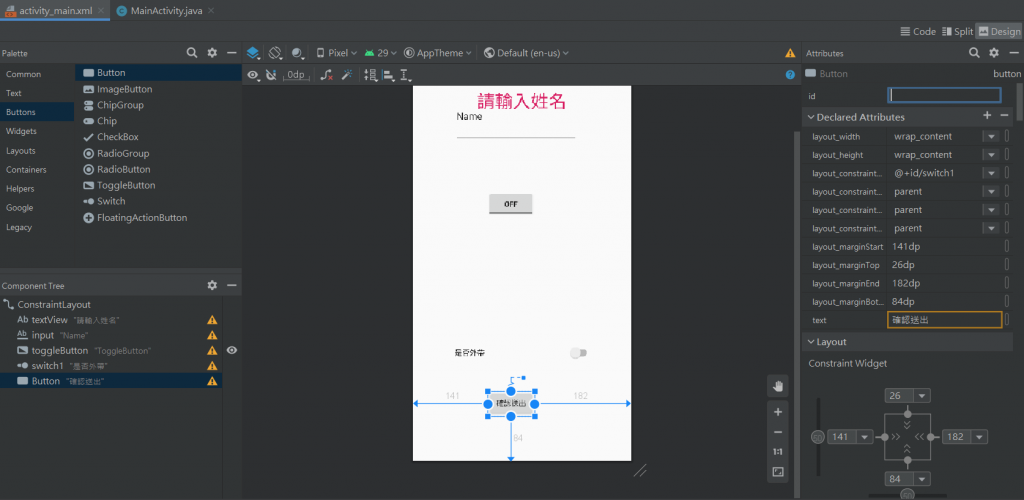
再來加入button-沒有綁定ID
來寫程式碼: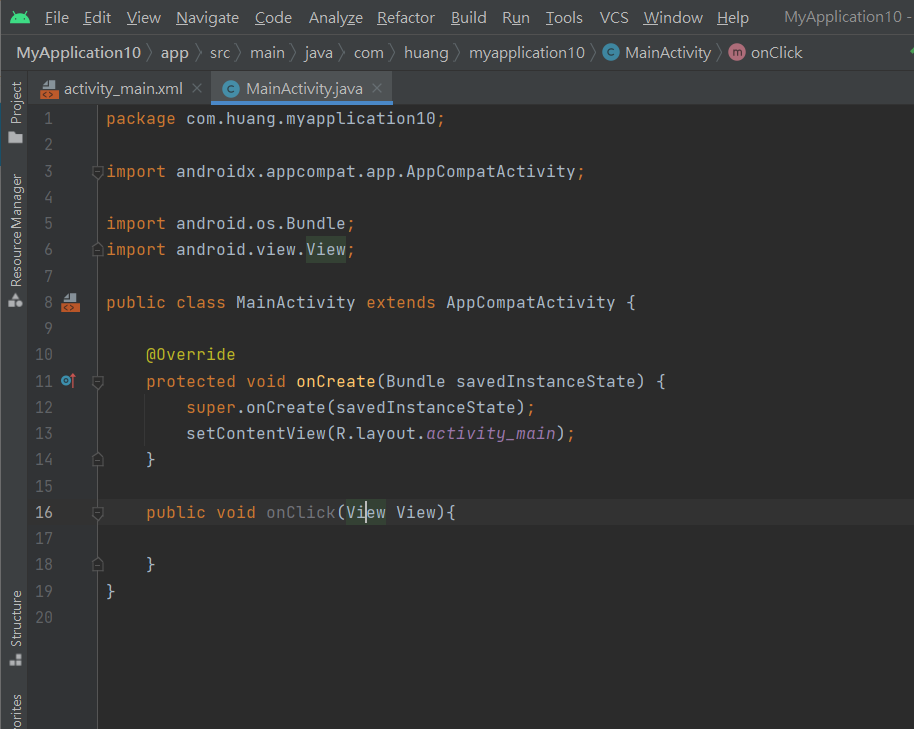
package com.huang.myapplication10;

import androidx.appcompat.app.AppCompatActivity;

import android.os.Bundle;
import android.view.View;

public class MainActivity extends AppCompatActivity {

    @Override
    protected void onCreate(Bundle savedInstanceState) {
        super.onCreate(savedInstanceState);
        setContentView(R.layout.activity_main);
    }

    public void onClick(View View){

    }
}
再來把按鍵內的程式碼寫入:
package com.huang.myapplication10;

import androidx.appcompat.app.AppCompatActivity;

import android.os.Bundle;
import android.view.View;
import android.widget.CompoundButton;
import android.widget.EditText;
import android.widget.Switch;
import android.widget.Toast;
import android.widget.ToggleButton;

public class MainActivity extends AppCompatActivity {

    EditText input;
    ToggleButton toggleButton;
    Switch switch1;


    @Override
    protected void onCreate(Bundle savedInstanceState) {
        super.onCreate(savedInstanceState);
        setContentView(R.layout.activity_main);

        input=findViewById(R.id.input);
        toggleButton=findViewById(R.id.toggleButton);
        switch1=findViewById(R.id.switch1);


        toggleButton.setOnCheckedChangeListener(new CompoundButton.OnCheckedChangeListener() {
            @Override
            public void onCheckedChanged(CompoundButton buttonView, boolean isChecked) {

                if(isChecked){
                    Toast.makeText(MainActivity.this,"OK",Toast.LENGTH_SHORT).show();
                }
                else {Toast.makeText(MainActivity.this,"NO",Toast.LENGTH_SHORT).show();
                }
            }
        });

        switch1.setOnCheckedChangeListener(new CompoundButton.OnCheckedChangeListener() {
            @Override
            public void onCheckedChanged(CompoundButton buttonView, boolean isChecked) {
                if(isChecked){
                    Toast.makeText(MainActivity.this,"OK",Toast.LENGTH_SHORT).show();
                }
                else {Toast.makeText(MainActivity.this,"NO",Toast.LENGTH_SHORT).show();
                }

            }
        });
    }

    public void onClick(View View){

    }
}
package name 不要有example不然會不能上架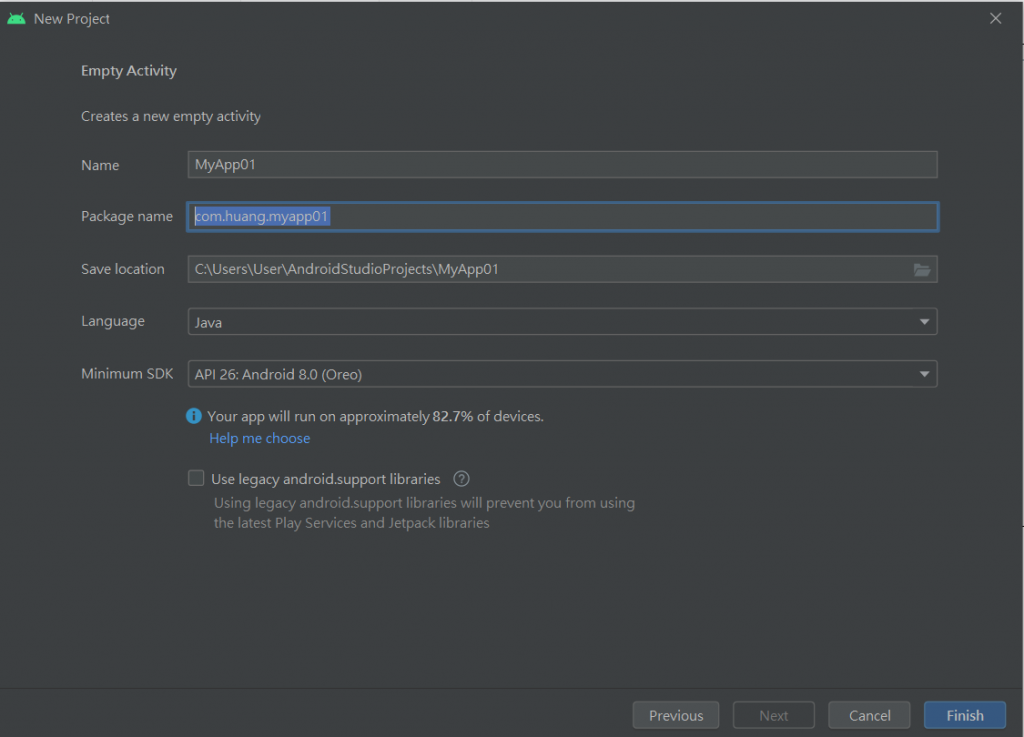
要求手機最低的版本要26以上.80幾%的人可以用
要把環境設好--才不會做的很痛苦QQ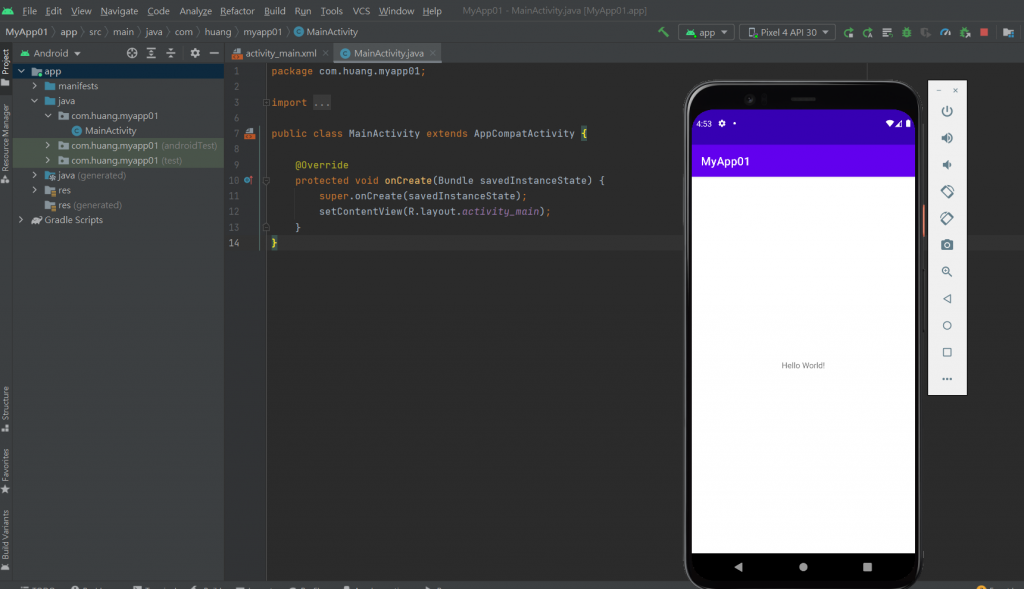
模擬器不能編輯:
在app上按右鍵-Open Module Settings
--Dependenceies--app--把1.4.0--改成1.3.1
配合滾輪V