今天要來了解上一篇的各個步驟
1.創建資料類別
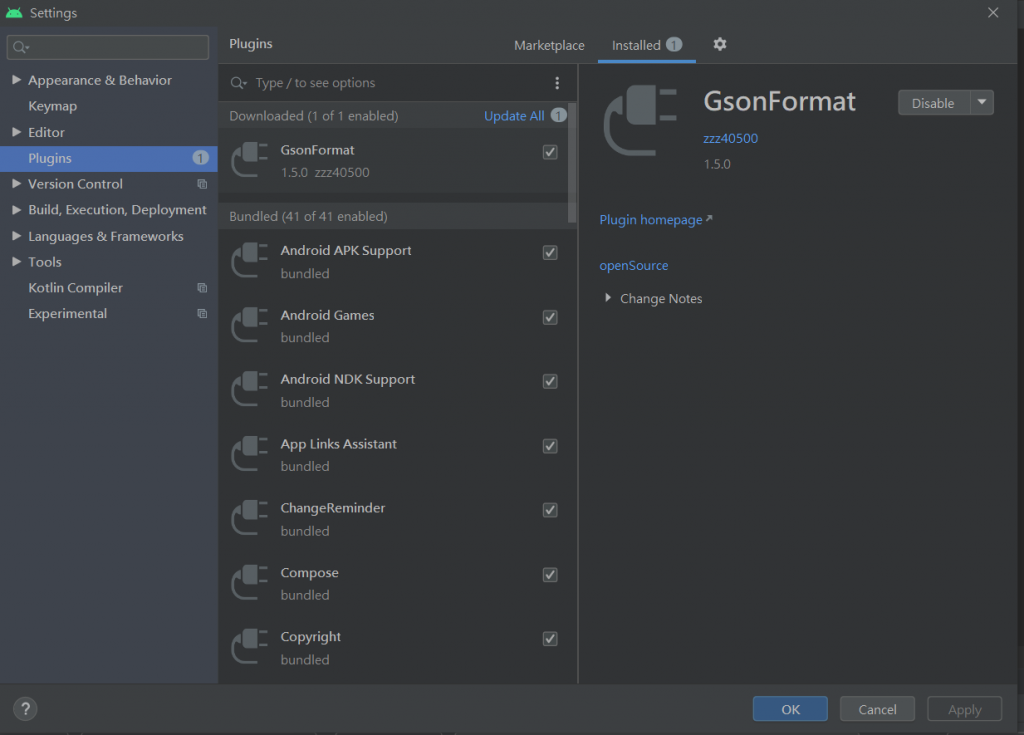
有個快速生成data class的插件,可以從File->setting->Plugins->搜尋GsonFormat並install,install完後重啟Android Studio
創個新的class,右鍵 Generate->Gsonformat,把gson資料貼上去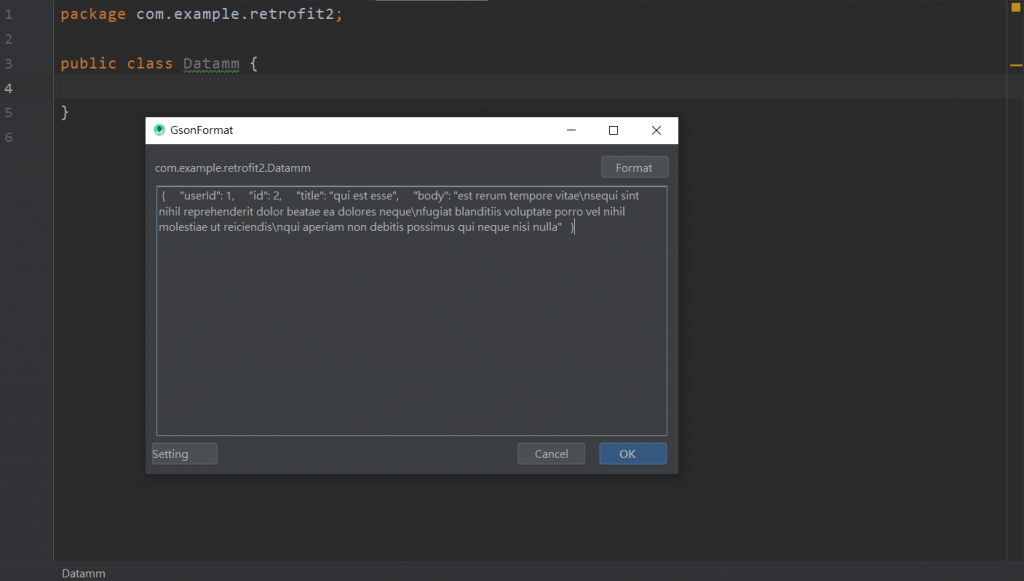
按下ok後,可以修改其資料型態、變數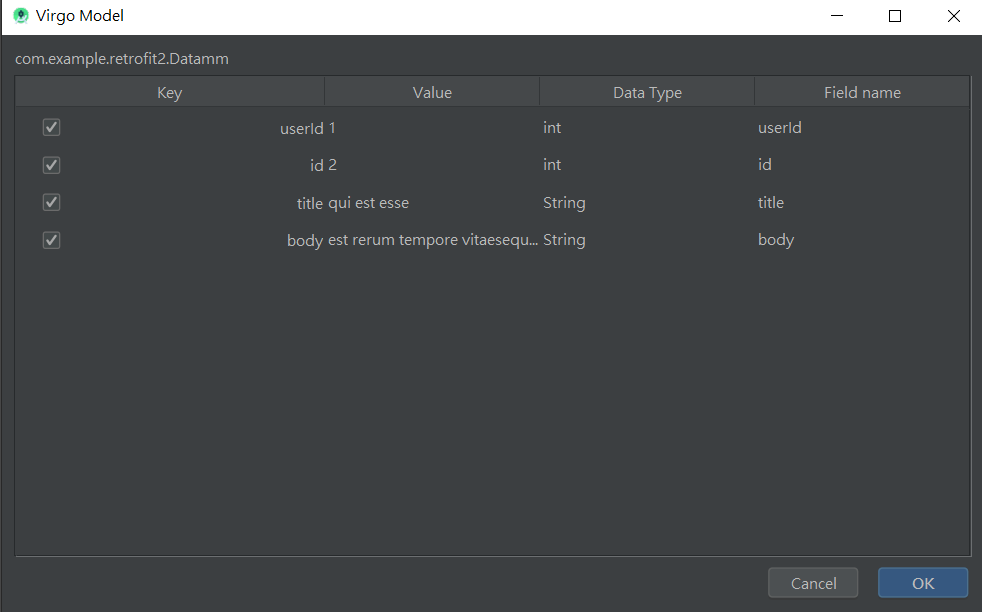
按下ok後,會生成對應的data class
public class Datamm {

    /**
     * userId : 1
     * id : 1
     * title : sunt aut facere repellat provident occaecati excepturi optio reprehenderit
     * body : quia et suscipit
     suscipit recusandae consequuntur expedita et cum
     reprehenderit molestiae ut ut quas totam
     nostrum rerum est autem sunt rem eveniet architecto
     */

    private int userId;
    private int id;
    private String title;
    private String body;

    public int getUserId() {
        return userId;
    }

    public void setUserId(int userId) {
        this.userId = userId;
    }

    public int getId() {
        return id;
    }

    public void setId(int id) {
        this.id = id;
    }

    public String getTitle() {
        return title;
    }

    public void setTitle(String title) {
        this.title = title;
    }

    public String getBody() {
        return body;
    }

    public void setBody(String body) {
        this.body = body;
    }
}
當然也可以自己手打啦,首先設定對應gson格式的data
public class Datamm {
    private int userId;
    private int id;
    private String title;
    private String body;
}
然後按右鍵Generate->getter and setter,全部選取後按下Ok,也會出現跟上面一樣的data class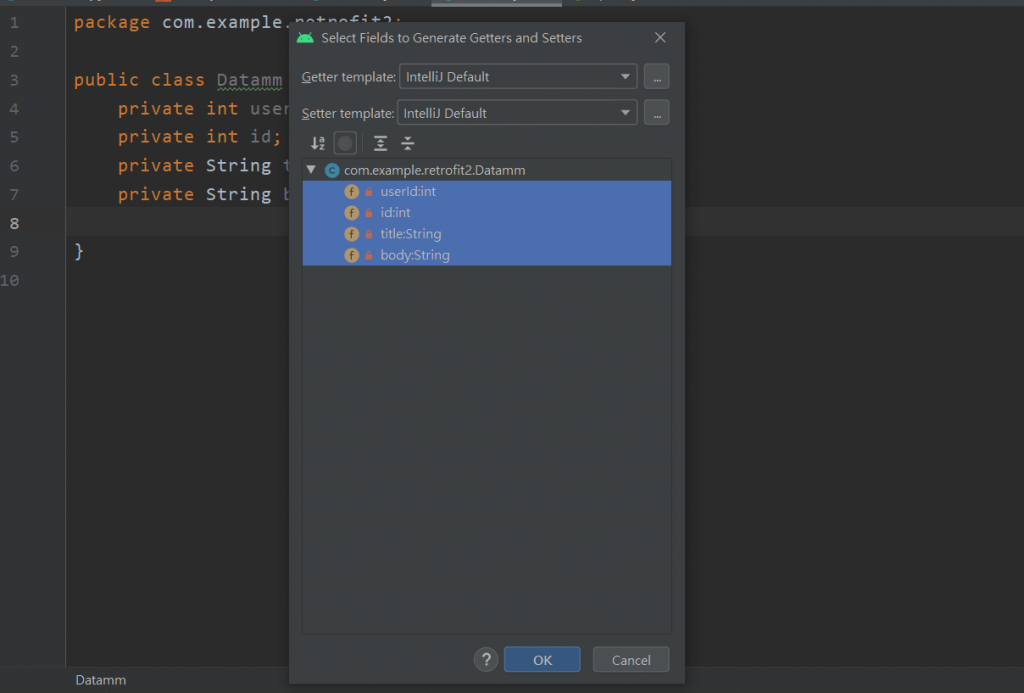
建立retrofit
Retrofit retrofit=new Retrofit.Builder()
                .baseUrl("https://jsonplaceholder.typicode.com/") //連接你要的uri
                .addConverterFactory(GsonConverterFactory.create()) //gson解析
                .build();
interface
@GET
    @GET("posts")
    Call<DataItem> getPosts();

    @GET("posts/{id}") //可以用@Path將新的參數帶入{}
    Call<DataItem> getPosts(@Path("id") int id);
@POST
    @POST("posts") // @Body表示要傳送Body資料
    Call<DataItem> getPosts(@Body Posts posts);
@PUT
    @PUT("posts")
    Call<DataItem> getPosts();
@DELETE
    @DELETE("posts")
    Call<DataItem> getPosts();
最後使用enqueue進行異步操作的請求
 ApiGet apiGet =retrofit.create(ApiGet.class);
        Call<DataItem> call =apiGet.getPosts(); //呼叫call連線服務

        call.enqueue(new Callback<DataItem>() { //透過 Callback 來等待回傳成功或失敗的資料
            @Override
            public void onResponse(Call<DataItem> call, Response<DataItem> response) {
                Log.d("API", "id: " + response.body().getId());
                Log.d("API", "User Id: " + response.body().getUserId());
                Log.d("API", "Title: " + response.body().getTitle());
                Log.d("API", "Text: " + response.body().getText());
            }

            @Override
            public void onFailure(Call<DataItem> call, Throwable t) {
                Log.d("API", "fail");
            }
        });
這樣就完成了


 iThome鐵人賽