昨天已經將 addAlarmTableViewCell 在 addAlarmTableView 中註冊完畢了,
今天要試著實作 Delegate & DataSource,讓他可以正常顯示。
首先,需要知道該TableView要由哪個ViewController使用,因此我們必須在addAlarmViewController實作加入以下程式碼,
表示 addAlarmTableView 要由 addAlarmViewController實作:
// addAlarmTableView 的 delegate 由目前的ViewController實作
self.addAlarmTableView.delegate = self
// addAlarmTableView 的  由目前的ViewController實作
self.addAlarmTableView.dataSource = self
這時候Xcode會跳出錯誤:
這個錯誤意思是,addAlarmTableView 已經知道會由 addAlarmViewController 使用了,
但是 addAlarmViewController 並沒有遵守 TableView Delegate & DataSource 的協議,
Q:那要如何遵守協議呢?
A:
加完後就代表addAlarmViewcontroller已經遵守這兩個協議了
class AddAlarmViewController: UIViewController, UITableViewDelegate, UITableViewDataSource

這個錯誤的意思是:您已遵守協議,但協議中有必須實作的Function或是變數,
此時只要按下錯誤中的「Fix」按鈕,就會將必須實作的Function或是變數Show出來了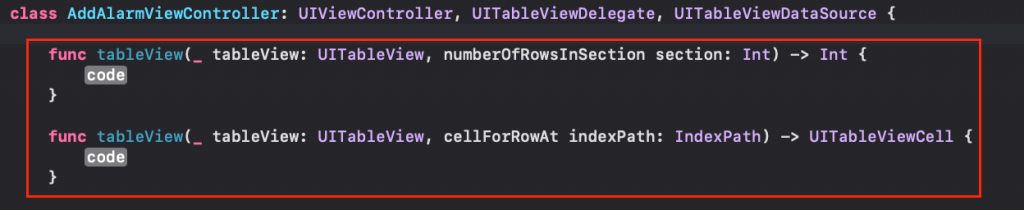
首先可以看到第一個Function:「numberOfRowsInSection」
這個Function的功能是:一個Section內要顯示幾個Cell?
參考一下IPhone的鬧鐘介面: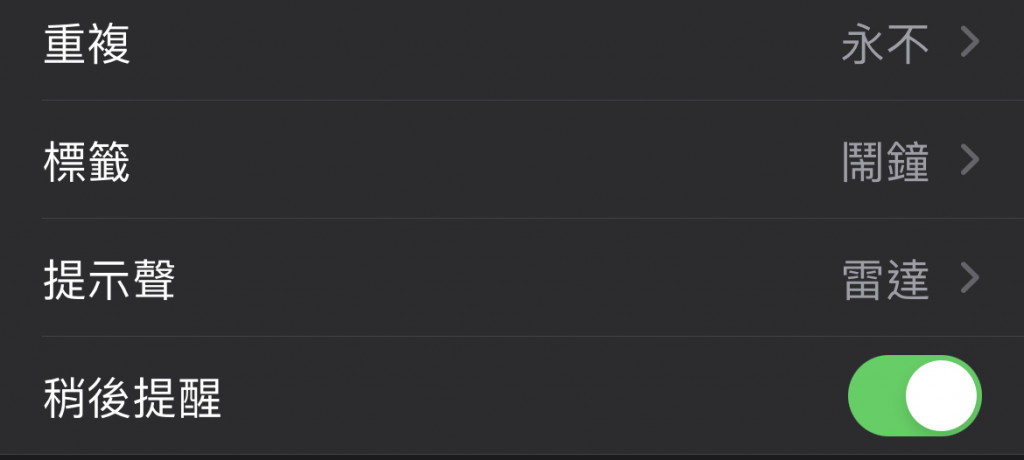
那這次我們總共只需要顯示4個就好,因此可以先將要顯示的title跟Details給寫成一個陣列:
let addAlarmTitles = ["重複","標籤","提示聲","重複提醒"]
var addAlarmDetails = ["永不","鬧鐘","雷達"]
之後在「numberOfRowsInSection」內加上以下程式碼:
func tableView(_ tableView: UITableView, numberOfRowsInSection section: Int) -> Int {
        return addAlarmTitles.count
    }
接著實作第二個Functilon:「cellForRowAt」
這個Function的功能是:給個Cell要顯示什麼內容?
因此在裡面加上以下程式碼:
func tableView(_ tableView: UITableView, cellForRowAt indexPath: IndexPath) -> UITableViewCell {
        // 告知TableView要使用哪個Cell
        guard let cell = tableView.dequeueReusableCell(withIdentifier: addAlarmContentTableViewCell.identifier, for: indexPath) as? addAlarmContentTableViewCell else { return UITableViewCell() }

        // 設定Cell的titleLabel內容
        cell.titleLabel.text = addAlarmTitles[indexPath.row]

        // 設定Cell的contentLabel內容
        cell.contentLabel.text = addAlarmDetails[indexPath.row]
    }
以上程式碼意思如下:
設定完畢後執行程式看看吧!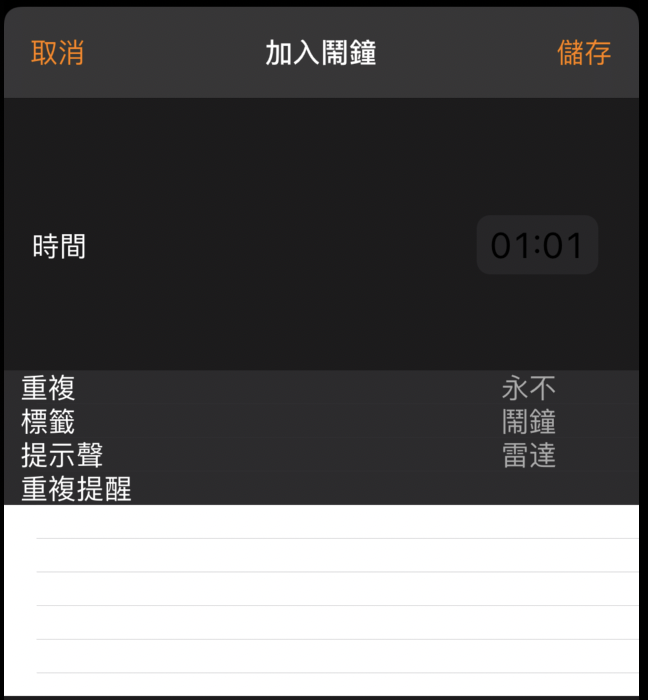
會發現有東西是有了,但是長得好像怪怪的?
這時候再給他Cell的大小即可
func tableView(_ tableView: UITableView, heightForRowAt indexPath: IndexPath) -> CGFloat {
        return 50
    }
再執行看看吧!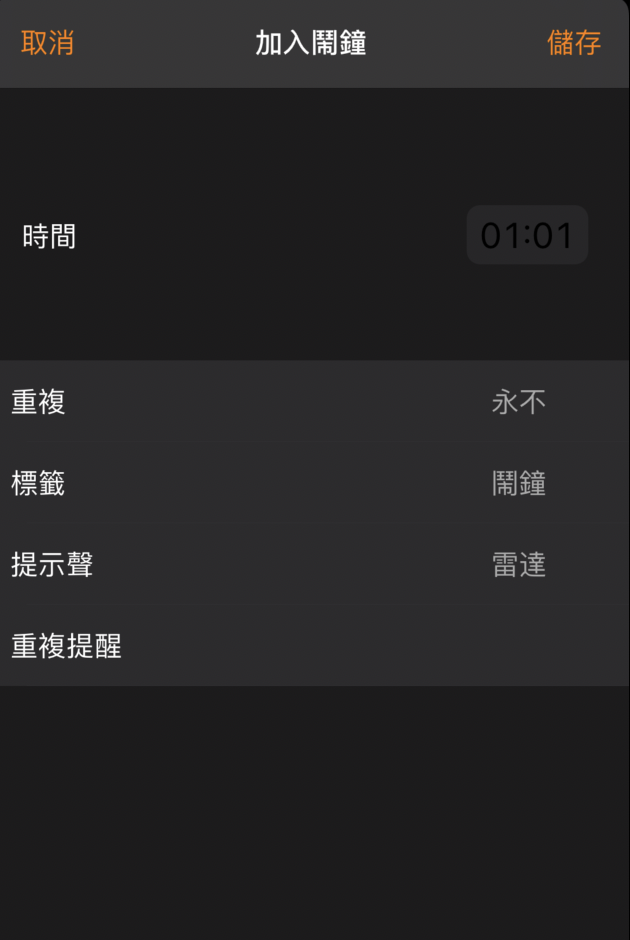
越來越像IPhone內建鬧鐘了呢


 iThome鐵人賽