前幾篇我們學會了TextView和Button基本用法
今天我們把兩個結合在一起
做3顆按鈕:
其中1顆可以把TextView的字放大
另一顆則是把字縮小
最後一顆可以更改TextView的字
廢話不多說
用到功能
第1顆按鈕:按鈕Button的按一下事件、TextView的setTextSize();
第2顆按鈕:按鈕Button的按一下事件、TextView的setTextSize();
第3顆按鈕:一樣有按鈕的按一下事件、TextView的setText();
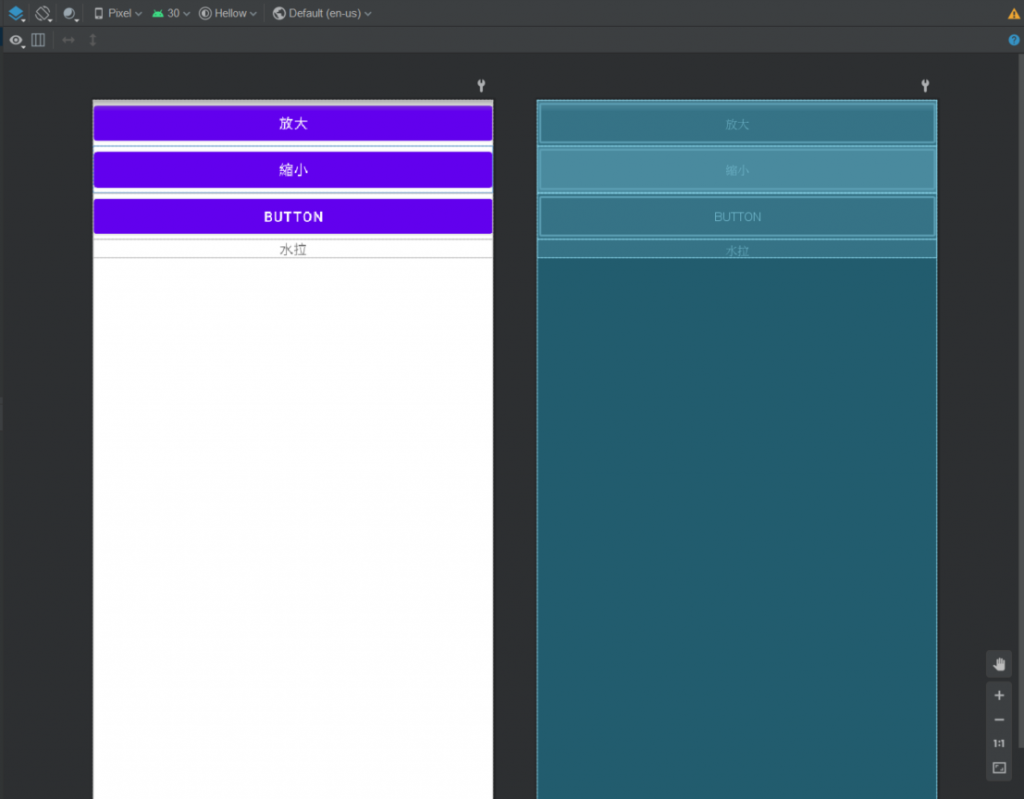
<?xml version="1.0" encoding="utf-8"?>
<LinearLayout
    android:layout_width="match_parent"
    android:layout_height="match_parent"
    android:orientation="vertical"
    xmlns:android="http://schemas.android.com/apk/res/android">

    <Button
        android:id="@+id/a"
        android:layout_width="match_parent"
        android:layout_height="wrap_content"
        android:text="放大" />

    <Button
        android:id="@+id/b"
        android:layout_width="match_parent"
        android:layout_height="wrap_content"
        android:text="縮小" />

    <Button
        android:id="@+id/c"
        android:layout_width="match_parent"
        android:layout_height="wrap_content"
        android:text="Button" />

    <TextView
        android:id="@+id/textView"
        android:layout_width="match_parent"
        android:layout_height="wrap_content"
        android:text="水拉"
        android:textAlignment="center" />
</LinearLayout>
到Java檔
先抓元件
之後設定三顆按鈕單一事件
package com.example.hellow;

import androidx.appcompat.app.AppCompatActivity;
import android.os.Bundle;
import android.util.Log;
import android.util.Size;
import android.view.View;
import android.widget.Button;
import android.widget.TextView;
public class MainActivity extends AppCompatActivity {
    private float size =20;
    @Override
    protected void onCreate(Bundle savedInstanceState) {
        super.onCreate(savedInstanceState);
        setContentView(R.layout.activity_main);
        Button a = findViewById(R.id.a);
        Button b = findViewById(R.id.b);
        Button c = findViewById(R.id.c);
        TextView textView = findViewById(R.id.textView);
        a.setOnClickListener(new View.OnClickListener() {
            @Override
            public void onClick(View v) {
                textView.setTextSize(++size);
            }
        });

        b.setOnClickListener(new View.OnClickListener() {
            @Override
            public void onClick(View v) {
                textView.setTextSize(--size);
            }
        });

        c.setOnClickListener(new View.OnClickListener() {
            @Override
            public void onClick(View v) {
                textView.setText("變更成功!!!");
            }
        });
    }

}
執行結果:
初始畫面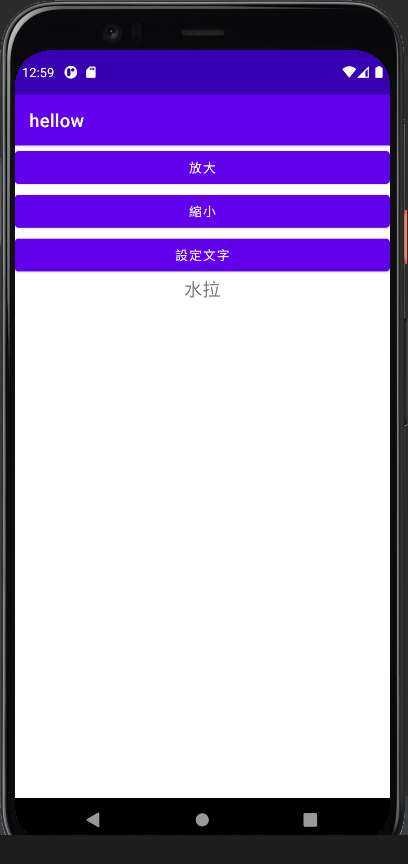
點擊放大後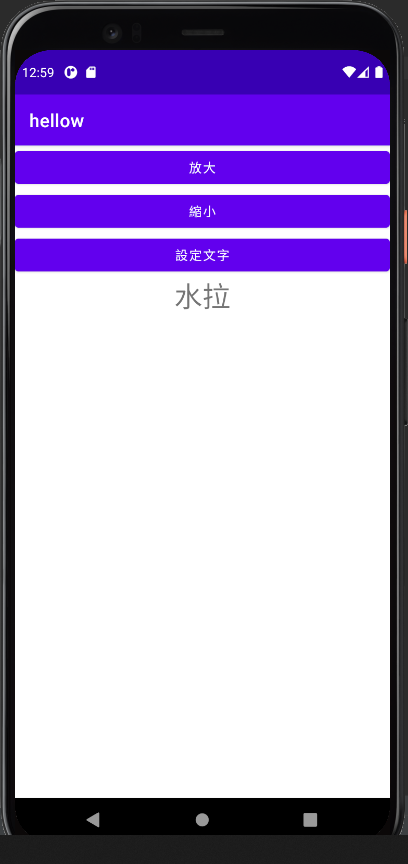
點擊縮小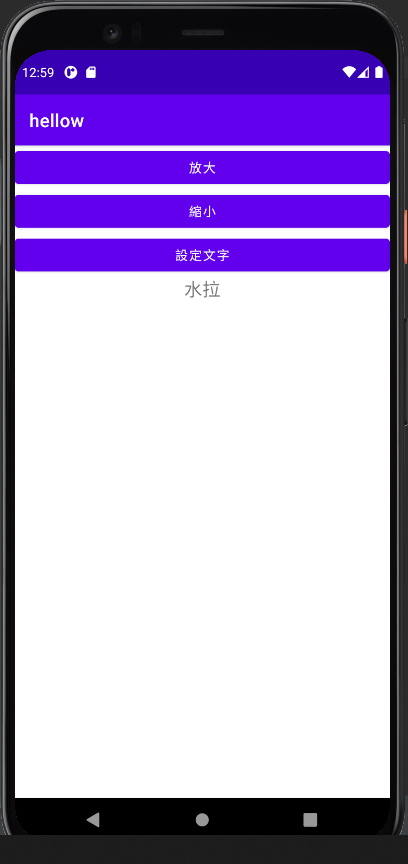
點擊設定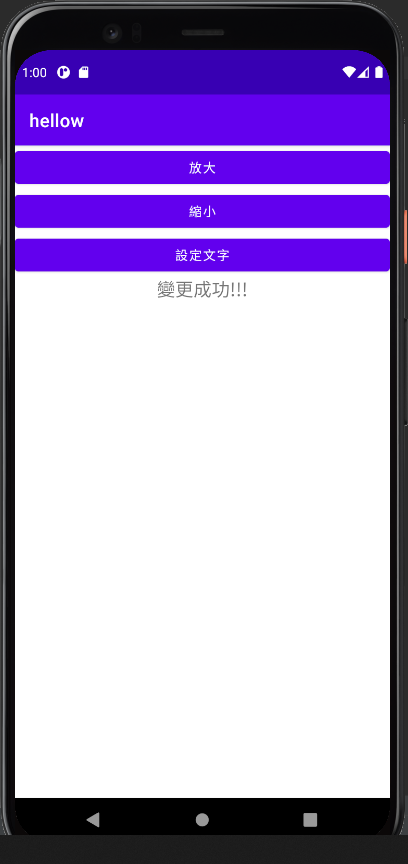 文字
文字
