iT邦幫忙

2021 iThome 鐵人賽

DAY 8
1
AI & Data

一起學習 Azure Machine Learning 系列 第 8

[DAY08] 部署用 Designer 做好的 Pipiline 到 Web API

  • 分享至 

  • xImage
  •  

DAY08 部署用 Designer 做好的 Pipeline 到 Web API

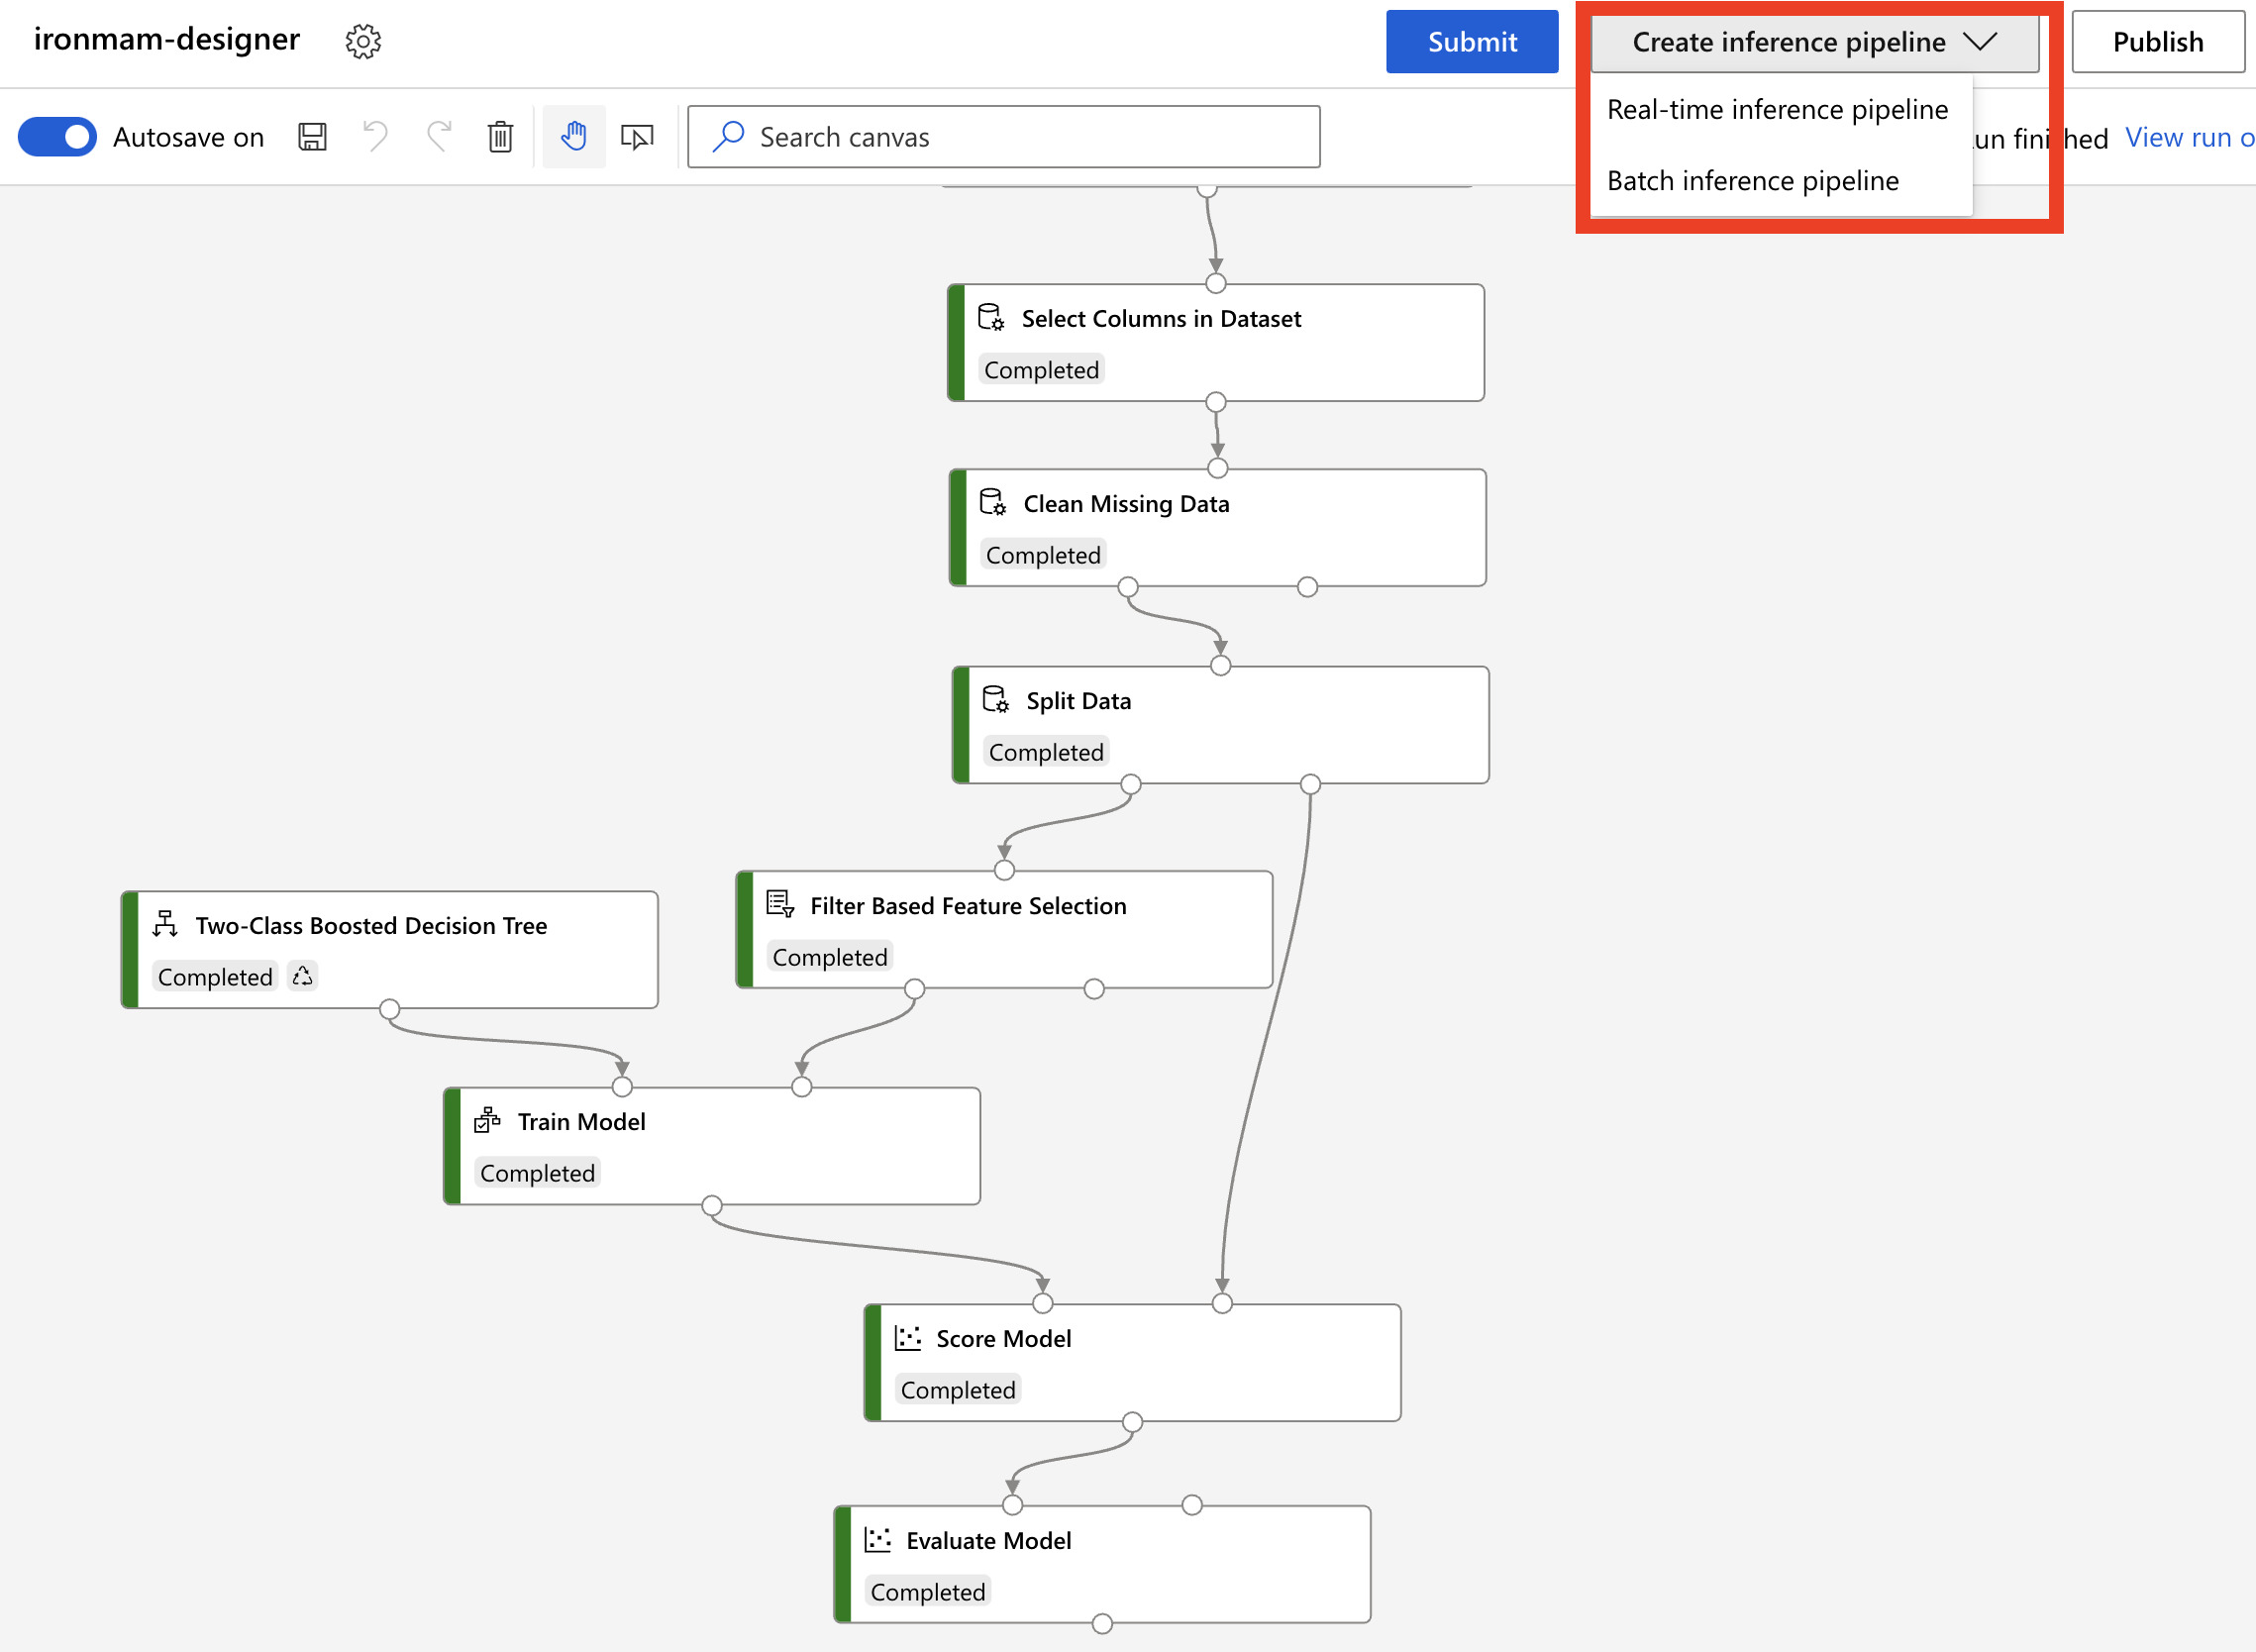
昨天我們用 Designer 做好了一個 Pipeline,並且訓練完成了一個模型,雖然沒有好好的做特徵工程只有 0.673 的準確度,但是我們還是就來部署這個 Pipeline 吧!

部署 Designer 的前置作業

  1. 昨天跑完的畫面如下圖,我們可以注意到 Submit 按鈕旁,出現了一個 Create inference pipeline,我們給它點擊下去。

Deploy Model with Design in Azure machine learning

  1. 點下去之後,會看到兩個選項,一個是 Real-time inference pipeline,一個是 Batch inference pipeline。前者的功能主要是部署成 Web API,後者主要是拿來做 batch 時使用的。

Deploy Model with Design in Azure machine learning

  1. 我們先來點擊 Real-time inference pipeline,等待一下後會跑出來一個新的分頁如下圖。我們可以看到整個 Pipeline 有些變化,中間部份流程壓縮掉了,然後最前面和最後面多了 Web service input 和 output。

Deploy Model with Design in Azure machine learning

  1. 這時候我們再按一次 submit,讓它重跑過一次後,就可以點擊右上角的 Deploy 啦!
    Deploy Model with Design in Azure machine learning

建立 Inference 的運算資源

  1. 但是我們先不點擊 Deploy,因為我們還沒有開好 inference 的運算資源。我們切換到 Compute 的頁面,點選上面的 Inference clusters 頁簽。然後點選 NEW。這裡我們會建立一個 Azure Kubernetes Service(下稱 AKS)。
    Deploy Model with Design in Azure machine learning

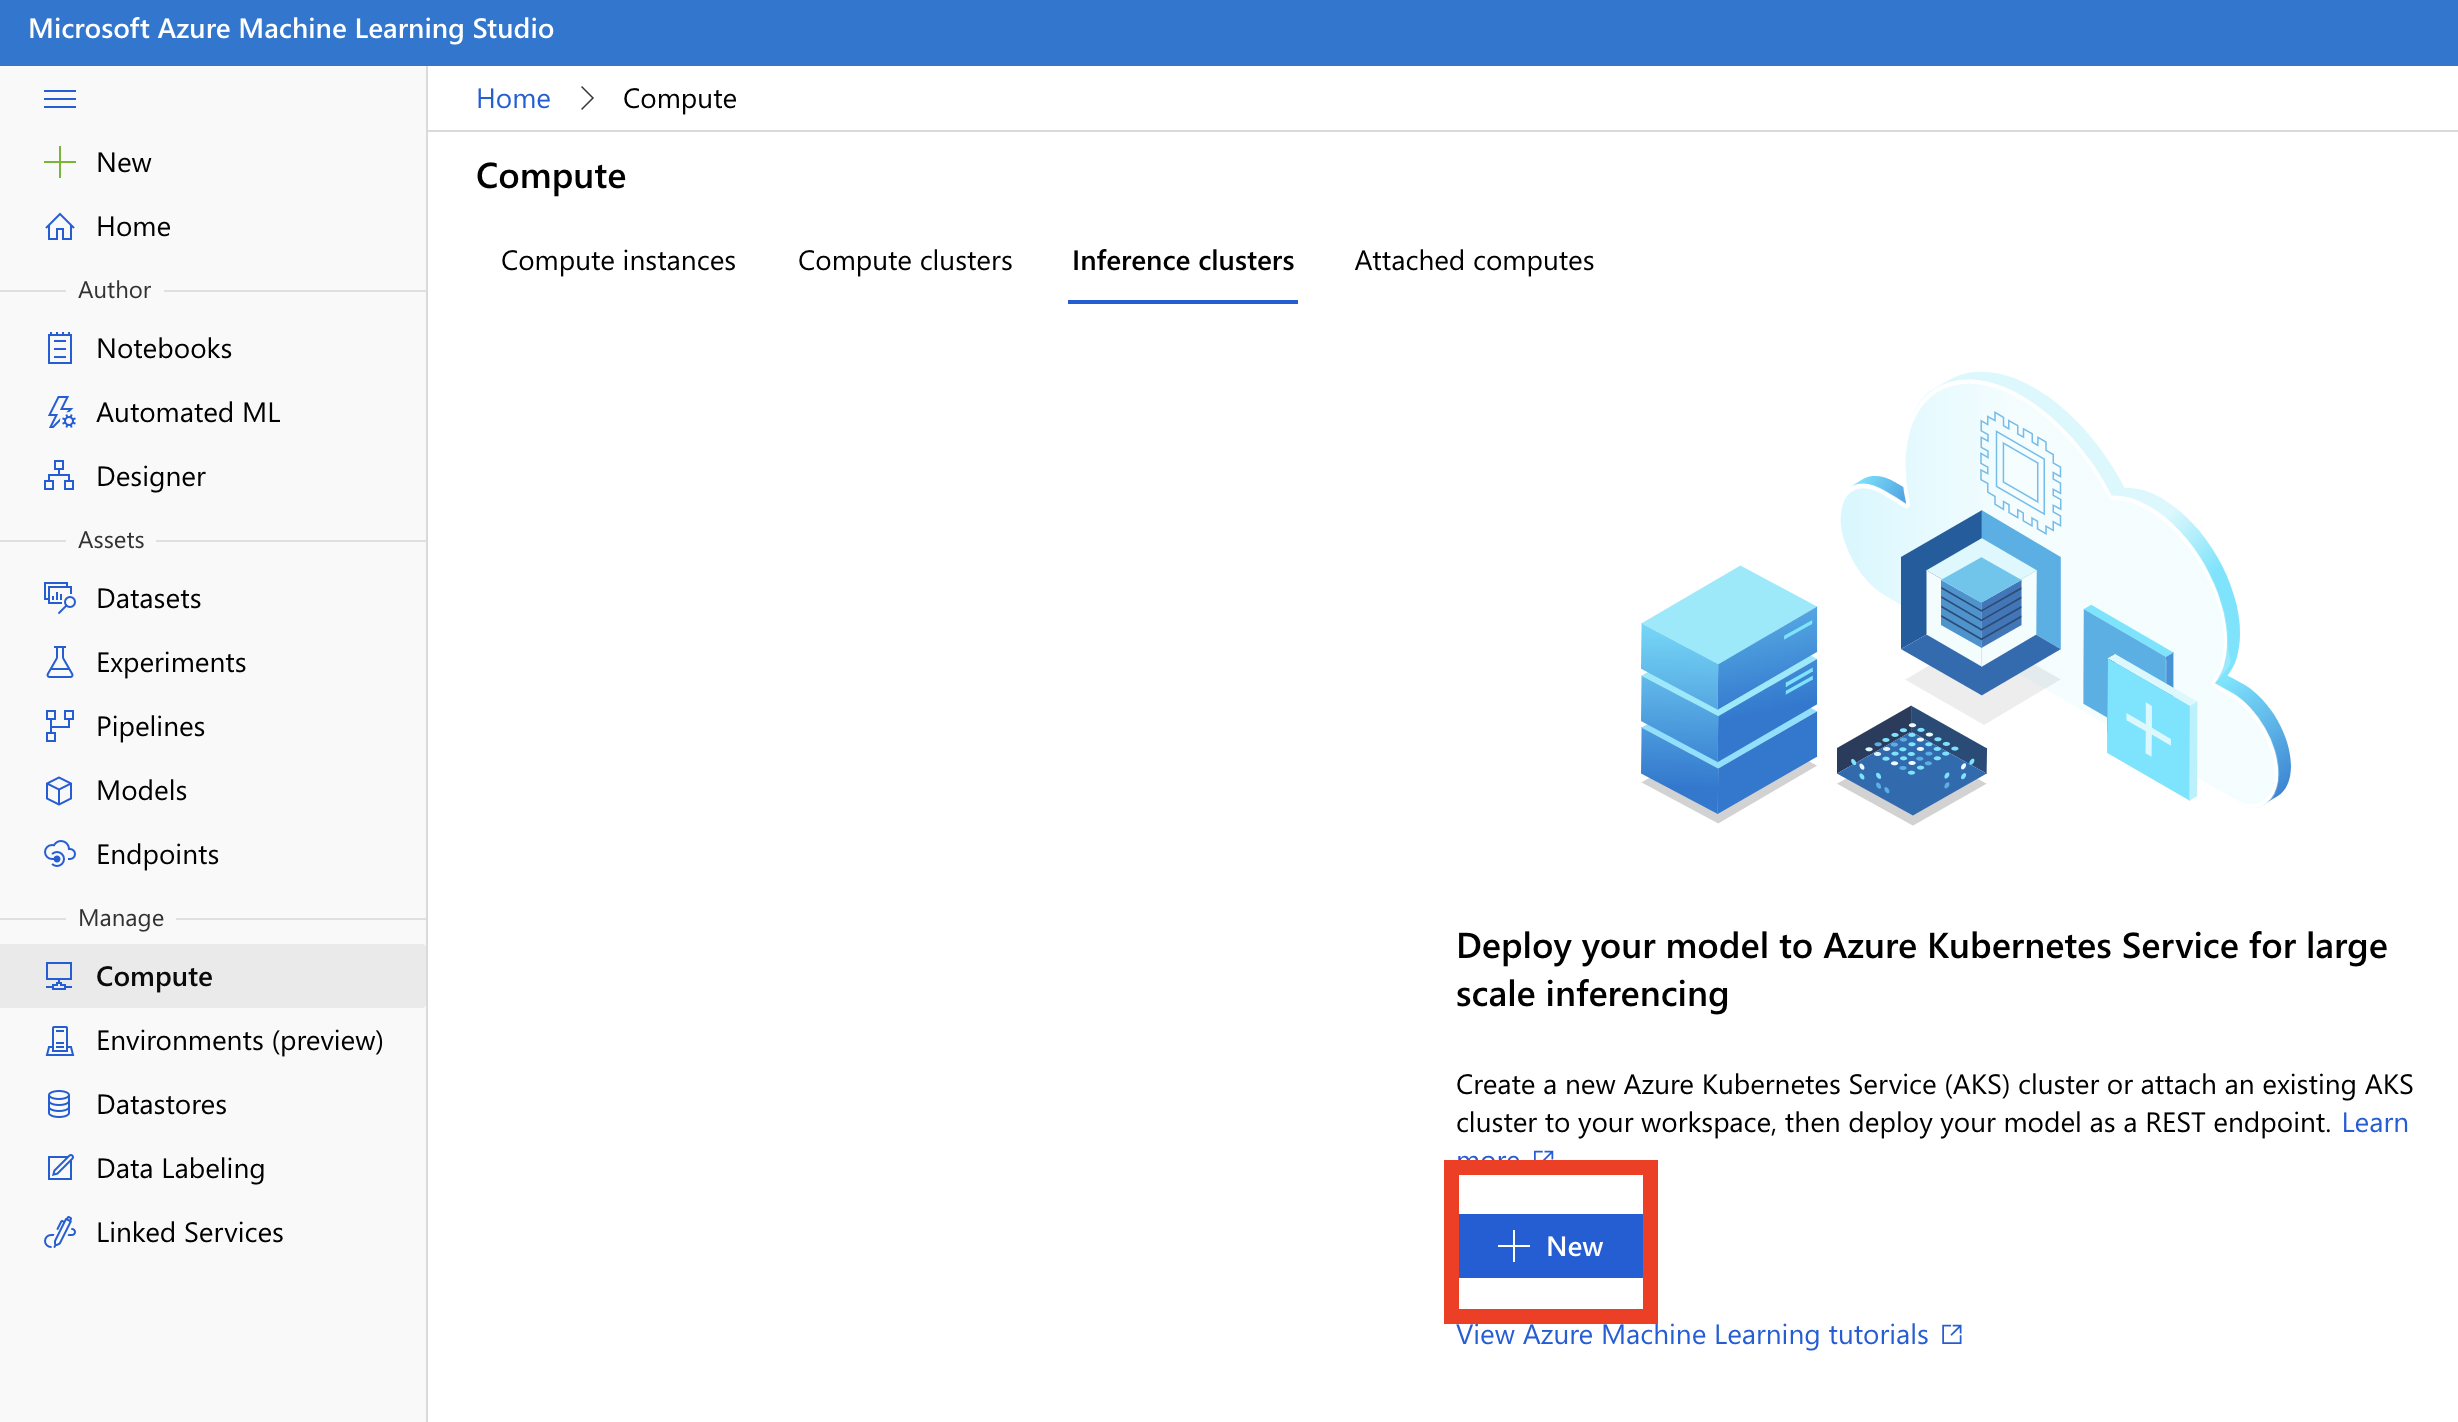
  2. 接著會跳出一個建立的視窗,先選 Create New,然後選地點,再選擇你要什麼等級的 VM,要做產品的話還是開大一點比較好,避免部署失敗。做好之後點 NEXT。
    Deploy Model with Design in Azure machine learning

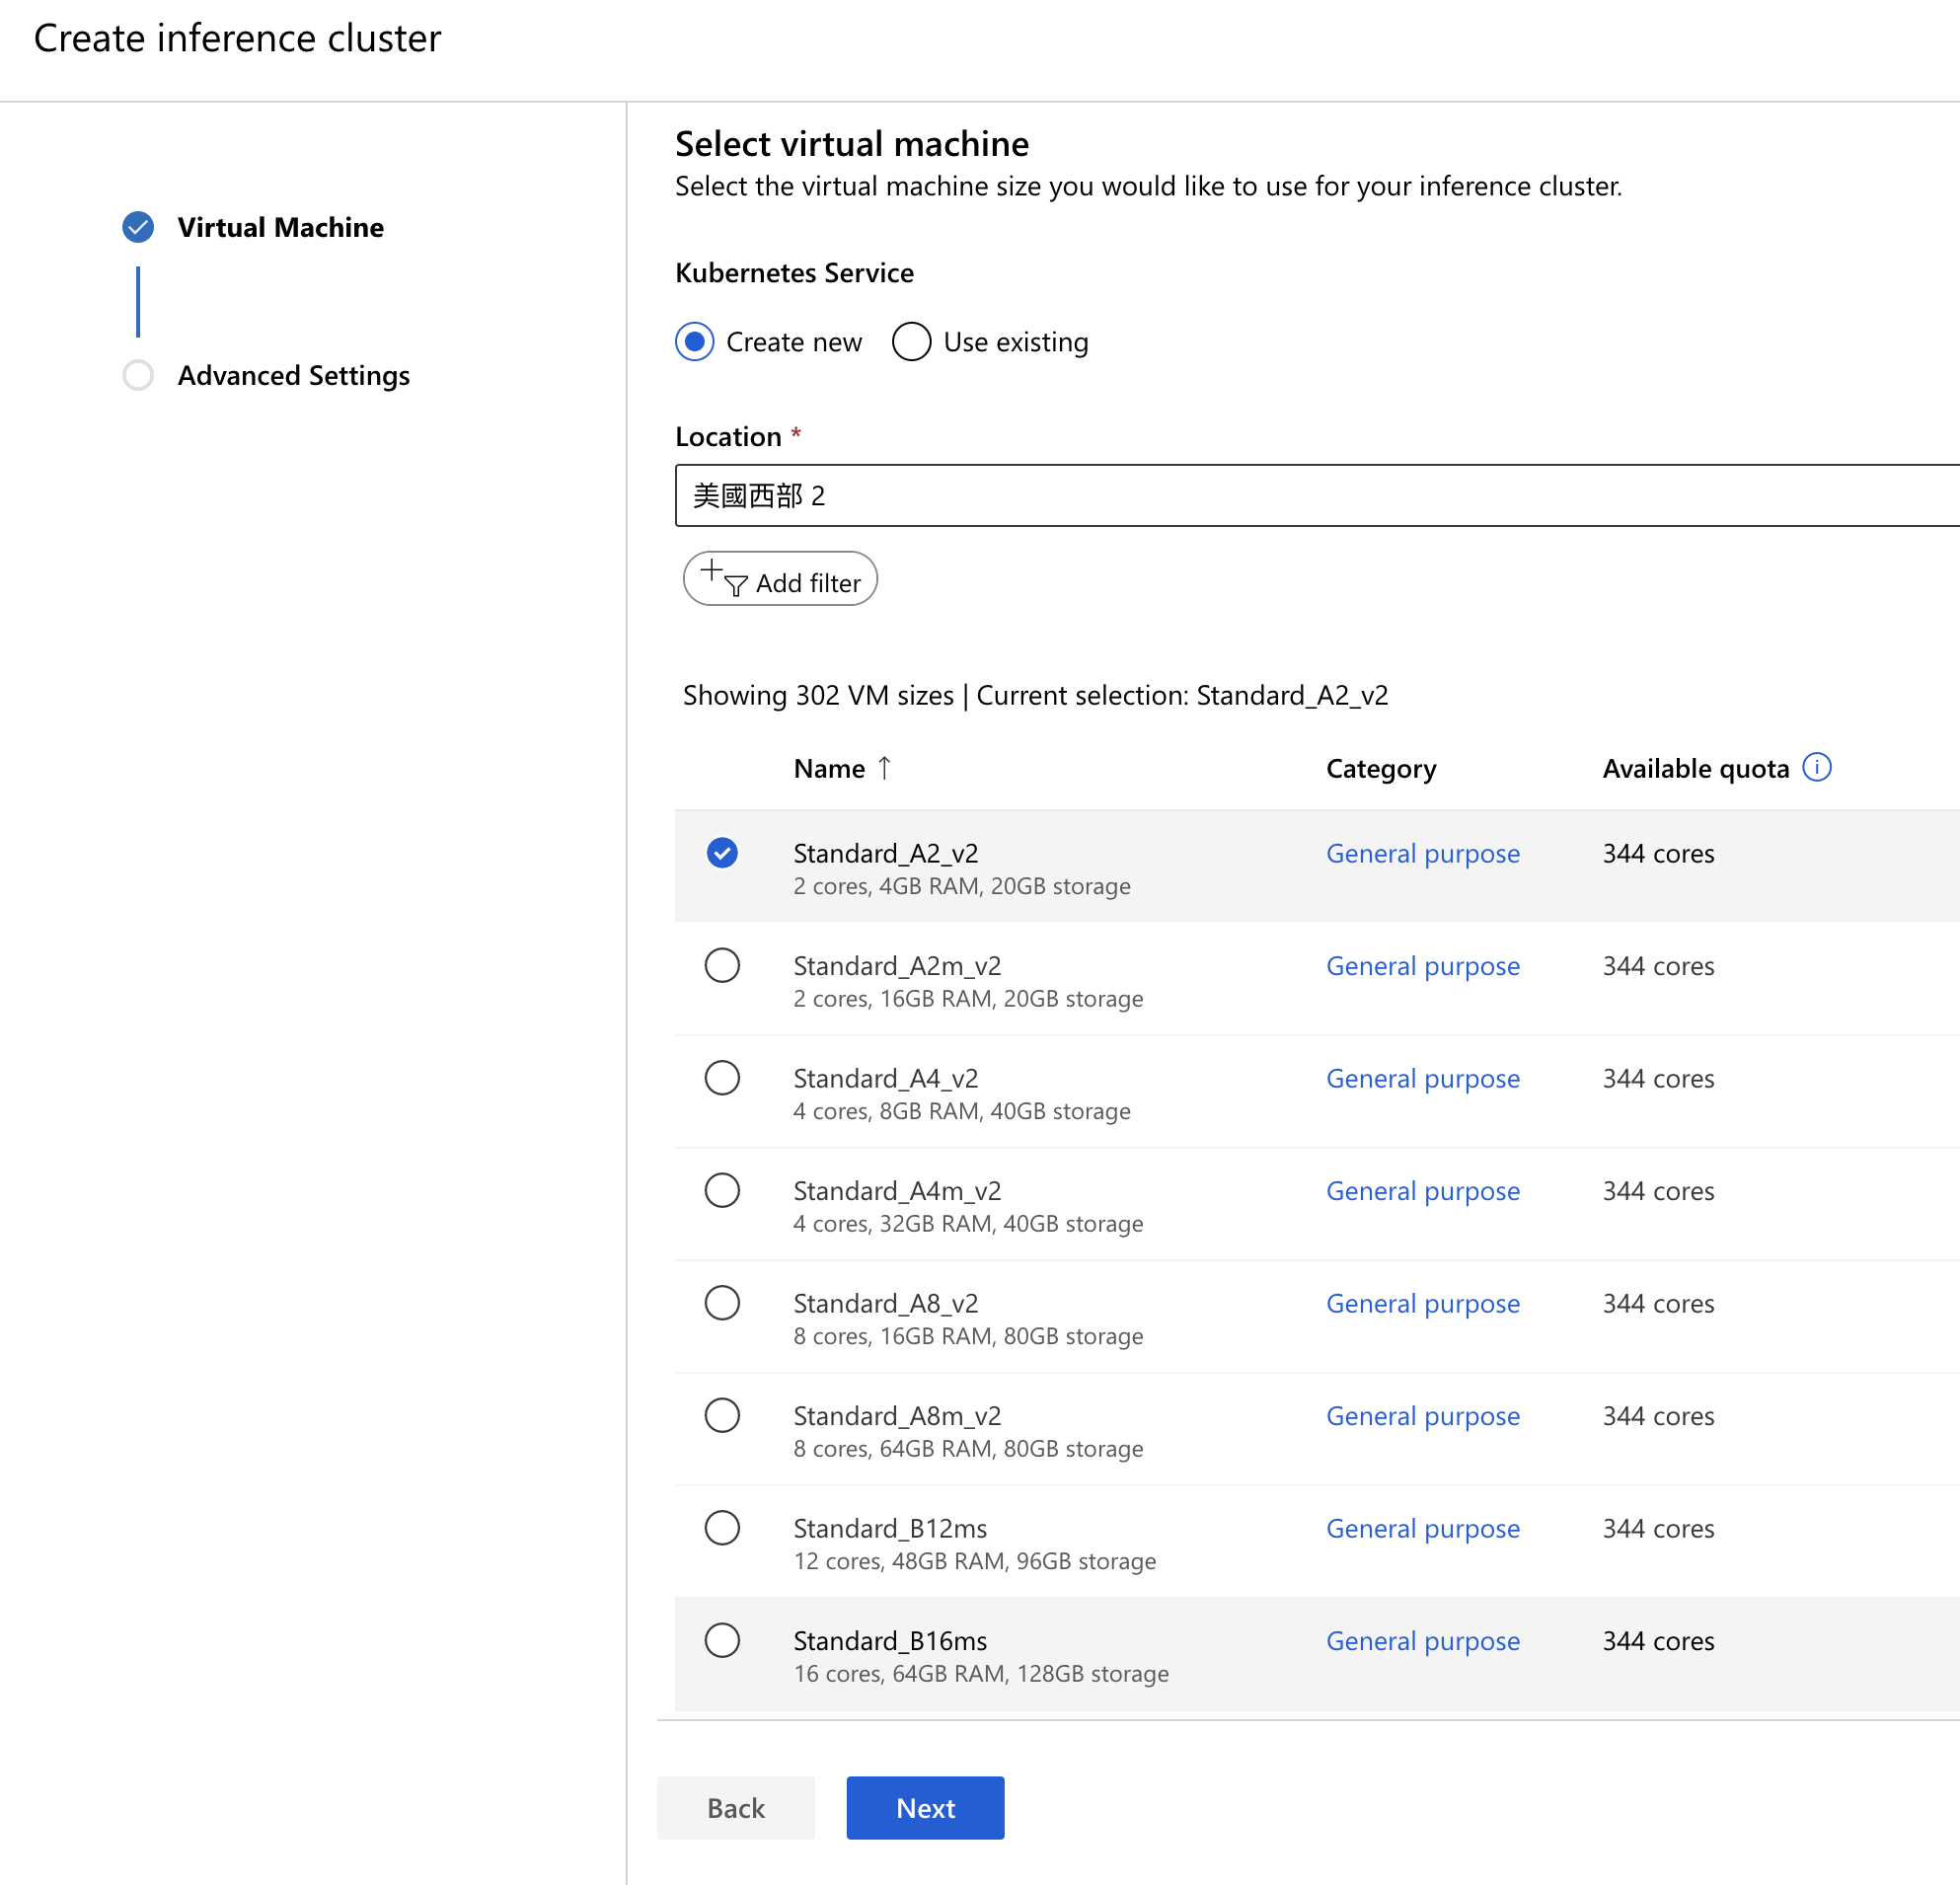
  3. 接著為你這台 VM 取名字,其他的先保留預設值即可。完成後按下 Create,這時候可以先去泡杯茶休息一下。
    Deploy Model with Design in Azure machine learning

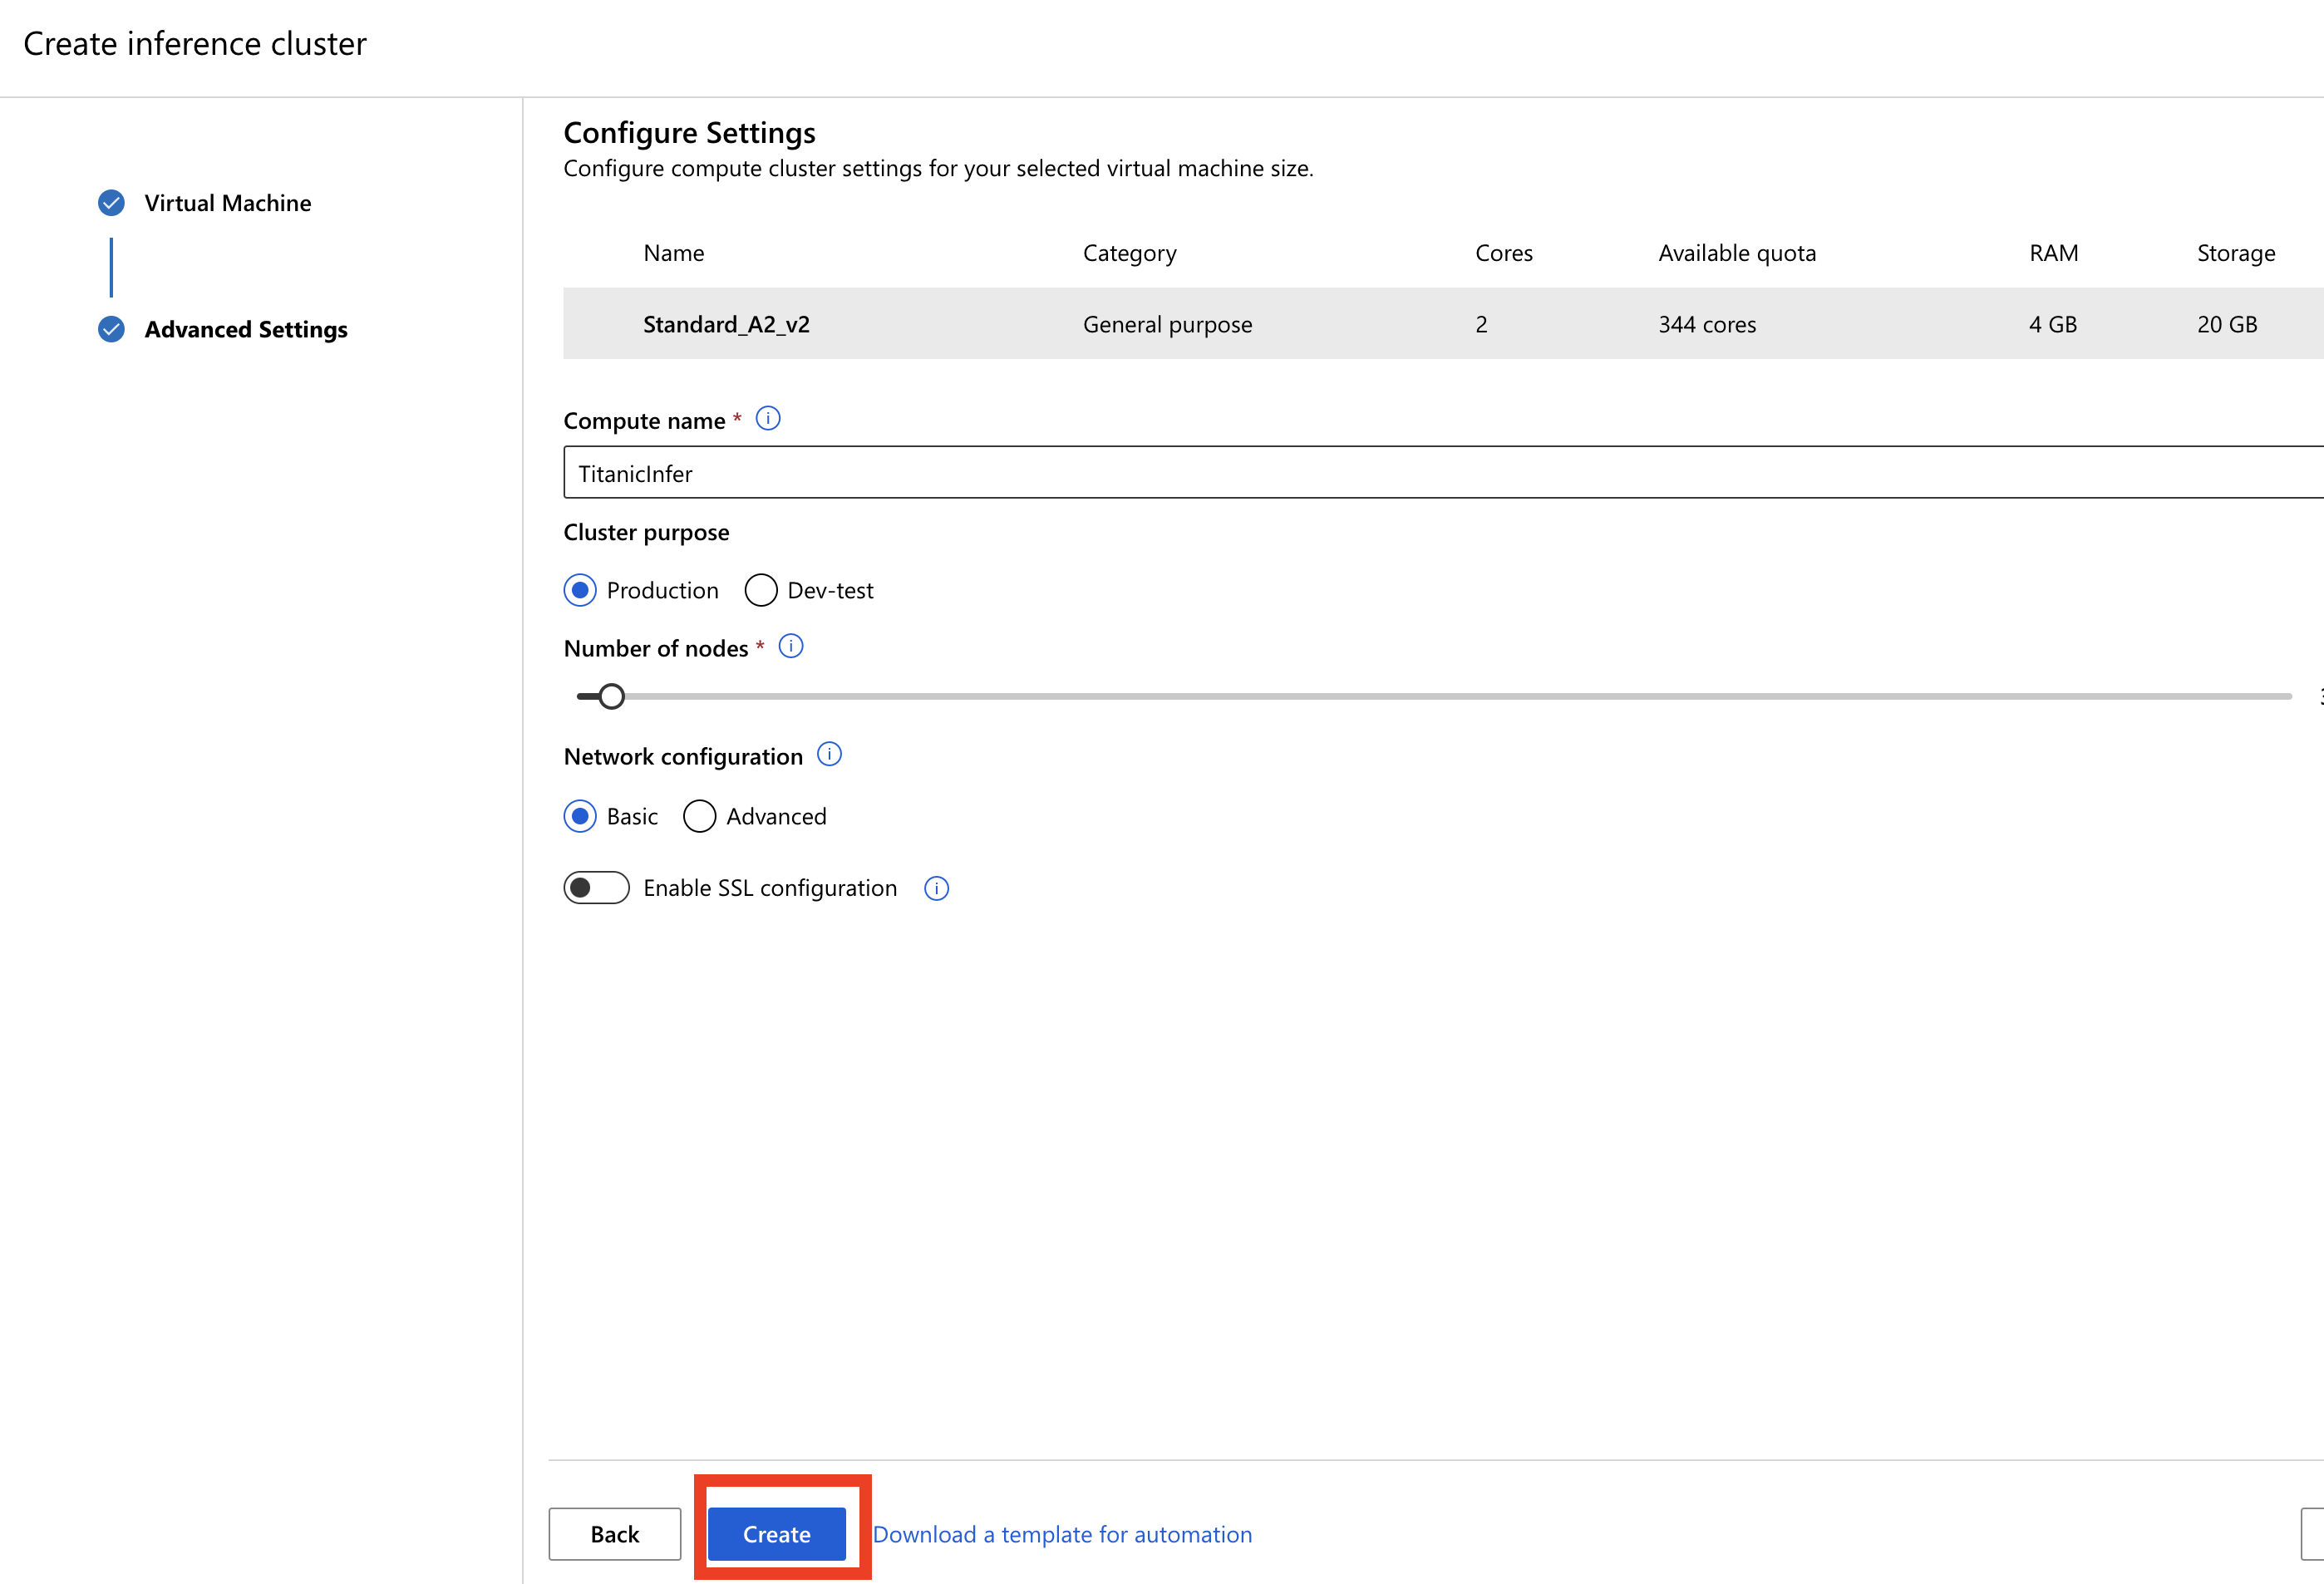
  4. 完成後就會在 state 那裡,顯示綠字的 Succeeded。
    Deploy Model with Design in Azure machine learning

開始部署 Designer

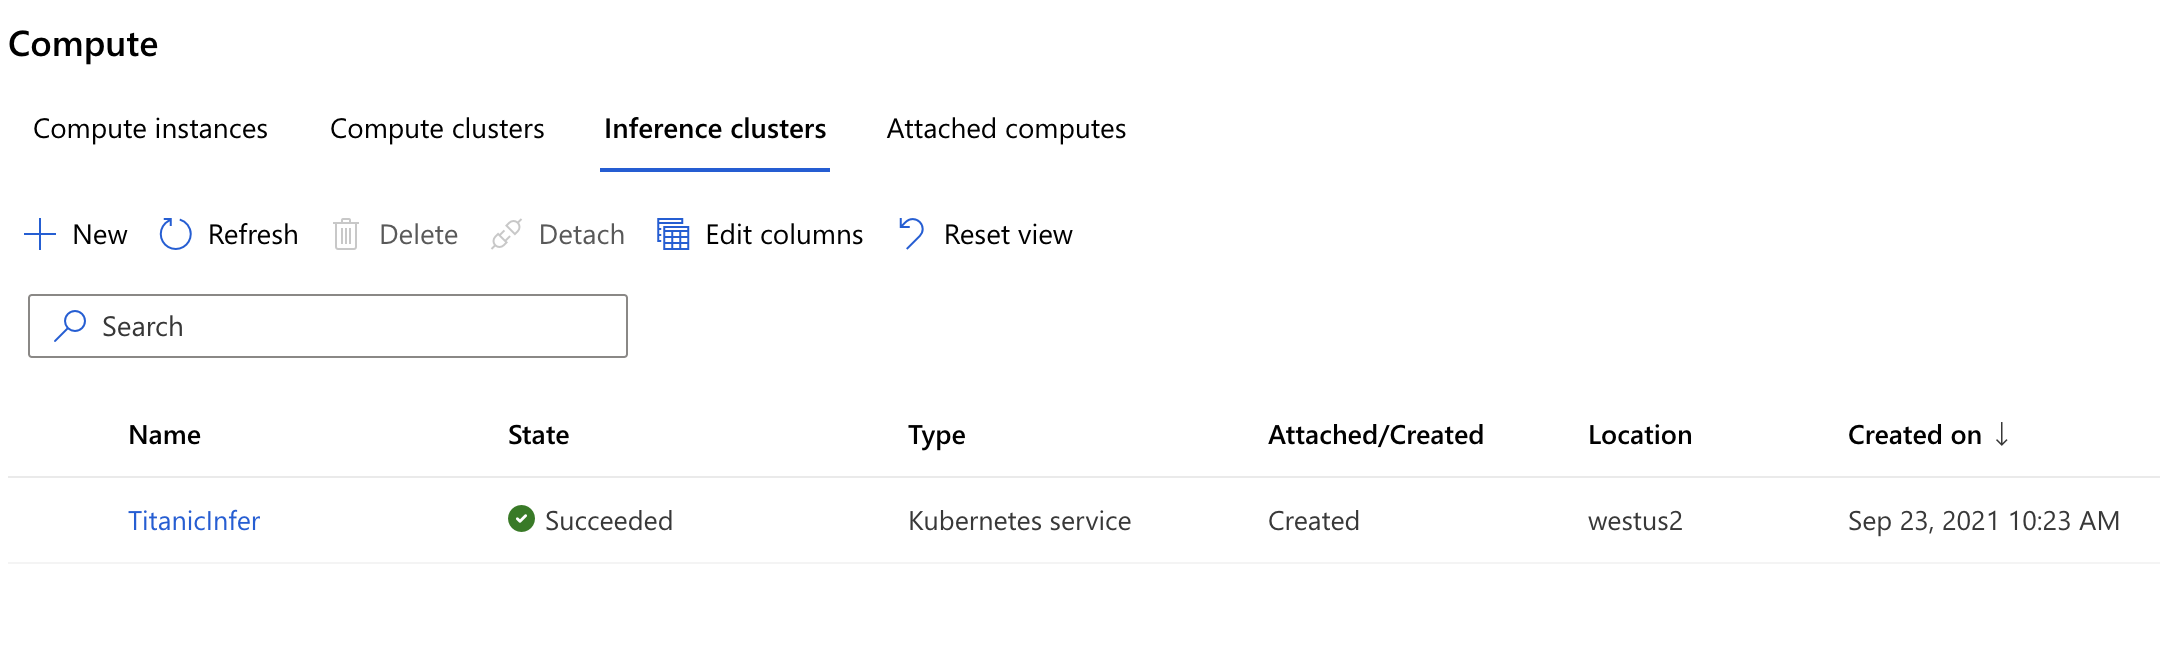
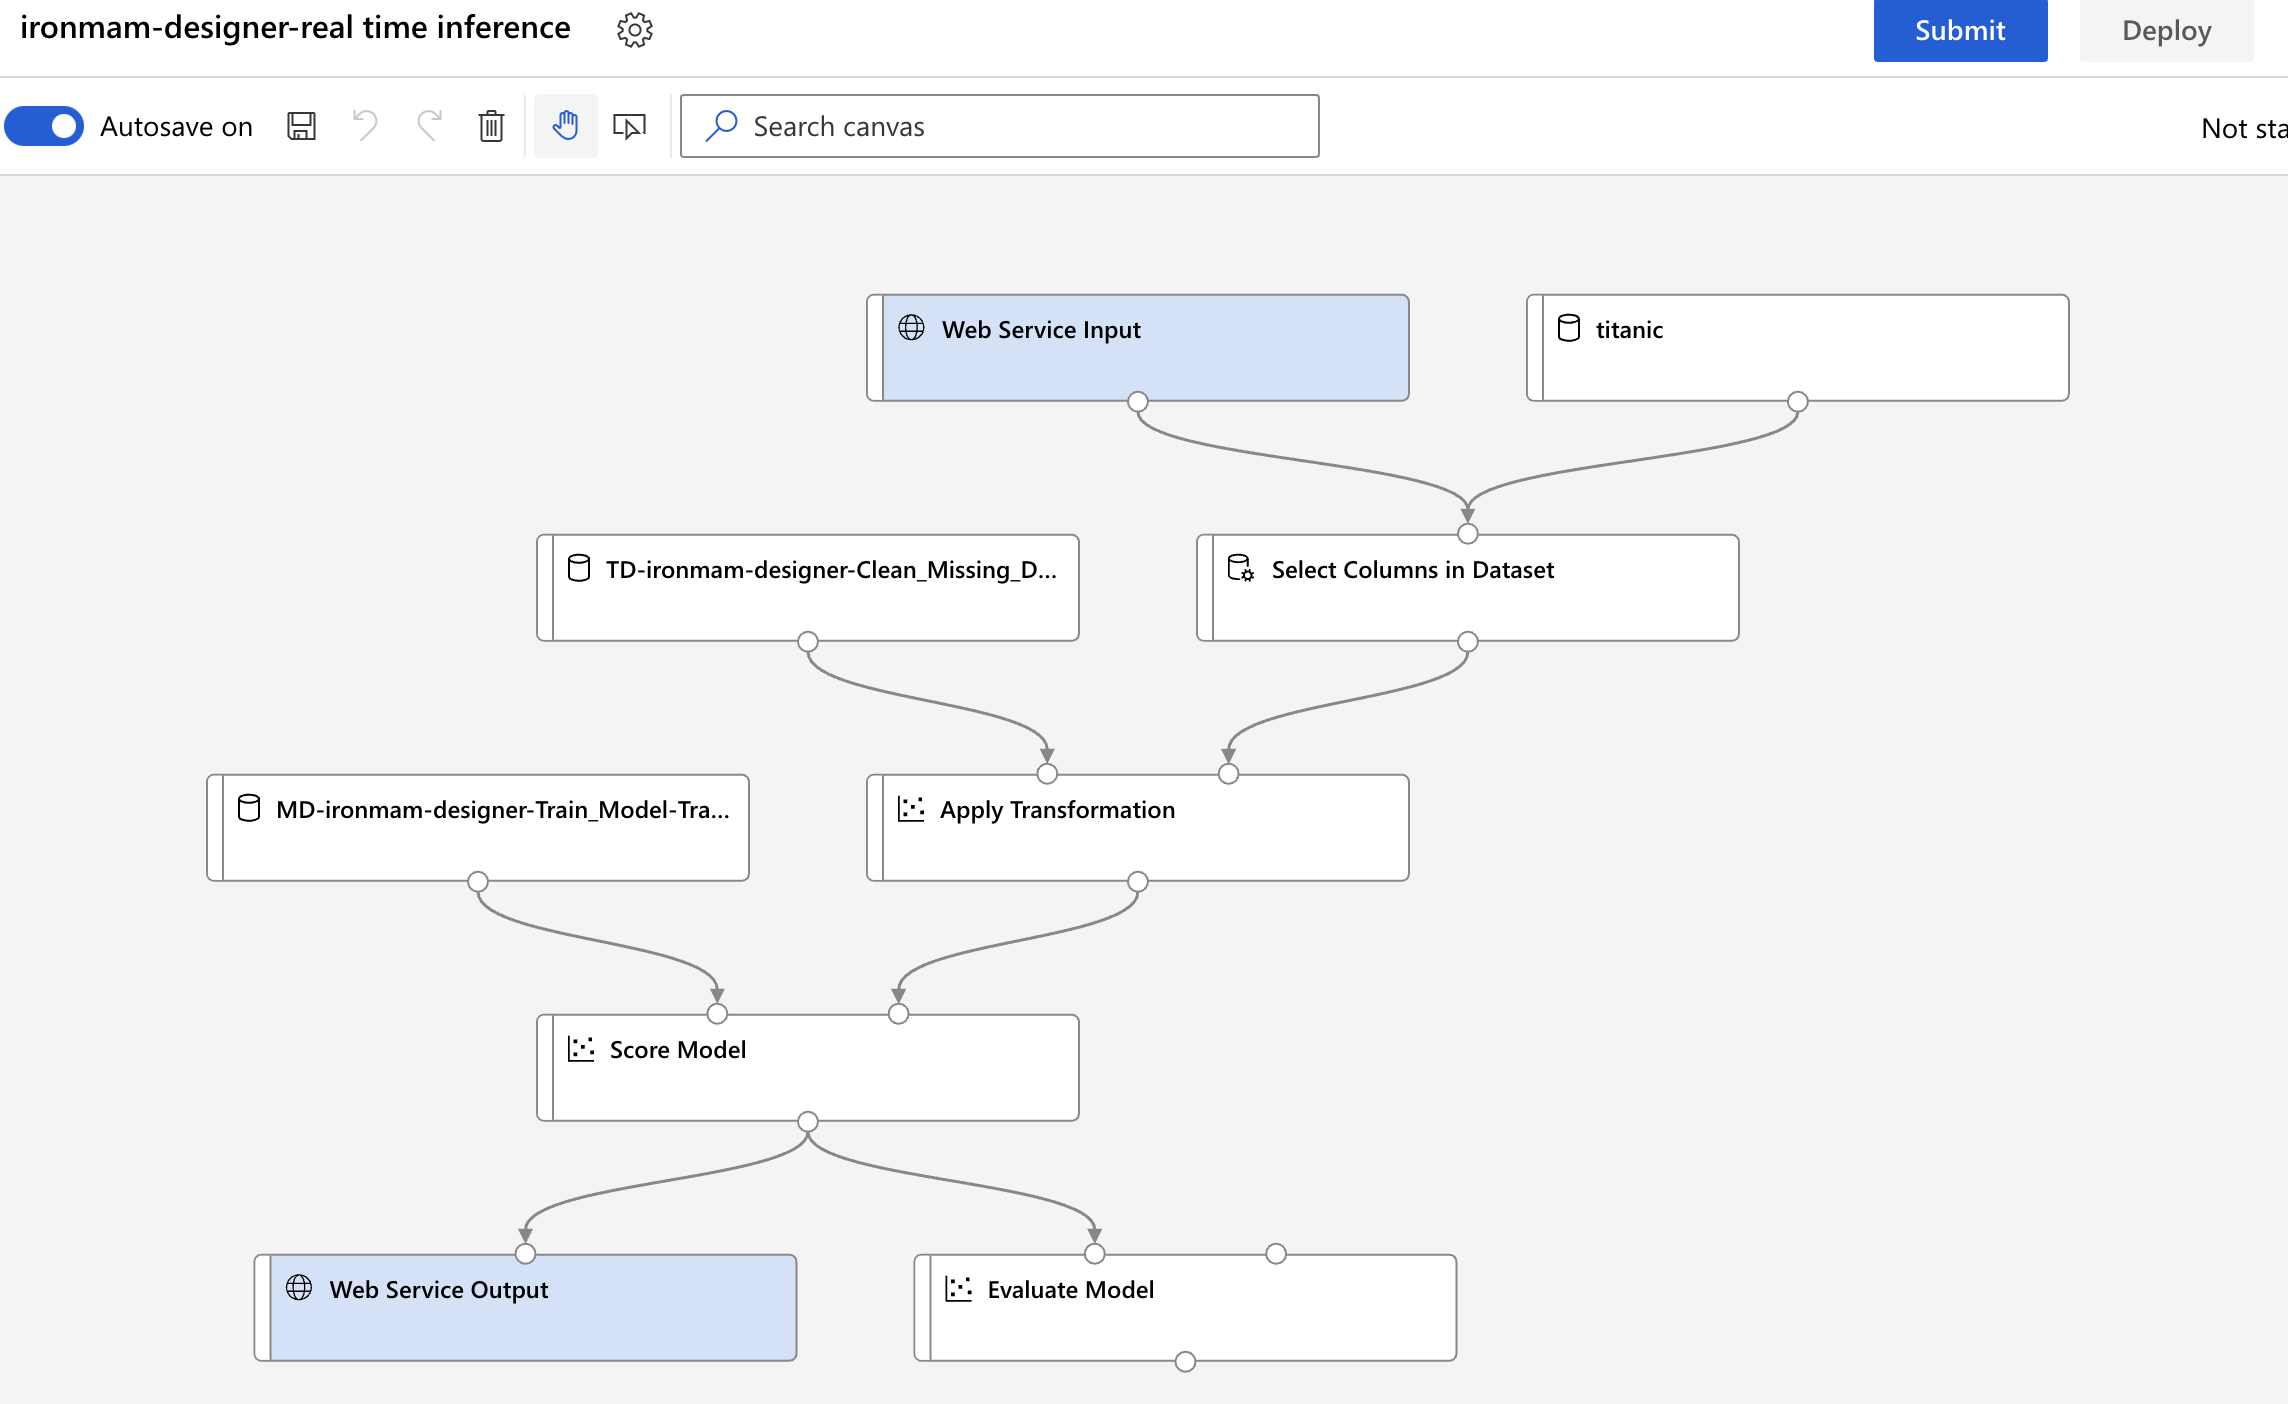
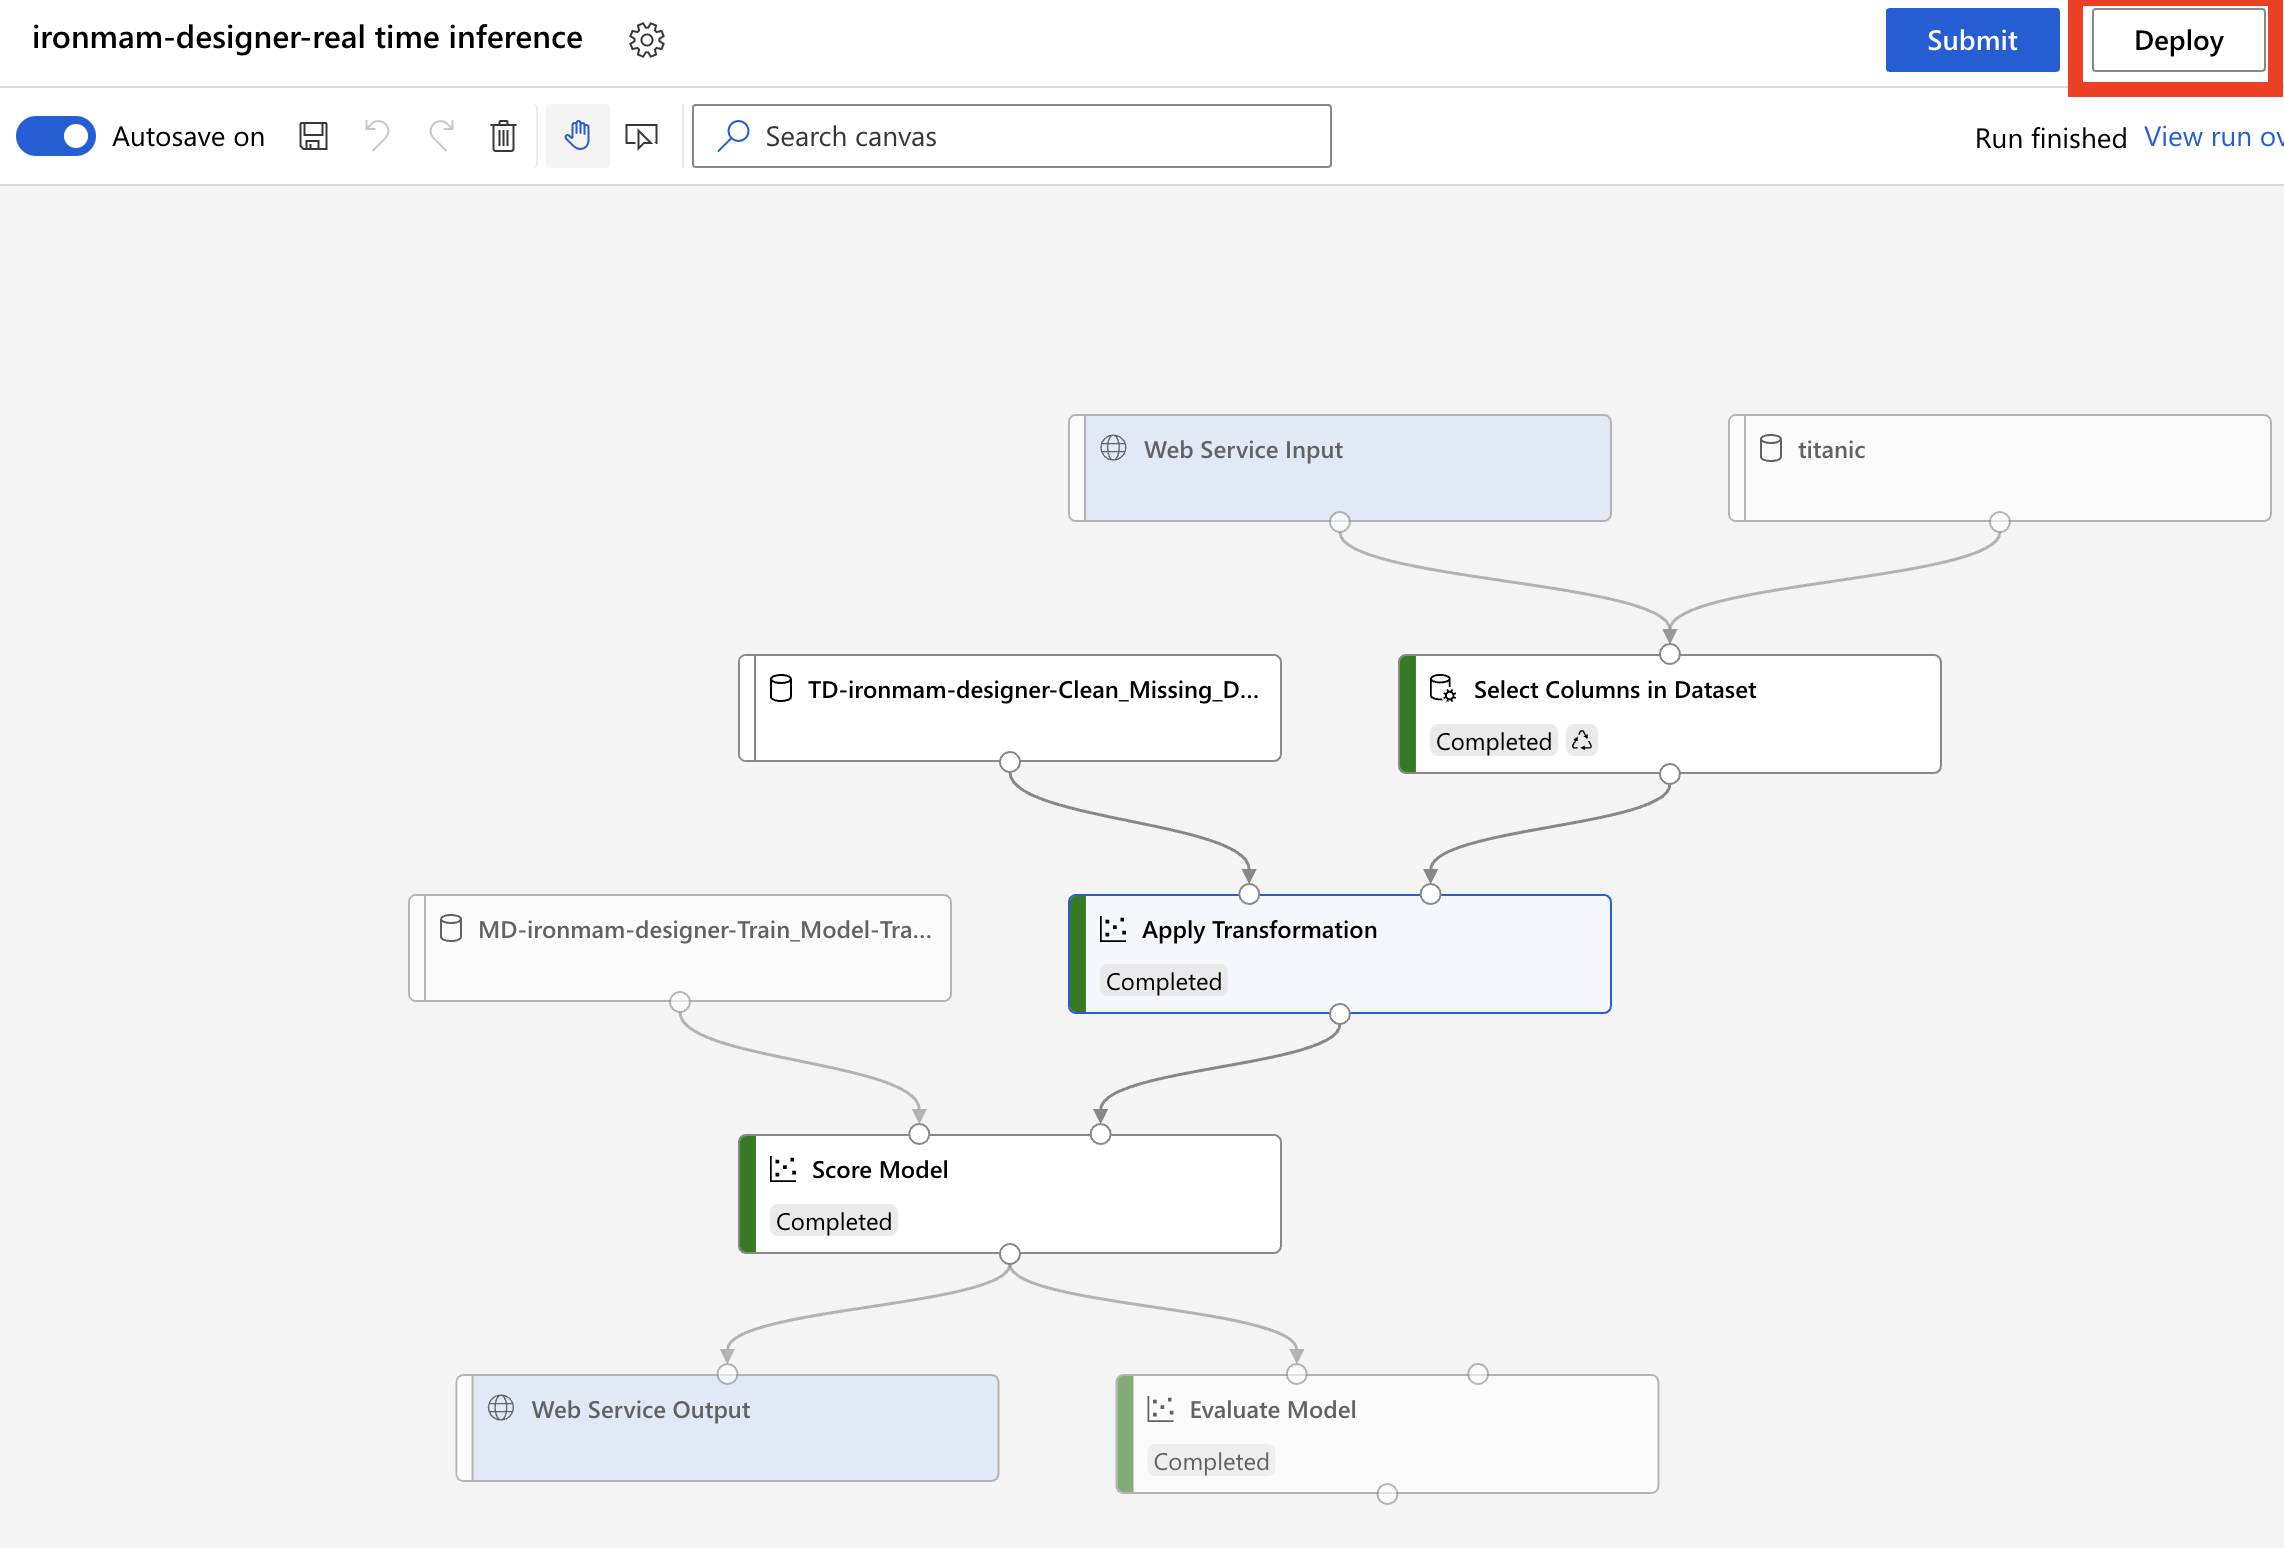
  1. 接著我們再回到剛剛 Real-time Inference Pipeline 的頁面,點選右上角的 Deploy。
    Deploy Model with Design in Azure machine learning

  2. 選 Deploy new real-time endpoint,然後依序填上名稱、描述,Compute type 和 Name 選我們剛剛建好的 AKS。
    Deploy Model with Design in Azure machine learning

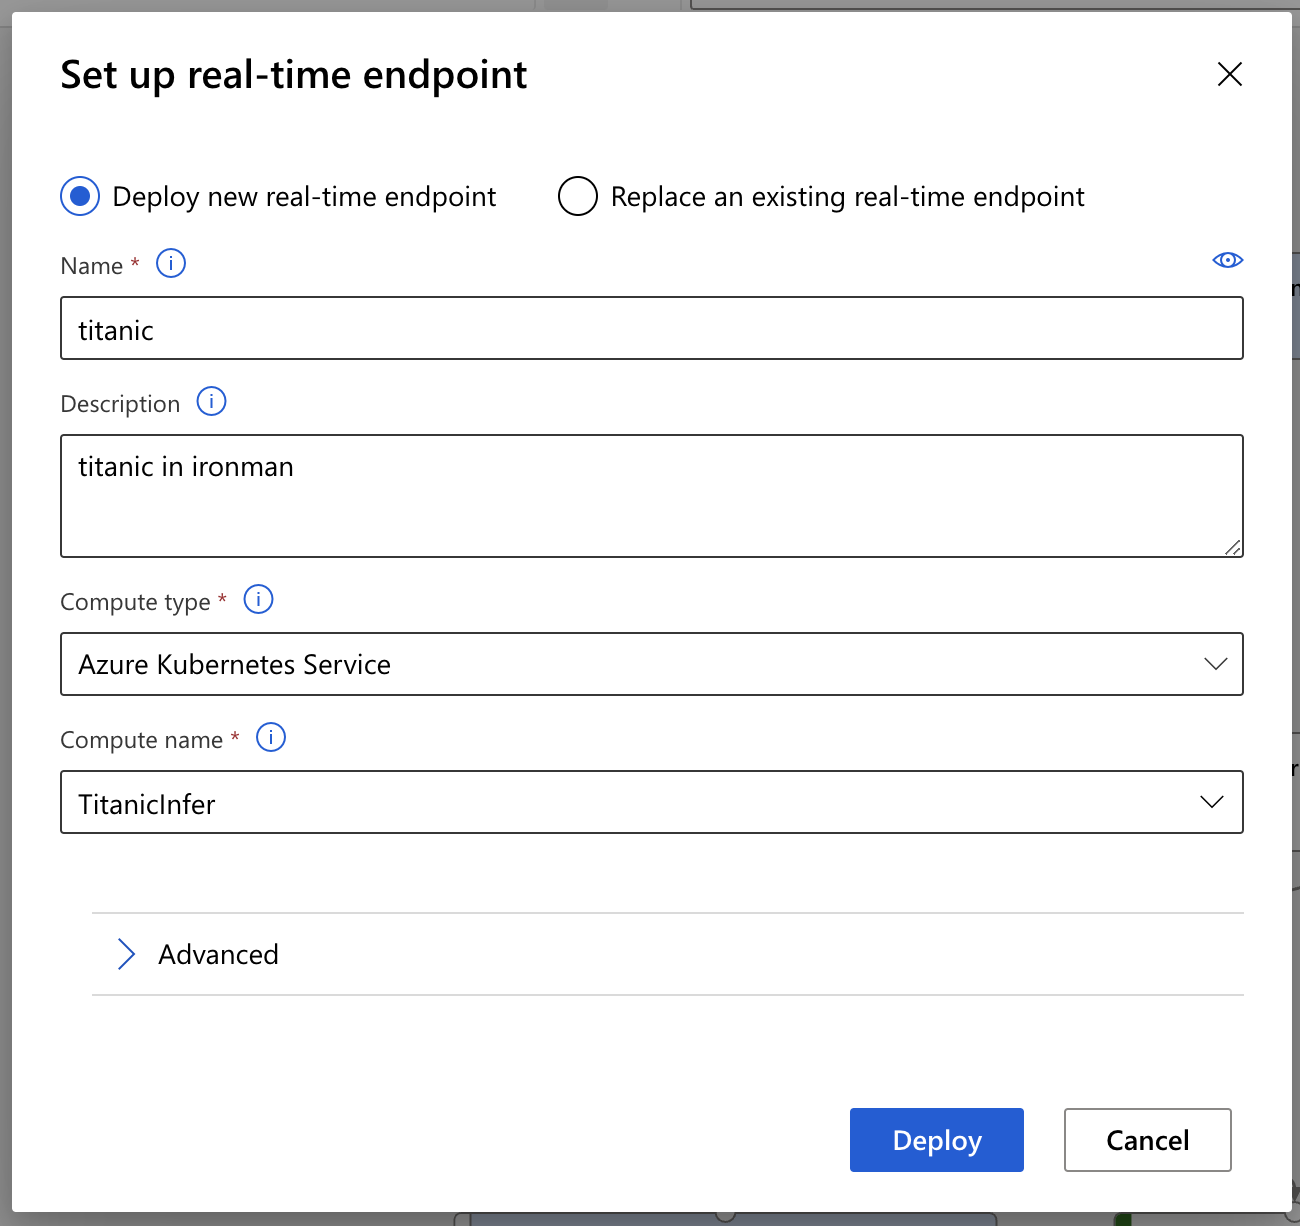
  3. 點擊 Advanced,還有一些東西可以設定,包含了 replicas 的數量、資源的分配、Scale 時的條件等。這裡建議把 Enable Application Insights 這一行勾選起來。MLOps 的其中一個重點就是要持續的監控,在 Azure 的世界裡我們可以用 Application Insights。
    都選擇好後,我們點選 Deploy,就開始部署啦!一樣可以泡杯茶休息一下。
    Deploy Model with Design in Azure machine learning

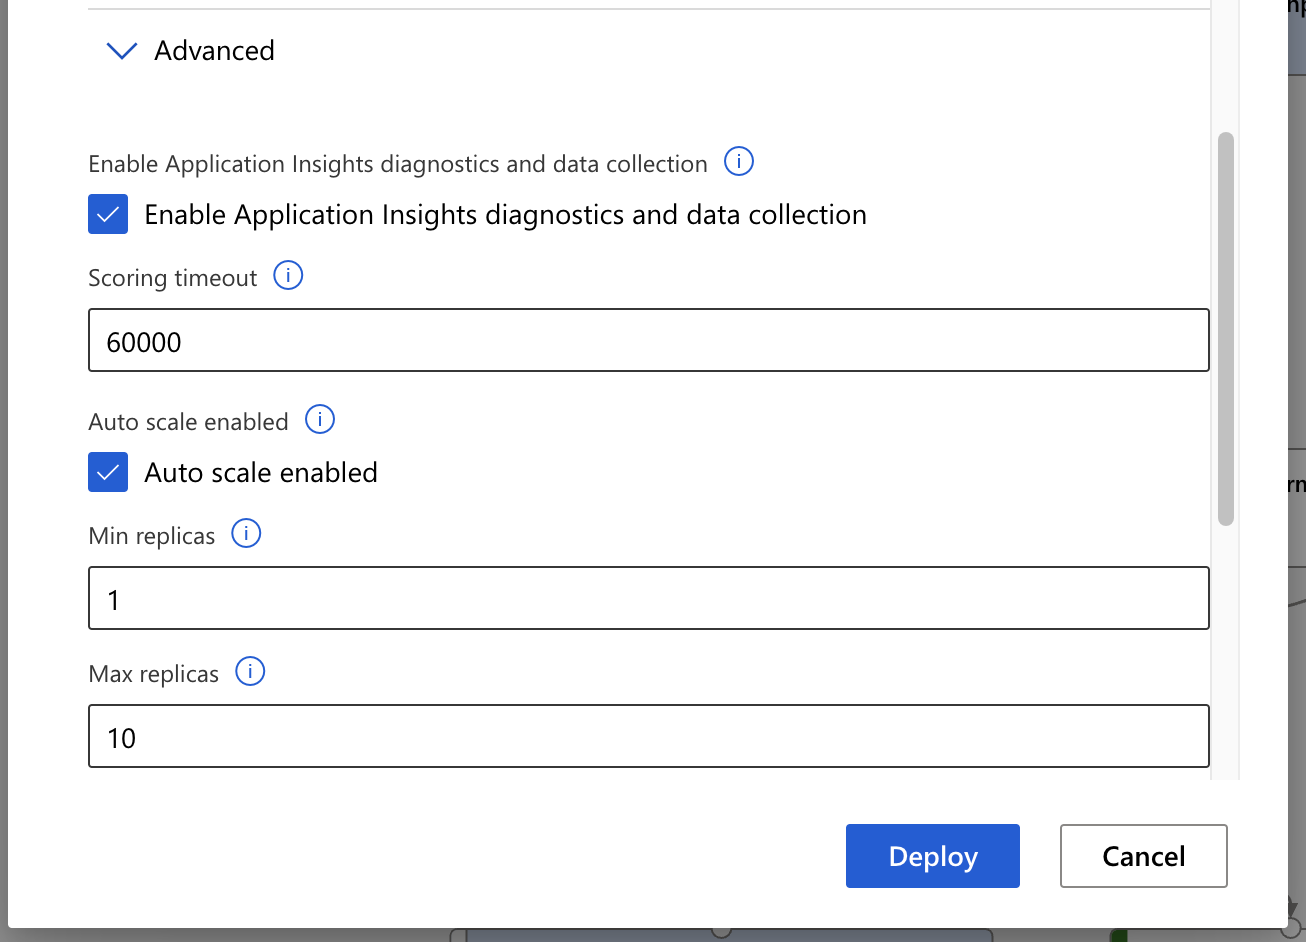
  4. 在部署時,上方會有黃色區域,說明現在部署的狀態。一樣可以泡杯茶休息一下。
    Deploy Model with Design in Azure machine learning

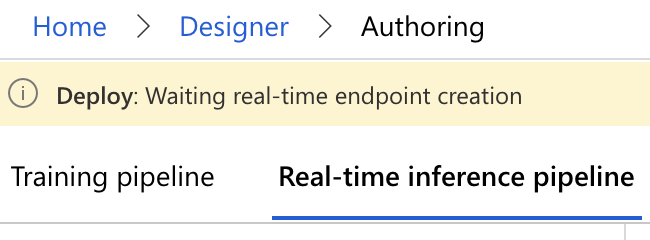
  5. 好了之後,可以左邊選單的 Endpoints 裡,看到我們剛剛部署完成的 endpoint。
    Deploy Model with Design in Azure machine learning

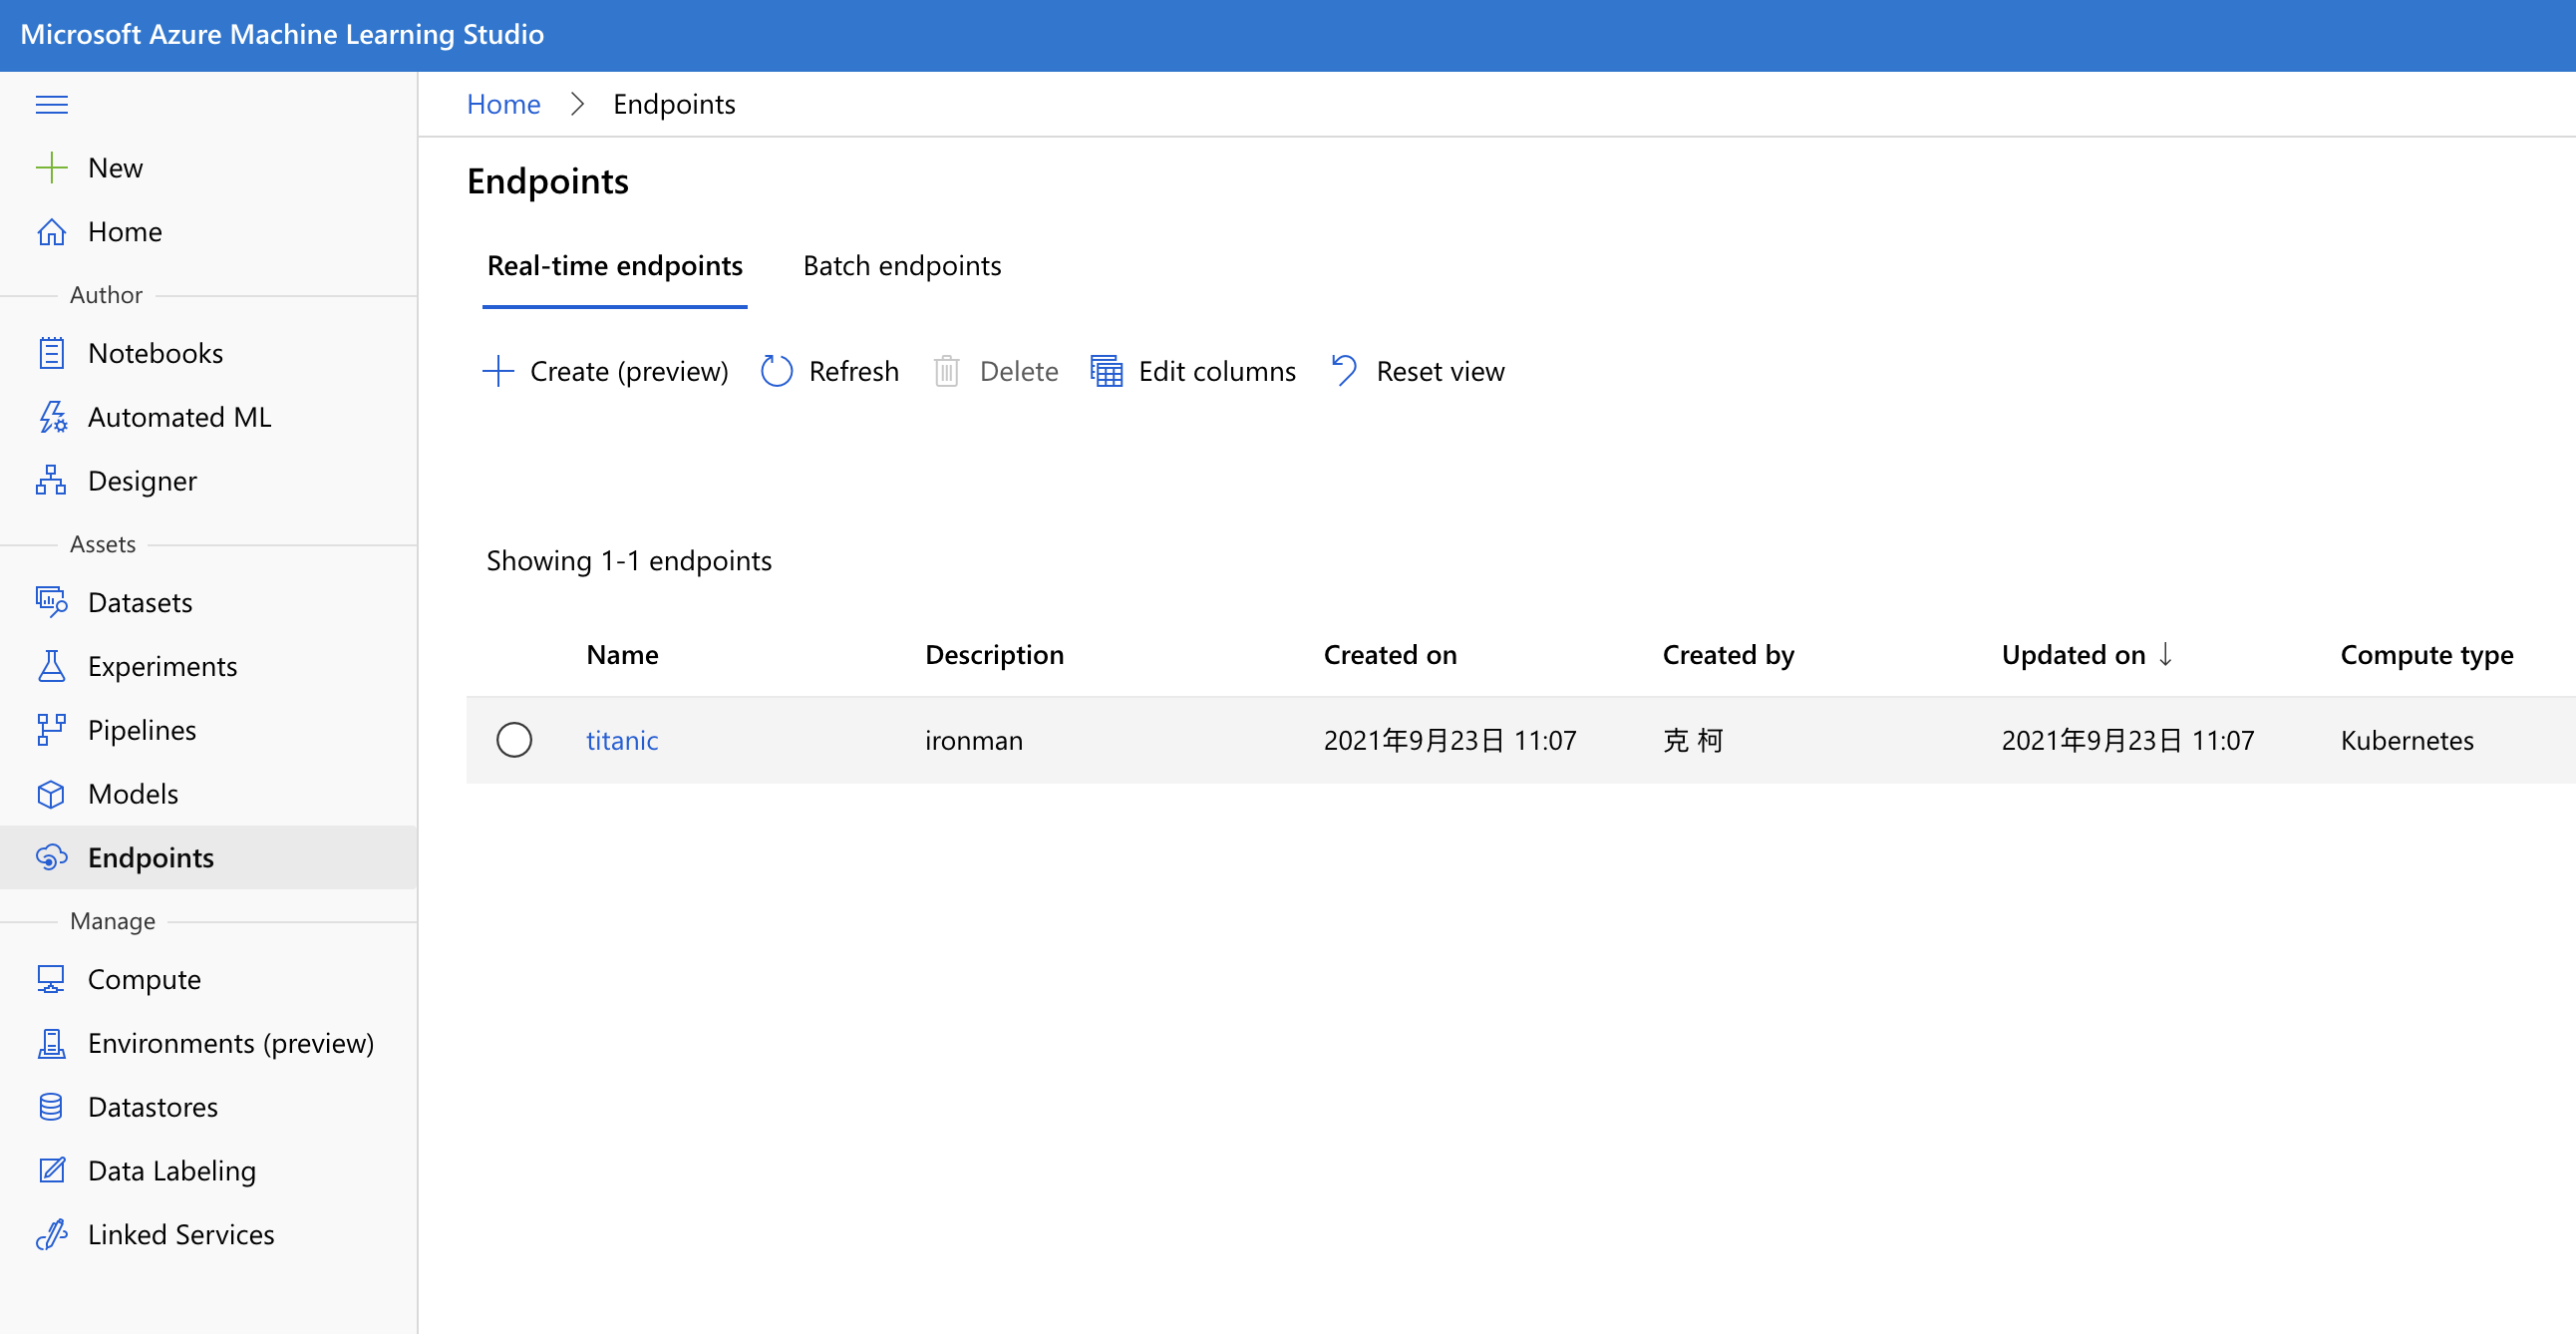
  6. 點進去後,我們可以看到詳細的資訊,最重要的就是 endpoint 的網址了。還有 Swagger 的文件也幫你生成好了。
    Deploy Model with Design in Azure machine learning

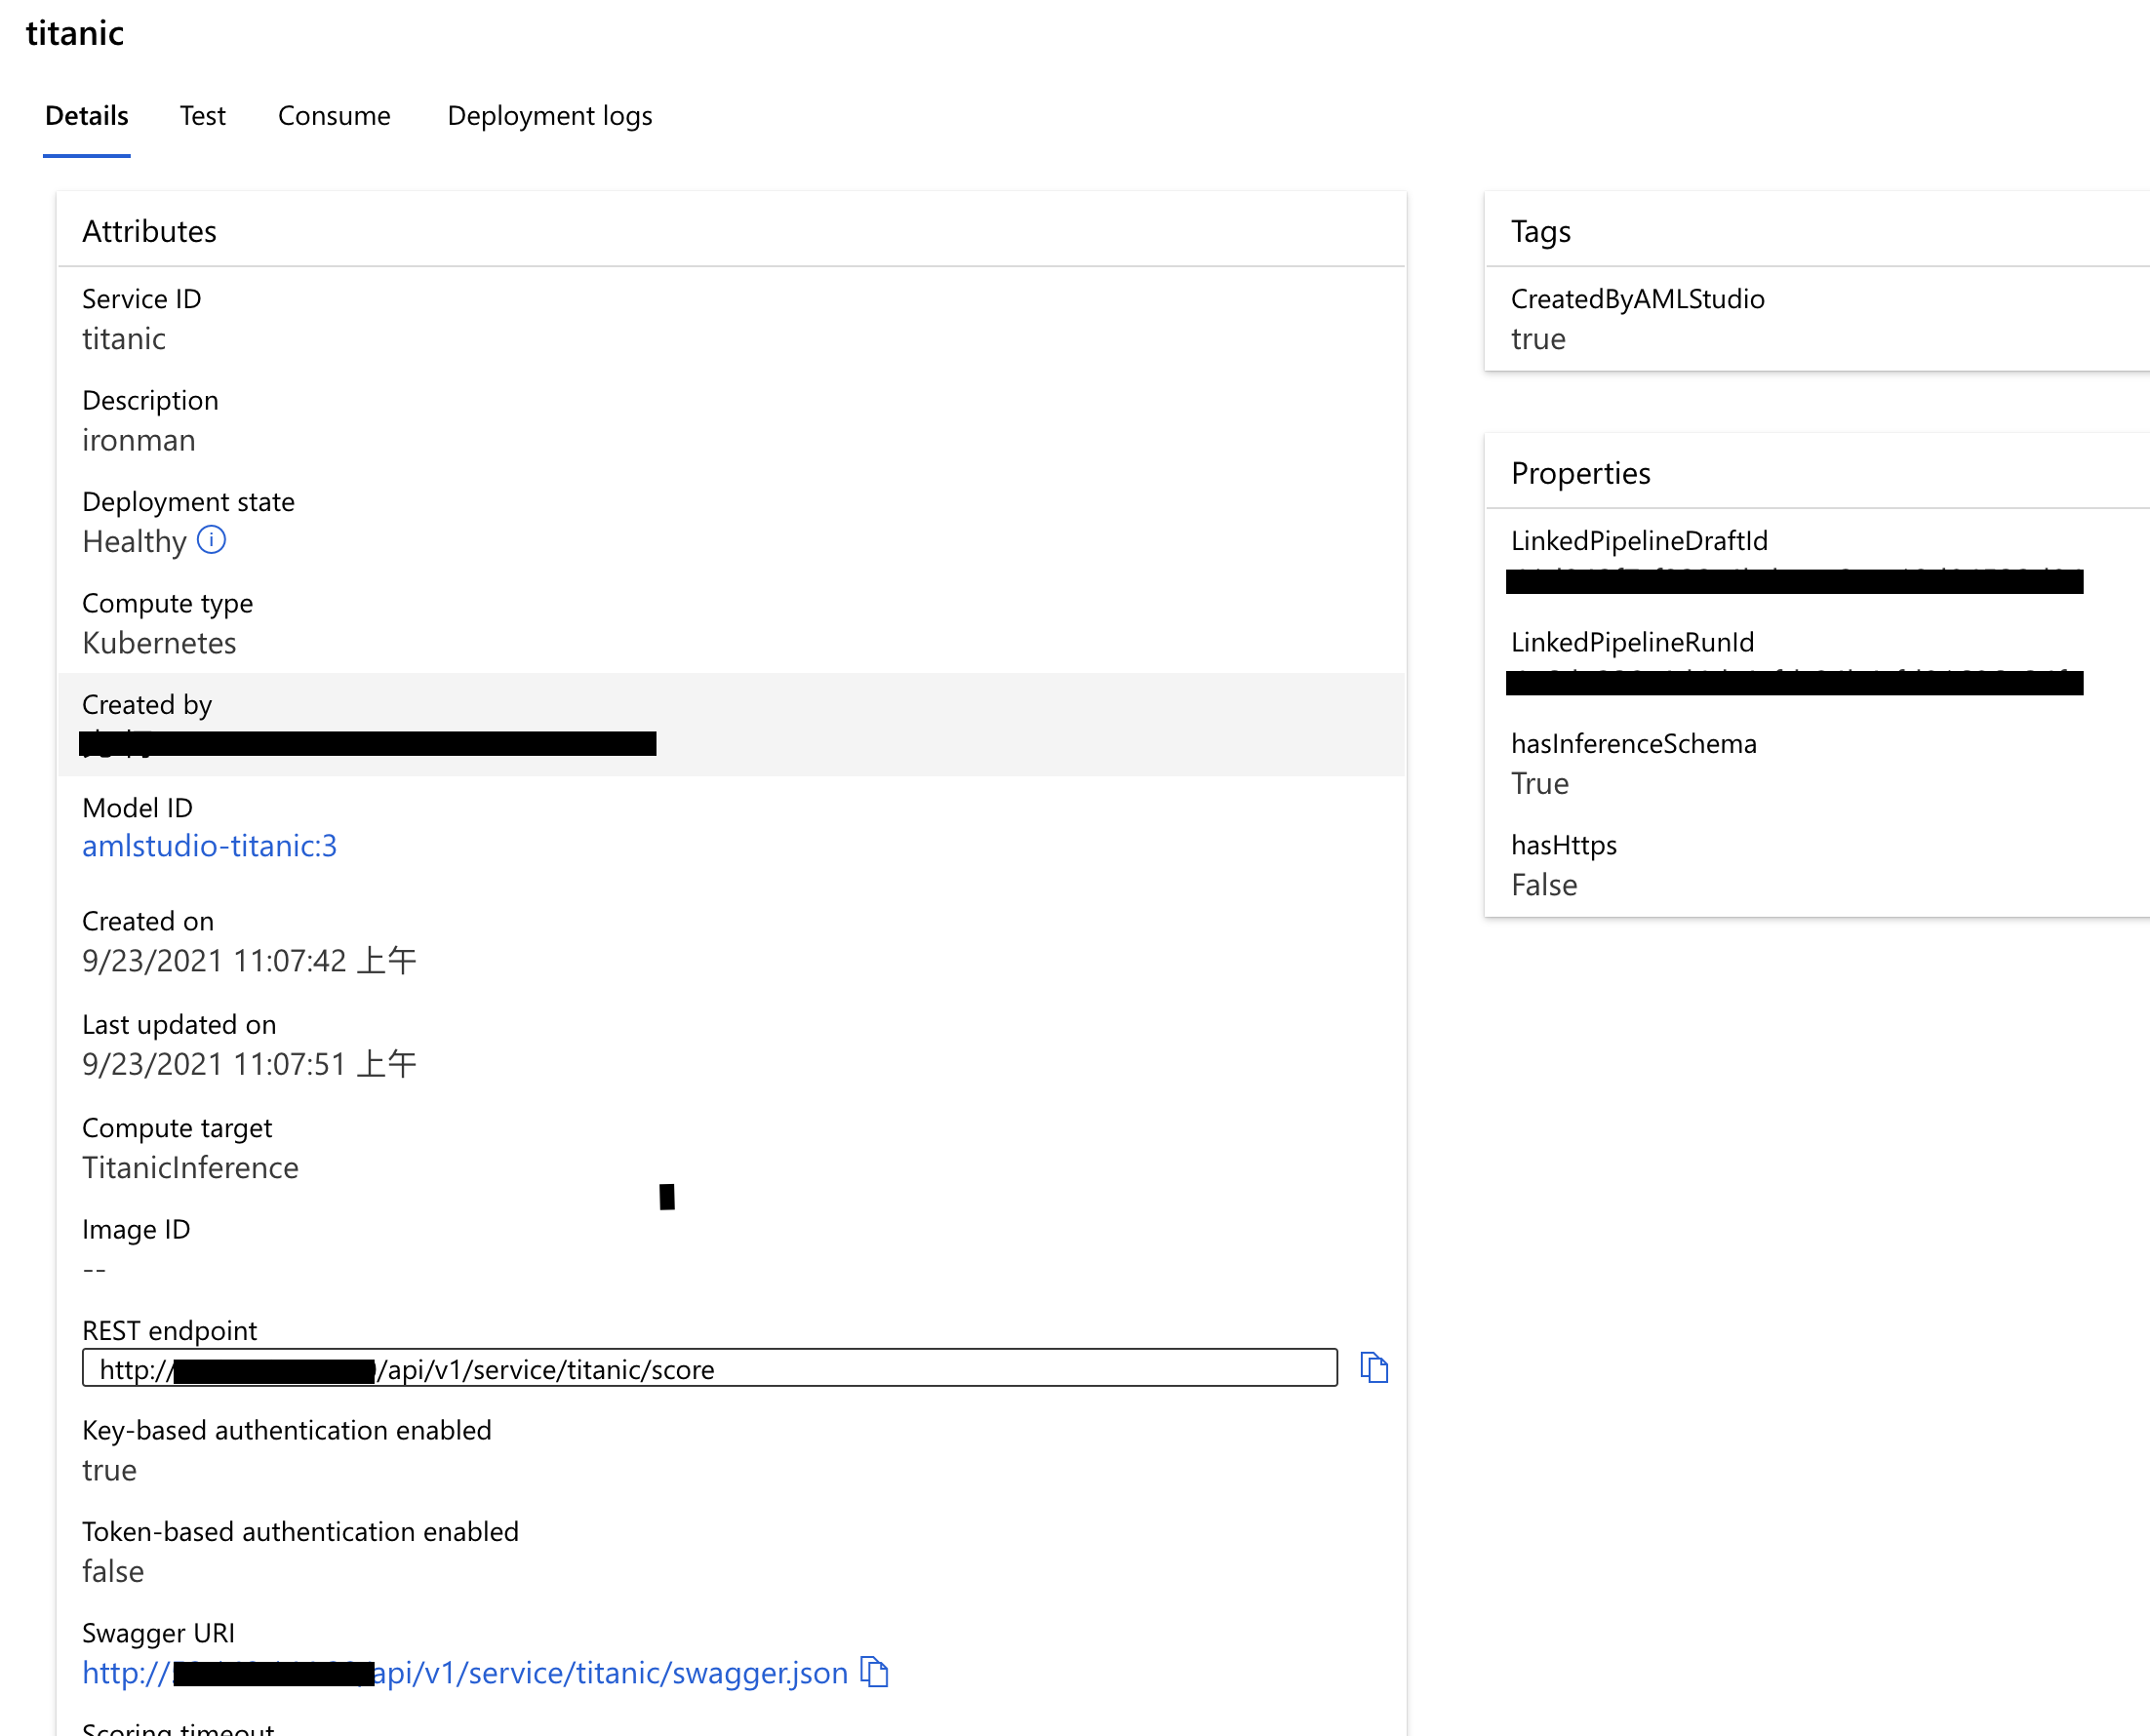
  7. 我們點擊 Test 那個分頁,有圖形化介面可以讓你測試這個 API。
    Deploy Model with Design in Azure machine learning

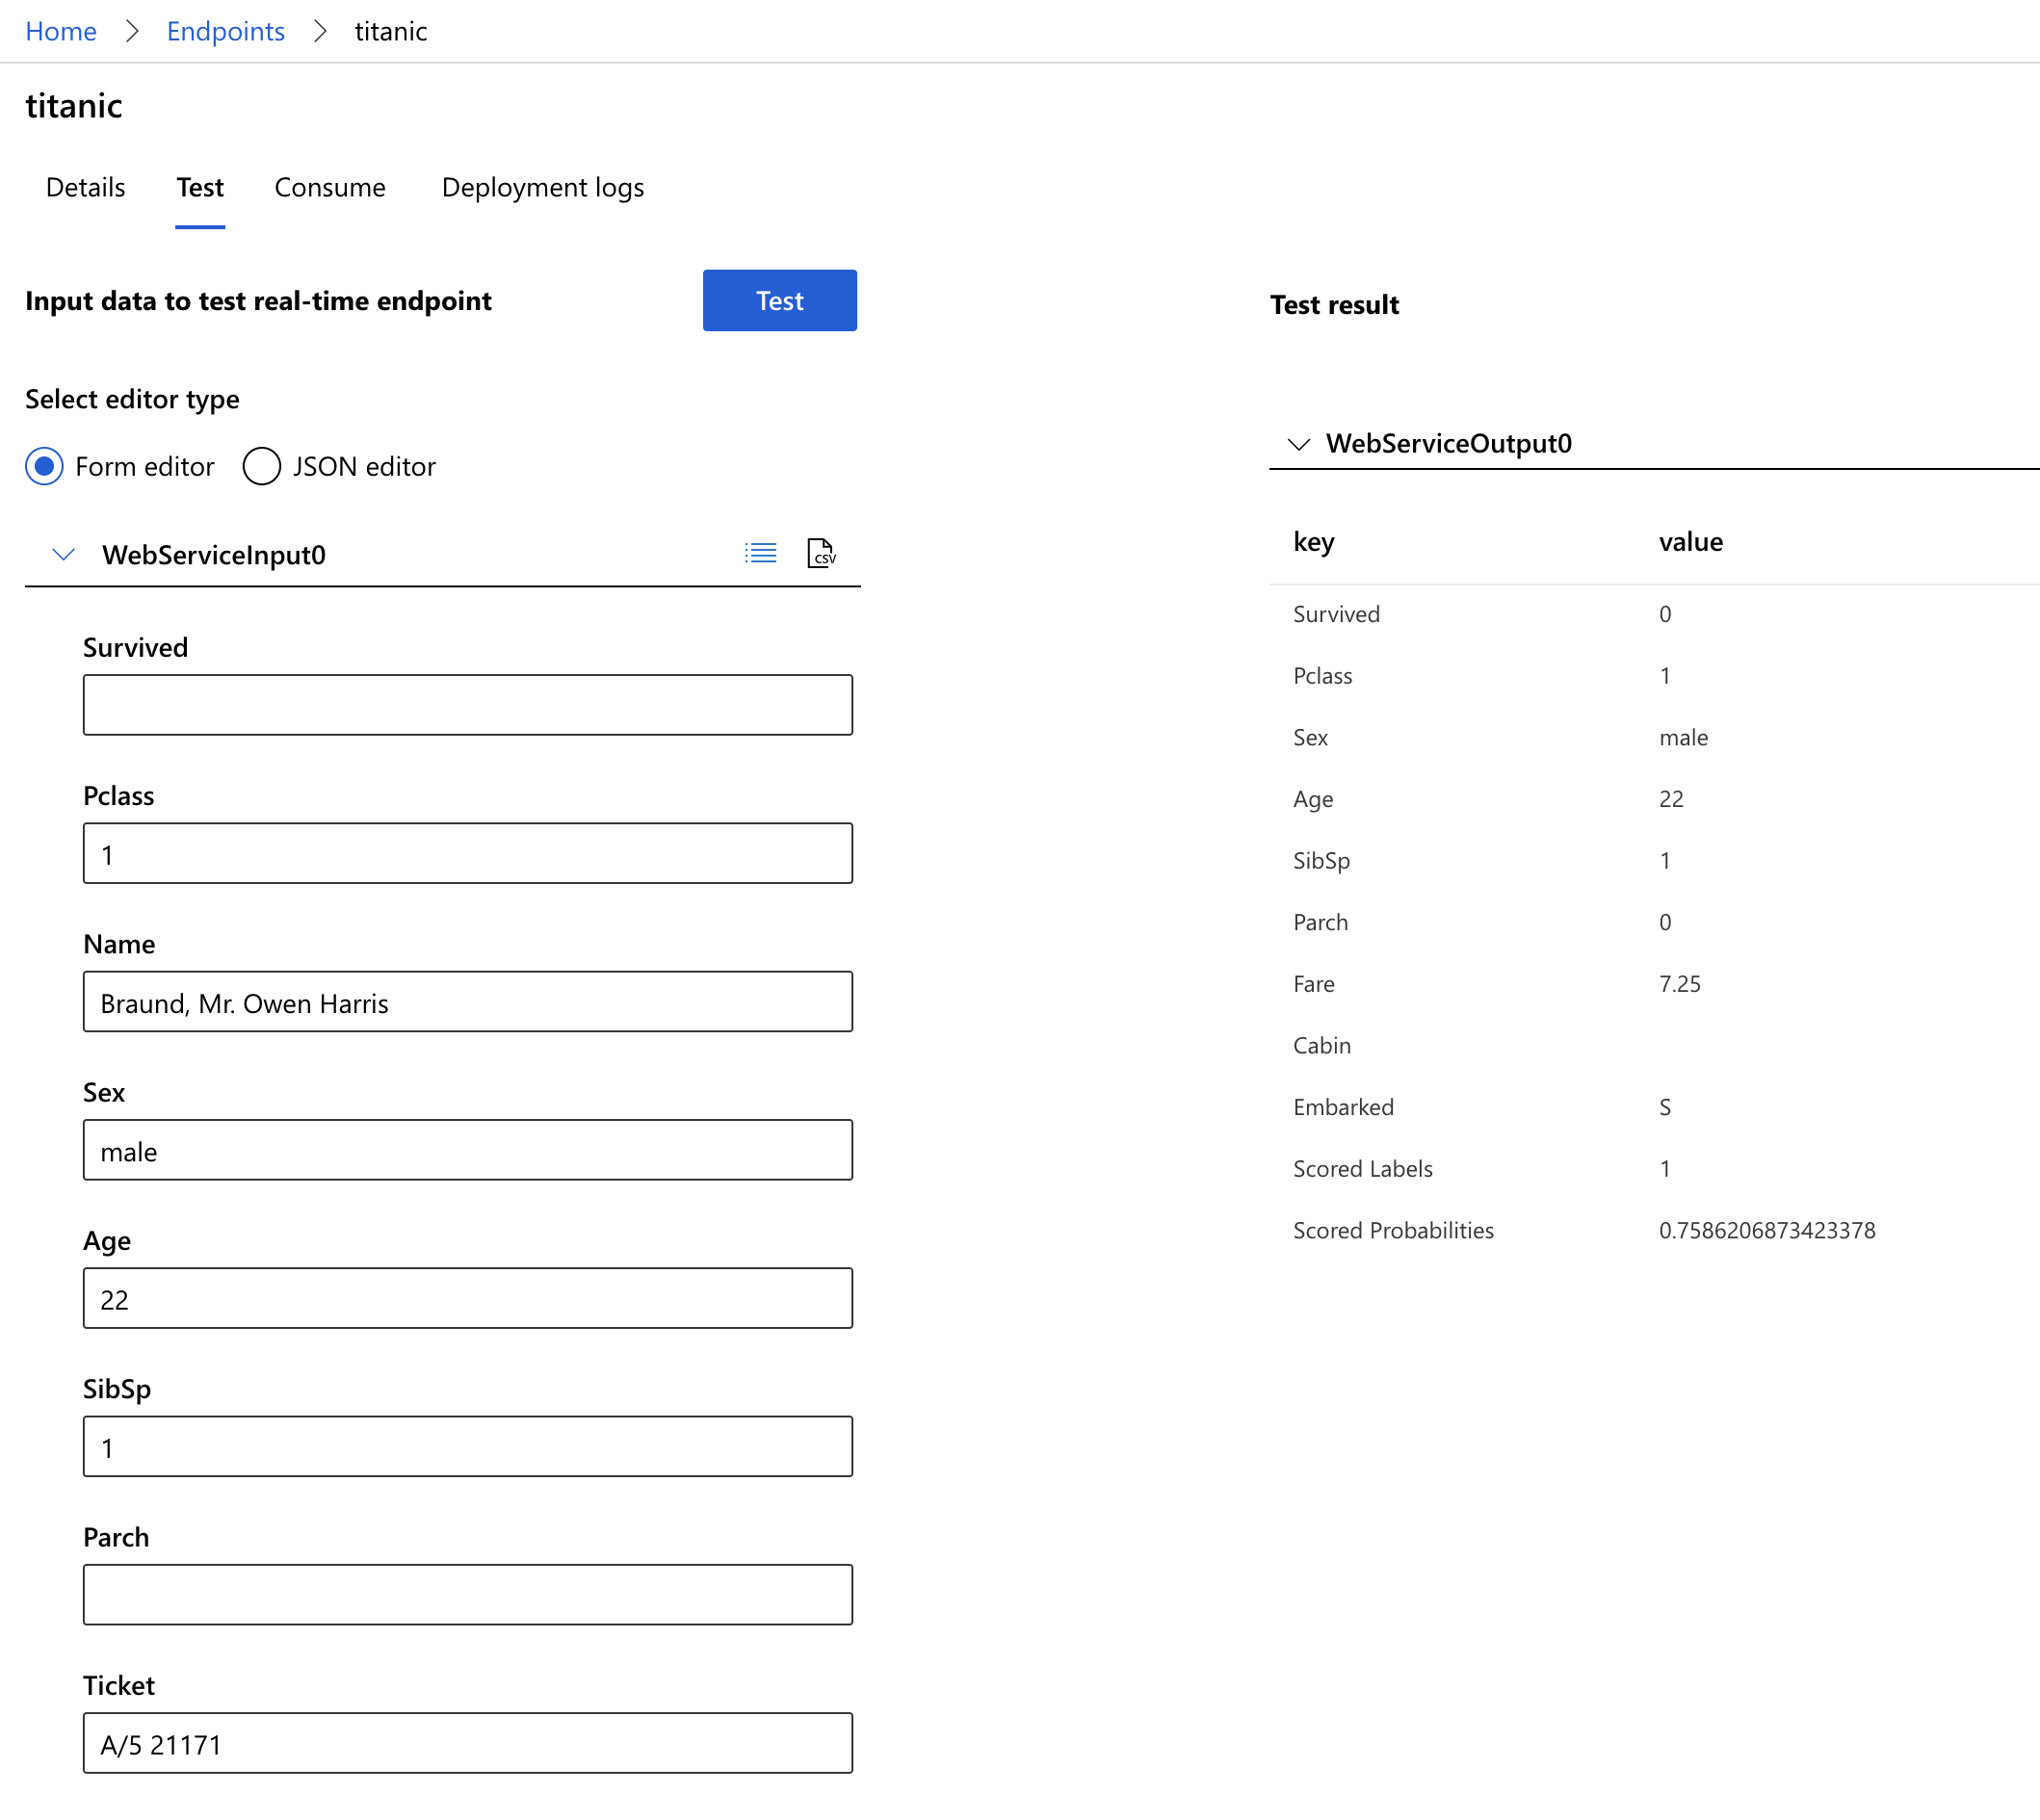
  8. 我們點擊 Comsume 那個分頁,有使用這支 API 的資訊,還有要附上的 KEY。甚至連程式碼都幫你準備好了,真的太貼心了!!
    Deploy Model with Design in Azure machine learning

今天就完成了我們的 Web API 的部署啦!是不是很容易,而且也很方便呢!


上一篇
[DAY07] 開始用 Designer 在 Azure Machine Learning 做 AI
下一篇
[DAY09] 部署用 Designer 做好的 Pipeline 到 Batch
系列文
一起學習 Azure Machine Learning 30
圖片
  直播研討會
圖片
{{ item.channelVendor }} {{ item.webinarstarted }} |
{{ formatDate(item.duration) }}
直播中

1 則留言

我要留言

立即登入留言