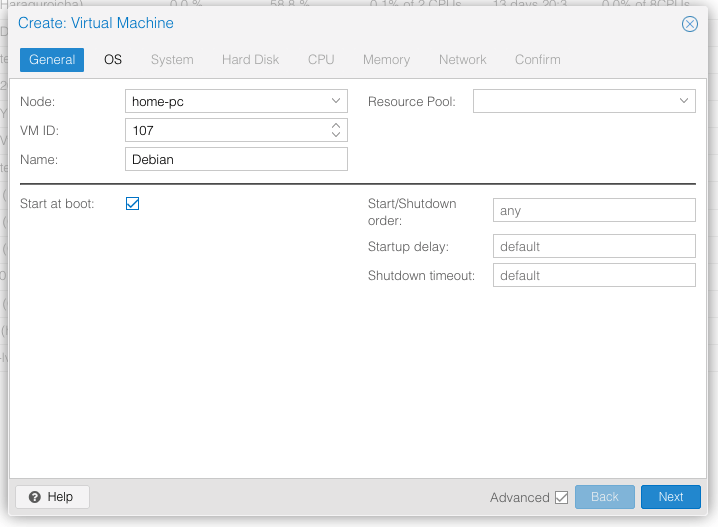
那這次我們決定使用 Debian 11 作為系統
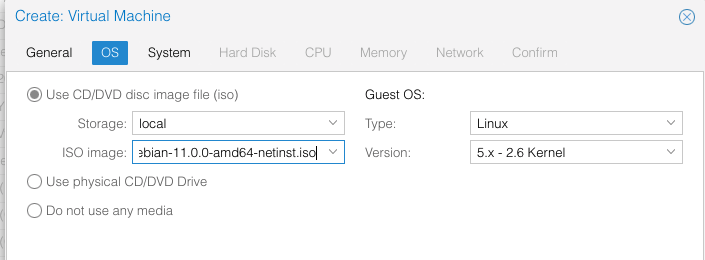
首先,進入 Debian 官網下載 ISO,也可透過以下連結來下載。
https://cdimage.debian.org/debian-cd/current/amd64/iso-dvd/
需求如下
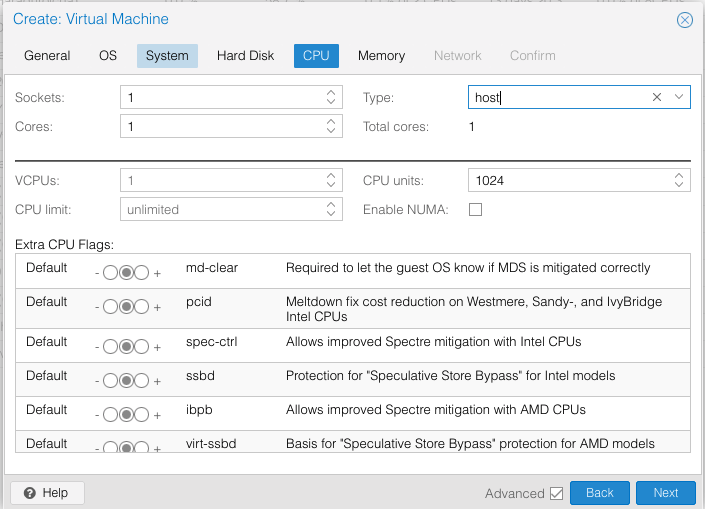
CPU: 2C
RAM: 2G RAM
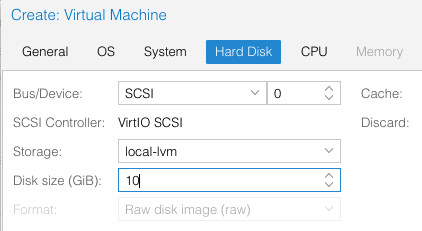
Disk: 10G

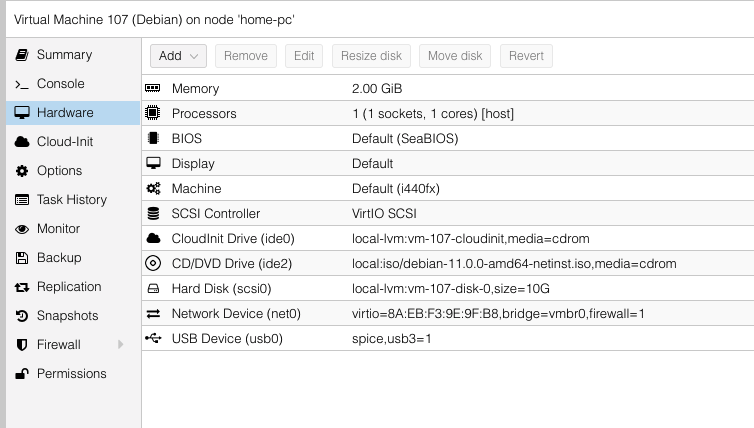
首先,我們先到 Hardware 的部分,新增兩個硬體。
新增好之後,就會長這樣。
接著點選左邊的 Cloud-Init,依序設定,並按 Regenerate Image

設定好 Cloud-Init 後,我們要在 VM 內安裝
輸入這個指令來安裝 sudo apt install cloud-init -y
然後使用 sudo cloud-init init
就會部署了(或是重開機也可以)


 iThome鐵人賽