firebase sdk 是 firebase 官方推出和 firebase 互動的套件,支援很多不同語言,像是 Node.js、Java 、Python 、Go 、C# 等各種語言。
angular fire 則是包裝 firebase sdk 套件,支援 typescript 和 rxjs 與整合 angular 的套件,可以使用 angular 的方式去操作 angular
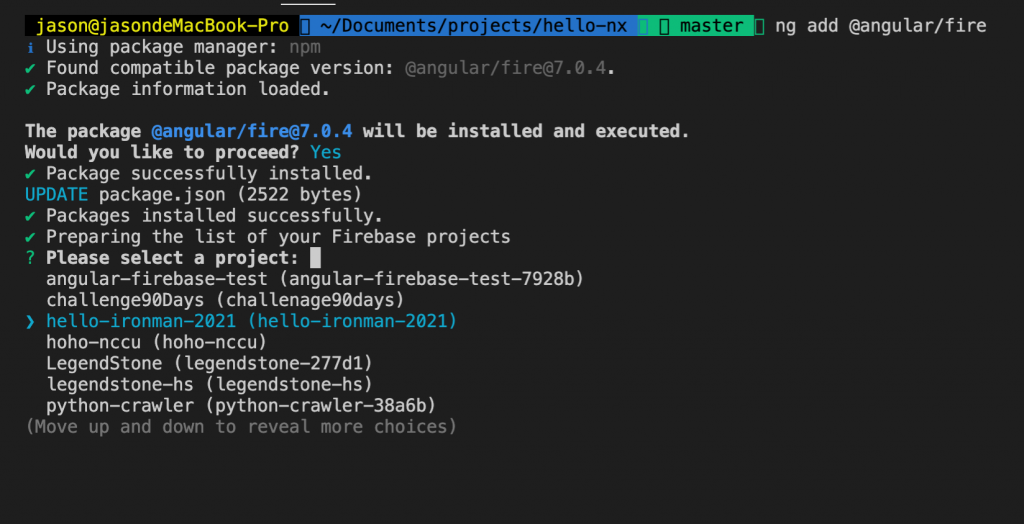
安裝 angular fire 同樣非常簡單,使用 ng add 的指令就好了
ng add @angular/fire
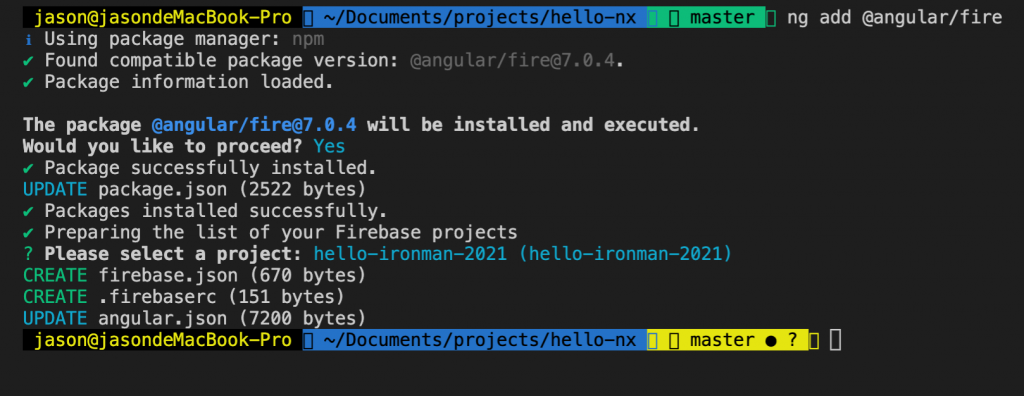
安裝的過程會詢問要與哪個 firebase 專案連結
選完就安裝完囉
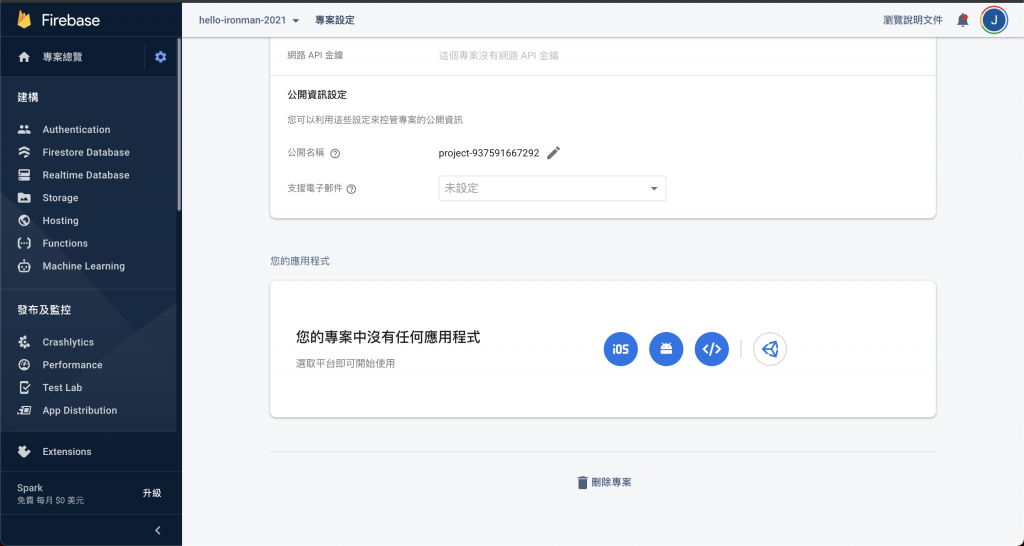
接下來要取得 firebase 金鑰,將金鑰設定到專案裡面
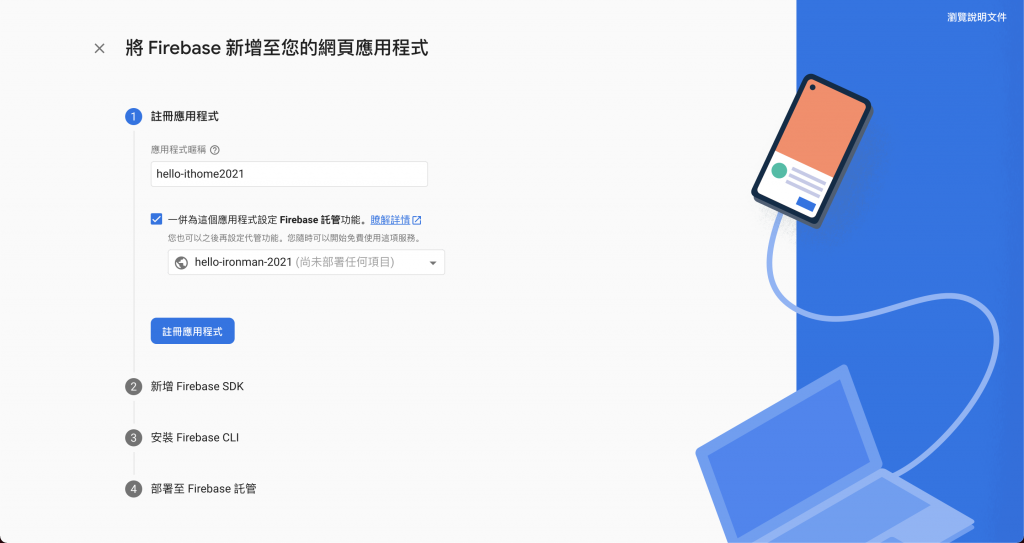
左上角的 齒輪點擊之後,再點 一般設定 ,移到下面,點擊web的按鈕
設定託管資訊,同時可以將託管的框框打勾, 啟用hosting的功能之後可以將成品部署在上面
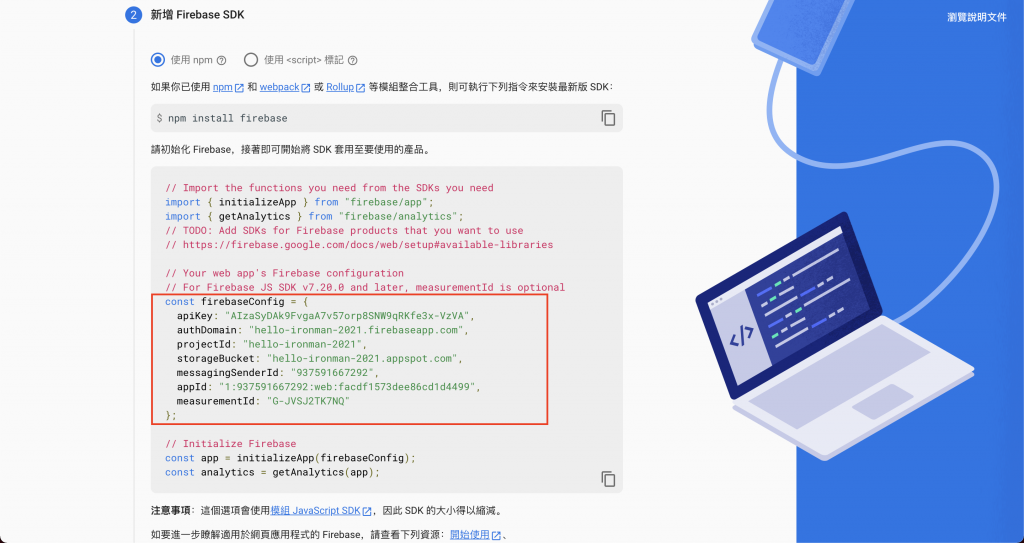
下一步可以看到要求你先安裝 firebase 套件,但由於已經安裝了 angular fire ,所以可以略過不管。只要記住下面的設定就好了
記住,這些都是敏感資訊,只要有這些資訊都可以連線並操控資料庫,所以務必要保管好。由於這是示範的,才會這樣大方顯示出來
接下來打開自己的專案的 environment.ts 與 environment.prod.ts將金鑰的內容,寫在環境檔案當中,讓開發的時候與編譯成正式產品的時候,都可以連結到同一個位置
會像這樣
export const environment = {
  production: false,
  firebase: {
    apiKey: 'AIzaSyDAk9FvgaA7v57orp8SNW9qRKfe3x-VzVA',
    authDomain: 'hello-ironman-2021.firebaseapp.com',
    projectId: 'hello-ironman-2021',
    storageBucket: 'hello-ironman-2021.appspot.com',
    messagingSenderId: '937591667292',
    appId: '1:937591667292:web:facdf1573dee86cd1d4499',
    measurementId: 'G-JVSJ2TK7NQ',
  },
};
安裝firebase CLI ,之後就可以一鍵部署到 firebase 上面
npm install -g firebase-tools
打開專案開始為專案設定firebase
firebase login
firebase init
這樣就設定完囉,之後如果要部署,只要輸入指令,就可以一鍵部署了
firebase deploy
在app.module.ts引入 AngularFireModule ,並且將環境變數檔案的firebase設定引入
import { BrowserModule } from '@angular/platform-browser';
import { NgModule } from '@angular/core';
import { AppComponent } from './app.component';
import { AngularFireModule } from '@angular/fire/compat';
import { environment } from '../environments/environment';

@NgModule({
  imports: [
    BrowserModule,
		// 引入 angular fire 模組
    AngularFireModule.initializeApp(environment.firebase)
  ],
  declarations: [ AppComponent ],
  bootstrap: [ AppComponent ]
})
export class AppModule {}
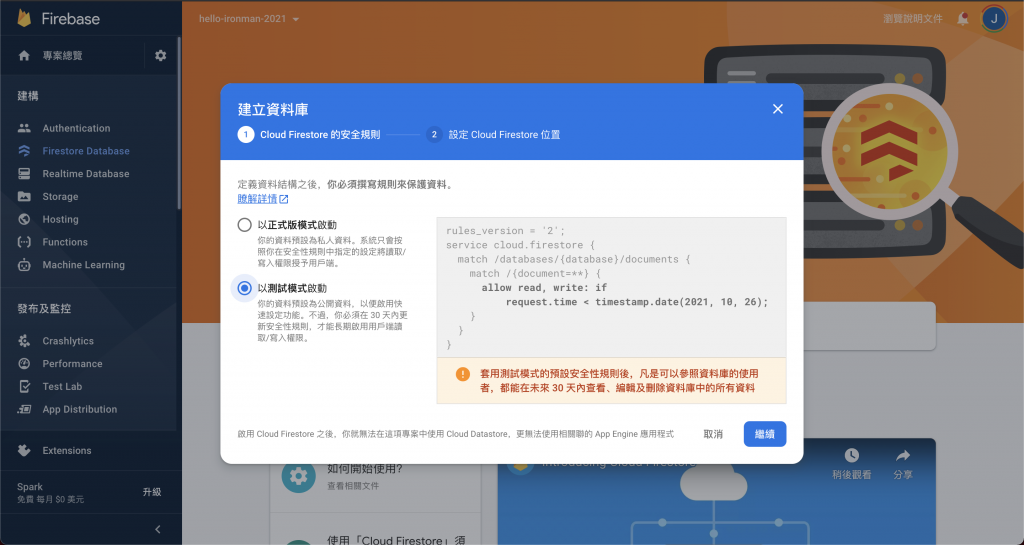
到firebase 的 Firestore Database 頁面點起啟動服務,並且以測試模式啟動
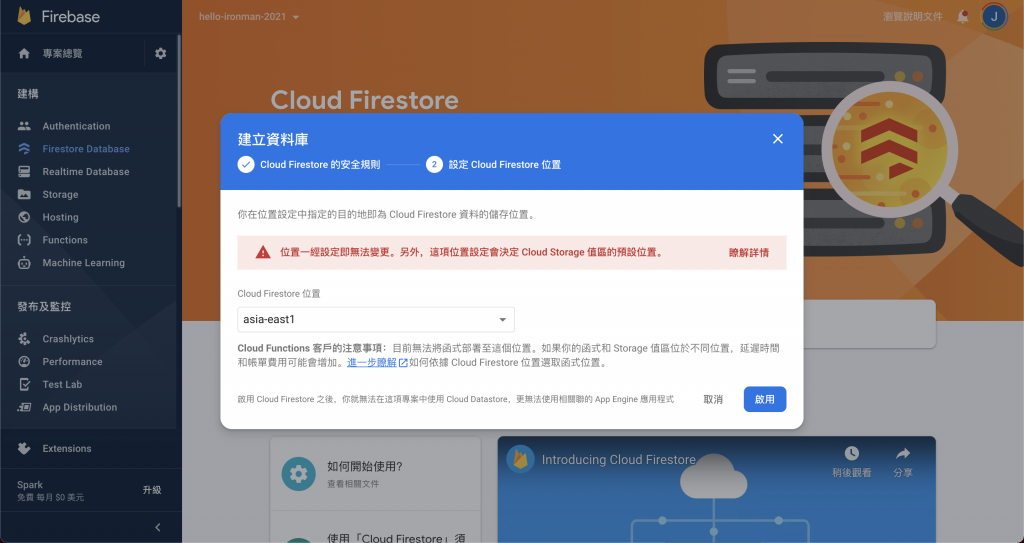
接下來會問你要將資料庫建立在哪個地區,預設會在美國,但是也可以選 asia-east1 ,會建立在google 在台灣的彰化機房
建立完成之後,隨意在資料庫新增幾筆資料
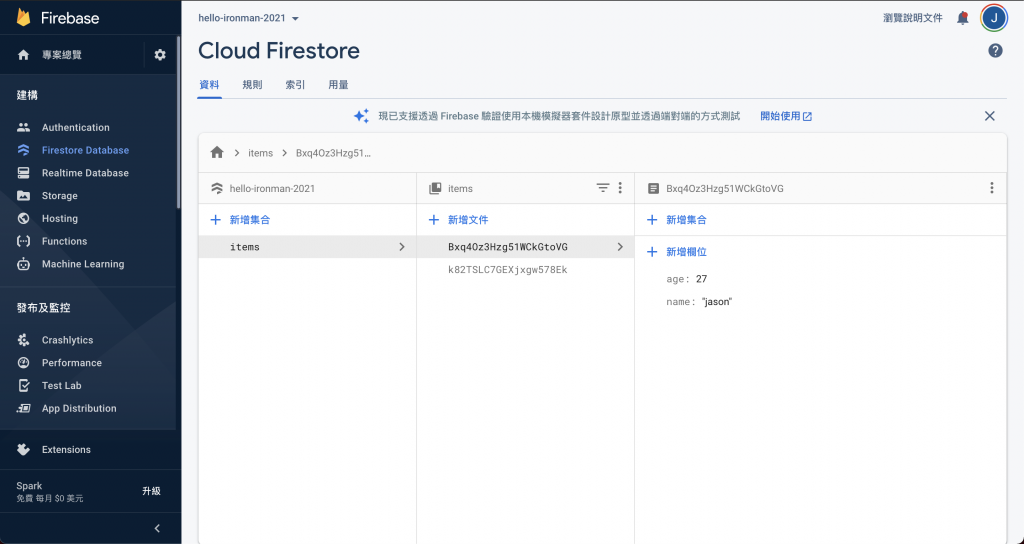
好了,這樣設定就大功告成了,接下來來測試一下是否可以成功連接資料庫吧
在 app.component.ts
import { Component } from '@angular/core';
import { AngularFirestore } from '@angular/fire/compat/firestore';
import { Observable } from 'rxjs';

@Component({
  selector: 'app-root',
  templateUrl: 'app.component.html',
  styleUrls: ['app.component.css']
})
export class AppComponent {
  items: Observable<any[]>;
  constructor(firestore: AngularFirestore) {
    this.items = firestore.collection('items').valueChanges();
  }
}
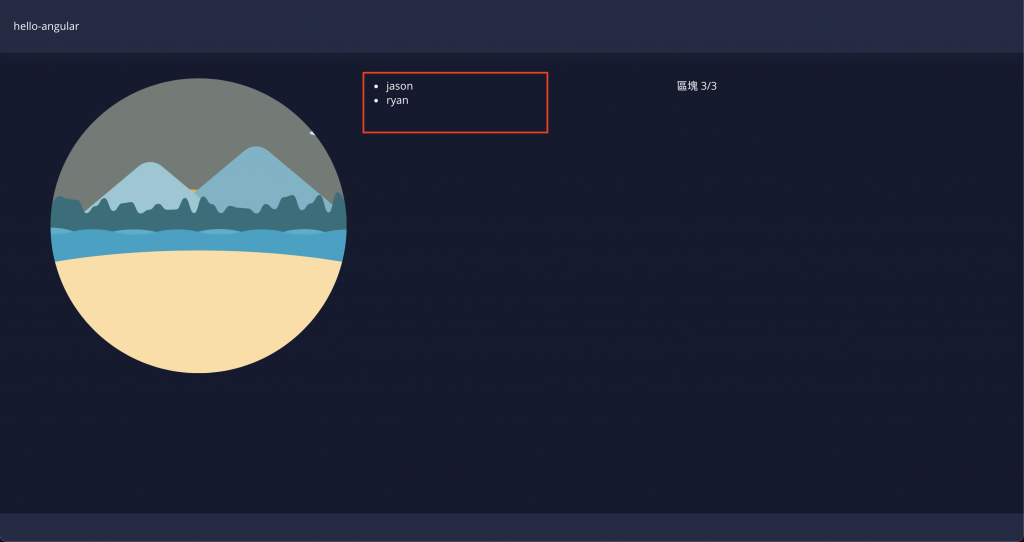
在 app.component.html
<ul>
  <li class="text" *ngFor="let item of items | async">
    {{item.name}}
  </li>
</ul>
打開頁面看,就可以看到剛剛在資料庫新增的資料囉