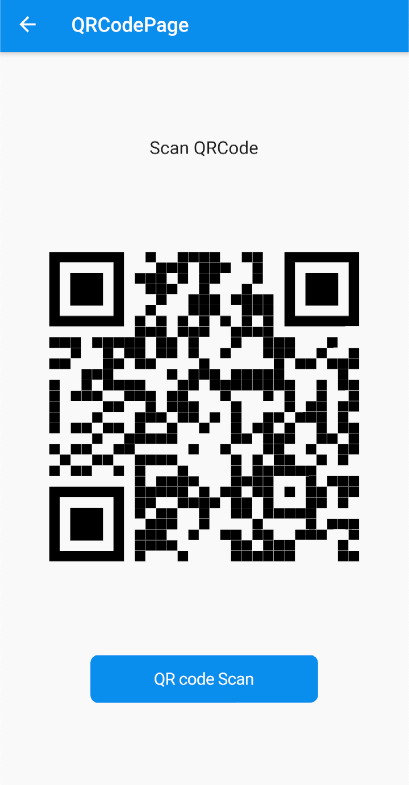
Page的部分 用column分配元件位置
中間的QrImage 外層包了一個GesutreDetector, 接收點擊事件
gapless屬性則是可以調整QRCode的方格之間有沒有一個小的gap細線分割
class QRCodePage extends GetView<QRCodePageController> {
  @override
  Widget build(BuildContext context) {
    return Scaffold(
        appBar: AppBar(title: Text('QRCodePage')),
        body: SafeArea(
            child: SizedBox.expand(
          child: Column(
            mainAxisAlignment: MainAxisAlignment.spaceEvenly,
            crossAxisAlignment: CrossAxisAlignment.center,
            children: [
              Text('Scan QRCode', style: TextStyle(fontSize: 18)),
              Obx(
                () => GestureDetector(
                  onTap: () => controller.isGapless = !controller.isGapless,
                  child: SizedBox(
                    height: Get.width * 0.8,
                    width: Get.width * 0.8,
                    child: QrImage(
                      data: controller.qrCodeData,
                      version: QrVersions.auto,
                      size: Get.width * 0.7,
                      gapless: controller.isGapless,
                    ),
                  ),
                ),
              ),
              CupertinoButton(
                child: Text("QR code Scan"),
                color: Colors.blue,
                onPressed: () => Get.toNamed(AppRoutes.QRCodeScanPage),
              ),
            ],
          ),
        )));
  }
}
QRCodePageController的部分
qrCodeData帶入QRCode被掃到後呈現的內容,
isGapless則是用GetX的Obx() 將Widget作Gap的變換
class QRCodePageController extends GetxController {
  final _qrCodeData = ''.obs;
  set qrCodeData(value) => this._qrCodeData.value = value;
  get qrCodeData => this._qrCodeData.value;

  final _isGapless = false.obs;
  set isGapless(value) => this._isGapless.value = value;
  get isGapless => this._isGapless.value;

  @override
  void onInit() {
    qrCodeData = 'https://ithelp.ithome.com.tw/2021ironman';
    super.onInit();
  }
}

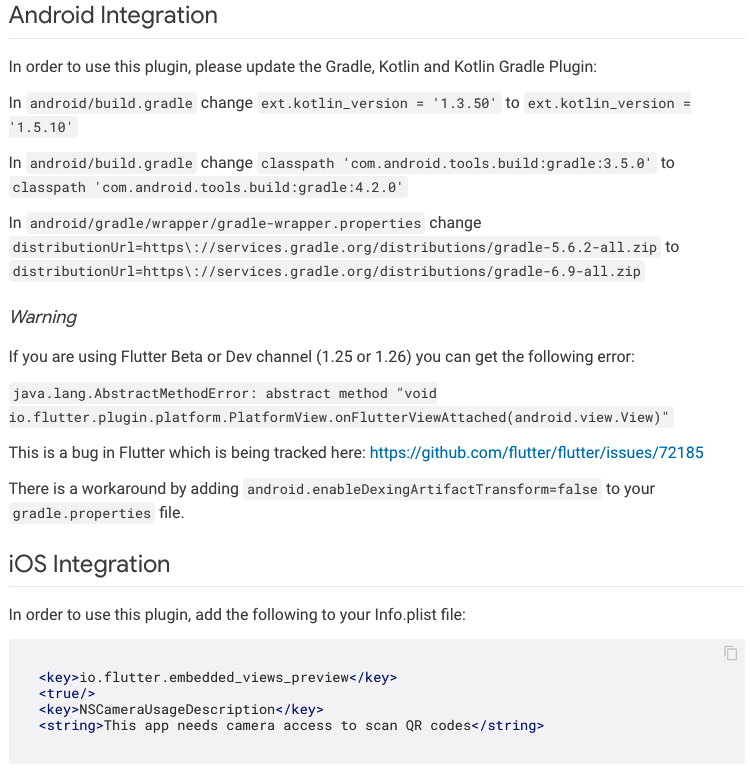
需先設定
Android的Kotlin&gradle版本
iOS info.plist的權限設定
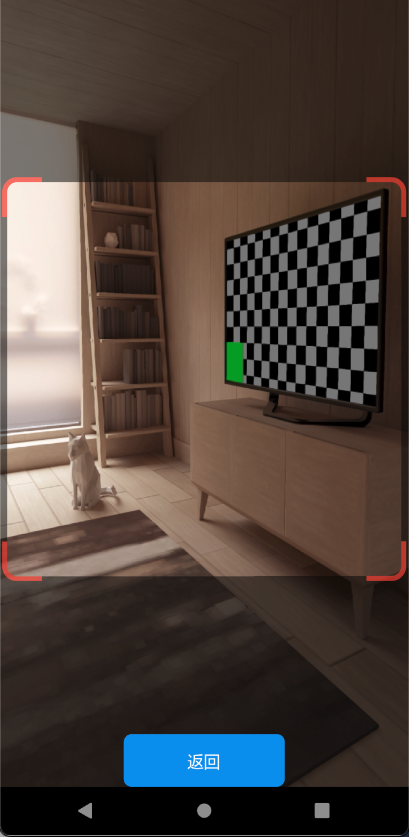
在掃描的頁面 用GetX的Obx判斷是否有掃描結果,
有 則顯示掃描到的資訊buildScanResultView(),
沒有則顯示相機等待有掃描到結果buildQrView(),
class QRCodeScanPage extends GetView<QRCodeScanPageController> {
  final GlobalKey qrKey = GlobalKey(debugLabel: 'QR');

  @override
  Widget build(BuildContext context) {
    return Scaffold(
      body: Obx(() => controller.scanResult.code == ""
          ? _buildQrView(context)
          : _buildScanResultView(context)),
    );
  }
  //掃描到的結果Widget
  Widget _buildScanResultView(BuildContext context) {
    return Container(
      child: Column(
        mainAxisAlignment: MainAxisAlignment.center,
        children: [
          Padding(
            padding: const EdgeInsets.all(8.0),
            child: Text(controller.scanResult.code),
          ),
          CupertinoButton(
            onPressed: () {
              controller.cleanScanResult();
              Get.back();
            },
            child: Text(
              "確認並返回",
              style: TextStyle(fontSize: 18),
            ),
          ),
        ],
      ),
    );
  }

  //開啟相機掃描中的Widget
  Widget _buildQrView(BuildContext context) {
    var scanArea = Get.width;
    return Stack(
      children: [
        QRView(
          key: qrKey,
          onQRViewCreated: controller.onQRViewCreated,
          overlay: QrScannerOverlayShape(
              borderColor: Colors.red,
              borderRadius: 10,
              borderLength: 30,
              borderWidth: 10,
              cutOutSize: scanArea),
        ),
        Positioned.fill(
          child: Align(
            alignment: Alignment.bottomCenter,
            child: CupertinoButton(
                color: Colors.blue,
                onPressed: () => Get.back(),
                child: Text('返回')),
          ),
        ),
      ],
    );
  }
}

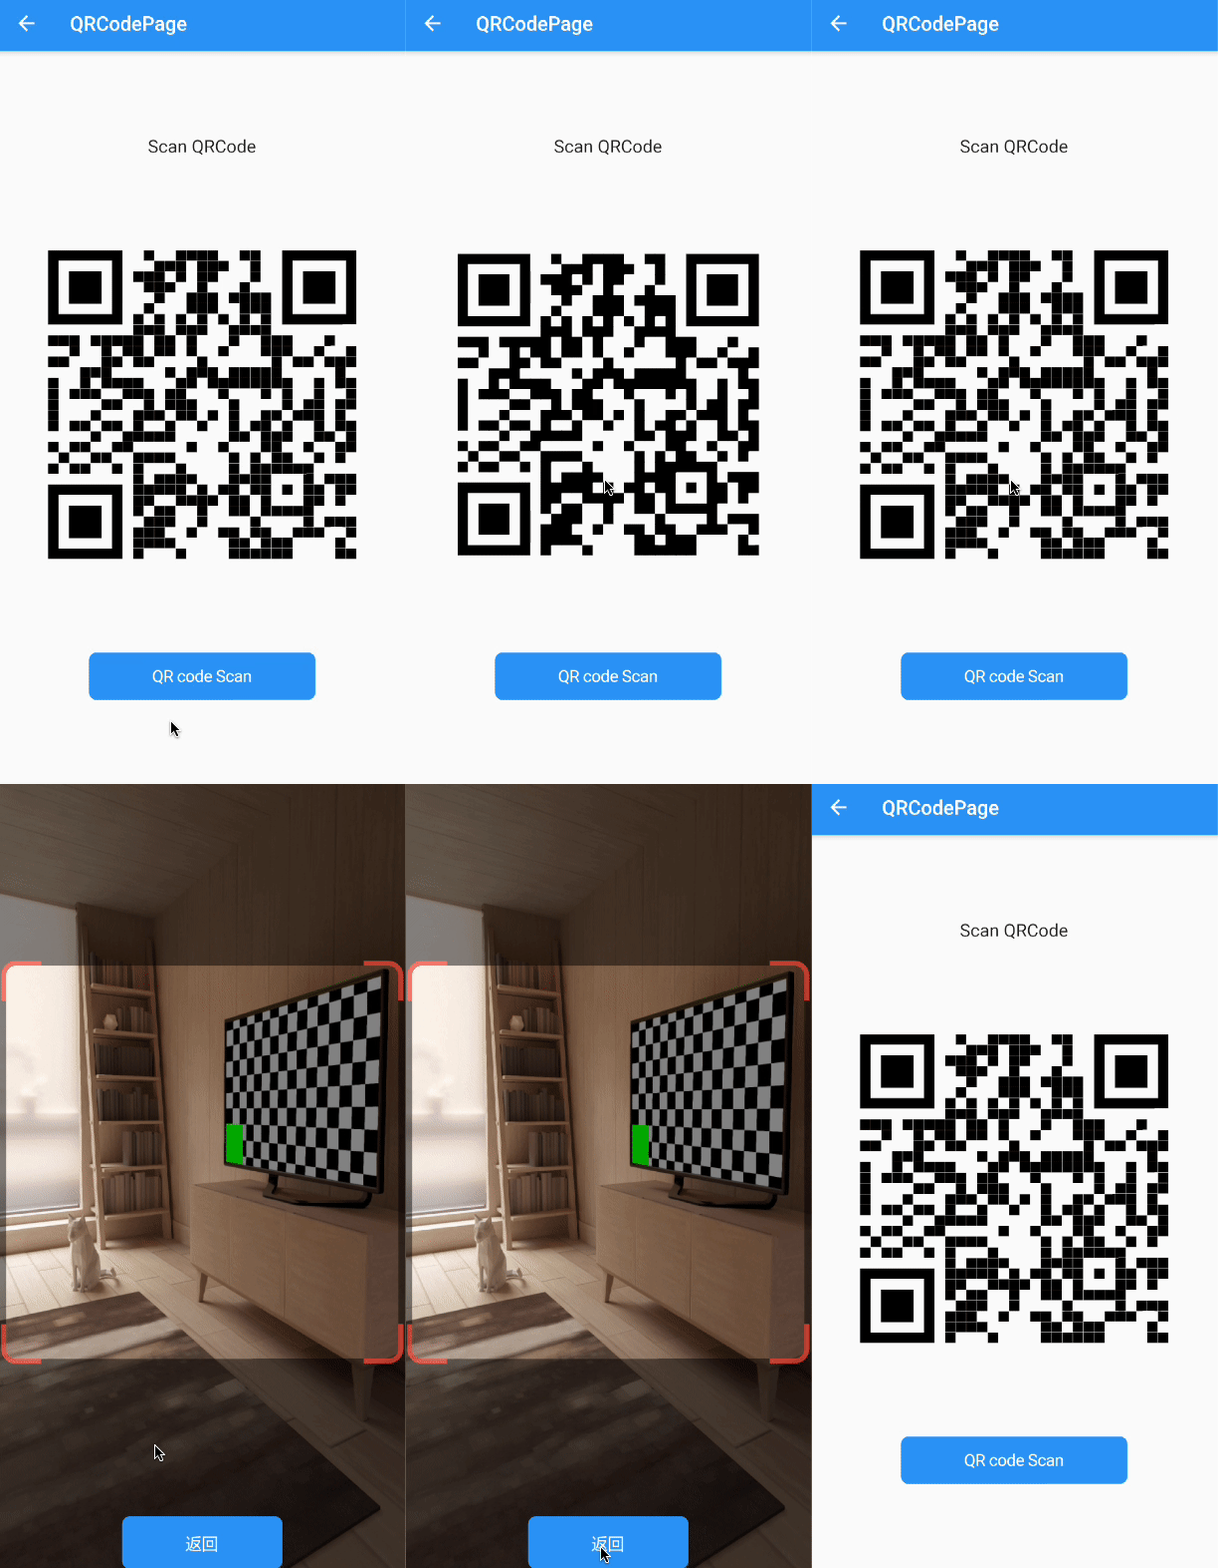
最後連貫的畫面如下
下篇將為大家介紹 animated_text_kit
