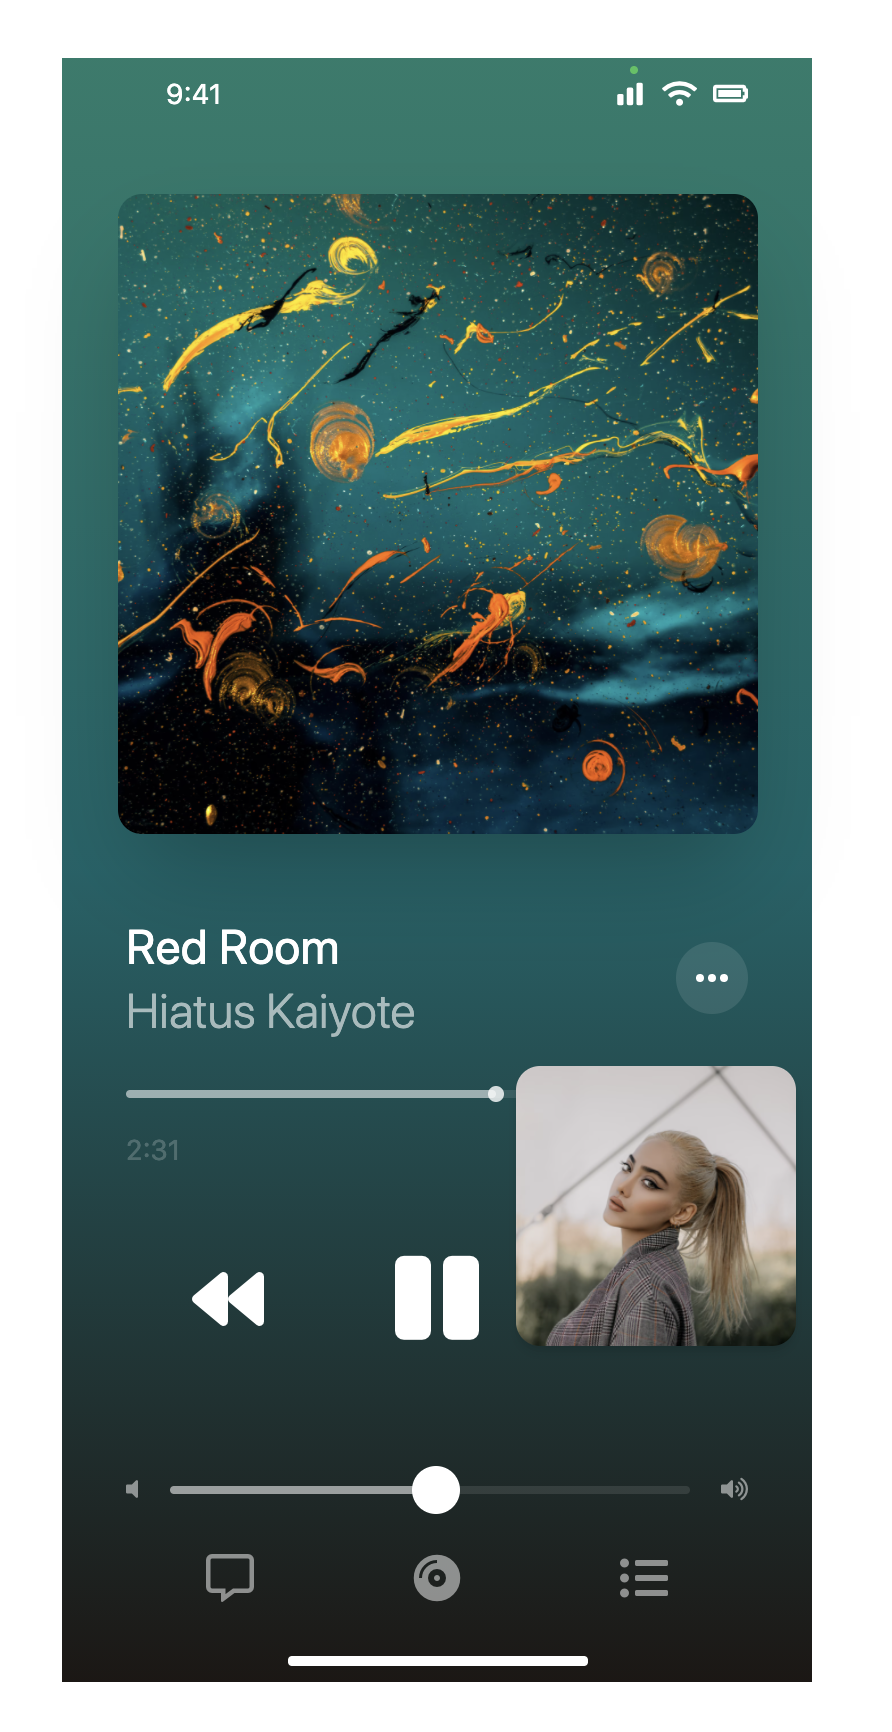
隨著 iPhone 13 發表後,前幾天 ios 15 已推出正式版,之前威爾豬的 2 篇實戰都是比較偏網頁類,這次咱們來挑戰看看用 Tailwind 做 iOS 15 介面。威爾豬在 apple官網 找了一張圖片,一樣會使用到 Font Awesome 5,Let's Go ~
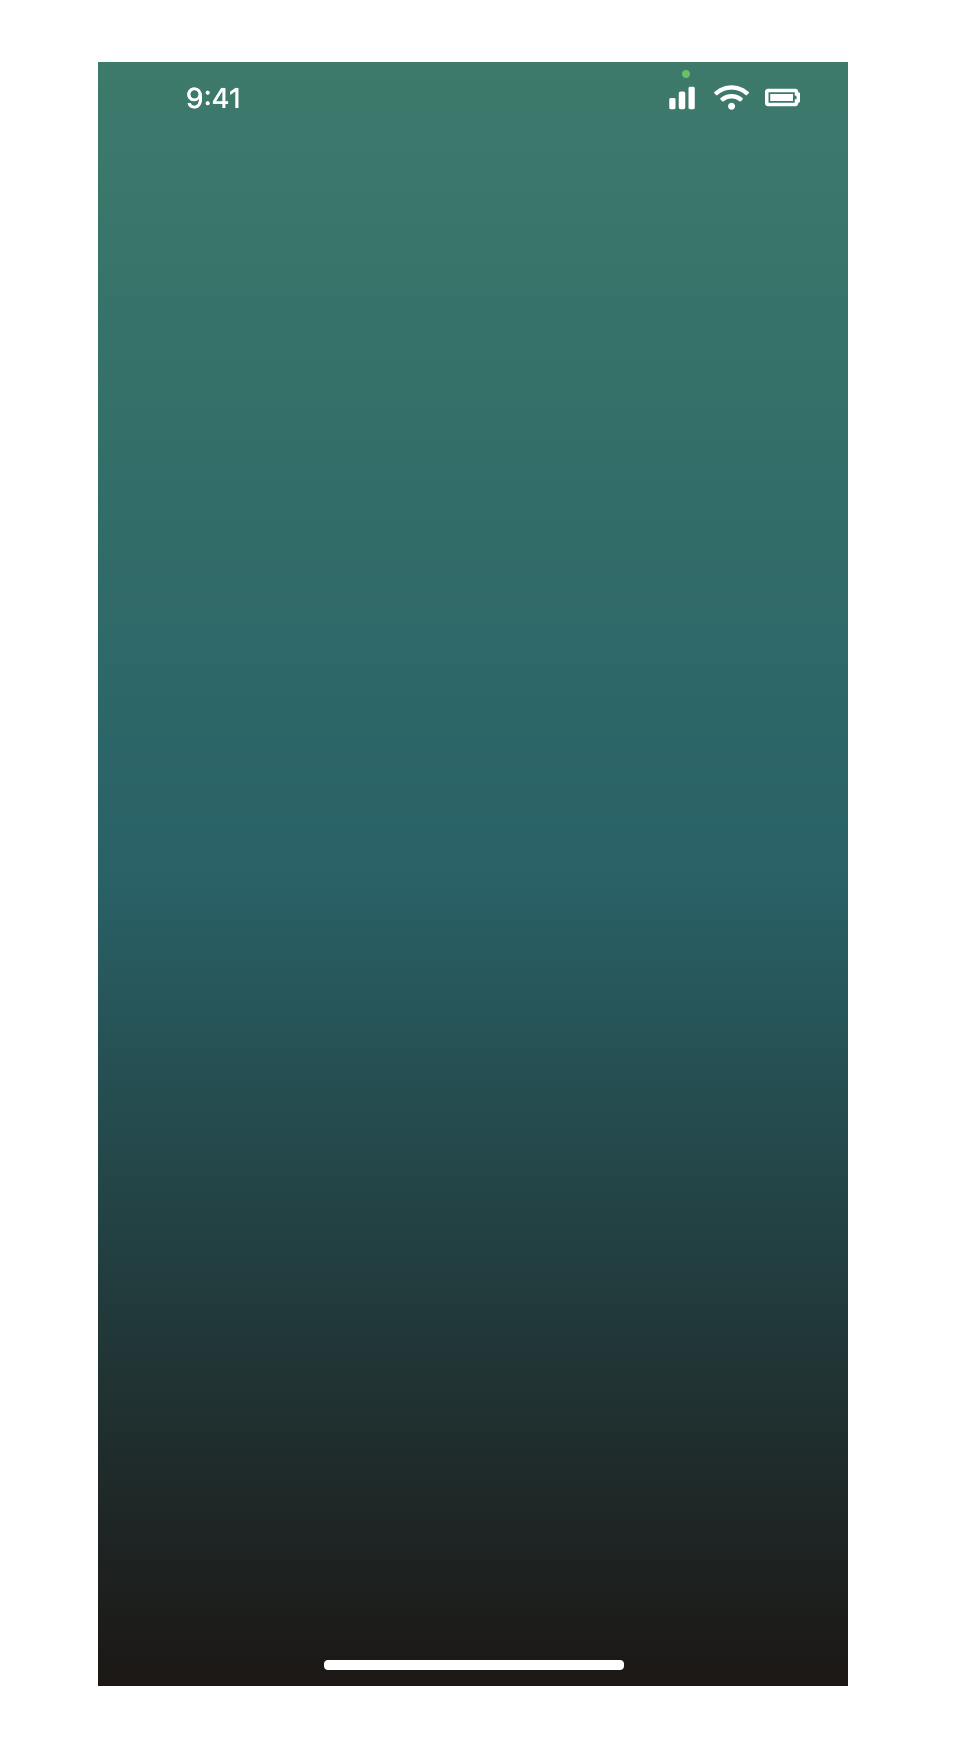
我們先創建 iPhone 尺寸,寬 375px,高 812px,然後給個上到下的綠漸層背景 (因為等等我們插入的專輯封面會和官方圖片不一樣,所以威爾豬背景色另外做)。
<div class="relative w-[375px] h-[812px] bg-gradient-to-b from-[#207c6b] via-[#016368] to-[#1C1714]"></div>

在上方我們要使用 Flex 來建立兩側的時間和 icon,並設置圖標大小、間距和顏色,注意圖標上方還有一個綠點點,下方我們使用相對定位來建立離底部 5px 的 Home Indicator。
<div class="relative w-[375px] h-[812px] ...">
  <!--   時間、icon   -->
  <div class="flex justify-between px-8 pt-2">
    <p class="text-sm text-white ml-5">9:41</p>
    <div class="relative">
      <div class="h-5 flex justify-end items-center space-x-2">
        <svg xmlns="http://www.w3.org/2000/svg" class="h-4 w-4 text-white" viewBox="0 0 20 20" fill="currentColor">
          <path d="...">
        </svg>
        <i class="fas fa-wifi text-white text-sm"></i>
        <i class="fas fa-battery-full text-white text-sm"></i>
      </div>
      <div class="absolute w-1 h-1 rounded-full bg-[#40C35C] -top-1 left-2"></div>
    </div>
  </div>

  <!--  Home Indicator  -->
  <div class="absolute w-2/5 h-[5px] rounded-full bg-white mx-auto inset-x-0 bottom-2"></div>
</div>
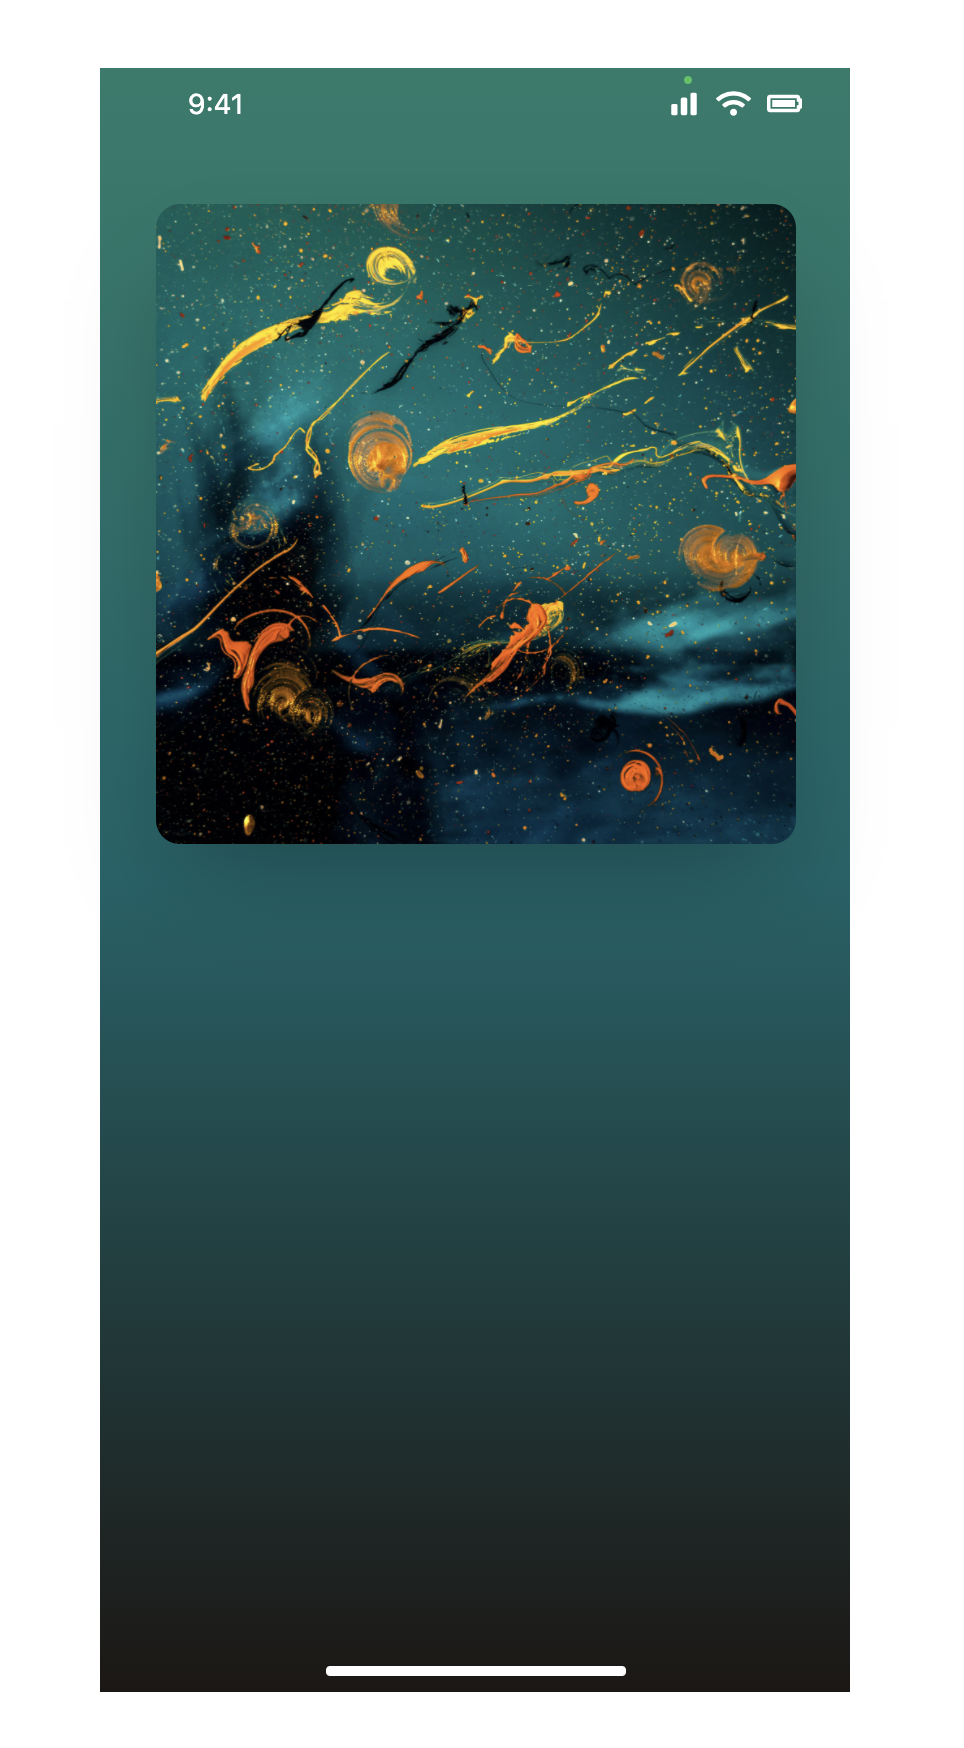
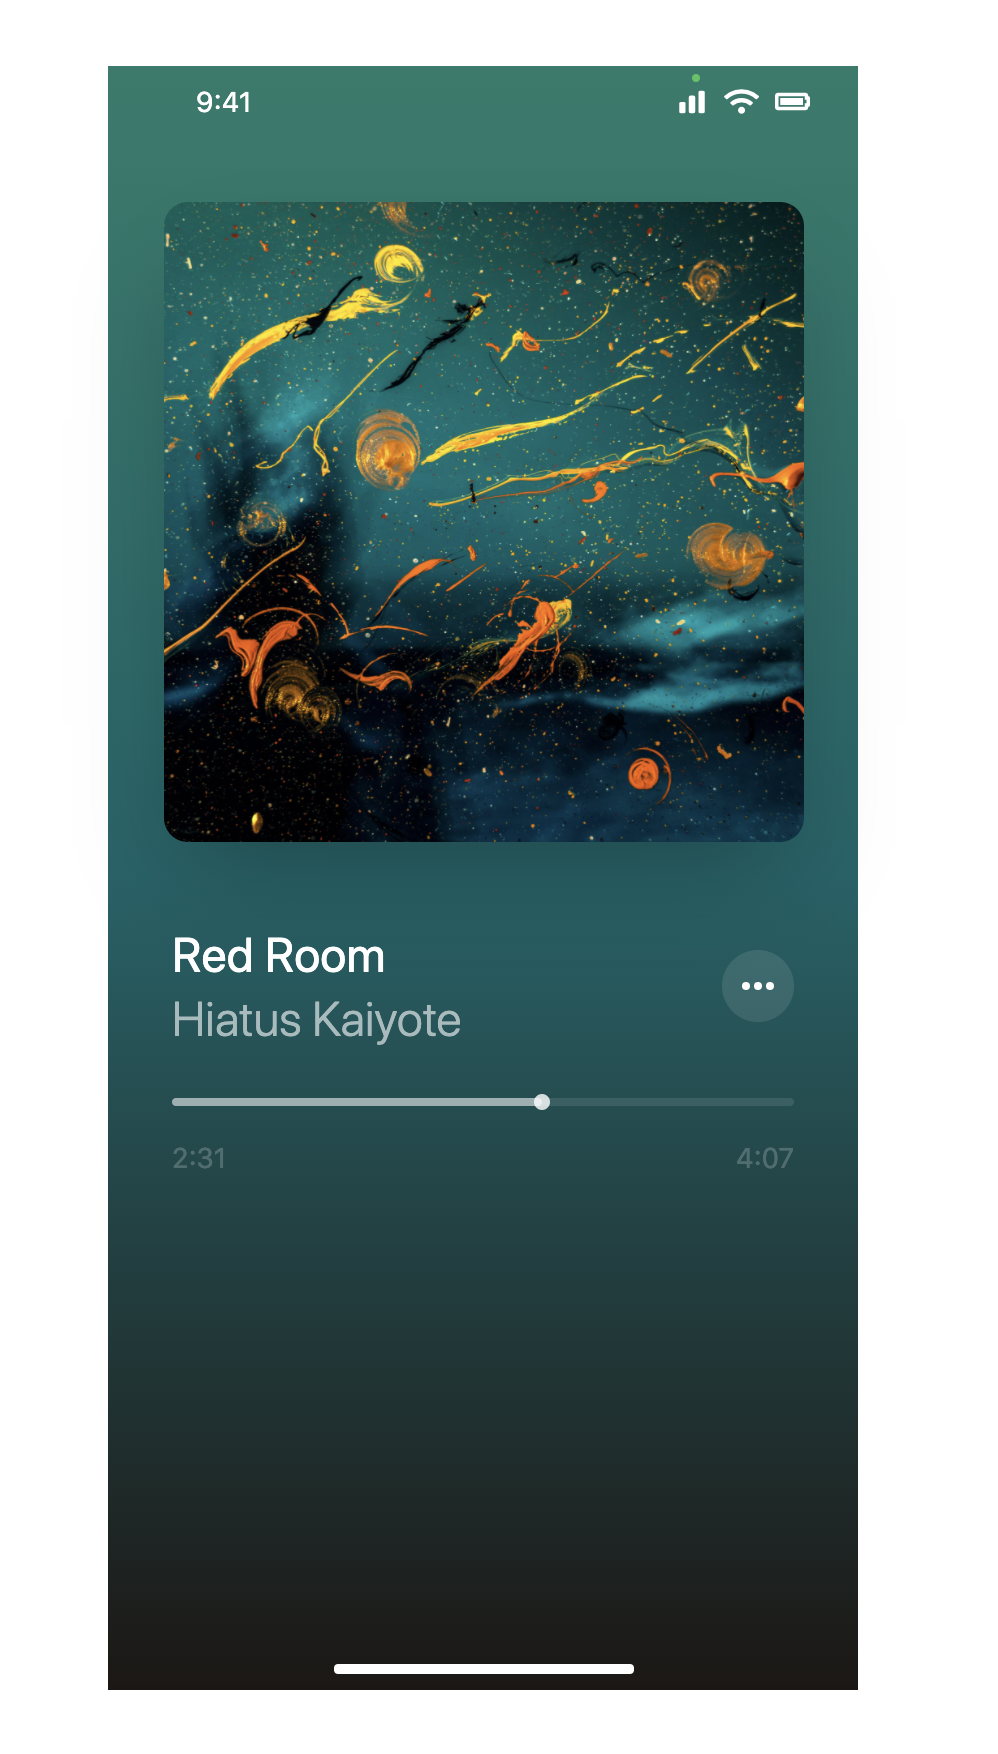
設置寬高為 320px 的正方形圖片置中,並給圓角、陰影和上方保持間距。威爾豬擔心專輯封面有版權問題,所以在 Unsplash 找了一張圖代替。
<div class="relative w-[375px] h-[812px] ...">
  ...
  <div class="flex flex-col">
    <img class="w-80 h-80 object-cover rounded-xl shadow-2xl mt-10 mx-auto" src="https://images.unsplash.com/photo-1596387451750-f7bfb51461ef?ixlib=rb-1.2.1&ixid=MnwxMjA3fDB8MHxwaG90by1wYWdlfHx8fGVufDB8fHx8&auto=format&fit=crop&w=2371&q=80" alt="cover">
  </div>
  ...
</div>
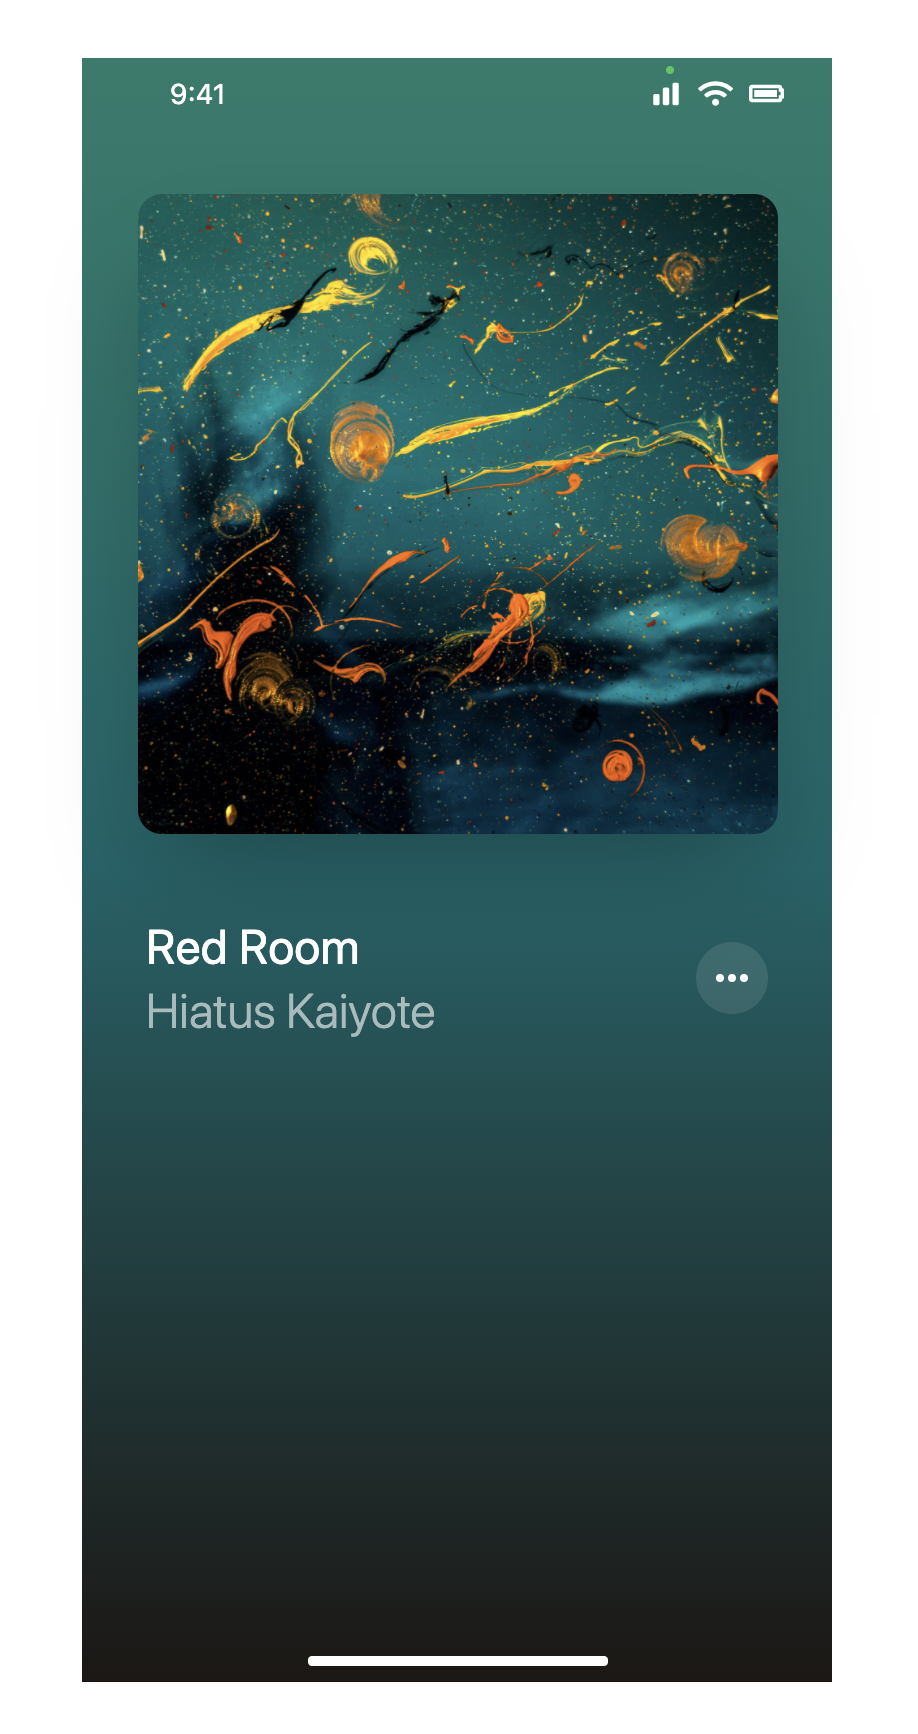
這邊威爾豬使用 Flex 讓文字和 icon 保持左右兩側,注意和上方專輯的間距,調整文字大小、粗細、不透明度,以及 icon 設定寬高為 36px,並給白色不透明度為 10%。Focus 時記得要給 outline-none,不然按鈕點擊會有邊框。
<div class="relative w-[375px] h-[812px] ...">
  ...
  <div class="flex flex-col">
    ...
    <div class="flex justify-between items-center">
      <div class="block">
        <p class="text-white text-2xl">Red Room</p>
        <p class="text-white/60 text-2xl font-light">Hiatus Kaiyote</p>
      </div>
      <button type="button" class="w-9 h-9 bg-white/10 rounded-full focus:outline-none">
        <svg class="h-5 w-5 mx-auto m-2 text-white" ...>
          <path d="..." />
        </svg>
      </button>
    </div>
  </div>
  ...
</div>
做兩個 Bar,其中一個寬度 100%,高度為 4px ,不透明度 10% 的 Bar,另一個做寬度 185px,高度為 4px ,不透明度 50% 的 Bar,並使用 Position 讓兩個 Bar 重疊,小白點部分因為設置寬高為 8px,所以距離 left 位置要為 185px - 4px。下方數字調整大小、顏色等,一樣使用 Flex 保持左右兩側。
<div class="relative w-[375px] h-[812px] ...">
  ...
  <div class="flex flex-col">
    ...
    <div class="relative mt-6">
      <div class="w-full h-1 rounded-full bg-white/10"></div>
      <div class="absolute top-0 w-[185px] h-1 rounded-full bg-white/50"></div>
      <button type="button" class="absolute w-2 h-2 bg-white/80 rounded-full -top-0.5 left-[181px] focus:outline-none"></button>
      <div class="flex justify-between mt-4">
        <p class="text-sm text-white/20">2:31</p>
        <p class="text-sm text-white/20">4:07</p>
      </div>
    </div>
  </div>
  ...
</div>
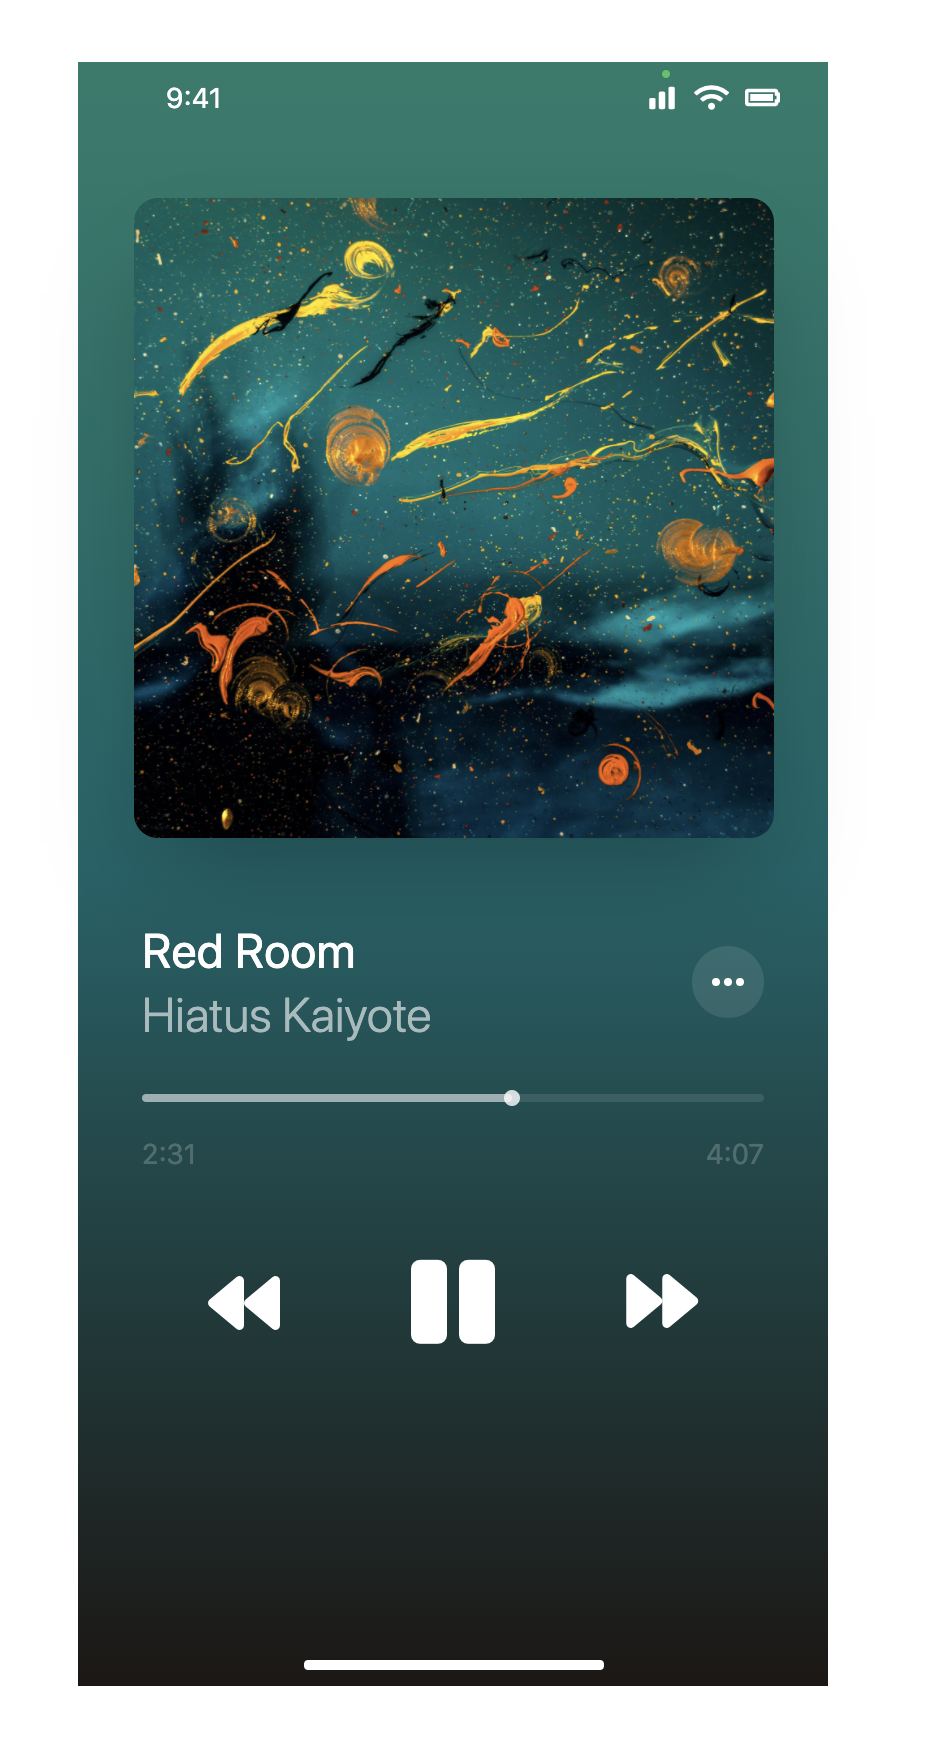
使用 Fontawesome icon 來建立播放音樂按鈕,將中間設定比兩側大,使用 Flex 讓其水平排列。
<div class="relative w-[375px] h-[812px] ...">
  ...
  <div class="flex flex-col">
    ...
    <div class="flex justify-around items-center mt-10 mb-16">
      <button type="button" class="focus:outline-none"><i class="fas fa-forward fa-rotate-180 text-4xl text-white"></i></button>
      <button type="button" class="focus:outline-none"><i class="fas fa-pause text-5xl text-white"></i></button>
      <button type="button" class="focus:outline-none"><i class="fas fa-forward text-4xl text-white"></i></button>
    </div>
  </div>
  ...
</div>
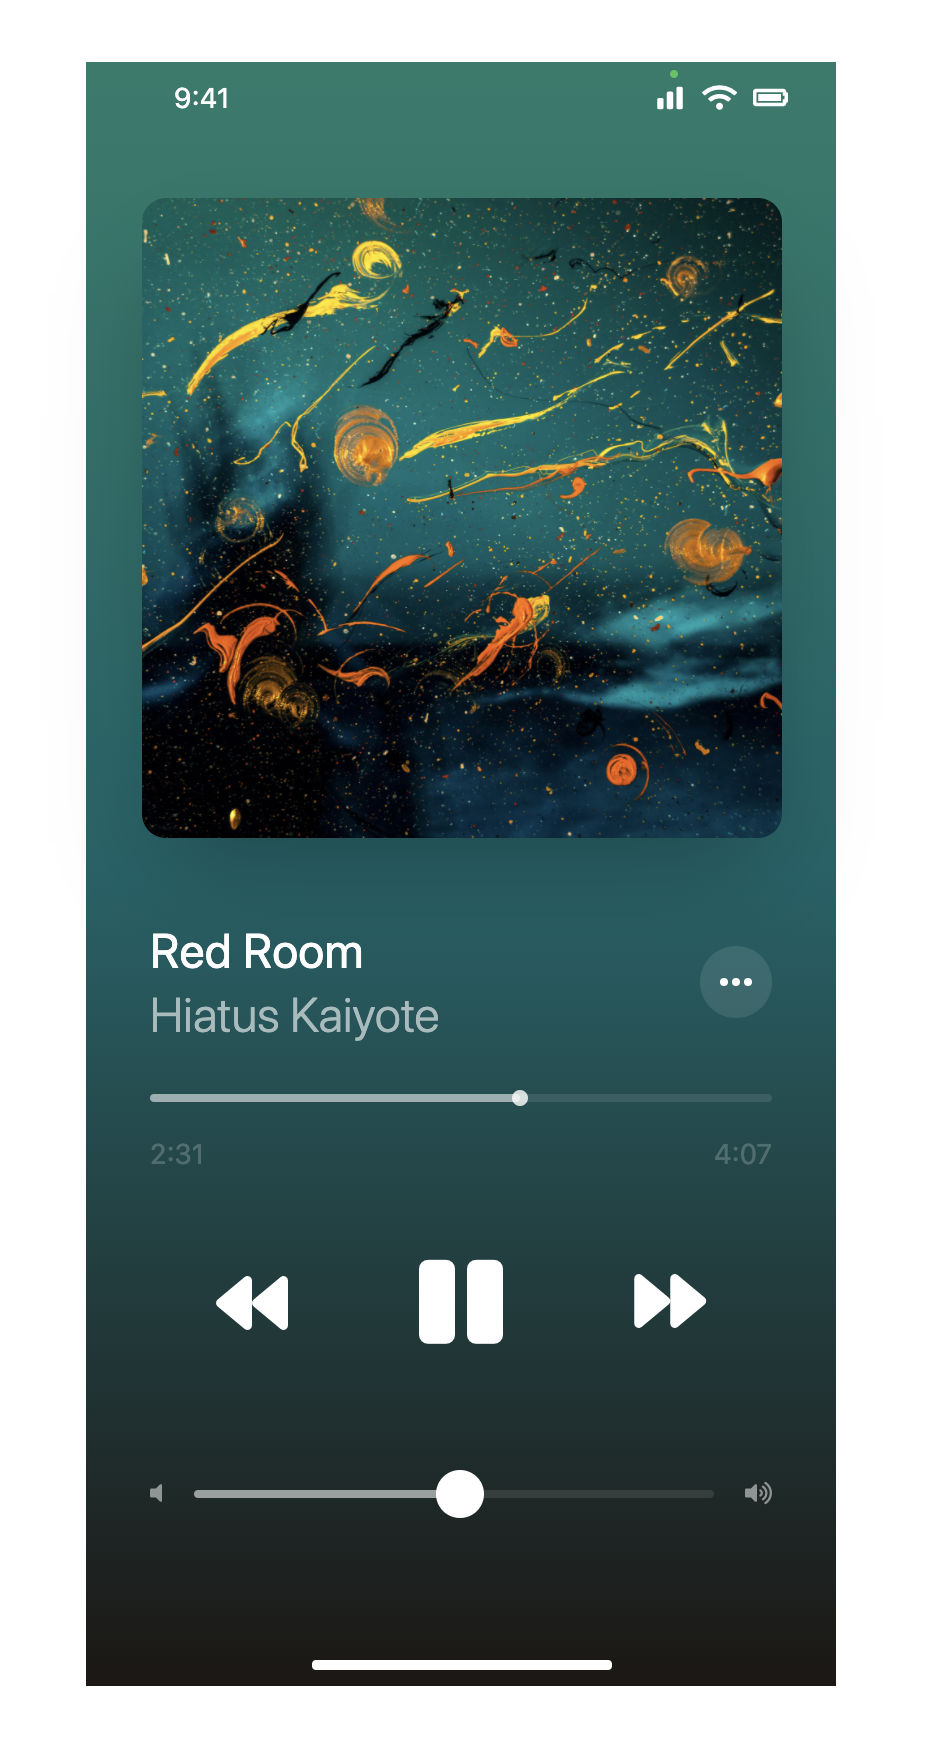
創建方式和剛剛音樂播放 Bar 差不多,白點設定位置方式也是一樣的,只需注意大小就可以了 [(375-(40 x 2)-(12 x 2)-(2.5 x 2)) / 2] - 12,並使用 Fontawesome icon 放置左右兩側。
<div class="relative w-[375px] h-[812px] ...">
  ...
  <div class="flex flex-col">
    ...
    <div class="flex items-center justify-between space-x-4">
      <i class="fas fa-volume-off text-xs text-white/50"></i>
      <div class="w-full">
        <div class="relative">
          <div class="w-full h-1 rounded-full bg-white/10"></div>
          <div class="absolute top-0 w-1/2 h-1 rounded-full bg-white/50"></div>
          <button type="button" class="absolute w-6 h-6 bg-white rounded-full -top-2.5 left-[121px] focus:outline-none"></button>
        </div>
      </div>
      <i class="fas fa-volume-up text-xs text-white/50"></i>
    </div>
  </div>
  ...
</div>
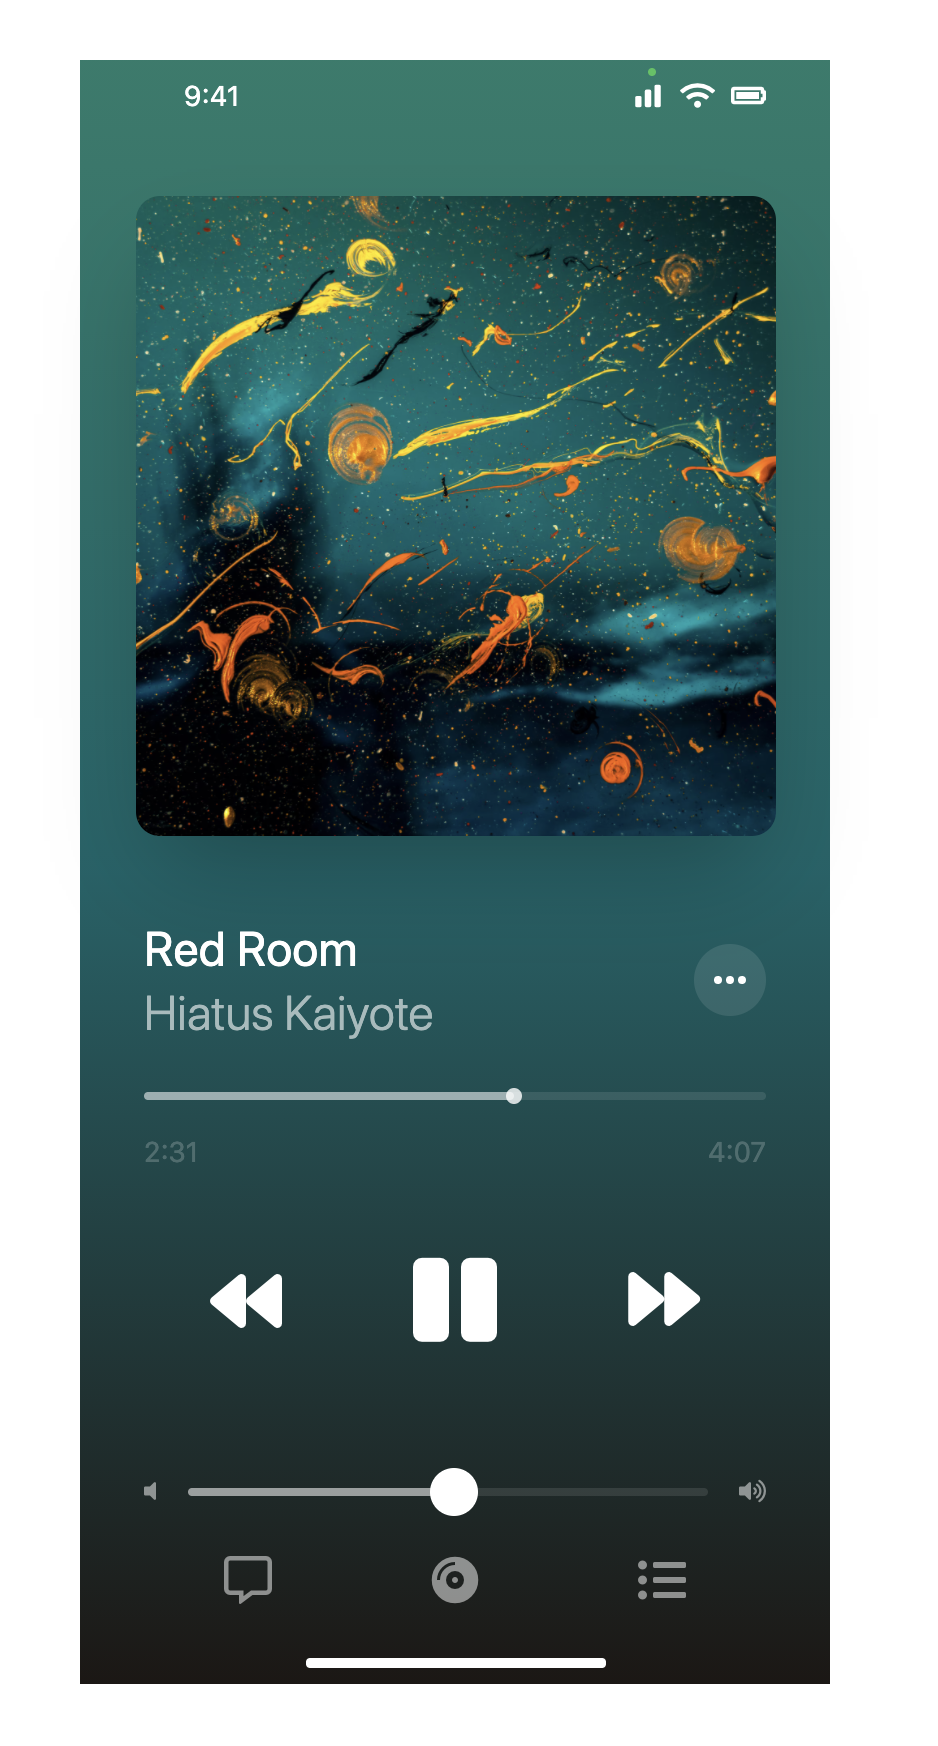
創建方式和剛剛音樂播放一樣,使用 Fontawesome icon,Flex 讓其水平排列。
<div class="relative w-[375px] h-[812px] ...">
  ...
  <div class="flex flex-col">
    ...
    <div class="flex justify-around my-5">
      <button type="button" class="focus:outline-none"><i class="far fa-comment-alt text-white/50 text-2xl"></i></button>
      <button type="button" class="focus:outline-none"><i class="fas fa-compact-disc text-white/50 text-2xl"></i></button>
      <button type="button" class="focus:outline-none"><i class="fas fa-list-ul text-white/50 text-2xl"></i></button>
    </div>
  </div>
  ...
</div>
將寬高設定為 140px,加入圓角、陰影等,並用 Position 來定位。威爾豬在 Unspalsh 上找了一張人像圖來使用。
<div class="relative w-[375px] h-[812px] ...">
  ...
  <div class="absolute bottom-[168px] right-2">
    <div class="w-[140px] h-[140px] rounded-xl overflow-hidden shadow-md">
      <img class="w-full h-full object-cover" src="..." alt="">
    </div>
  </div>
  ...
</div>
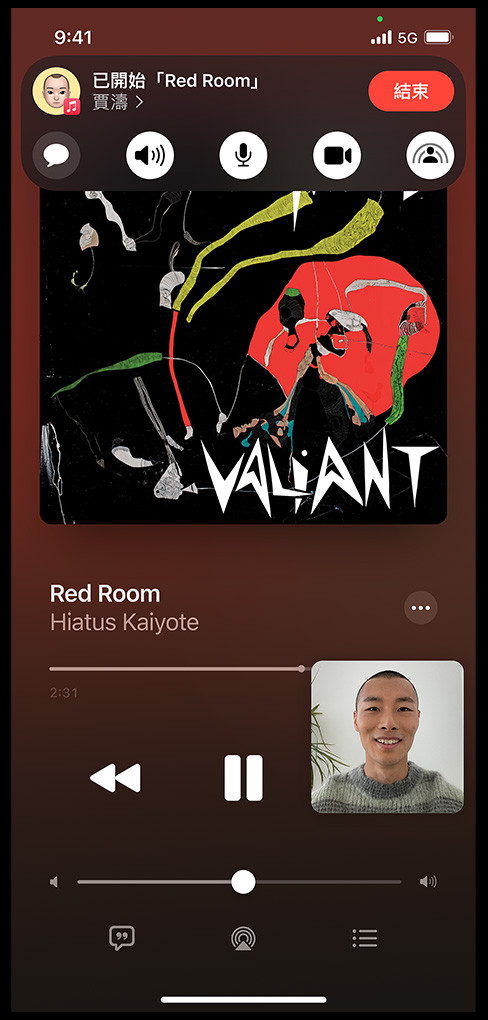
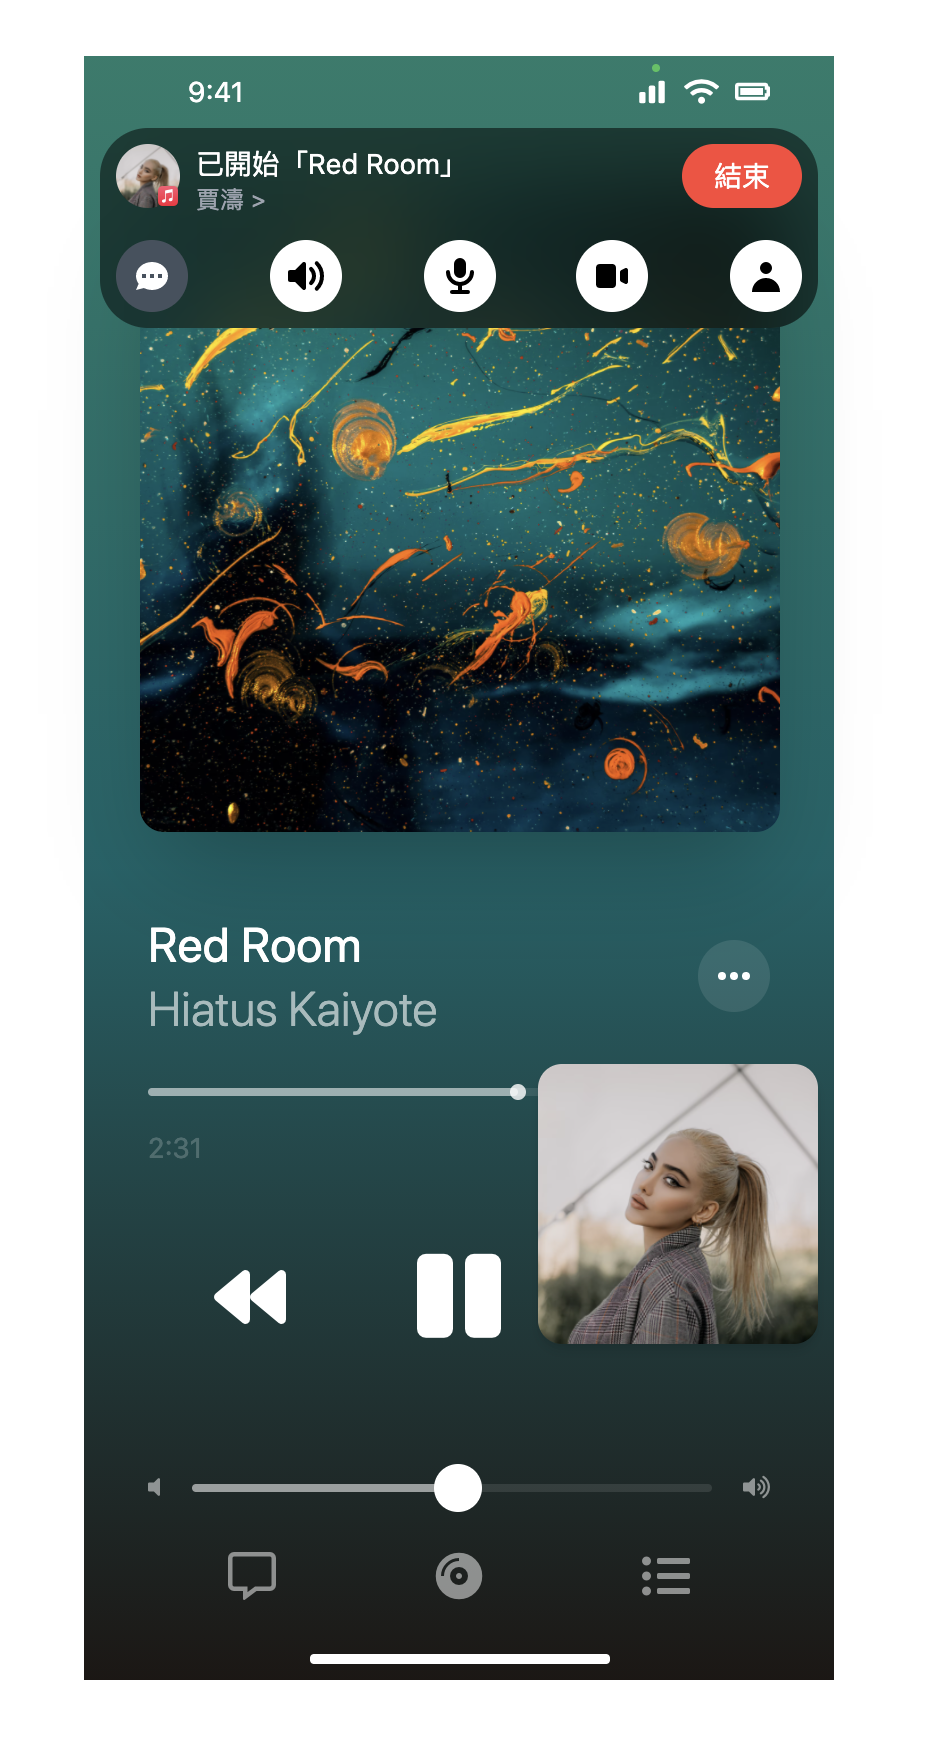
Position 定位在上方,使用 寬度 100%,不透明度為 50% 黑,並切分為上下區塊,再分別 Flex 排列,上方人物頭像旁邊還有一個小小的 icon,威爾豬一樣在官網找了 Apple Music icon,下方 icon 大小和剛剛歌曲訊息的 icon 一樣。這邊可能看起來複雜,其實觀念通了就沒有想像中那麼複雜了。
<div class="relative w-[375px] h-[812px] ...">
  ...
  <div class="absolute top-9 inset-x-0 mx-2">
    <div class="w-full h-auto mx-auto p-2 bg-black/50 rounded-3xl backdrop-blur-xl">
      <!-- 上方人物 -->
      <div class="flex justify-between mb-3">
        <div class="flex">
          <div class="relative">
            <div class="w-8 h-8 bg-white rounded-full overflow-hidden">
              <img class="w-8 h-8 object-cover" src="...">
            </div>
            <div class="absolute w-3 h-3 bottom-1 right-0">
              <img src="...">
            </div>
          </div>
          <div class="block pl-2">
            <p class="text-white text-sm">已開始「Red Room」</p>
            <p class="text-gray-400 text-xs">賈濤 ></p>
          </div>
        </div>
        <button type="button" class="bg-[#FF4538] text-white text-sm h-8 py-0 px-4 rounded-full focus:outline-none">結束</button>
      </div>

      <!-- 下方 icon -->
      <div class="flex justify-between">
        <button type="button" class="w-9 h-9 bg-gray-600/90 rounded-full focus:outline-none">
          <svg class="h-5 w-5 mx-auto m-2 text-white" ...">
            <path d="...">
          </svg>
        </button>
        <button type="button" class="w-9 h-9 bg-white rounded-full focus:outline-none">
          <svg class="h-5 w-5 mx-auto m-2" ...>
            <path d="...">
          </svg>
        </button>
        <button type="button" class="w-9 h-9 bg-white rounded-full focus:outline-none">
          <svg class="h-5 w-5 mx-auto m-2" ...>
            <path d="...">
          </svg>
        </button>
        <button type="button" class="w-9 h-9 bg-white rounded-full focus:outline-none">
          <svg class="h-5 w-5 mx-auto m-2" ...>
            <path d="...">
          </svg>
        </button>
        <button type="button" class="w-9 h-9 bg-white rounded-full focus:outline-none">
          <svg class="h-5 w-5 mx-auto m-2" ...>
            <path d="...">
          </svg>
        </button>
      </div>
    </div>
  </div>
  ...
</div>
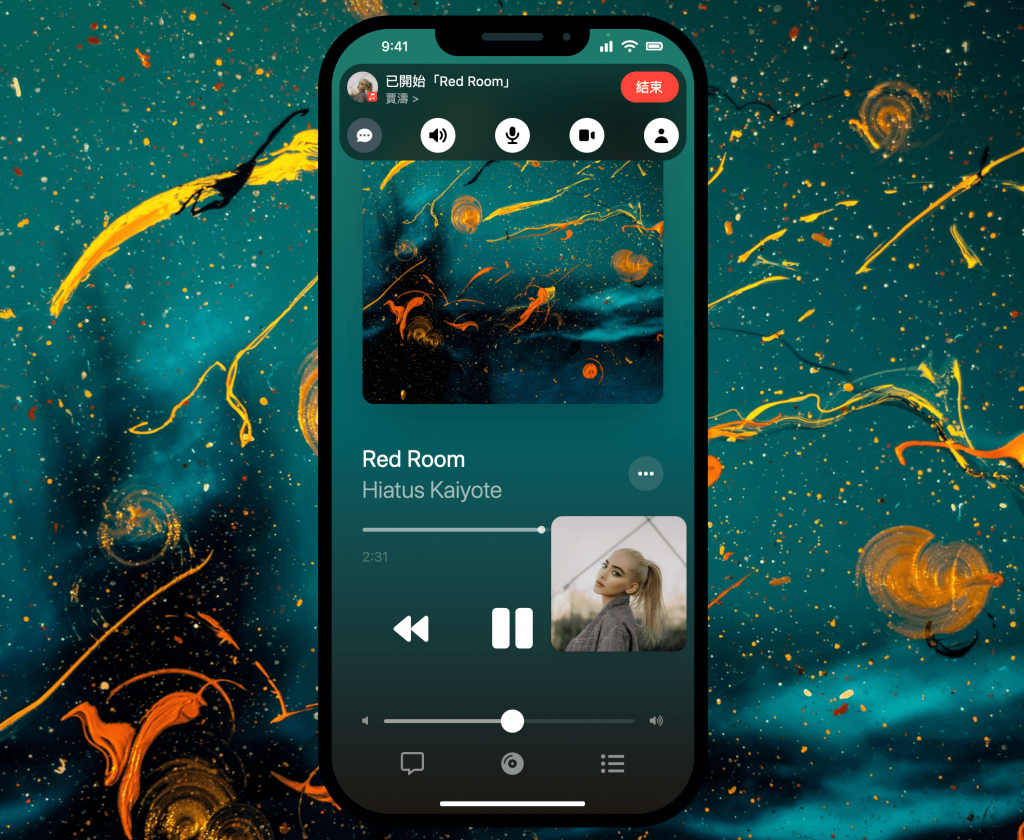
噹噹,終於完成了,看起來應該也有 97% 像。這邊大量使用 Position 和 Flex,如果不熟悉的同學們應該會整個崩潰,看似簡單的介面其實隱藏很多小細節,有興趣的看倌們可以看 DEMO。
好啦~以上就是今天的實戰內容,咱們明天見。

 iThome鐵人賽