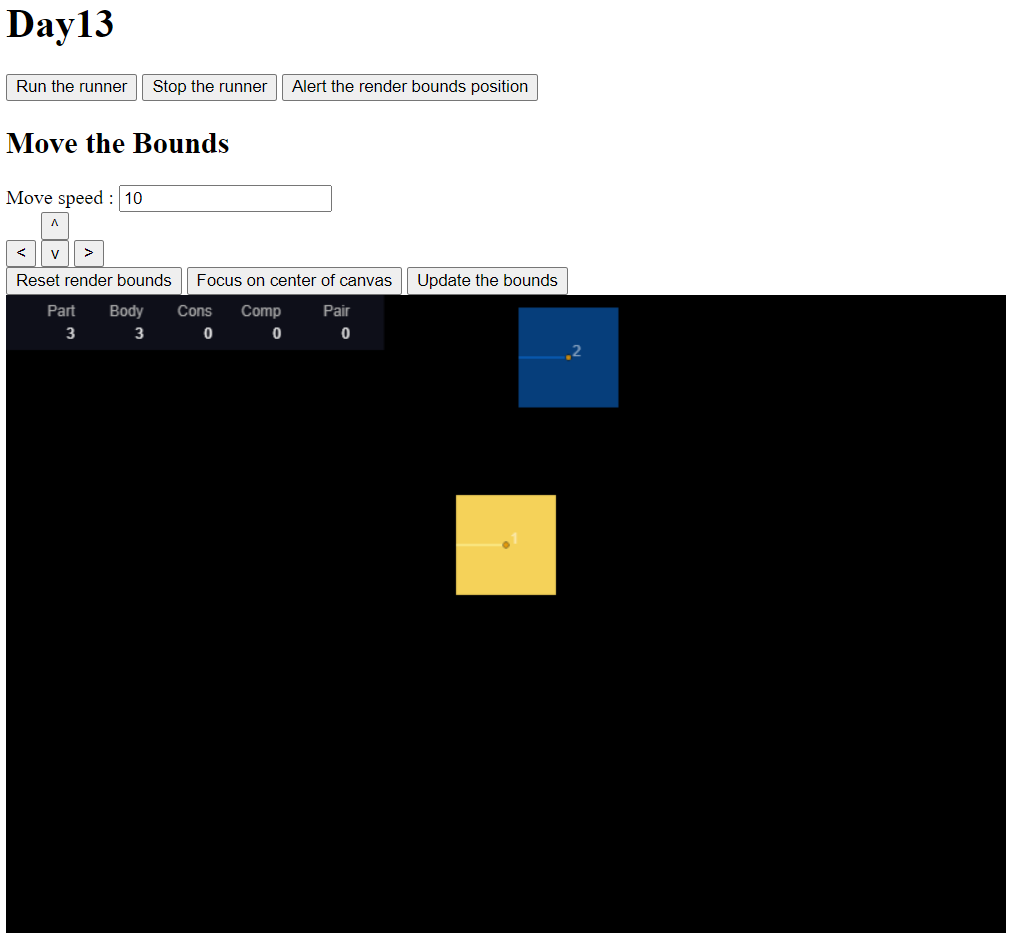
只要是「看」這個行為,都會牽扯到怎麼看,就像拍照的角度,電影的運鏡,第一人稱的視角等等,我們今天要來聊聊,怎麼移動 Matter.js 中關注在 Canvas 上的視角。畢竟 Canvas 座標世界廣大無邊,如果妥善運用視角移動,可以讓許多顯示效果更有質感。

談到視角,就要說到 render 模組, 首先要讓我們後面的動作生效,必須要在創建的時候把 hasBounds 設定開起來:
var render = Render.create({
    element: document.body,
    engine: engine,
    options: {
        width: 800,
        height: 600,
        background: '#000000',
        hasBounds: true,//<-----This one
        enabled: true,
        wireframes: false,
        showSleeping: true,
        showStats: true,
        showVelocity: true,
        showCollisions: true,
        showSeparations: true,
        showPositions: true,
        showAngleIndicator: true,
        showIds: true,
    }
});
Bounds 模組其實本身是用來操控物體的創建和操作AABB盒,主要是用於碰撞檢測的。那為什麼我們今天會提到這個模組呢?因為要操作 render 的視角的時候,我們會操作的其實是 render 底下的 render.bounds。
bounds 有一些方法:
前三個方法看名字應該可以了解會是跟碰撞那邊比較相關的,今天就不帶到,那些在一般的實作裡面多會交給 Matter.js 自己處理,我們今天來看怎麼透過後三個方法來操控畫面的視角:render.bounds 。
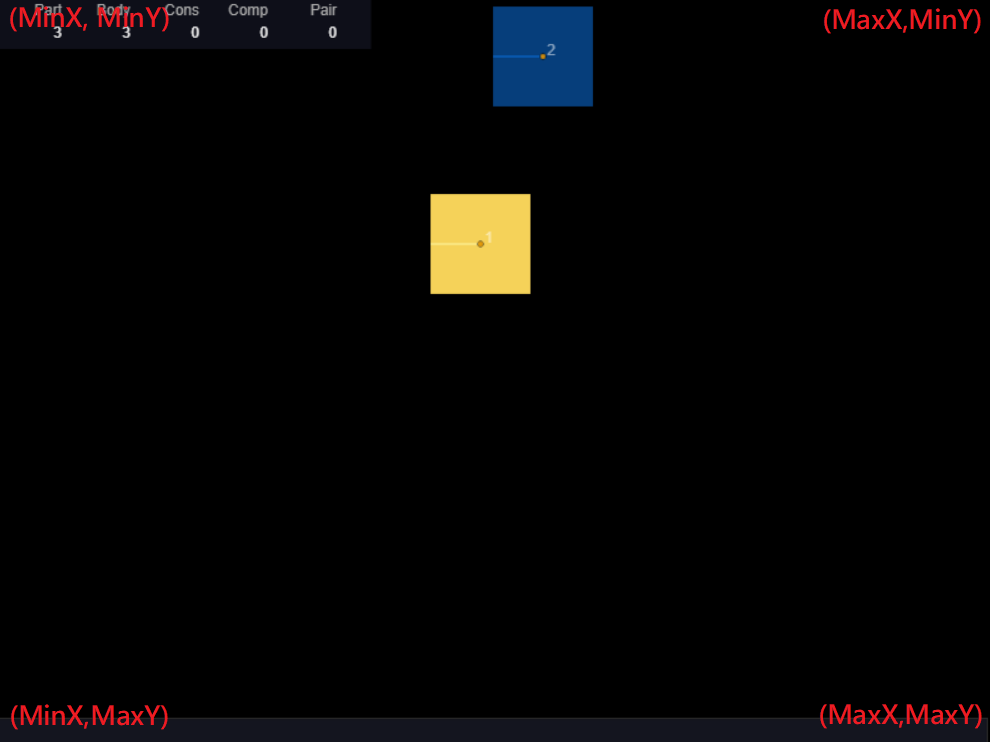
bounds的型別是由兩個向量構成,一個是min ,一個是 max。
min 跟 max 都是一個向量,資料結構會像是:
{
	max: {x: 800, y: 600}
	min: {x: 0, y: 0}
}
操作的時候要注意,不要當成一般的向量型別來使用。
如果這樣不了解的話,可以看一下下面這個圖:

主角會是上面兩個,不過這次的內容在API文件上的說明比較不直觀,但是這次原始碼的邏輯相對單純,我們可以看一下原始碼。
Bounds.translate = function(bounds, vector) {
    bounds.min.x += vector.x;
    bounds.max.x += vector.x;
    bounds.min.y += vector.y;
    bounds.max.y += vector.y;
};
大家可以看到 translate 是直接將傳入的 x,y 座標加入,同時於 min/max 的 x/y 加上這個平移。
當 render 套用這個方法,就等同像指定的方向平移,一般我們如果要做運鏡或跟隨鏡頭,應該都會使用這個方法,再來來看 shift 方法。
Bounds.shift = function(bounds, position) {
    var deltaX = bounds.max.x - bounds.min.x,
        deltaY = bounds.max.y - bounds.min.y;

    bounds.min.x = position.x;
    bounds.max.x = position.x + deltaX;
    bounds.min.y = position.y;
    bounds.max.y = position.y + deltaY;
};
shift方法會做的事是維持整個 bounds 的大小,同時將 min 的位置移到我們傳入的位置上,所以這個方法可以用到重製視角,一般 render 預設的 bounds min 會是在 (0,0) 的位置,當你對他做了任何位移操作,你想要重置的時候就可以用 shift 讓 min 回到 (0,0) 的位置。
說主要前兩個會用到是筆者看了一下 update 的原始碼,但是不太確定它的目的,他是傳入一組頂點陣列,遍歷頂點陣列後 max 會是陣列中最大的, min 會是陣列中最小的。最後傳入的 velocity 是一個向量,依據向量來決定要拓張目前的 bounds 或是縮小 bounds。
目前沒有想到特別的情境,感覺比較像是 Matter.js 結合其他機制使用的。
Bounds.update = function(bounds, vertices, velocity) {
    bounds.min.x = Infinity;
    bounds.max.x = -Infinity;
    bounds.min.y = Infinity;
    bounds.max.y = -Infinity;

    for (var i = 0; i < vertices.length; i++) {
        var vertex = vertices[i];
        if (vertex.x > bounds.max.x) bounds.max.x = vertex.x;
        if (vertex.x < bounds.min.x) bounds.min.x = vertex.x;
        if (vertex.y > bounds.max.y) bounds.max.y = vertex.y;
        if (vertex.y < bounds.min.y) bounds.min.y = vertex.y;
    }

    if (velocity) {
        if (velocity.x > 0) {
            bounds.max.x += velocity.x;
        } else {
            bounds.min.x += velocity.x;
        }

        if (velocity.y > 0) {
            bounds.max.y += velocity.y;
        } else {
            bounds.min.y += velocity.y;
        }
    }
};
今天的 Demo讓大家可以用上下左右操作視角,也可以改動一次視角的偏移位置大小。
Reset 的按鈕會讓視角重置到 0 的位置,第一排的 alert 可以讓你知道目前的 bounds 的位置,建議大家可以嘗試操作看看,體驗一下 render.bounds 的移動對視角產生的變化。
今天視角的介紹就到這裡,也帶大家看了幾個原始碼的邏輯,我們後面的實作上會套用這個方式,來讓我們的視角移動更符合我們的預期。
