本系列文已出版成書「NestJS 基礎必學實務指南:使用強大且易擴展的 Node.js 框架打造網頁應用程式」,感謝 iT 邦幫忙與博碩文化的協助。如果對 NestJS 有興趣、覺得這個系列文對你有幫助的話,歡迎前往購書,你的支持是我最大的寫作動力!
裝飾器 (Decorator) 是一種設計模式,有些程式語言會直接將此設計模式實作出來,TypeScript 與 JavaScript 在近年也添加了此功能,而 Nest 將裝飾器發揮到淋漓盡致,透過裝飾器就可以很輕易地套用功能,不論是針對開發速度、易讀性等都很有幫助。
Nest 有提供許多裝飾器,但在某些情況下內建的裝飾器可能沒辦法很有效地解決問題,於是 Nest 提供了 自訂裝飾器 (Custom Decorator) 的功能,其分成下方三種:
有些資料可能無法透過內建裝飾器直接取得,比如:授權認證機制所帶入的資料。如果對 Express 不陌生的話應該看過下方的寫法,為什麼會有自訂義的資料放在請求物件中呢?主要是透過 Middleware 進行擴充,在授權認證機制是非常常見的:
const user = req.user;
試想,如果要透過內建裝飾器要如何取得該資料?必需要使用 @Request 裝飾器先取得請求物件,再從請求物件中提取,這樣的方式並不是特別理想,於是可以自行設計參數裝飾器來取得,而 Decorator 可以透過 CLI 產生:
$ nest generate decorator <DECORATOR_NAME>
注意:
<DECORATOR_NAME>可以含有路徑,如:decorators/user,這樣就會在src資料夾下建立該路徑並含有 Decorator。
這邊我建立一個 User 在 decorators 資料夾下:
$ nest generate decorator decorators/user
在 src 底下會看見一個名為 decorators 的資料夾,裡面有 user.decorator.ts: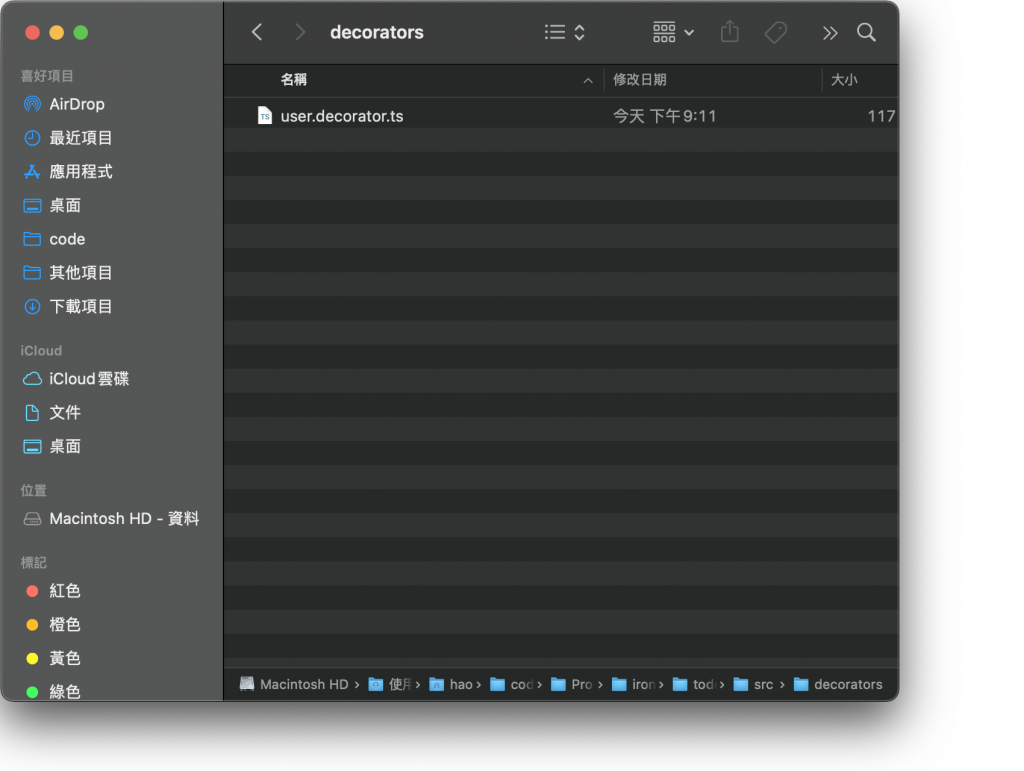
建立出來的裝飾器骨架如下,會發現是一個回傳 SetMetadata 的函式:
import { SetMetadata } from '@nestjs/common';

export const User = (...args: string[]) => SetMetadata('user', args);
不過參數裝飾器並不是使用 SetMetadata,而是使用 createParamDecorator,透過 createParamDecorator 來產生參數裝飾器,並使用 Callback 裡面的 ExecutionContext 來取得請求物件再從中取得要取出的資料。下方為修改後的 user.decorator.ts:
import { createParamDecorator, ExecutionContext } from '@nestjs/common';

export const User = createParamDecorator(
  (data: unknown, ctx: ExecutionContext) => {
    const request = ctx.switchToHttp().getRequest();
    return request.user;
  },
);
在設計完 User 裝飾器後,要設計一個 Middleware 來添加 user 到請求物件中。透過 CLI 產生 AddUserMiddleware:
$ nest generate middleware middlewares/add-user
將 add-user.middleware.ts 的內容修改如下:
import { Injectable, NestMiddleware } from '@nestjs/common';

@Injectable()
export class AddUserMiddleware implements NestMiddleware {
  use(req: any, res: any, next: () => void) {
    req.user = { name: 'HAO' };
    next();
  }
}
接著,在 AppModule 中套用 AddUserMiddleware,修改 app.module.ts 如下:
import { MiddlewareConsumer, Module, NestModule } from '@nestjs/common';
import { AppController } from './app.controller';
import { AppService } from './app.service';
import { AddUserMiddleware } from './middlewares/add-user.middleware';
@Module({
  imports: [],
  controllers: [AppController],
  providers: [
    AppService
  ]
})
export class AppModule implements NestModule {
  configure(consumer: MiddlewareConsumer) {
    consumer.apply(AddUserMiddleware).forRoutes('');
  }
}
這樣就能夠將 user 添加到請求物件裡了,接下來就要使用 User 裝飾器來將 user 內容取出並返回給客戶端,這裡我們修改 app.controller.ts:
import { Controller, Get } from '@nestjs/common';
import { User } from './decorators/user.decorator';

@Controller()
export class AppController {
  constructor() {}

  @Get()
  getHello(@User() user: any): string {
    return user;
  }
}
透過瀏覽器查看 http://localhost:3000 會看到下方結果,表示有成功將 user 取出:
那如果想要像 @Param('id') 一樣只取出特定資料的話該如何設計呢?createParamDecorator 中的 Callback 裡面除了 ExecutionContext 之外,還有一個 data,這個 data 事實上就是帶到裝飾器中的參數,所以要運用 data 來取出 user 中的資料。這裡修改一下 user.decorator.ts:
import { createParamDecorator, ExecutionContext } from '@nestjs/common';

export const User = createParamDecorator(
  (data: string, ctx: ExecutionContext) => {
    const request = ctx.switchToHttp().getRequest();
    const user = request.user;
    return data ? user[data] : user;
  },
);
修改 app.controller.ts 來指定取出 user 中的 name:
import { Controller, Get } from '@nestjs/common';
import { User } from './decorators/user.decorator';

@Controller()
export class AppController {
  constructor() {}

  @Get()
  getHello(@User('name') name: string): string {
    return name;
  }
}
透過瀏覽器查看 http://localhost:3000 會得到下方結果: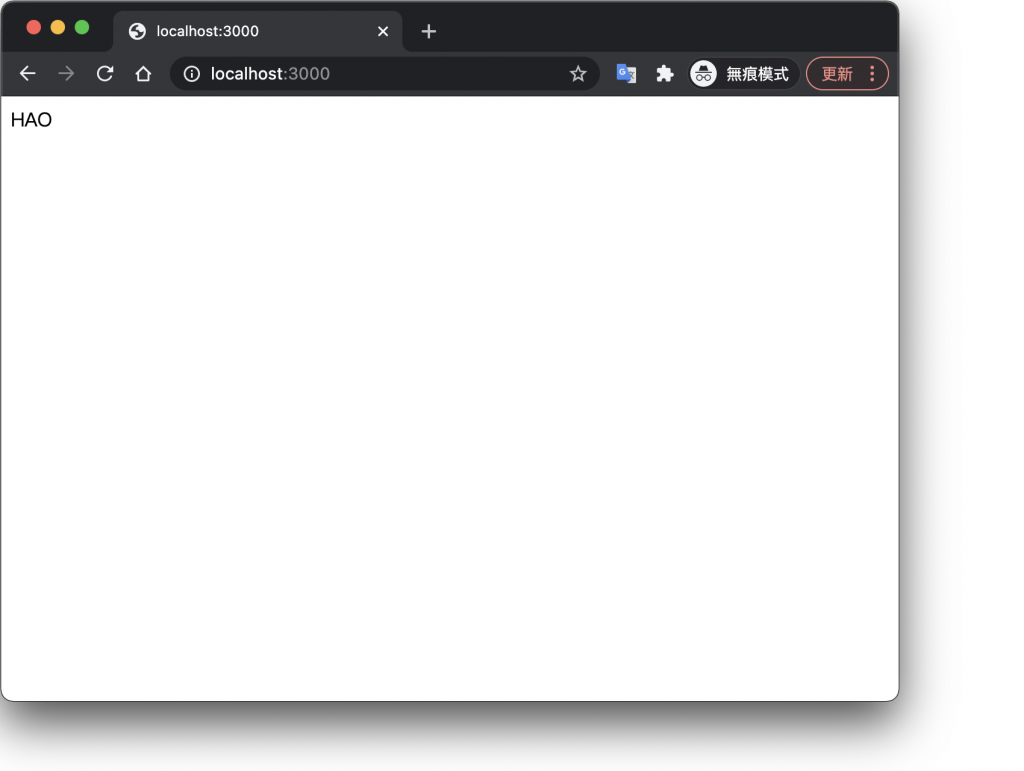
有時候需要針對某個方法設置特定的 Metadata,比如:角色權限控管,透過設置 Metadata 來表示該方法僅能由特定角色來存取。這裡來實作一個簡單的角色權限控管功能,透過 CLI 產生 Roles:
$ nest generate decorator decoractors/roles
建立出來的骨架即為自訂 Metadata 裝飾器的格式,SetMetadata 即產生自訂 Metadata 的裝飾器:
import { SetMetadata } from '@nestjs/common';

export const Roles = (...args: string[]) => SetMetadata('roles', args);
這個範例的意思為:Roles 即為裝飾器,透過 @Roles('admin') 將 admin 字串帶入裝飾器中,SetMetadata 指定 roles 為 key 值,並令 ['admin'] 為其值,最後設置為 Metadata。
接著來設置一個 RoleGuard 模擬角色權限管理的效果:
$ nest generate guards/role
為了要取得 Metadata 的內容,必須透過 Nest 提供的 Reflector 來取得,其引入方式即透過依賴注入,並呼叫 get(metadataKey: any, target: Function | Type<any>) 來取得指定的 Metadata,其中 metadataKey 即要指定的 Metadata Key,而 target 則為裝飾器裝飾之目標,經常會使用 ExecutionContext 裡面的 getHandler 來作為 target 的值。將 role.guard.ts 的內容修改如下:
import { CanActivate, ExecutionContext, Injectable } from '@nestjs/common';
import { Reflector } from '@nestjs/core';
import { Observable } from 'rxjs';

@Injectable()
export class RoleGuard implements CanActivate {

  constructor(private readonly reflector: Reflector) {}

  canActivate(
    context: ExecutionContext,
  ): boolean | Promise<boolean> | Observable<boolean> {
    const roles = this.reflector.get<string[]>('roles', context.getHandler());
    const request = context.switchToHttp().getRequest();
    const user = request.user;
    return this.matchRoles(roles, user.roles);
  }

  private matchRoles(resources: string[], target: string[]): boolean {
    return !!resources.find(x => target.find(y => y === x));
  }
}
在設置好 Roles 與 RoleGuard 之後,就來調整一下 AddUserMiddleware 的內容,添加角色 staff 到 user 裡面:
import { Injectable, NestMiddleware } from '@nestjs/common';

@Injectable()
export class AddUserMiddleware implements NestMiddleware {
  use(req: any, res: any, next: () => void) {
    req.user = { name: 'HAO', roles: ['staff'] };
    next();
  }
}
最後,調整一下 app.controller.ts 的內容,指定 getHello 只有 admin 身份可以存取:
import { Controller, Get, UseGuards } from '@nestjs/common';
import { User } from './decorators/user.decorator';
import { Roles } from './decorators/roles.decorator';
import { RoleGuard } from './guards/role.guard';

@Controller()
export class AppController {
  constructor() {}

  @UseGuards(RoleGuard)
  @Roles('admin')
  @Get()
  getHello(@User('name') name: string): string {
    return name;
  }
}
透過瀏覽器查看 http://localhost:3000 會發現無法存取:
有些裝飾器它們之間是有相關的,比如:授權驗證需要使用 Guard、添加自訂 Metadata 等,每次要實作都要重複將這些裝飾器帶入,會使得重複性的操作變多,於是 Nest 還有設計一個叫 applyDecorators 的函式來將多個裝飾器整合成一個裝飾器,每當要實作該功能就只要帶入整合裝飾器即可。下方會簡單模擬授權驗證的整合裝飾器,先透過 CLI 產生 Auth Decorator:
$ nest generate decorators/auth
接著,Auth 需包含 UseGuards、Roles 這兩個裝飾器的功能,在設計整合裝飾器之前需要先透過 CLI 產生 AuthGuard 以便後續使用:
$ nest generate guard guards/auth
注意:本節主要是將焦點放在整合功能上,所以這裡就不特別去改
AuthGuard的內容了,讓它們回傳true即可。
產生完 AuthGuard 之後,來修改一下 auth.decorator.ts 的內容,透過 applyDecorators 將 UseGuards、Roles 整合成一個裝飾器:
import { applyDecorators, UseGuards } from '@nestjs/common';
import { RoleGuard } from '../guards/role.guard';
import { AuthGuard } from '../guards/auth.guard';
import { Roles } from './roles.decorator';

export const Auth = (...roles: string[]) => applyDecorators(
    Roles(...roles),
    UseGuards(AuthGuard, RoleGuard)
);
最後來調整一下 app.controller.ts,套用 Auth 裝飾器並指定 getHello 只有 staff 可以存取:
import { Controller, Get } from '@nestjs/common';
import { Auth } from './decorators/auth.decorator';
import { User } from './decorators/user.decorator';

@Controller()
export class AppController {
  constructor() {}

  @Auth('staff')
  @Get()
  getHello(@User('name') name: string): string {
    return name;
  }
}
透過瀏覽器查看 http://localhost:3000 會得到下方結果:
Custom Decorator 可以補足 Nest 內建裝飾器不足的部分,且具有相當大的彈性,是非常實用的功能。這裡附上今天的懶人包:
createParamDecorator 來產生。SetMetadata 的擴展。applyDecorators 來產生。Nest 各元件的基本功能與使用方式皆介紹完畢,下一篇開始將會進入到 進階功能 單元,敬請期待!