延續昨日
今天我們來新增專案
首先需要先新增一個Addproject.vue
新增path 以及修改navbar裡面新增專案的path
首先我們需要一個簡單的layout
如下圖
這邊就是幾個純粹的text filed 或是 text area v-model綁定 沒什麼好說的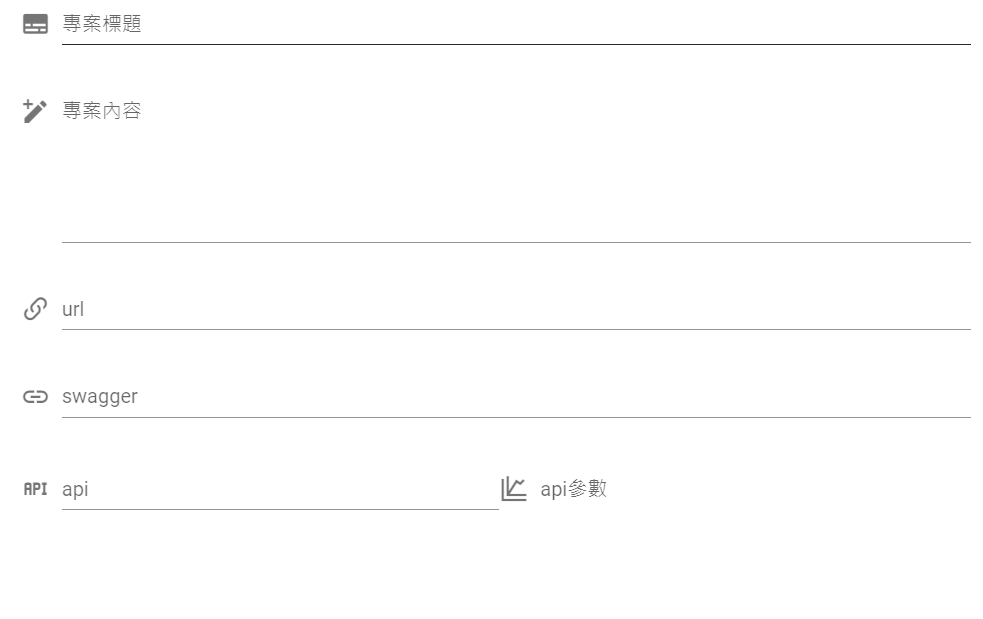
比較特別的是 專案日期 點開來會有日期可以選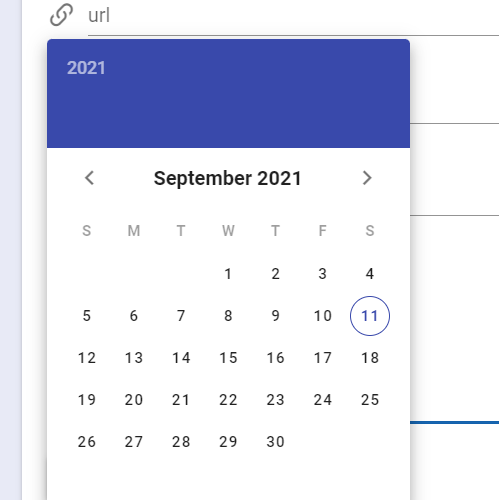
以下是我的程式碼 我是參考vuetify的datepicker(感謝vuetify讚嘆vuetify)
https://vuetifyjs.com/en/components/date-pickers/
直接複製vuetify網站的程式碼來使用
再來用v-model綁定 datepicker
還有專案狀態 點開來可以選擇專案狀態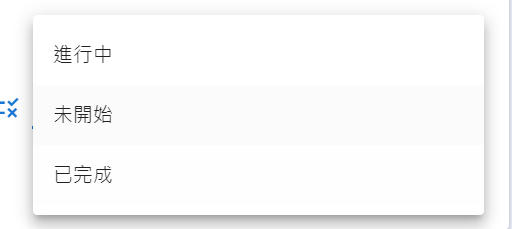
以下是程式碼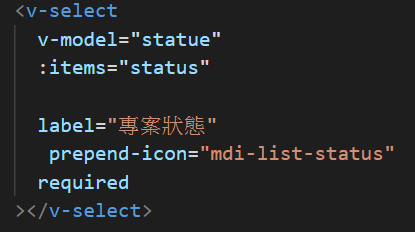
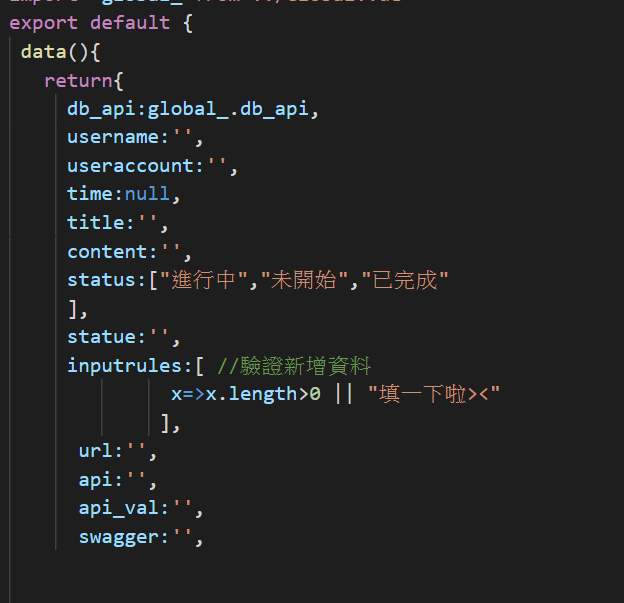
這邊使用v-moel綁定statue 再來:item status 則是在data中設定
這就是整個layout 就陽春但是能用就好XD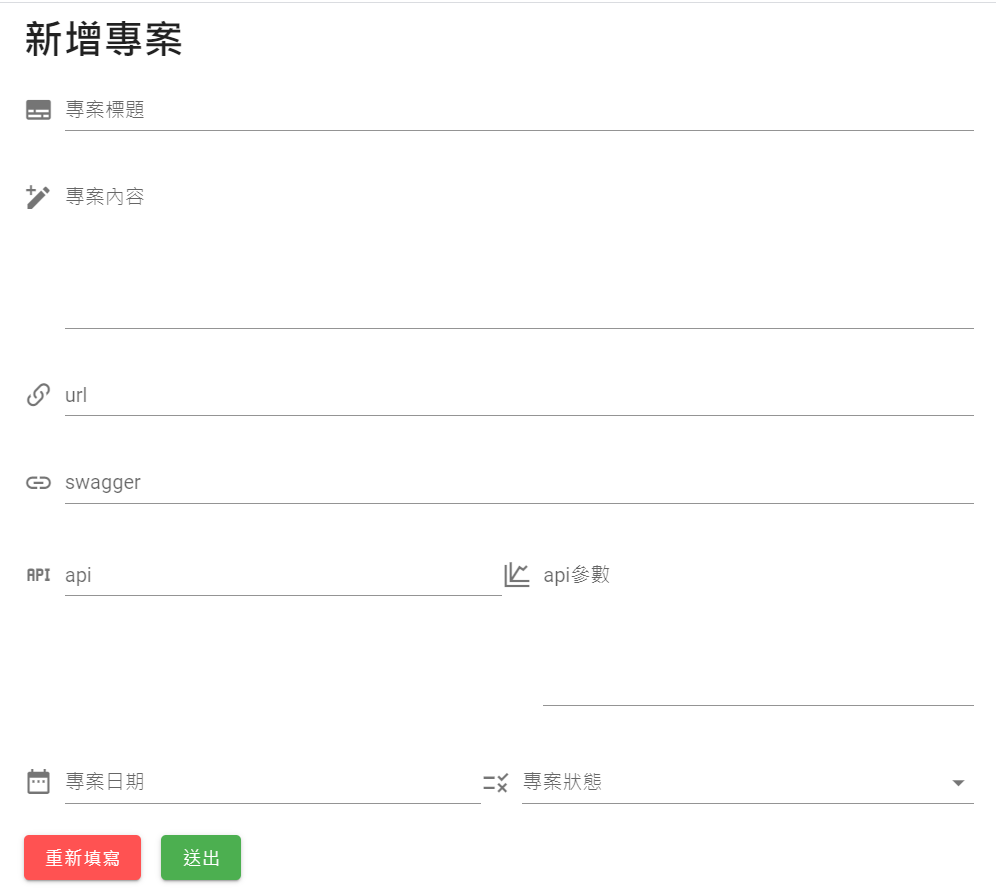
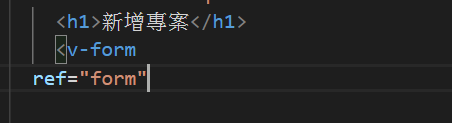
再來就是重新填寫的按鈕
在html tag 裡面下一個ref 再來rest這個refs就好 參考day14
 methods:{
   reset () {
        this.$refs.form.reset()
      },
一樣要在moounted 接session
mounted(){
      // let user=localStorage.getItem('user-info');
       let user=sessionStorage.getItem('user-info');


      if(!user){
        this.$router.push({name:'Login'})
        alert('請先登入')
      }

      this.username=JSON.parse(user).username
      this.useraccount=JSON.parse(user).id

    }
}
最後就是送出按鈕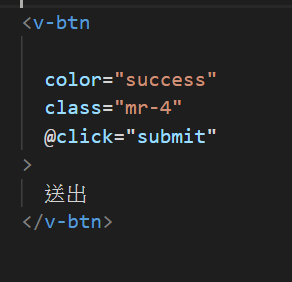
Function submit
基本上跟註冊的方法沒2樣只是多了一些東西而已
async submit(){
     const result = await axios.post(`${this.db_api}`+"articles",{
         title:this.title,
         person:this.username,
         status:this.statue,
         content:this.content,
         time:this.time,
         useraccount:this.useraccount,
         url:this.url,
         swagger:this.swagger,
         api:this.api,
         api_val:this.api_val


       })

       if(result.status==201){
             alert("成功")
         this.$router.push({name:'Home'})
       }
   }
再來就是新增文章試試看!!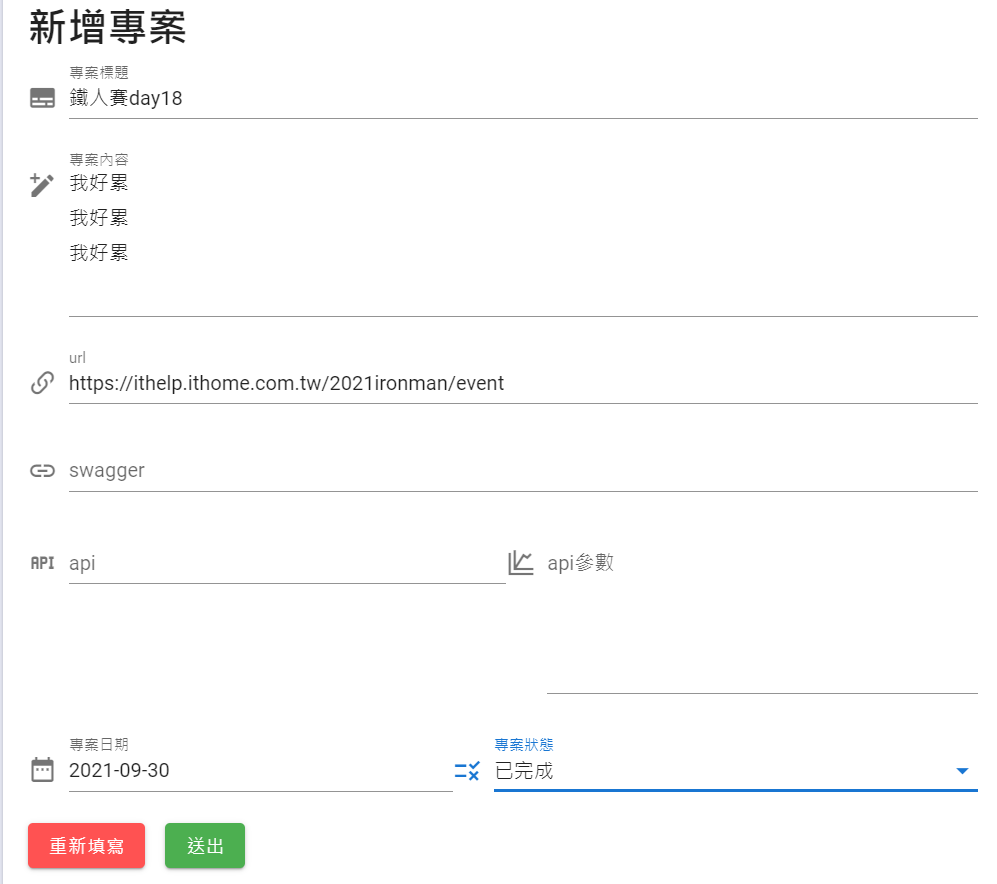
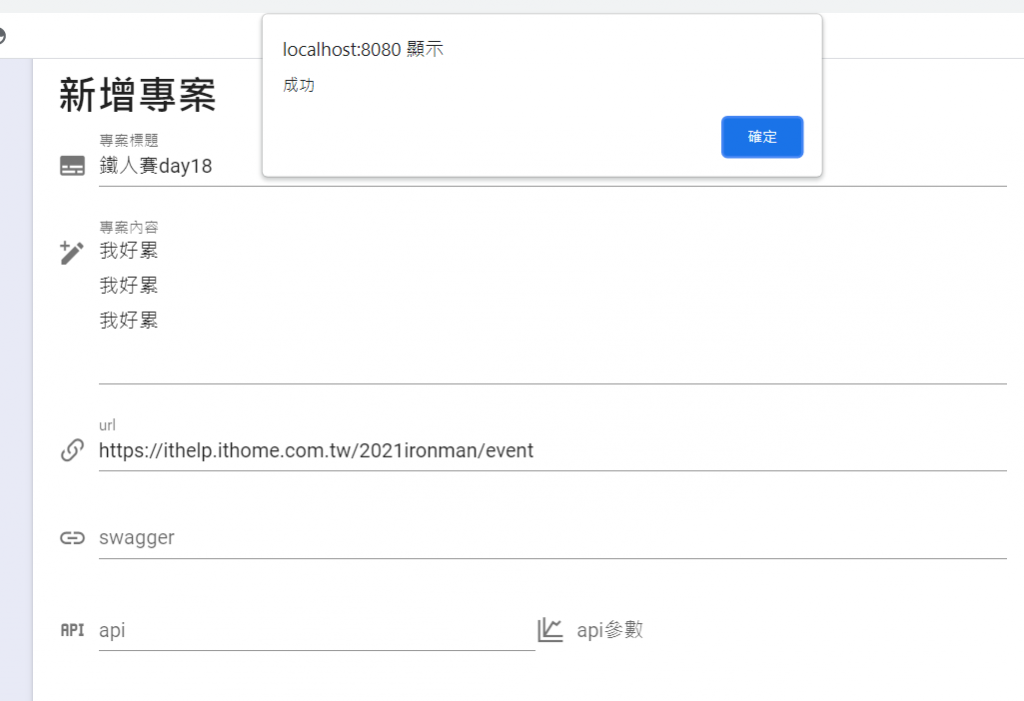
嘟嘟嚕成功新增文章了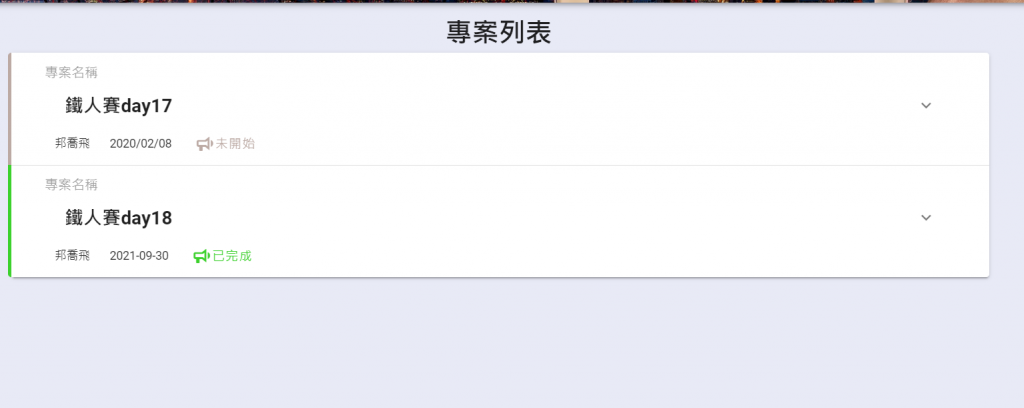
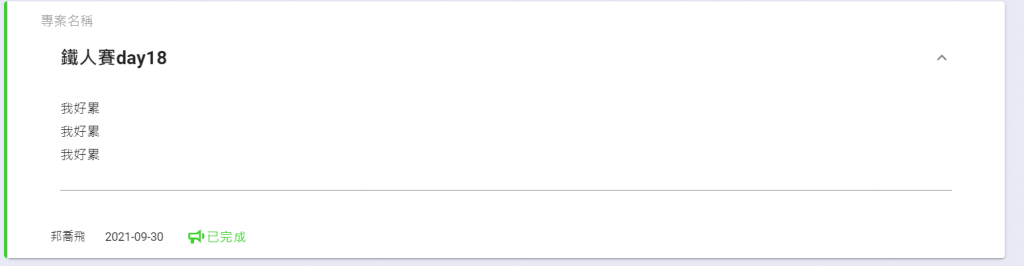
再確認一下db.json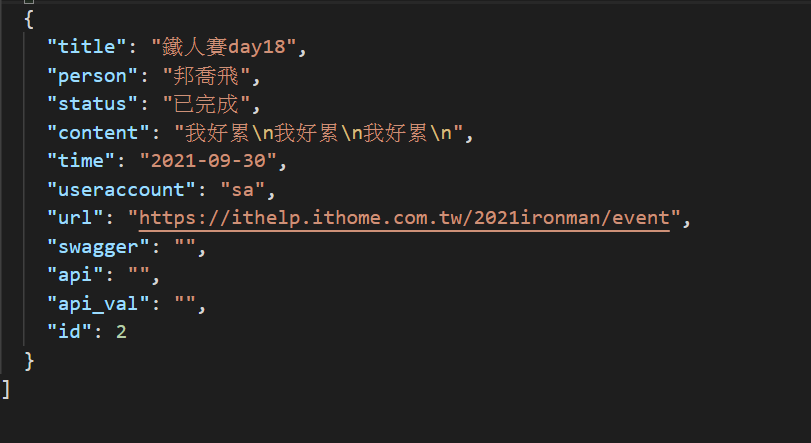
至於為什麼要有欄位swagger api api_val則是我們公司提出需要這幾個欄位
所以我先設定 也沒有下rule所以可以允許空值
好了今天就差不多這樣了
明天就從我的專案開始吧!


 iThome鐵人賽