上一篇處理完頁面的樣式後,這一篇要來處理資料與邏輯,並且如何透過angular fire 將資料送到firebase 儲存起來
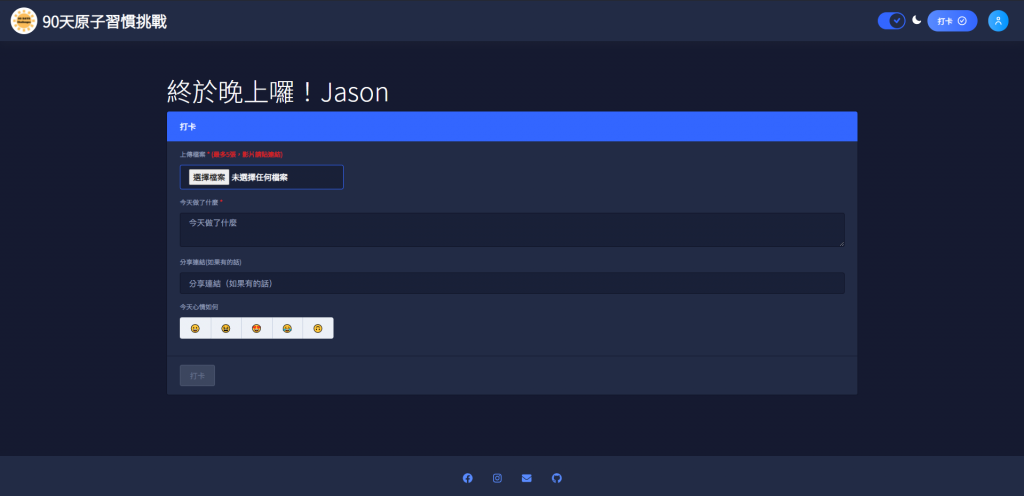
在上一篇,按下打卡的按鈕之後,會將表單的內容傳送到 checkinService 讓服務去處理核心邏輯,並且透過 angular fire 去與 firebase 溝通
 checkin(): void {
    this.toastrService.warning('上傳中', '請等待圖片上傳完成,請勿關閉視窗');
    this.isLoading = true;
    this.checkinService.addCheckin(this.checkinForm.value).subscribe((e) => {
      this.toastrService.success('成功', '恭喜,又完成一天囉');
      this.isLoading = false;
      this.resetFrom();
    });
  }
所以這一邊就要來設計服務 - checkinServicec 處理核心邏輯並且將資料送到 firestore 上面記錄起來。
import { Injectable } from '@angular/core';
import { HttpClient } from '@angular/common/http';
import { forkJoin, from, Observable } from 'rxjs';
import { AngularFireStorage } from '@angular/fire/storage';
import {
  AngularFirestore,
  AngularFirestoreCollection,
} from '@angular/fire/firestore';
import { finalize, switchMap } from 'rxjs/operators';
import { UserService } from './user.service';

import { CheckinObj } from '@challenge90days/api-interfaces';
import firebase from 'firebase/app';

@Injectable({
  providedIn: 'root',
})
export class CheckinService {
  checkinCollection: AngularFirestoreCollection<any>;
  userInfo;
  apiUrl = 'https://challenge-90-days.herokuapp.com/api';

  // date
  constructor(
    private http: HttpClient,
    private firestore: AngularFirestore,
    private storage: AngularFireStorage,
    private userService: UserService
  ) {
    this.checkinCollection = firestore.collection<any>('checkin');
    this.userService.userInfo$.subscribe((e) => {
      this.userInfo = e;
    });
  }

  // 開始打卡
  addCheckin(checkinObj: CheckinObj): Observable<any> {
    const data = {
      content: checkinObj.message,
      postUser: this.userInfo.name,
      url: checkinObj.url,
      imgFile: [],
      time: new Date(),
      userId: this.userService.userId$.value,
      emoji: checkinObj.emoji,
      docPath: '',
    };
    const addDoc$ = from(this.checkinCollection.add(data));
    return addDoc$.pipe(
      switchMap((res) =>
        this.uploadFile(
          checkinObj.imgFile,
          res.id,
          res.path,
          checkinObj.message,
          this.userInfo.name
        )
      )
    );
  }

  uploadFile(
    imageFiles: File[],
    filePath: string,
    docPath: string,
    message: string,
    name: string
  ): Observable<any> {
    const nowTimestamp = +new Date();
    const fullFilePath = `checkin/${filePath}`;
    let fileArray$ = [];
    for (const [i, imageFile] of Object.entries(imageFiles)) {
      const task = this.storage.upload(
        `${fullFilePath}${nowTimestamp}${i}`,
        imageFile
      );
      fileArray$.push(task);
    }
    return forkJoin(fileArray$).pipe(
      finalize(() => {
        fileArray$.forEach((e, i) => {
          const fileRef = this.storage.ref(
            `${fullFilePath}${nowTimestamp}${i}`
          );
          const downloadURL$ = fileRef.getDownloadURL();
          downloadURL$.subscribe((imageUrl) => {
            if (Number(i) === 0) {
              this.sendMessageToLineChatbot(message, name, imageUrl, filePath);
            }
            this.firestore.doc(docPath).update({
              imgFile: firebase.firestore.FieldValue.arrayUnion(imageUrl),
              docPath: filePath,
            });
          });
        });
      })
    );
  }

  sendMessageToLineChatbot(
    message: string,
    name: string,
    imageUrl: string,
    docPath: string
  ): void {
    const url = `${this.apiUrl}/snedMessageToLineChannel`;
    this.http
      .post(url, {
        message,
        name,
        imageUrl,
        docPath,
      })
      .subscribe();
  }
}
此服務核心功能只有三個部分:
 constructor(
    private http: HttpClient,
    private firestore: AngularFirestore,
    private storage: AngularFireStorage,
    private userService: UserService,
  ) {
    this.checkinCollection = firestore.collection<any>('checkin');
    this.userService.userInfo$.subscribe((e) => {
      this.userInfo = e;
    });
  }
在建構式的時候,注入許多必要的服務,像是處理各種請求的 httpClient 、與 forestore 溝通的 angularFirestore 、之後要上傳圖片的地方的 angularFireStorage 、取得在authentication 上面註冊資訊的 userService 。
在一開始的時候指定集合的位置,要上傳到 checkin 路徑之下,並且透過userService 取得使用者的資訊
  addCheckin(checkinObj: CheckinObj): Observable<any> {
    const data = {
      content: checkinObj.message,
      postUser: this.userInfo.name,
      url: checkinObj.url,
      imgFile: [],
      time: new Date(),
      userId: this.userService.userId$.value,
      emoji: checkinObj.emoji,
      docPath: '',
    };
    const addDoc$ = from(this.checkinCollection.add(data));
    return addDoc$.pipe(
      switchMap((res) =>
        this.uploadFile(
          checkinObj.imgFile,
          res.id,
          res.path,
          checkinObj.message,
          this.userInfo.name
        )
      )
    );
  }
再來就是將打卡資料上傳到firestore的功能了,首先先將表單傳送過來的資料轉換一下,轉換成要送到資料庫的格式,並且新增取多必要的資料,像是使用者的名稱、使用者的ID、上船的時間等等的必要資訊
準備後之後,就透過angular fire 將資料上傳上去。
可以看到在上傳之前做了一件事情
const addDoc$ = from(this.checkinCollection.add(data));
將新增的功能,使用 from 包了起來,原因是這是一個 promise ,但是因為我要處理一連串資料流的事件,所以將 promise 轉換成 observable 可被觀察對象,這樣可以使用 rxjs 一氣呵成處理
 return addDoc$.pipe(
      switchMap((res) =>
        this.uploadFile(
          checkinObj.imgFile,
          res.id,
          res.path,
          checkinObj.message,
          this.userInfo.name
        )
      )
    );
所以最後在上傳的過程,上傳到firestore 完成後,會透過 switchMap 的運算子,將得到的資料再轉換成下一個observable 繼續去處理上傳圖片的動作,完成之後,也會傳回 observable 告訴元件是否完成了。
一連串非同步的動作,就可以很簡單又很優雅地去處理,完全不用理會什麼時間差或是等待的問題,這樣就完成了!
至於如何上傳圖片後再更新原本的資料的流程,就留到下一篇再介紹