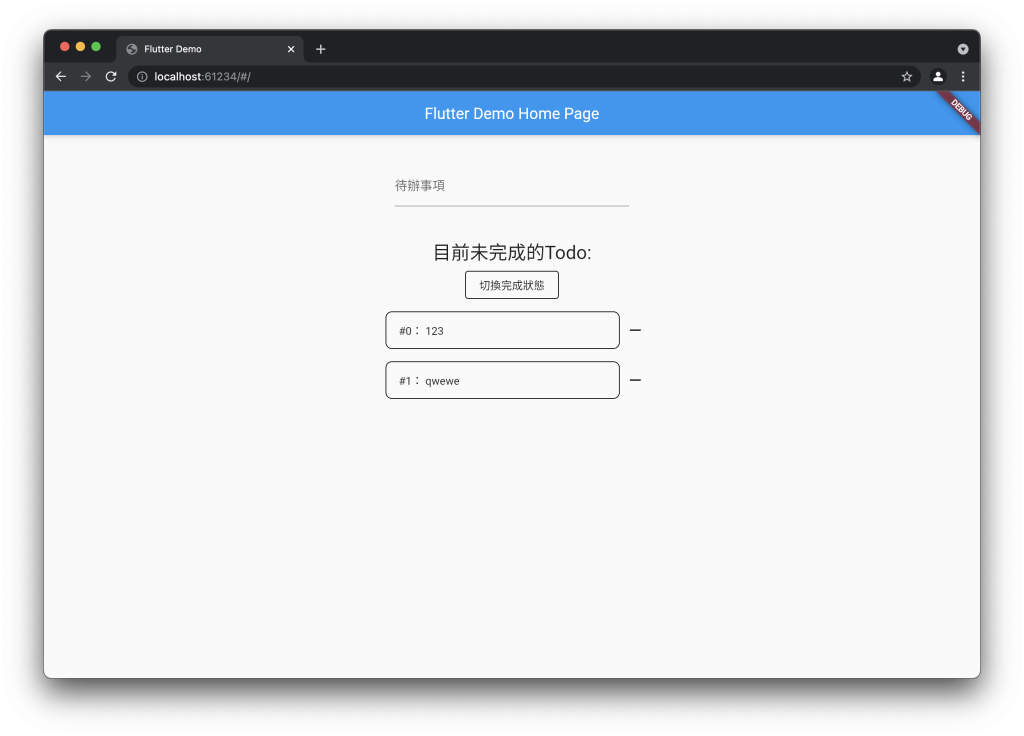
那今天就繼續來擴充這個小專案的功能,我們現在可以新增及刪除了,那今天就來實作更換卡片的狀態好了。
首先我們來新增一個值 isDone 來表示todo是否被完成了
class TodoModel {
  final String content;
  bool isDone;

  TodoModel({required this.content, this.isDone = false});
  void toggleStatus() {
    isDone = !isDone;
  }
}
因為每次新增一個todo時應該都會是未完成的,所以這邊就直接帶入預設值,然後寫一個method toggleStatus 方便我們切換狀態時不用每次寫 todo.isDone = !todo.isDone 。
然後來實作改變這個值的function
void _handleToggleStatus(int hashCode) {
    setState(() {
      _todoList = _todoList.map((todo) {
        if (todo.hashCode == hashCode) {
          todo.toggleStatus();
          return todo;
        } else {
          return todo;
        }
      }).toList();
    });
  }
這段程式碼因為是使用 hashcode 來access,而且外面是一個 List 所以這段才會看起來如此複雜。
然後來修改 TodoCard 的樣式,首先新增一個參數 isDone ,然後記得在constructor 新增這個參數,之後到我們widget這裡,我是採用 Opacity 這個widget來讓我們來表示完成時卡片會變半透明。
Padding(
      padding: const EdgeInsets.all(8.0),
      child: Opacity(
        opacity: isDone ? 0.2 : 1.0,
        child: Container(
          alignment: Alignment.centerLeft,
          constraints: const BoxConstraints(minHeight: 48),
          width: 300,
          padding: const EdgeInsets.fromLTRB(16.0, 8.0, 16.0, 8.0),
          child: Text(
            '#$index: $todoContent',
          ),
          decoration: BoxDecoration(
            border: Border.all(),
            borderRadius: BorderRadius.circular(8),
          ),
        ),
      ),
    );
然後記得到迴圈那邊,多傳入 isDone ,這邊我是利用點擊卡片本身來切換完成狀態,所以這邊直接多包一層 GestureDetector 。
GestureDetector(
    child: TodoCard(
        todoContent: entity.value.content,
        index: entity.key,
        isDone: entity.value.isDone),
    onTap: () {
      handleToggleStatus(entity.value.hashCode);
    },
  ),
既然我們有兩種狀態的卡片了那就來做一個簡單篩選器的功能,為了方便擴充篩選器的功能這邊就直接新增一個class
class TodoFliterModel {
  bool isDone;
  TodoFliterModel({this.isDone = false});
}
然後實例化它及實作這個功能
final TodoFliterModel _todoFilter = TodoFliterModel();

void _handleFilteTodoStatue() {
    setState(() {
      _todoFilter.isDone = !_todoFilter.isDone;
    });
  }
再來新增這顆切換的按鈕
GestureDetector(
    child: Padding(
      padding: const EdgeInsets.all(8.0),
      child: Container(
        alignment: Alignment.center,
        width: 120,
        height: 36,
        child: const Text('切換完成狀態'),
        decoration: BoxDecoration(
          border: Border.all(),
          borderRadius: BorderRadius.circular(4),
        ),
      ),
    ),
    onTap: () {
      _handleFilteTodoStatue();
    },
  ),
然後再將我們的標題改為
Text(
  '目前' + (_todoFilter.isDone ? '已完成' : '未完成') + '的Todo:',
  style: Theme.of(context).textTheme.headline5,
),

今天的程式碼
https://github.com/zxc469469/flutter_todo_list/tree/Day20
感覺功能都差不多了,明天來試著運用裝態管理的套件看看好了。
