昨天我們耗盡洪荒之力,
終於用 terraform 配置好整個基礎設施,
今天我們將繼續環境操作,
不過環境的部分,
會是以軟體安裝為主,
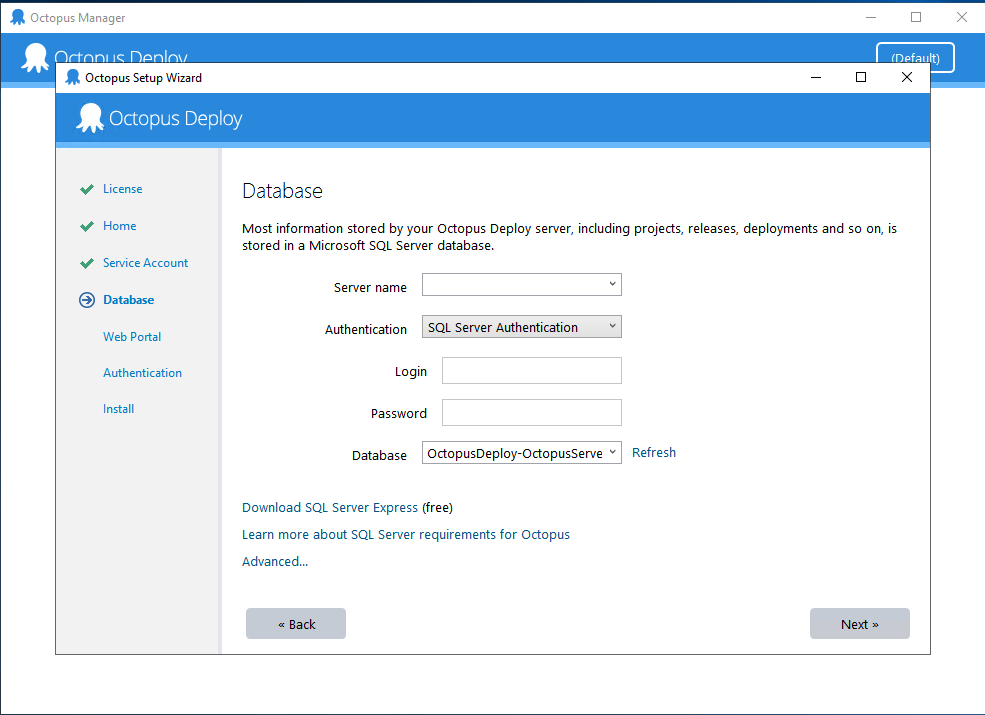
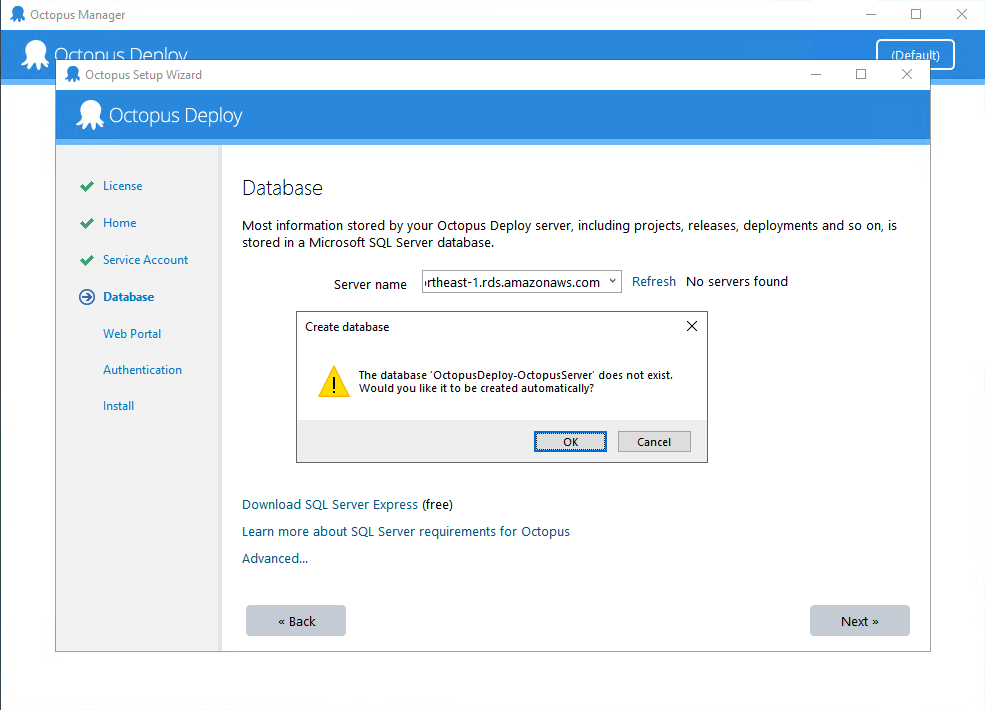
即使已經是在 Windows 上安裝,
但是在一個全新的 Windows Server,
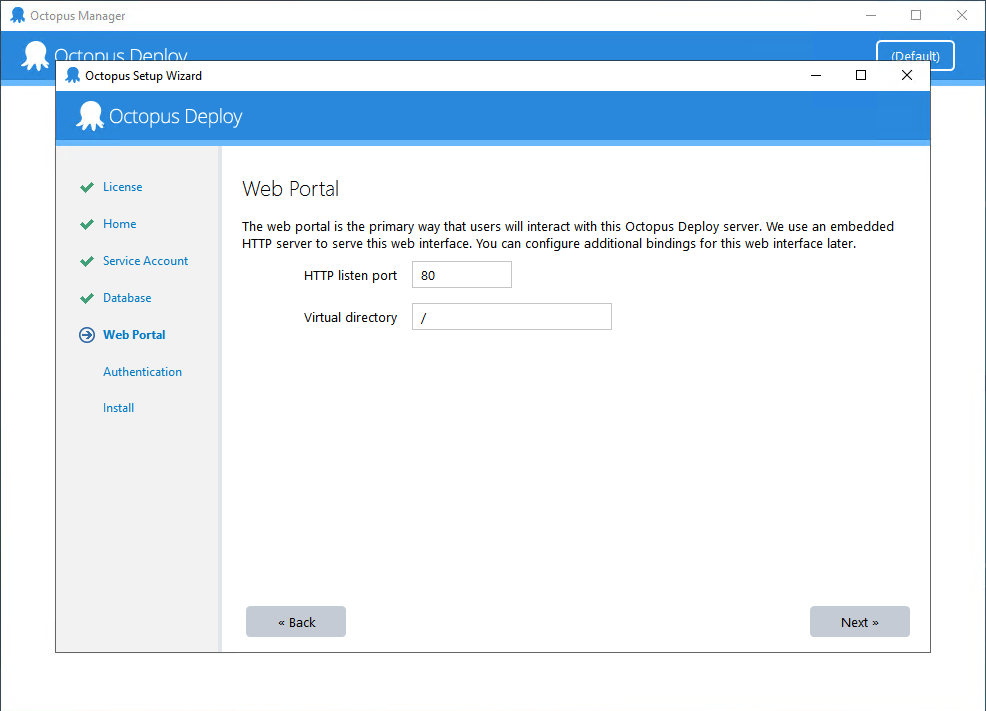
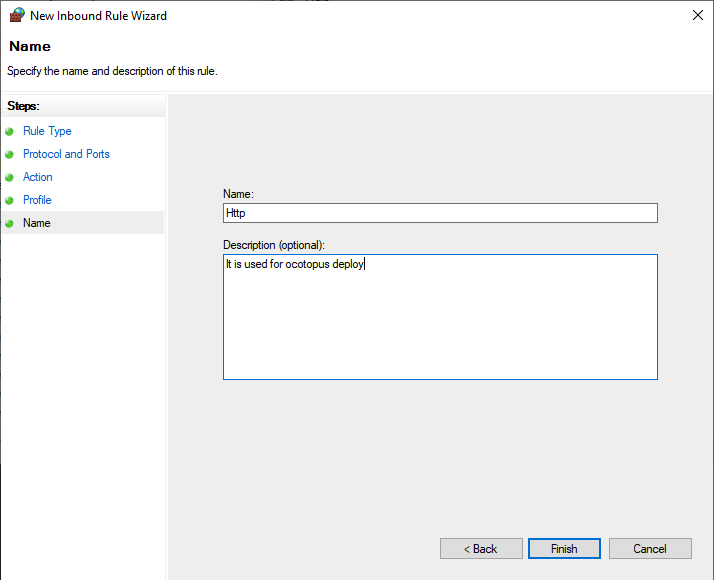
還需要另外設定防火牆,
自己開啟 80 port,
這樣昨天的 load balance 才能與今天安裝好的 Octopus 接上。
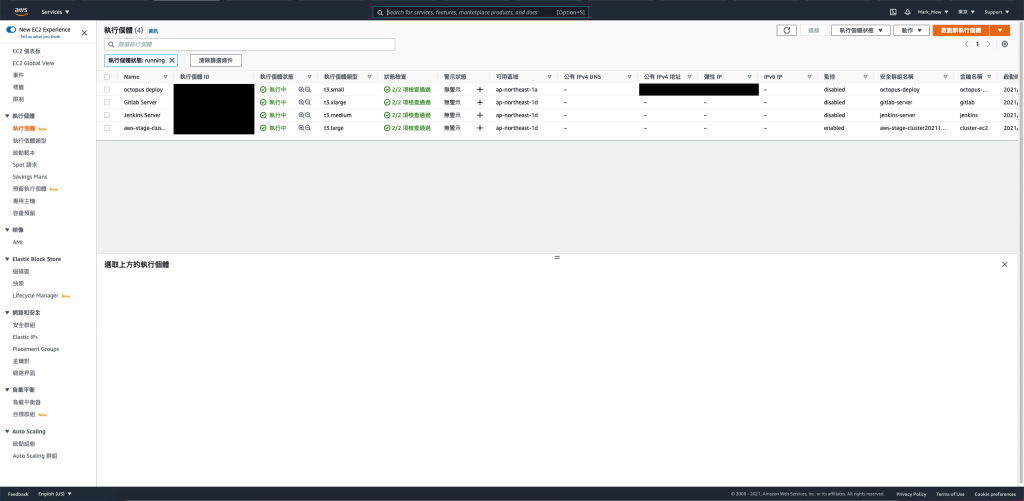
執行個體 ID 進入 EC2 明細頁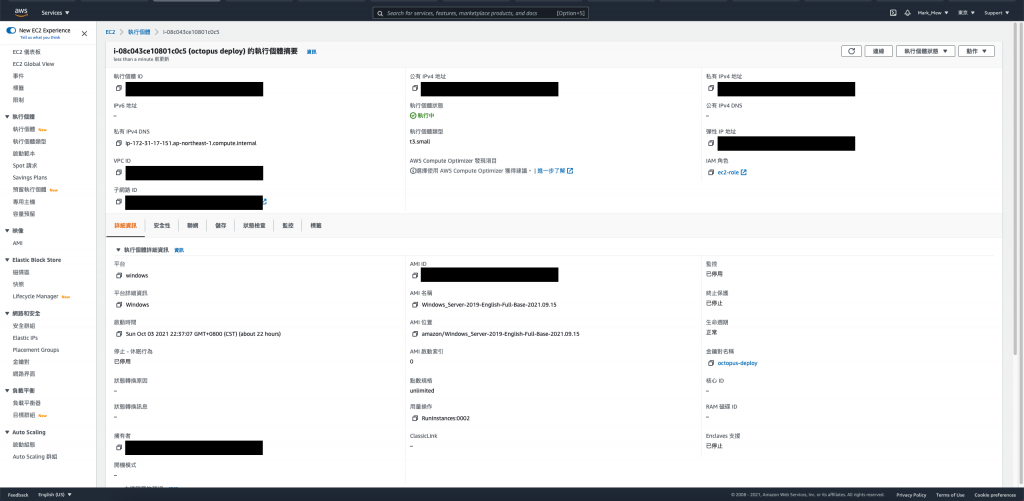
連線,進入操作頁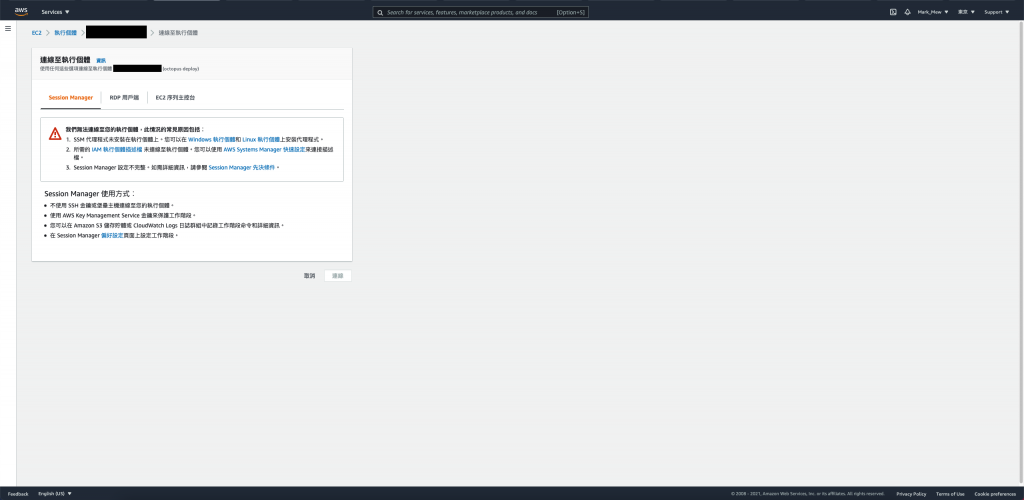
RDP 用戶端頁籤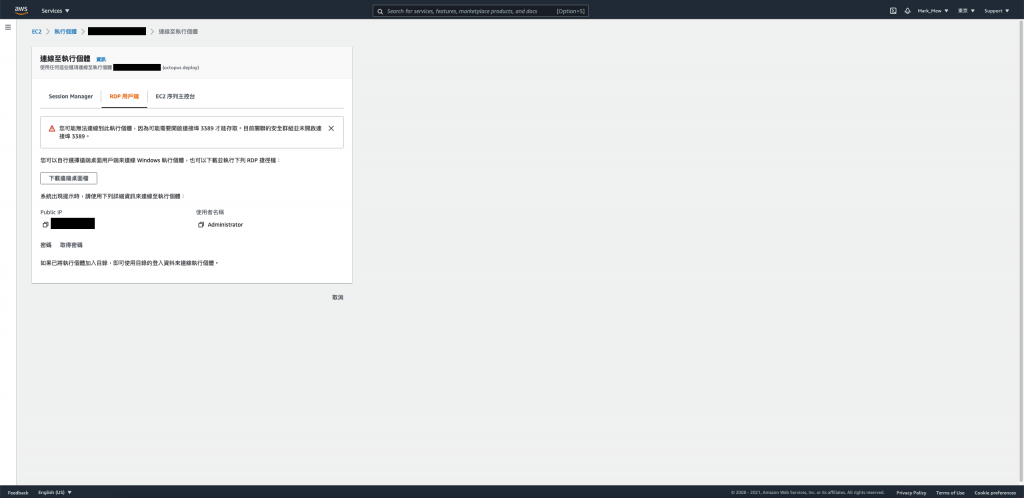
取得密碼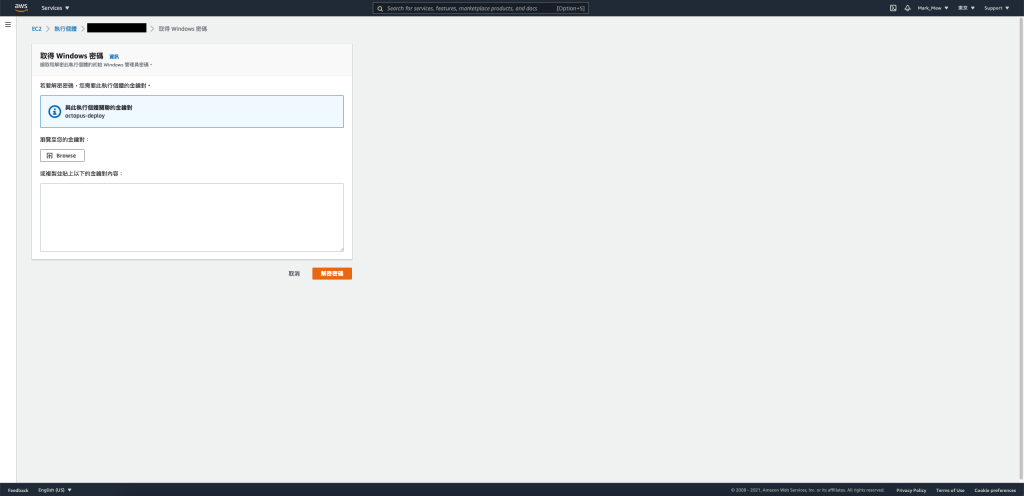
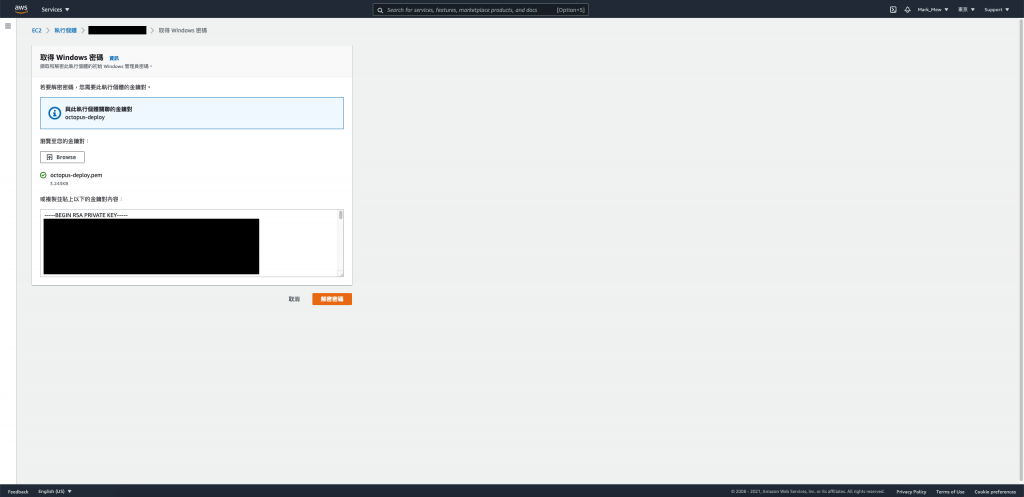
取得密碼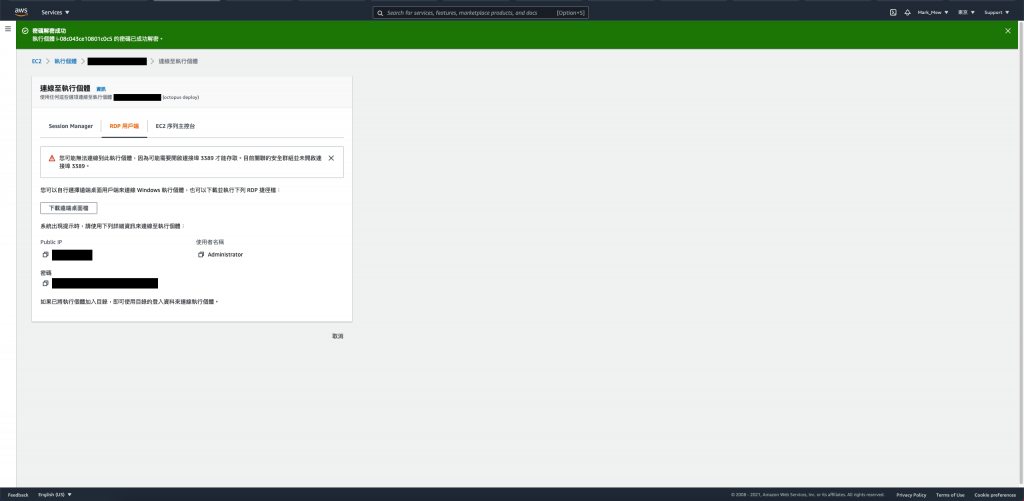
齒輪 > Internet Option > Security > Trusted Sites > Sites > 將 Google 網頁加到信任網站
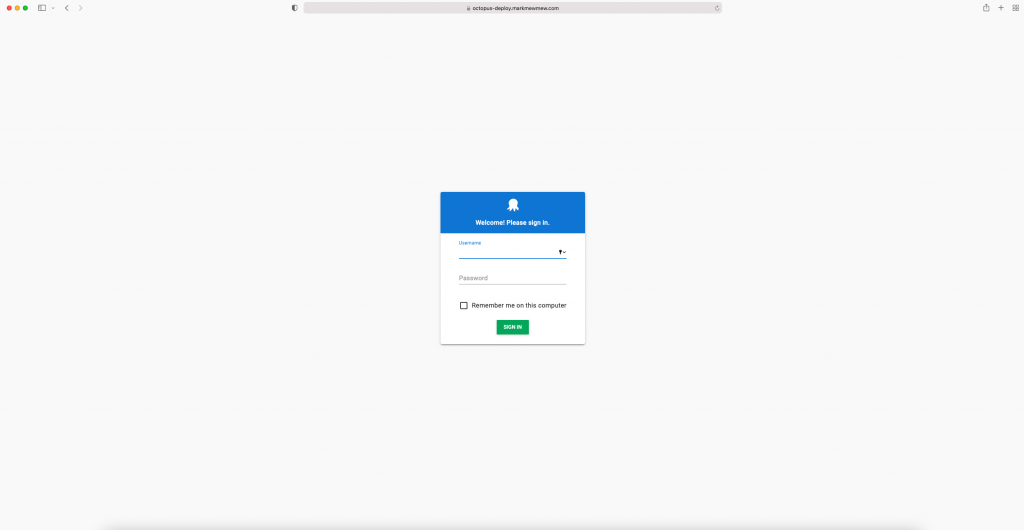
Sign in 登入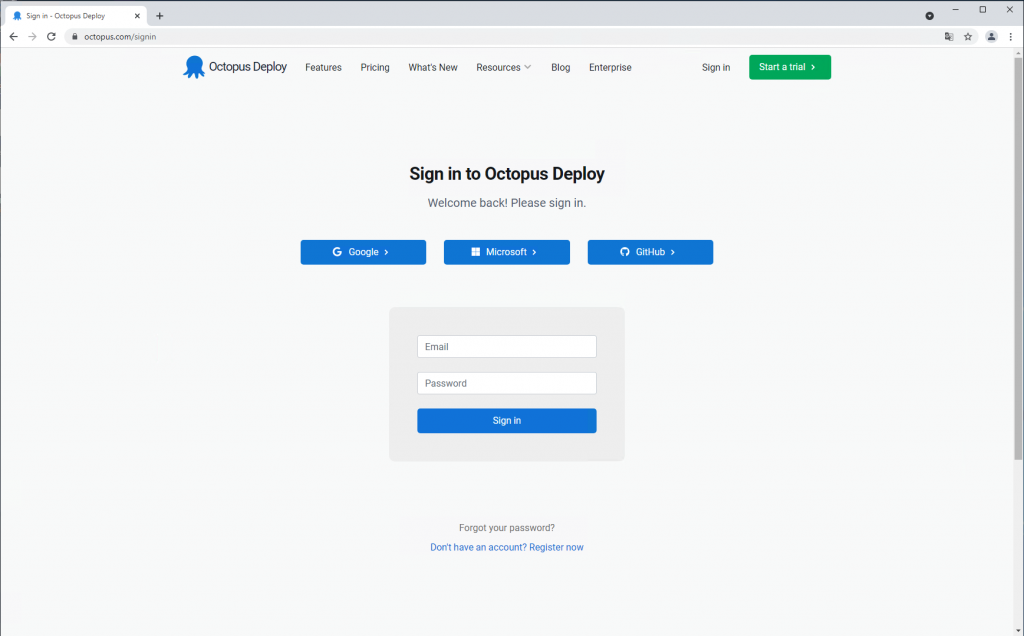
View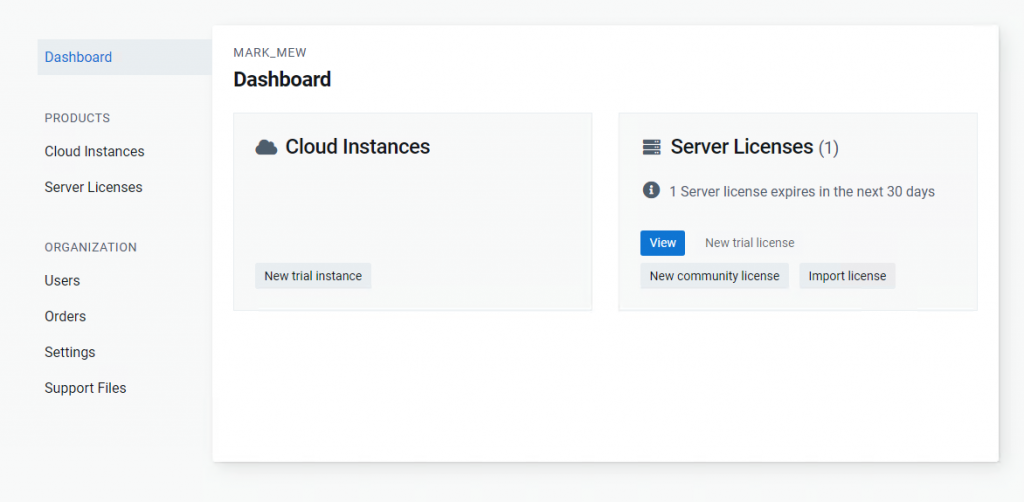

Download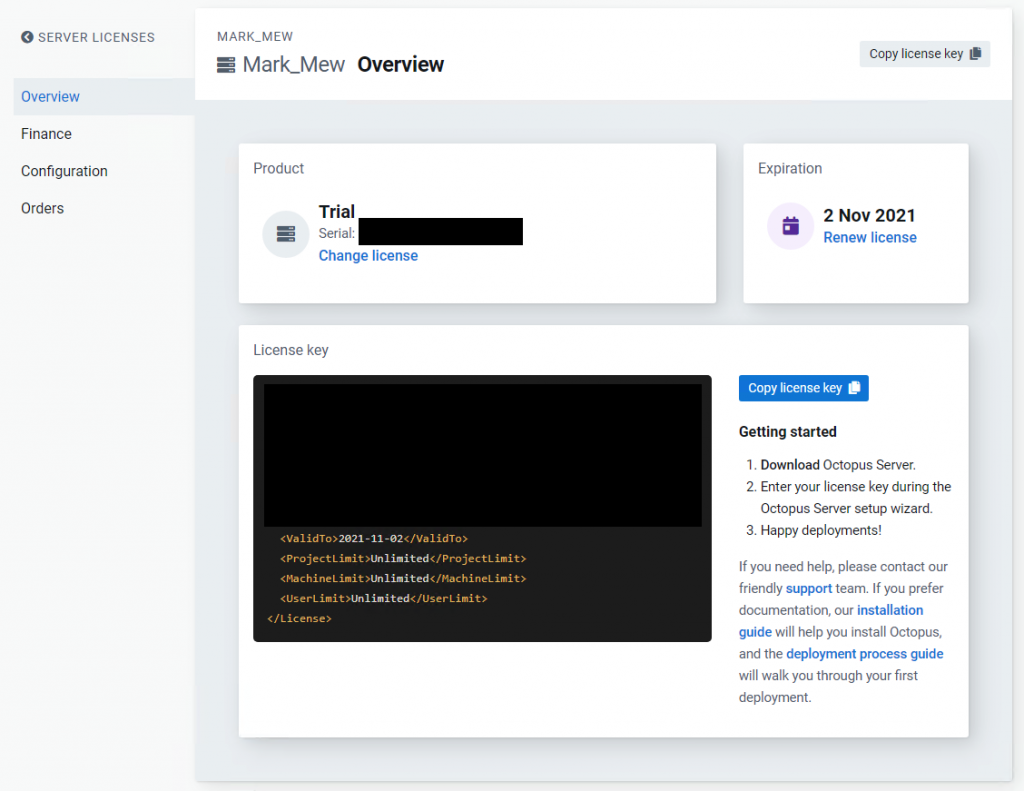
Download總共有 1.5GB,下載需要花一點時間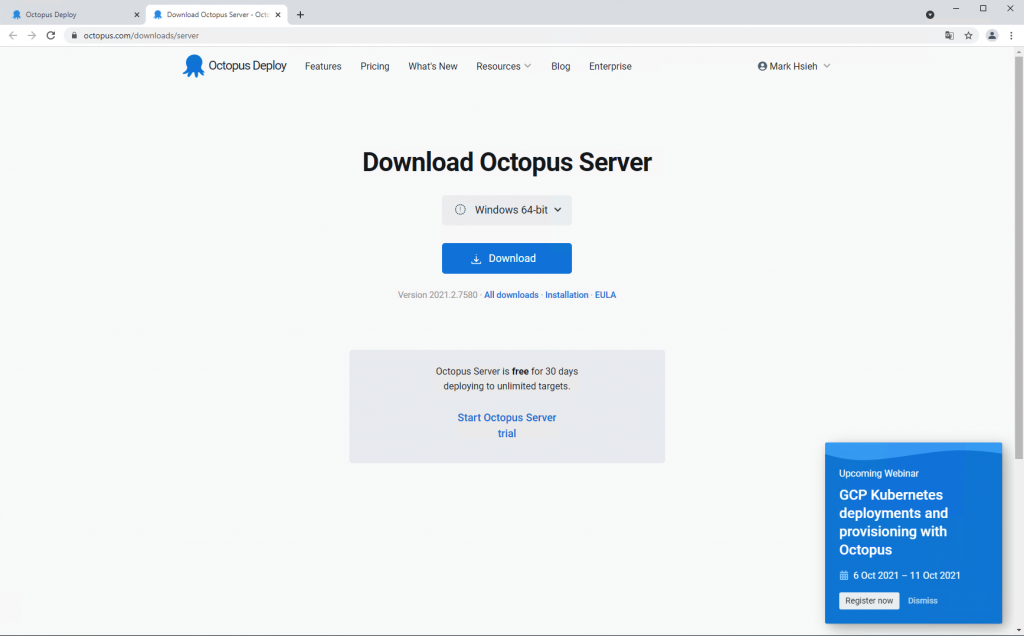
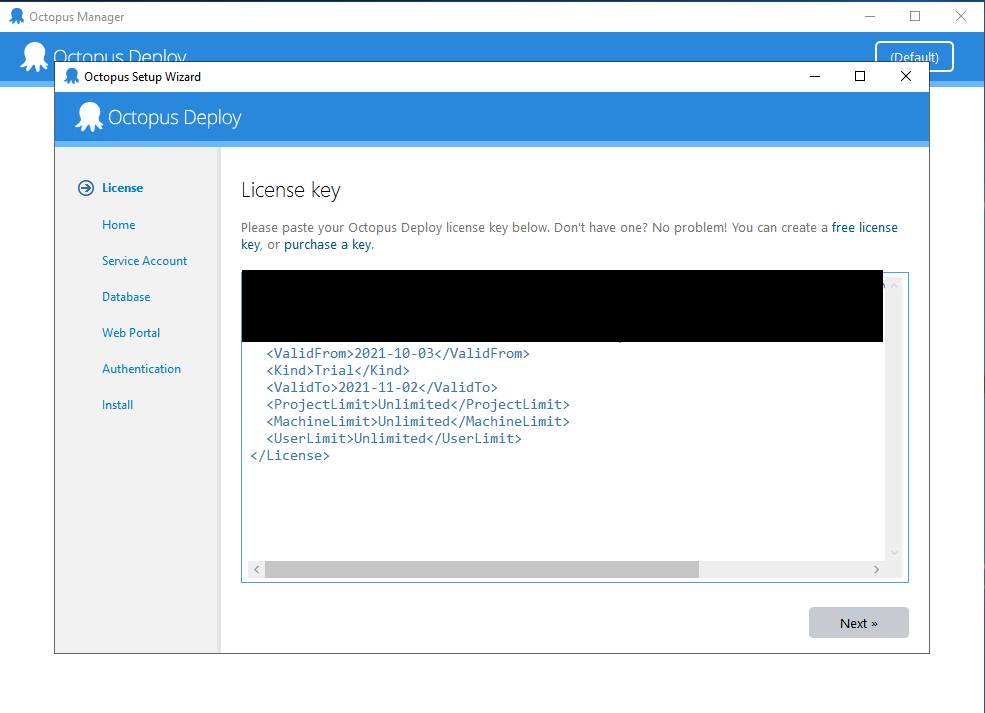
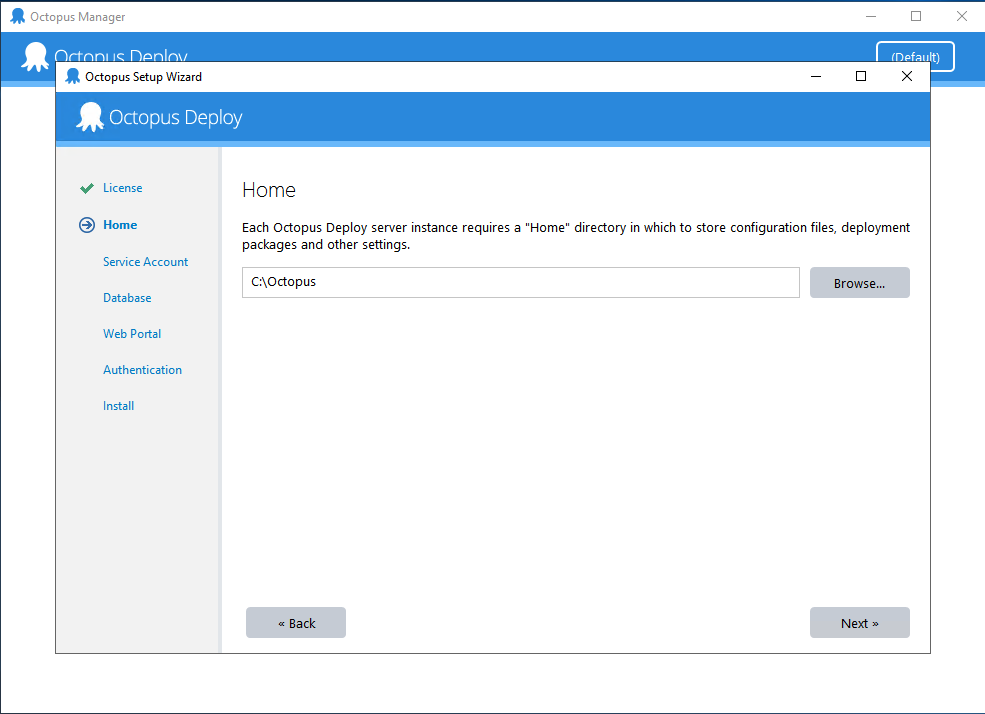
下一步、我同意、我接受
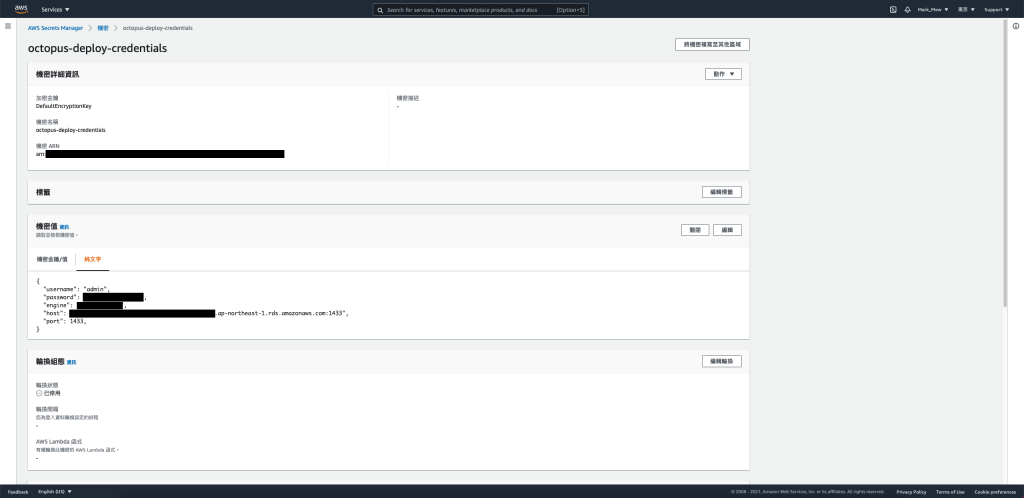
Secrets Manager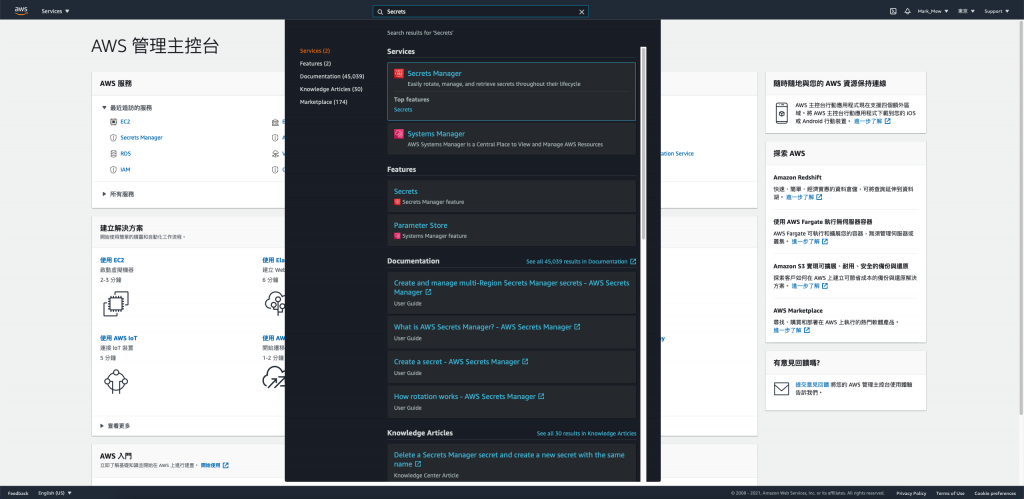
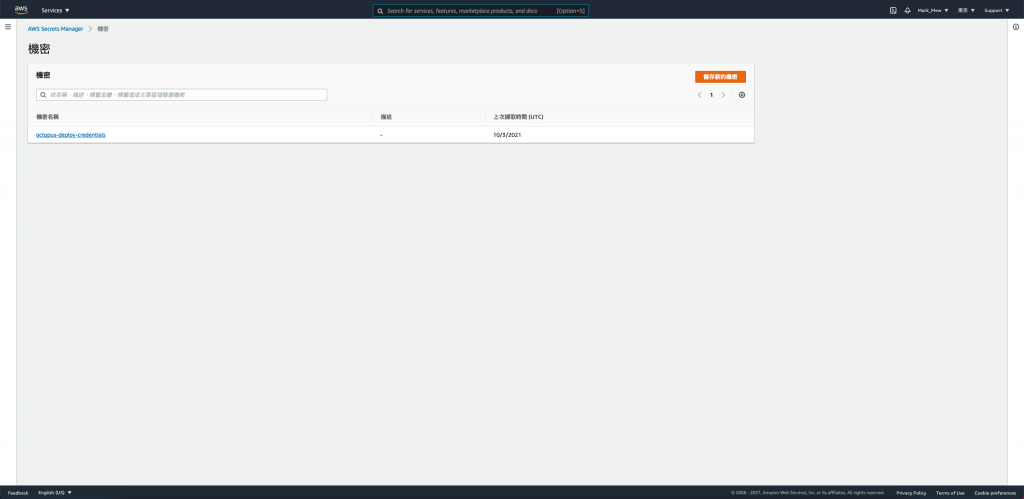
擷取機密值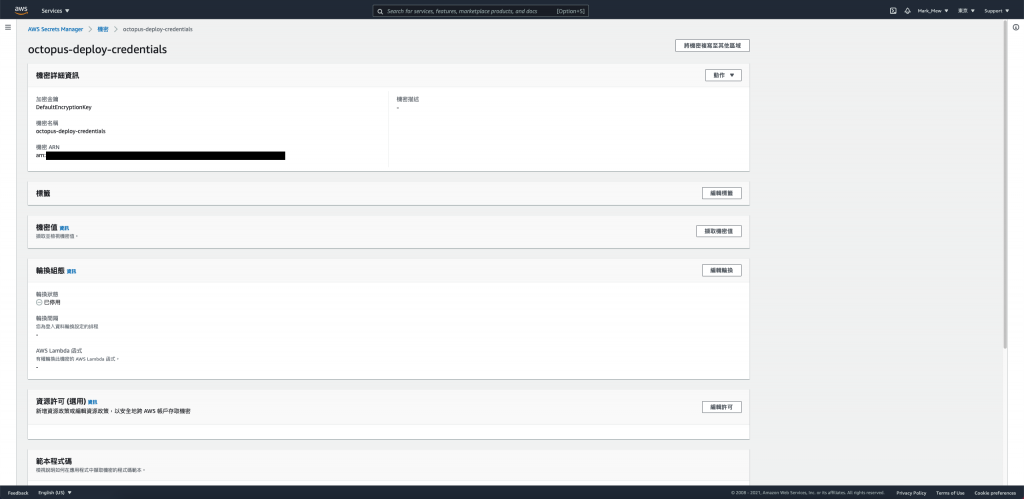
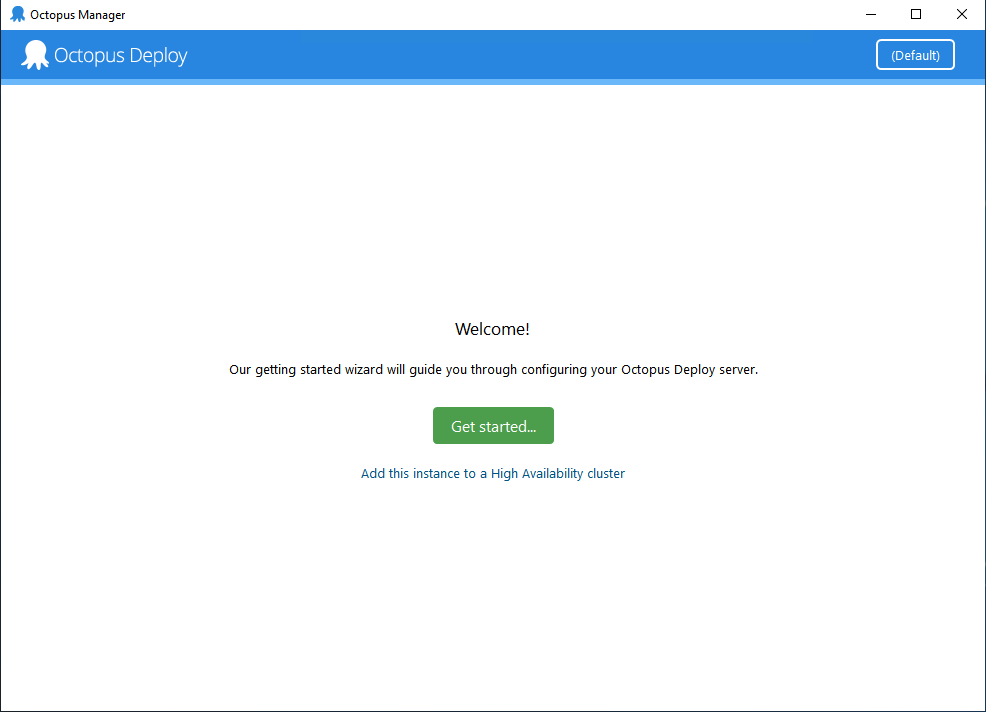
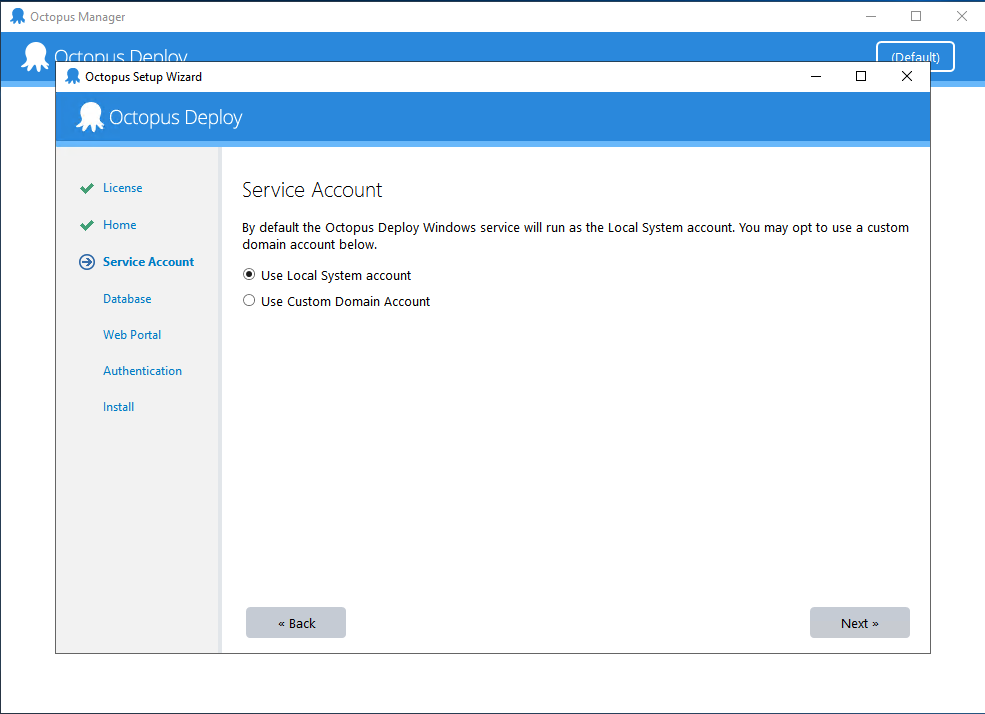
Install 開始安裝
firewall,並點按 Windows Defender firewall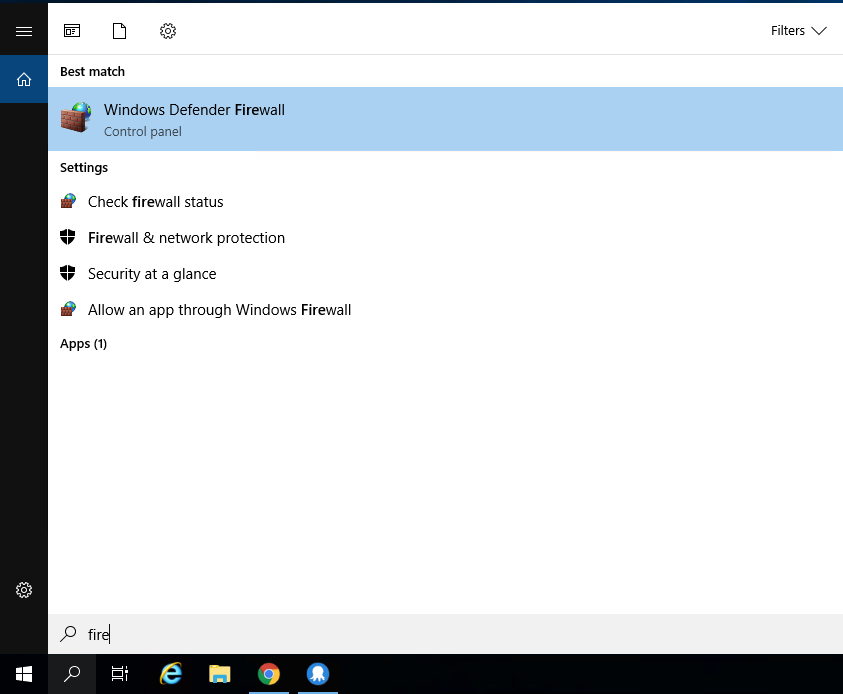
Advanced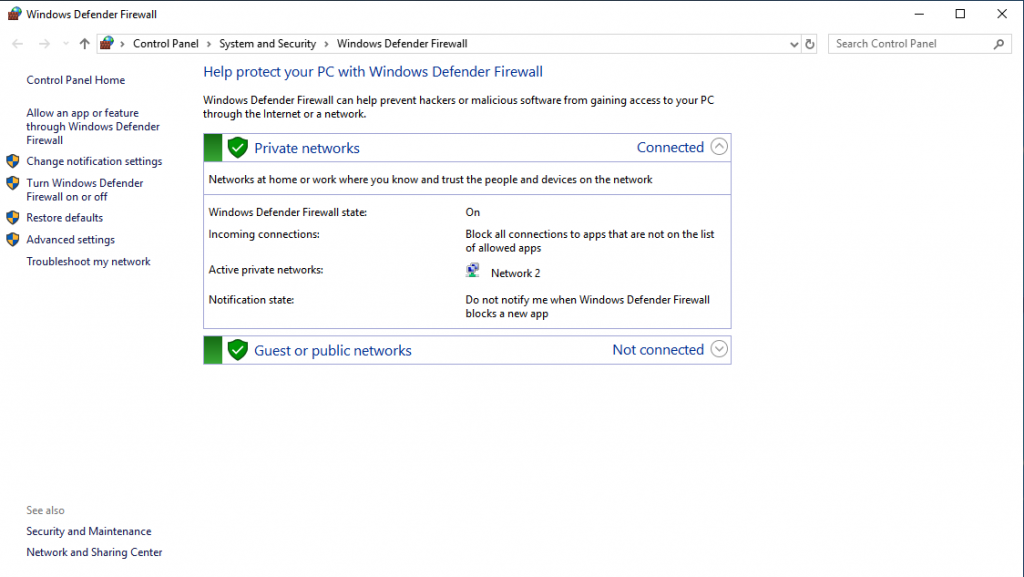
Inbound Rules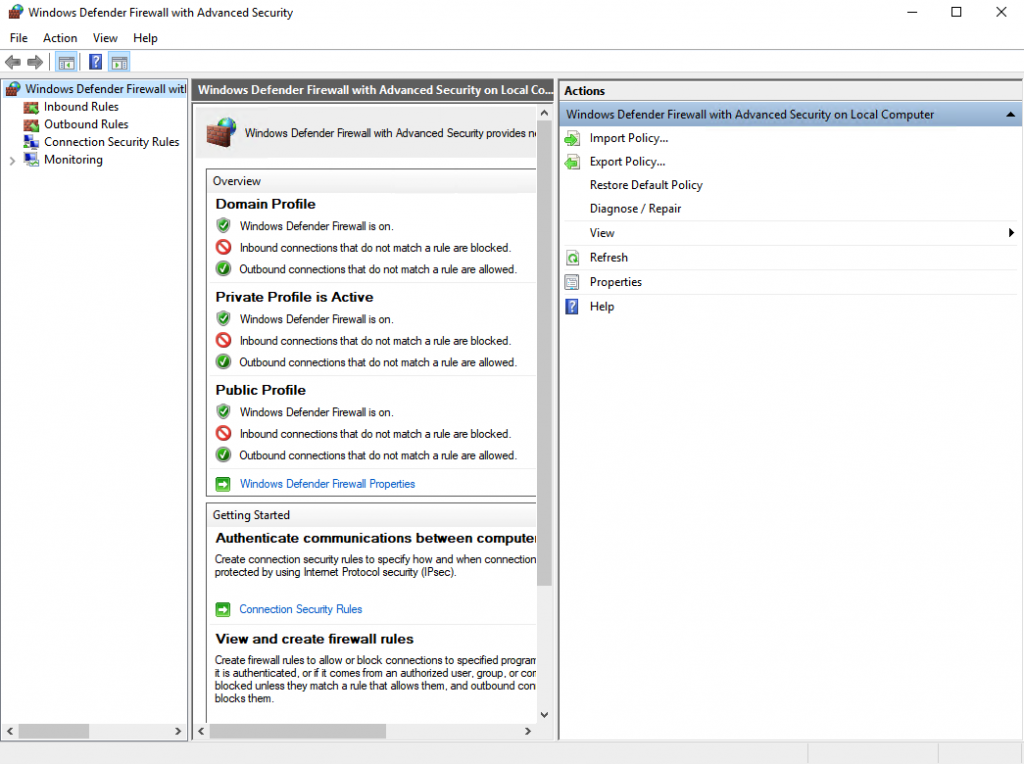
New Rules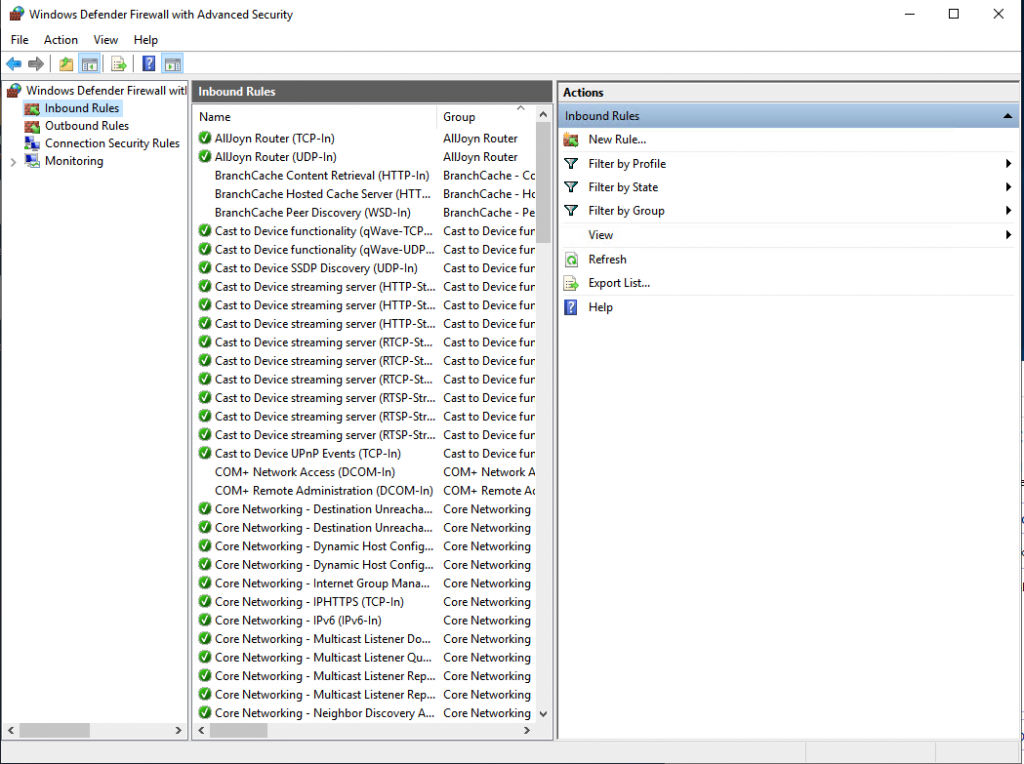
Port,並按下 Next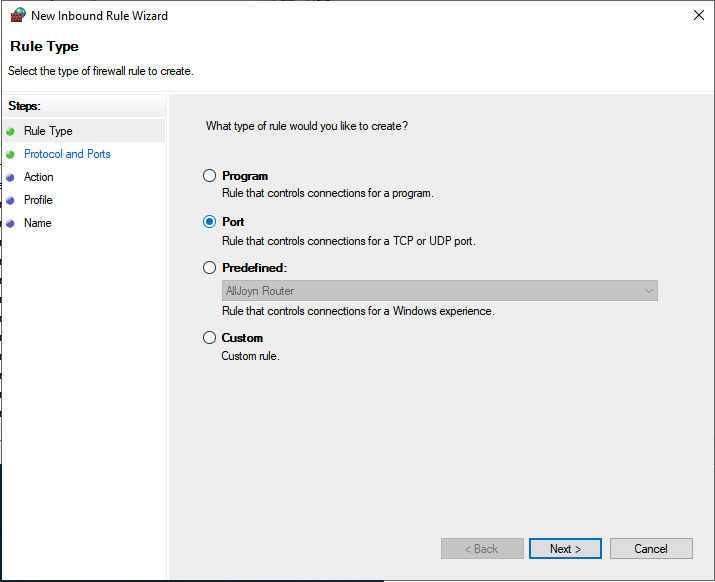
TCP,並輸入 80 port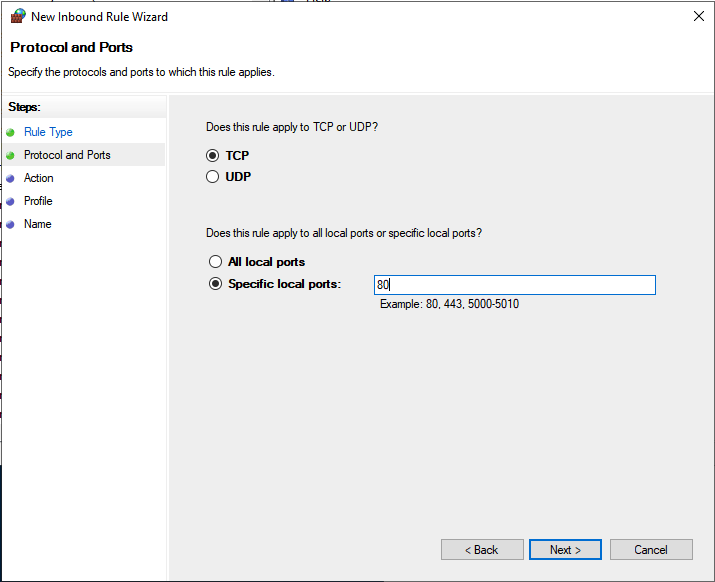
Allow all the connection 然後按 Next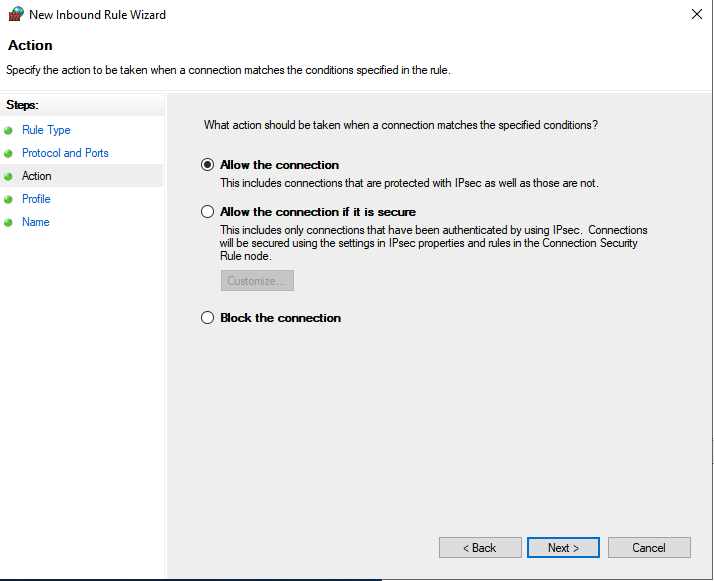
Next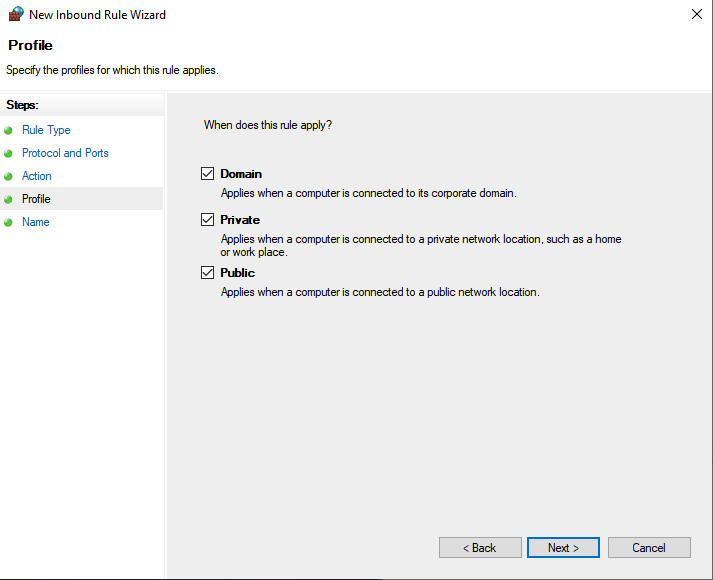
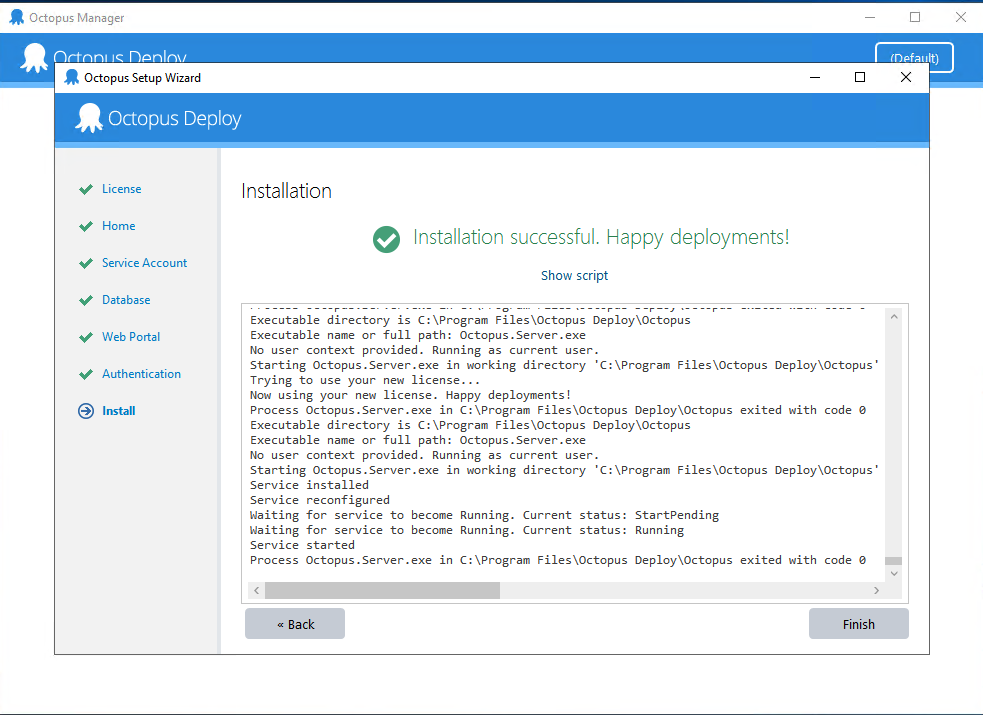
今天我們安裝好整個環境
不過也還沒串接好整個 CI/CD
尤其 portal 頁面不得了
竟然還有 ALLOW_HOSTS 的錯誤
明天我們將在 pipeline 上有些微的調整
並在最後把整個 Octopus 的部署串接起來