上一篇,申請好了 line message API 的頻道,這一篇就來實際玩轉 line message API 吧
首先 line 官方是有文件的,不過沒有中文,只有英文與日文,所以要選擇一種自己熟悉的語言
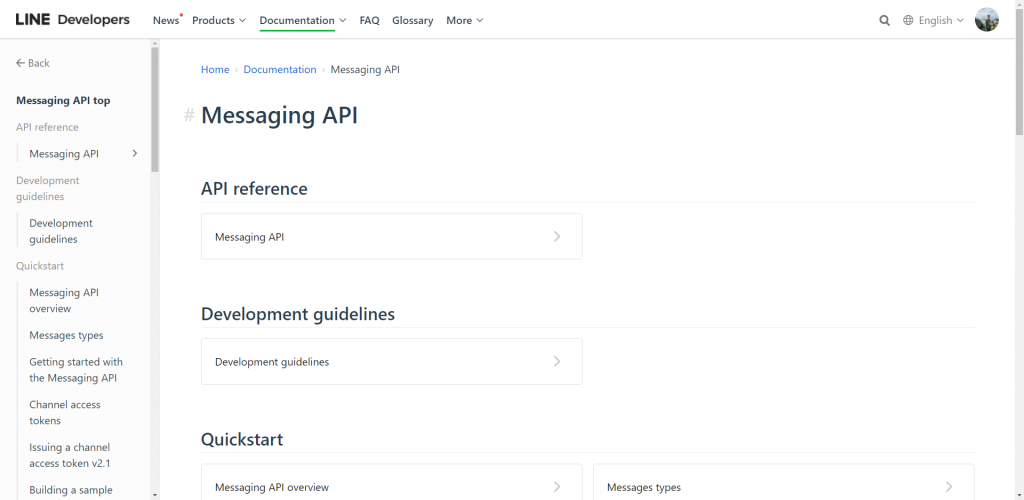
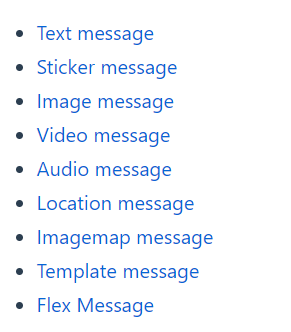
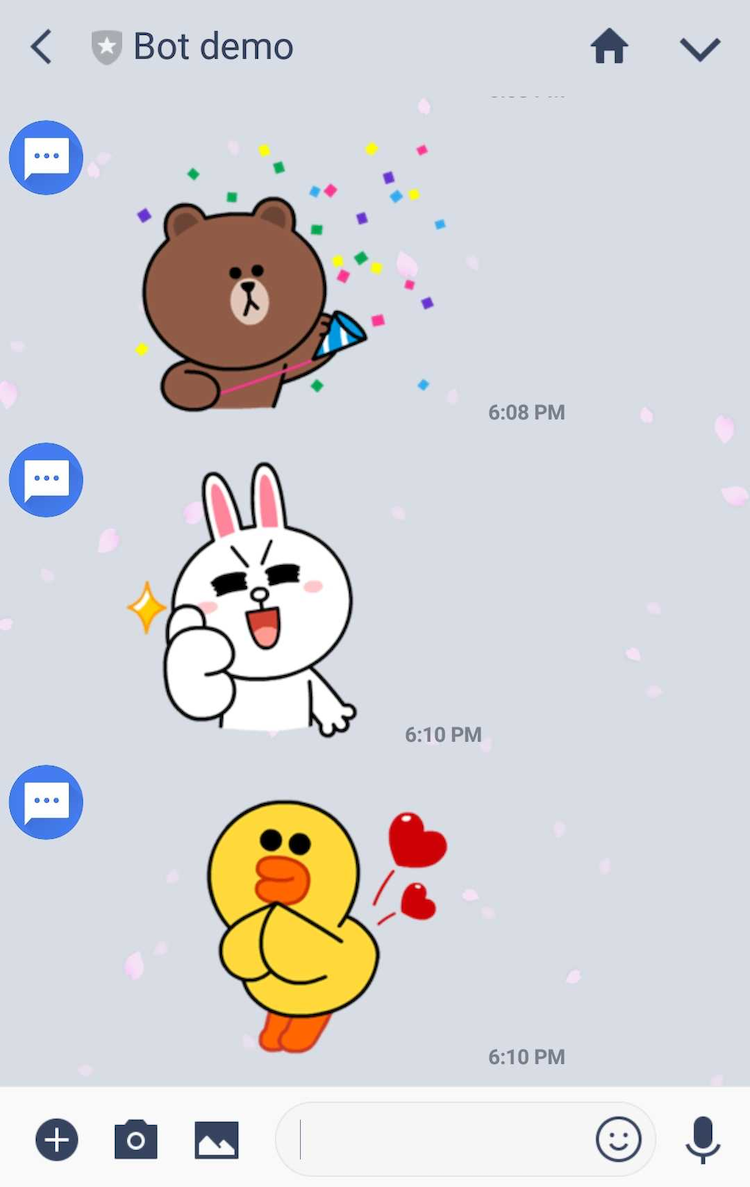
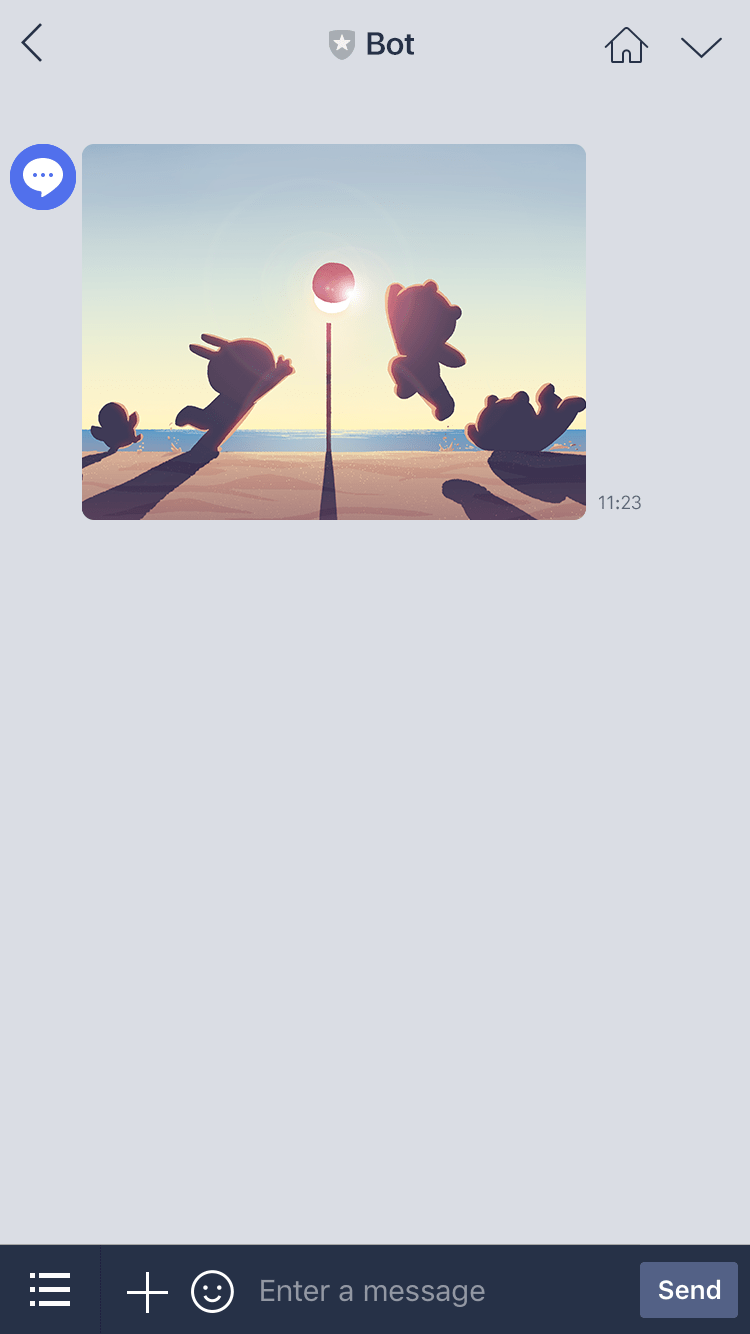
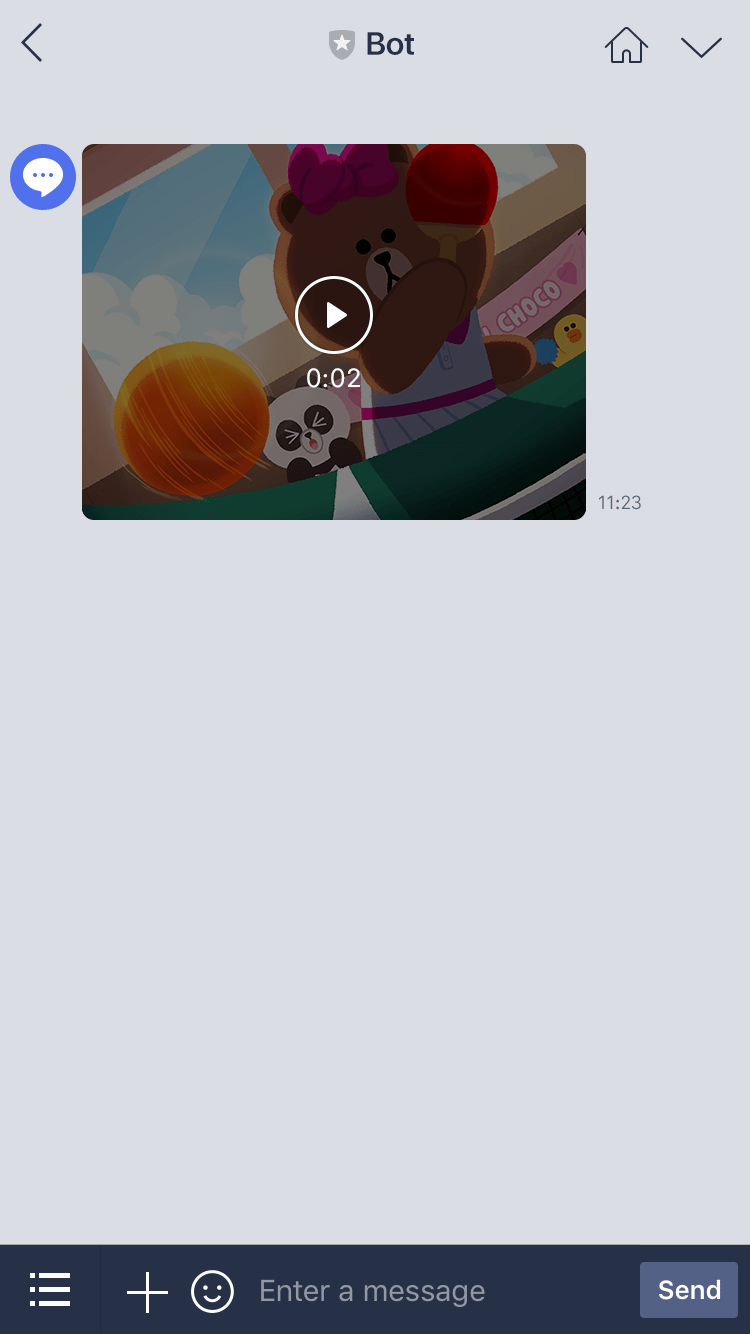
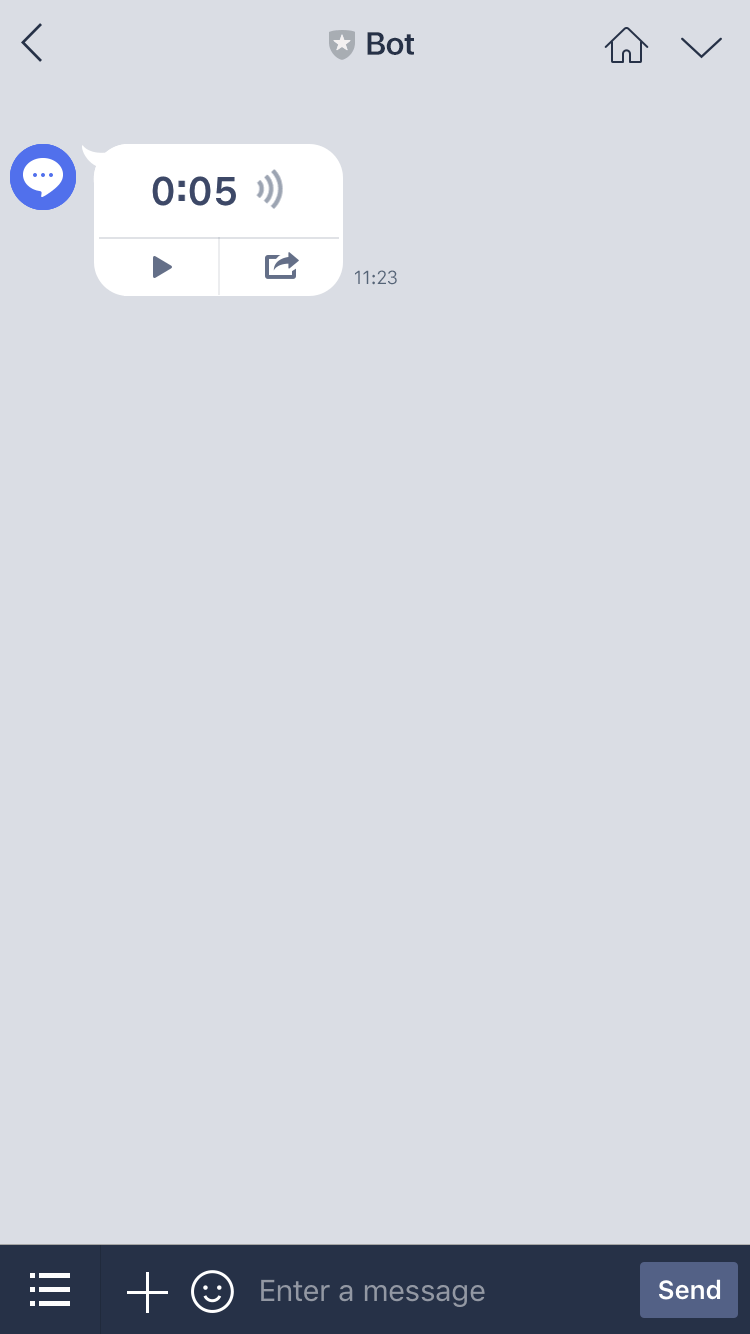
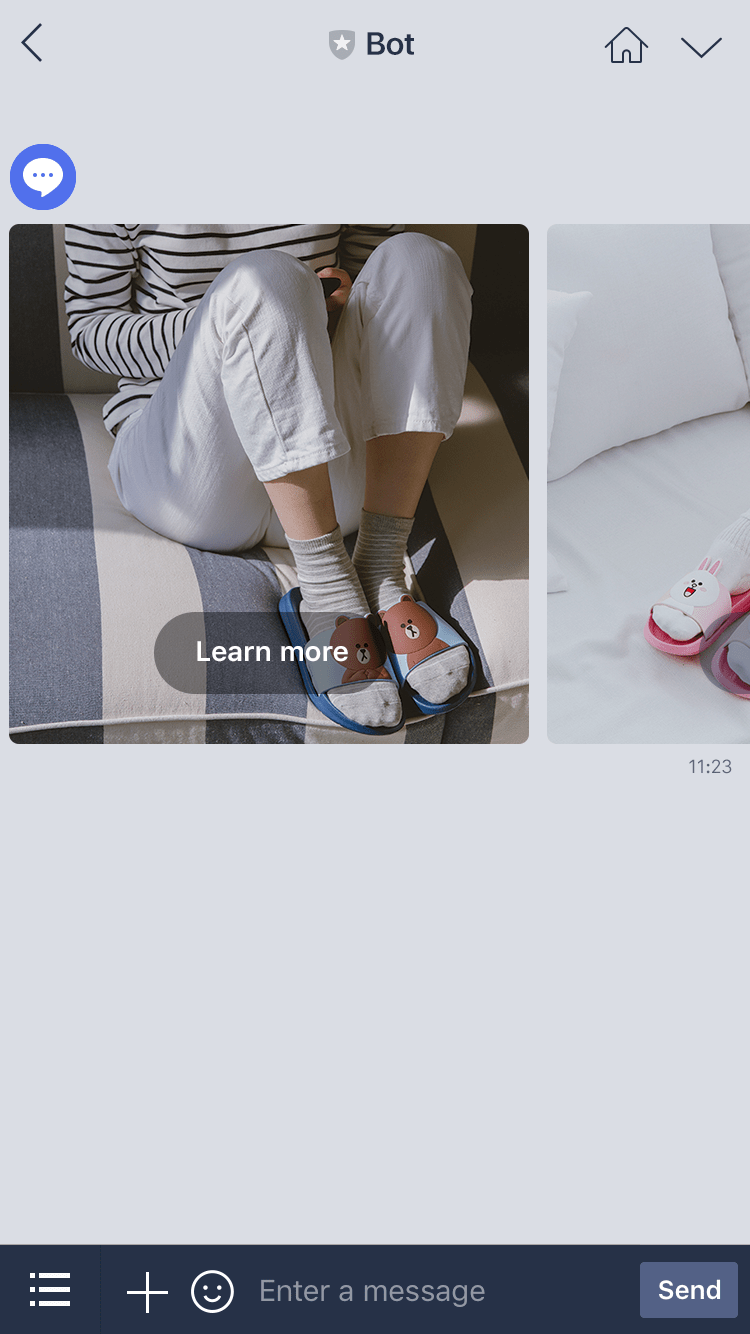
平常我們在傳送 line 訊息的時候,多是以文字或貼圖為主,但是其實line 的訊息有非常多種
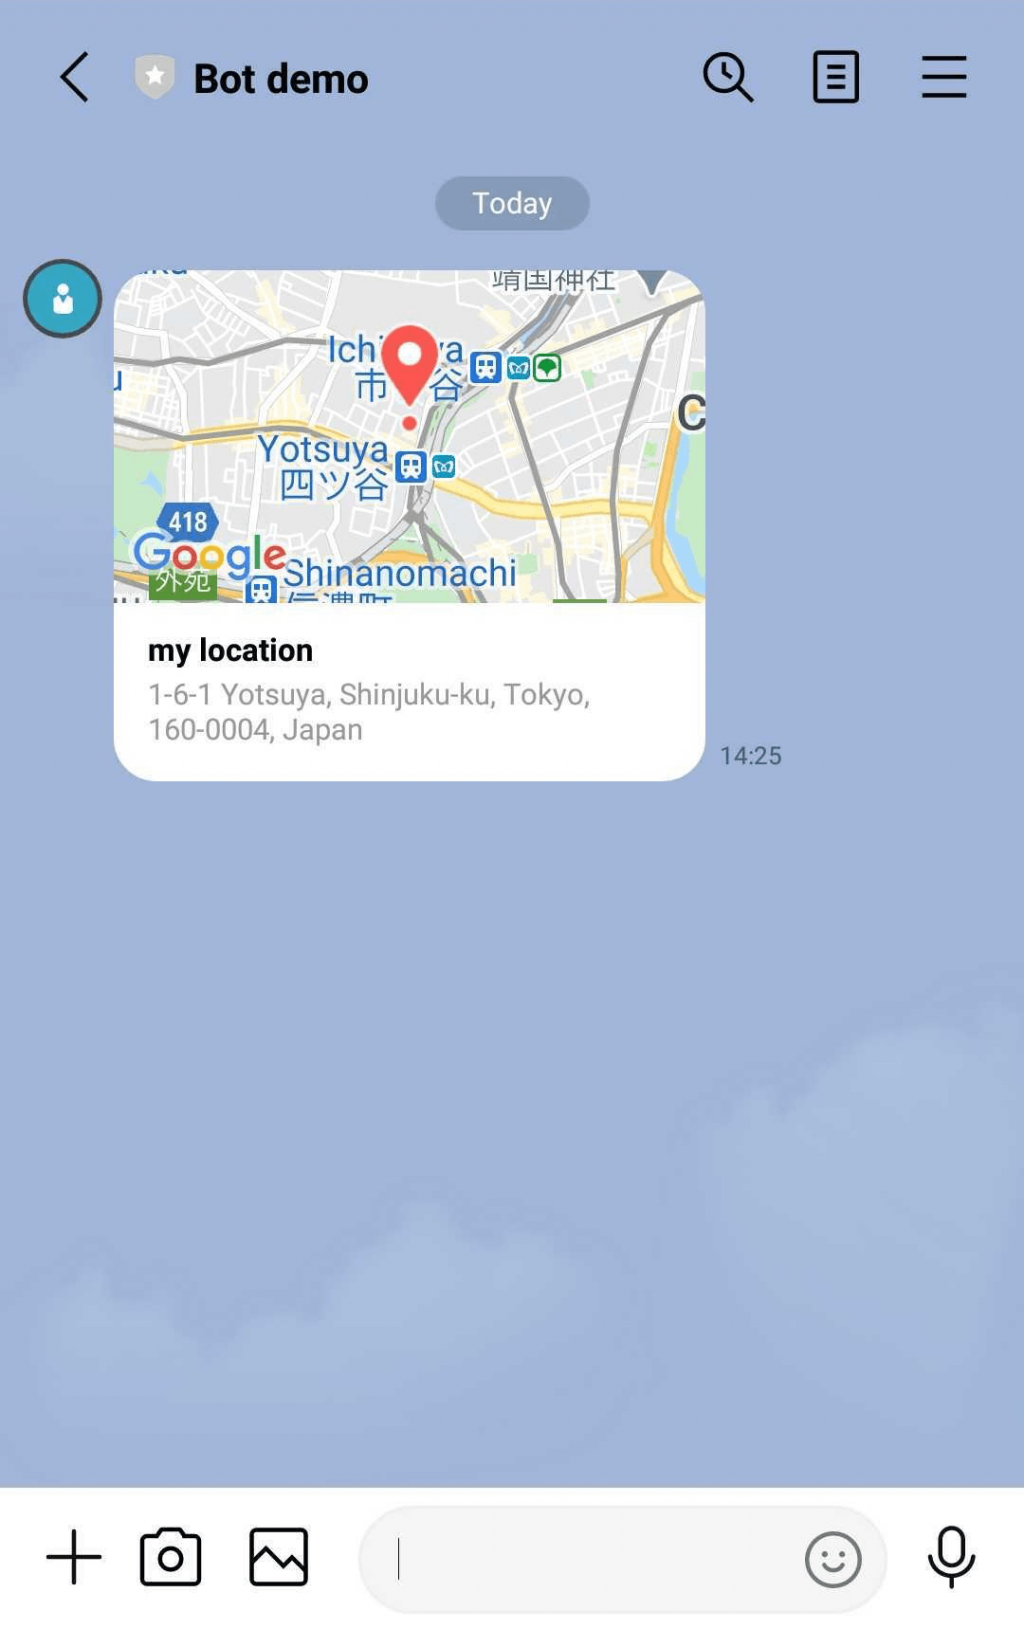
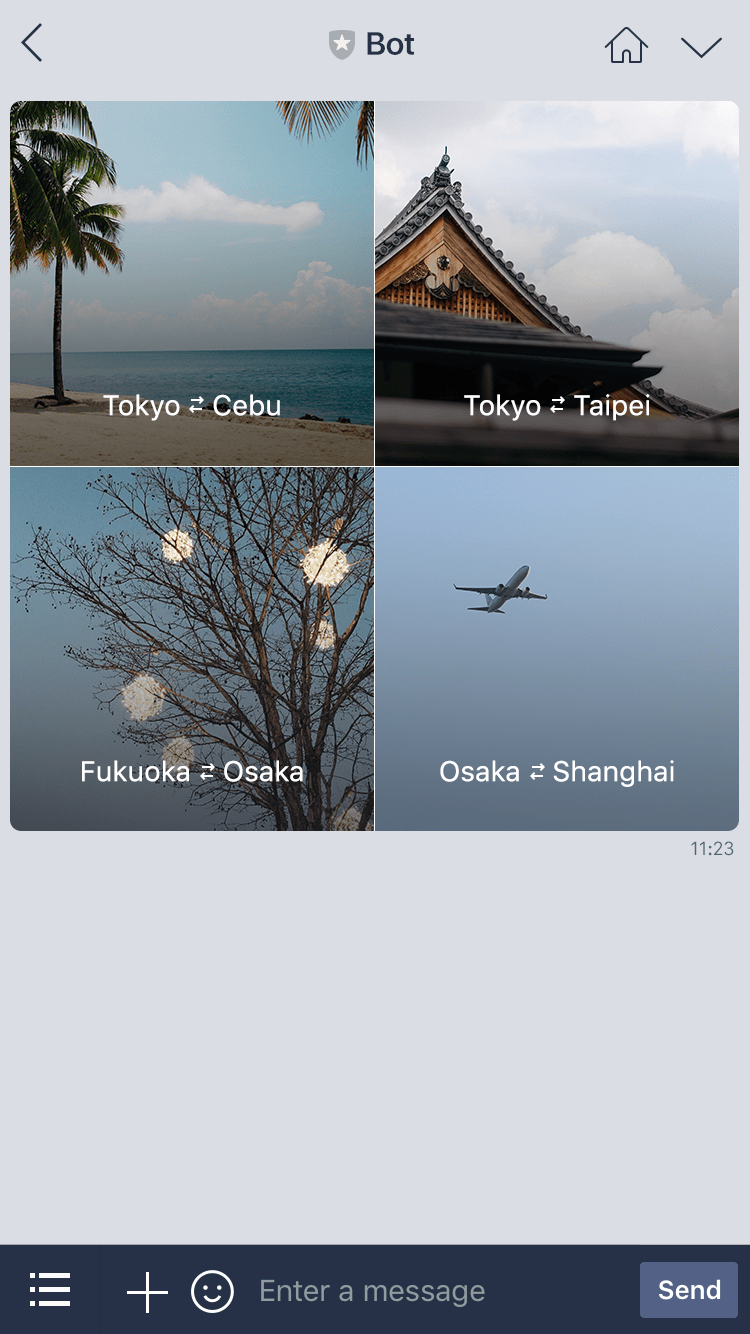
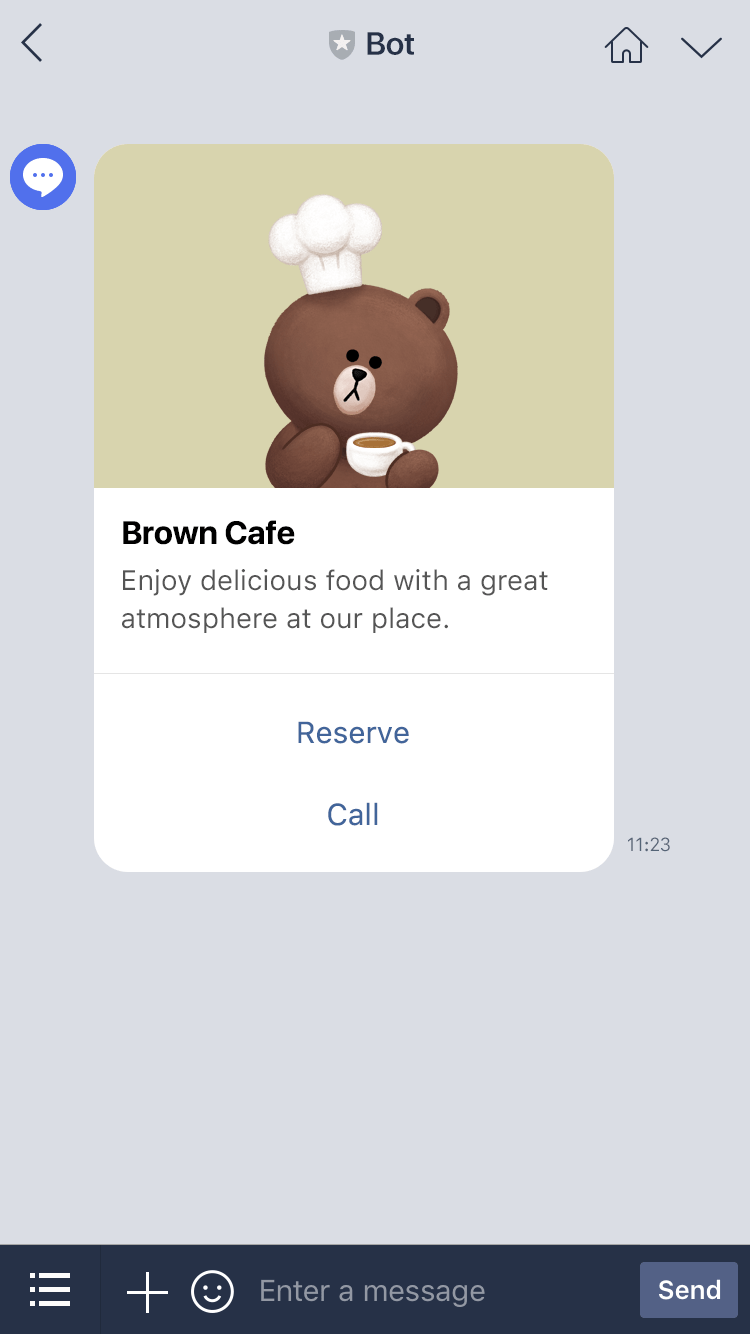
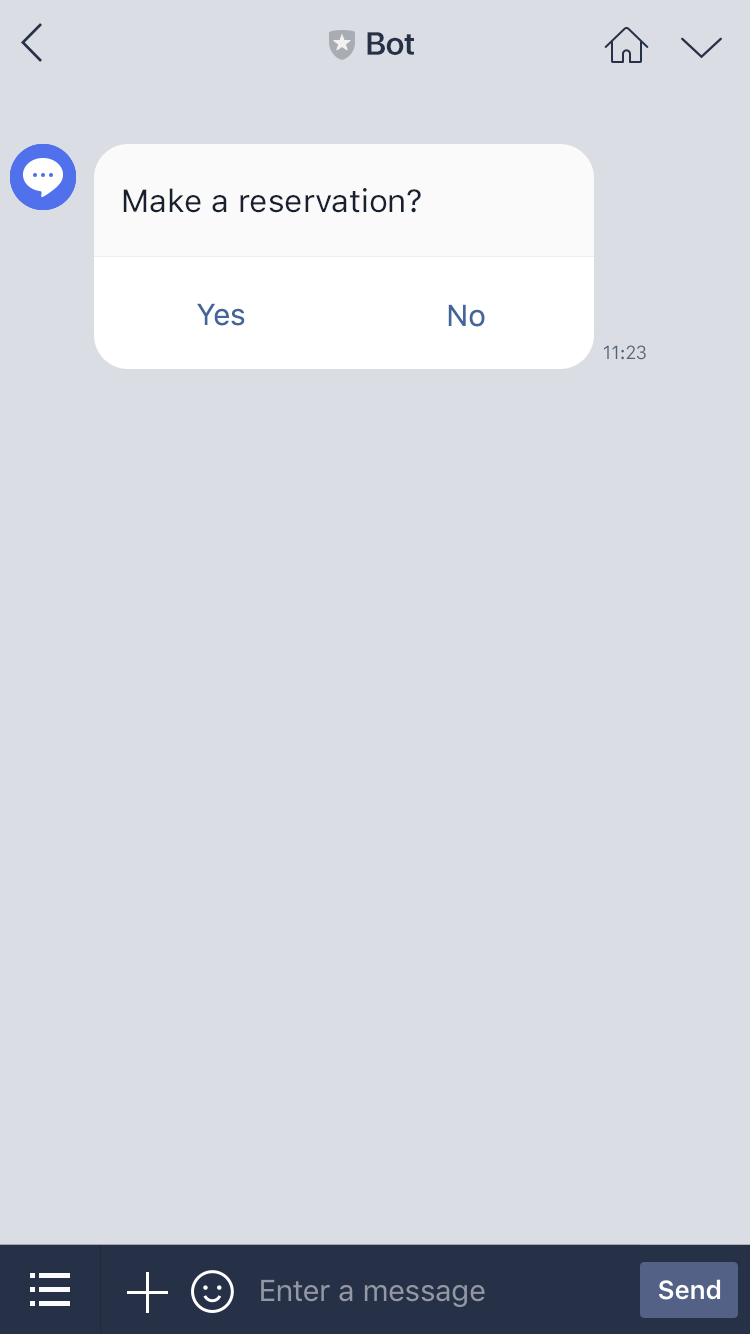
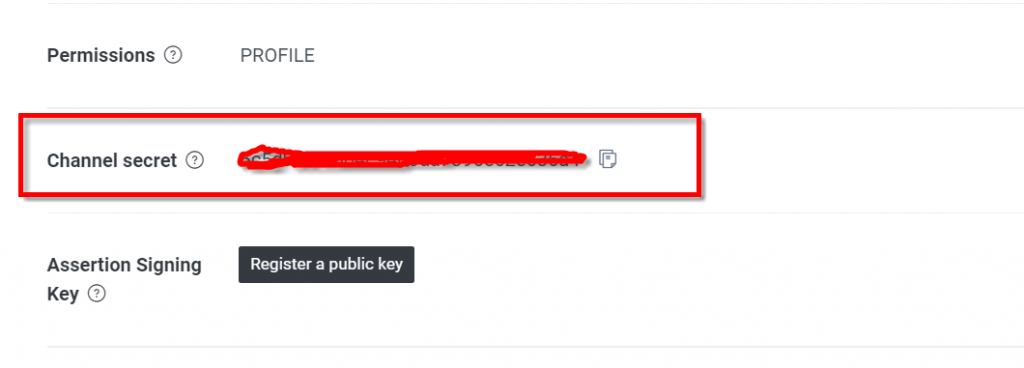
首先,不管要做什麼,都有兩件事情要做
先到昨天建立好的 line channel 頁面,找到這兩樣資訊。一開始沒有的話可以先按 issue 的按鈕,發行一個新的

還記得一開始使用 Nx 建立的前後端專案嗎?到目前為止,都只介紹到前端的部分,都沒有使用到任何後端的項目。現在要開始在後端建立API了
npm install @line/bot-sdk --save
安裝line bot sdk 可以免除我們自己建立的後端與 line message API 之間溝通繁複的過程,只要使用line bot sdk,一切都會幫我們處理好
npm install @line/bot-sdk --save
在這裡示範三種訊息: 範本訊息 、 文字訊息、 貼圖訊息
使用 line bot sdk 有個好處,所有的型別它都幫你訂好了,只要引用正確的類別,就可以知道要傳什麼參數
import { Injectable } from '@nestjs/common';
import {
  ClientConfig,
  Client,
  TextMessage,
  MessageAPIResponseBase,
  TemplateMessage,
  StickerMessage,
} from '@line/bot-sdk';
import { from, Observable } from 'rxjs';

@Injectable()
export class AppService {
  clientConfig: ClientConfig = {
    channelAccessToken: '你的access token',
    channelSecret: '你的channel secret ',
  };
  client = new Client(this.clientConfig);
  groupId = '傳送到群組的id';

  pushMessageToLineChannel(
    messageContent: any
  ): Observable<MessageAPIResponseBase> {
    const { imageUrl, name, message, docPath } = messageContent;
    const textMessage = `${name} 預約打卡囉` ;
    const templateMessage: TemplateMessage = {
      type: 'template',
      altText: textMessage,
      template: {
        type: 'buttons',
        thumbnailImageUrl: imageUrl,
        imageAspectRatio: 'rectangle',
        imageSize: 'cover',
        imageBackgroundColor: '#FFFFFF',
        title: textMessage,
        text: `${message}`,
        actions: [
          {
            type: 'uri',
            label: `看看${name}的打卡`,
            uri: `https://challenage90days.web.app/checkin/${docPath}`,
          },
        ],
      },
    };

    return from(this.client.pushMessage(this.groupId, templateMessage));
  }

  pushDayoffMessageToLineChannel({ name }): Observable<MessageAPIResponseBase> {
    const stickerMessage: StickerMessage = {
      type: 'sticker',
      packageId: '6362',
      stickerId: '11087923',
    };
    const textMessage: TextMessage = {
      type: 'text',
      text: `${name} 請假囉`,
    };

    return from(this.client.pushMessage(this.groupId, textMessage));
  }
}
結合之前前端送過來的打卡內容,將打卡內容做成範本訊息
const { imageUrl, name, message, docPath } = messageContent;
    const textMessage = `${name} 預約打卡囉` ;
    const templateMessage: TemplateMessage = {
      type: 'template',
      altText: textMessage,
      template: {
        type: 'buttons',
        thumbnailImageUrl: imageUrl,
        imageAspectRatio: 'rectangle',
        imageSize: 'cover',
        imageBackgroundColor: '#FFFFFF',
        title: textMessage,
        text: `${message}`,
        actions: [
          {
            type: 'uri',
            label: `看看${name}的打卡`,
            uri: `https://challenage90days.web.app/checkin/${docPath}`,
          },
        ],
      },
    };
可以傳送貼圖,只要知道貼圖系列的ID 和貼圖的ID 就可以傳送囉,如果不知道的話,官網上有貼圖的對照表
 const stickerMessage: StickerMessage = {
      type: 'sticker',
      packageId: '6362',
      stickerId: '11087923',
    };
最一般的方式,像簡訊一樣,傳送文字訊息
 const textMessage: TextMessage = {
      type: 'text',
      text: `${name} 請假囉`,
    };
最後只要使用 pushMessage 方法,就可以將訊息傳送到 line 上面囉
this.client.pushMessage(this.groupId, 你的訊息類別)
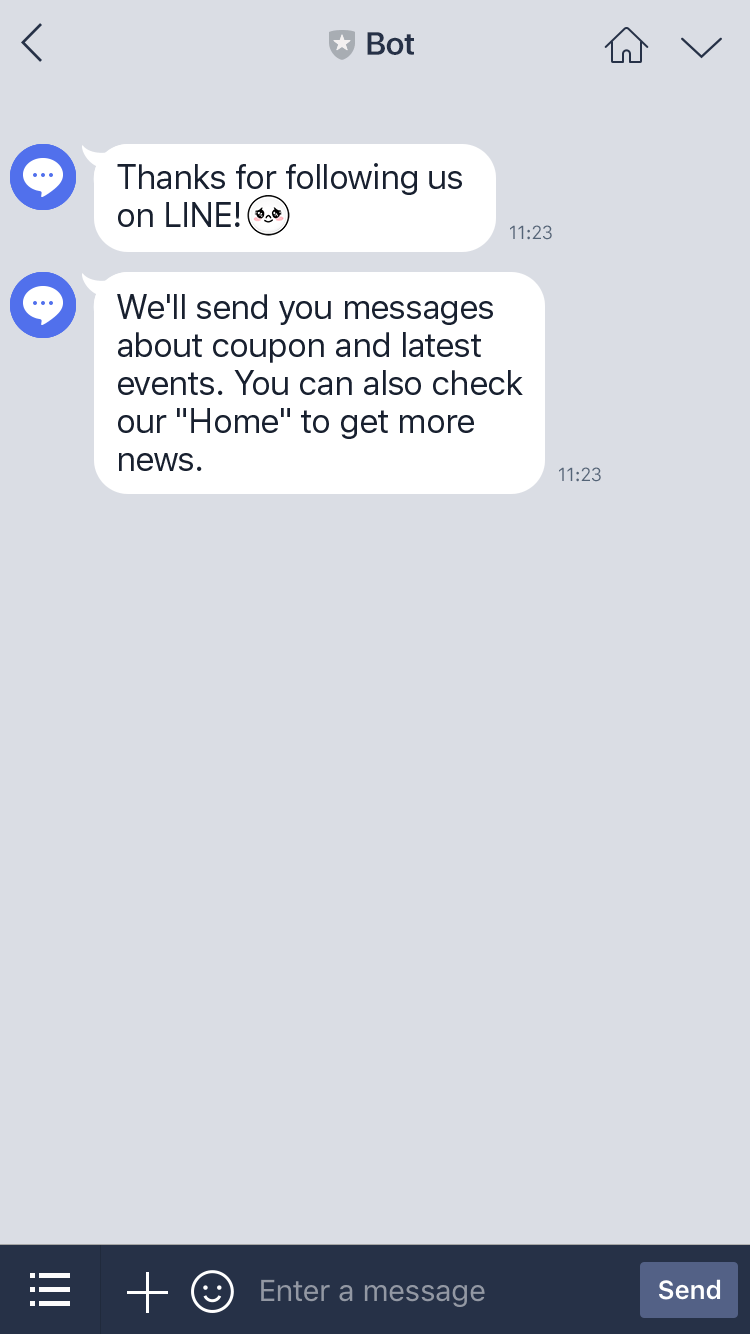
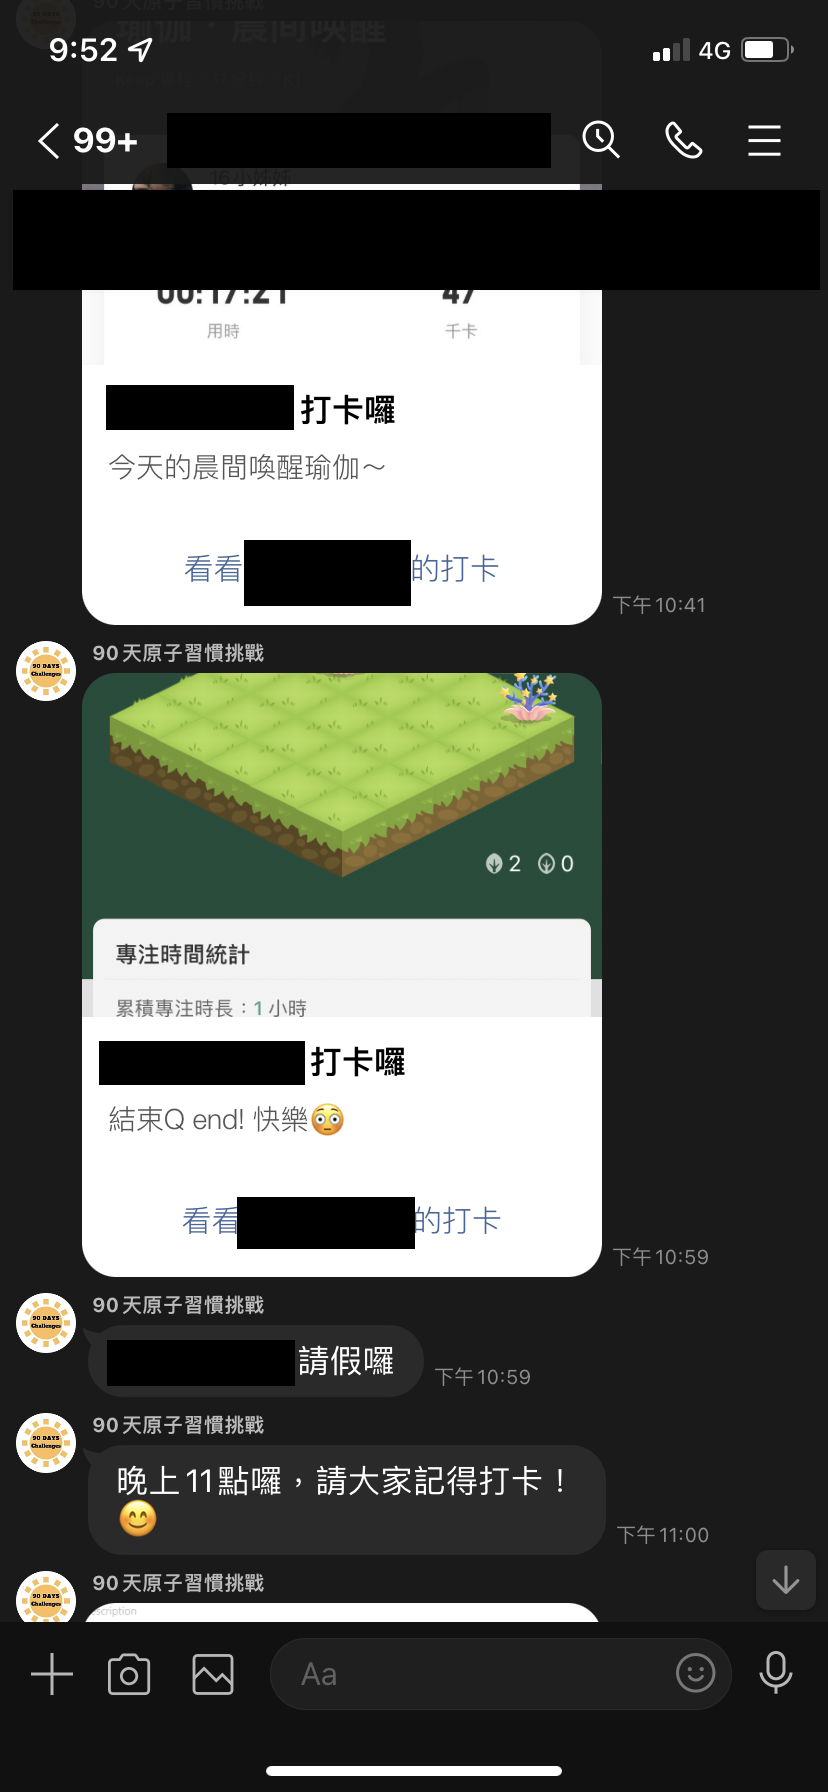
傳送出來的效果會這這樣
這是對line message API 簡單介紹,另外還有很多後端沒有介紹的部分,像是nestjs的使用方法等等,就下一篇再介紹囉!
