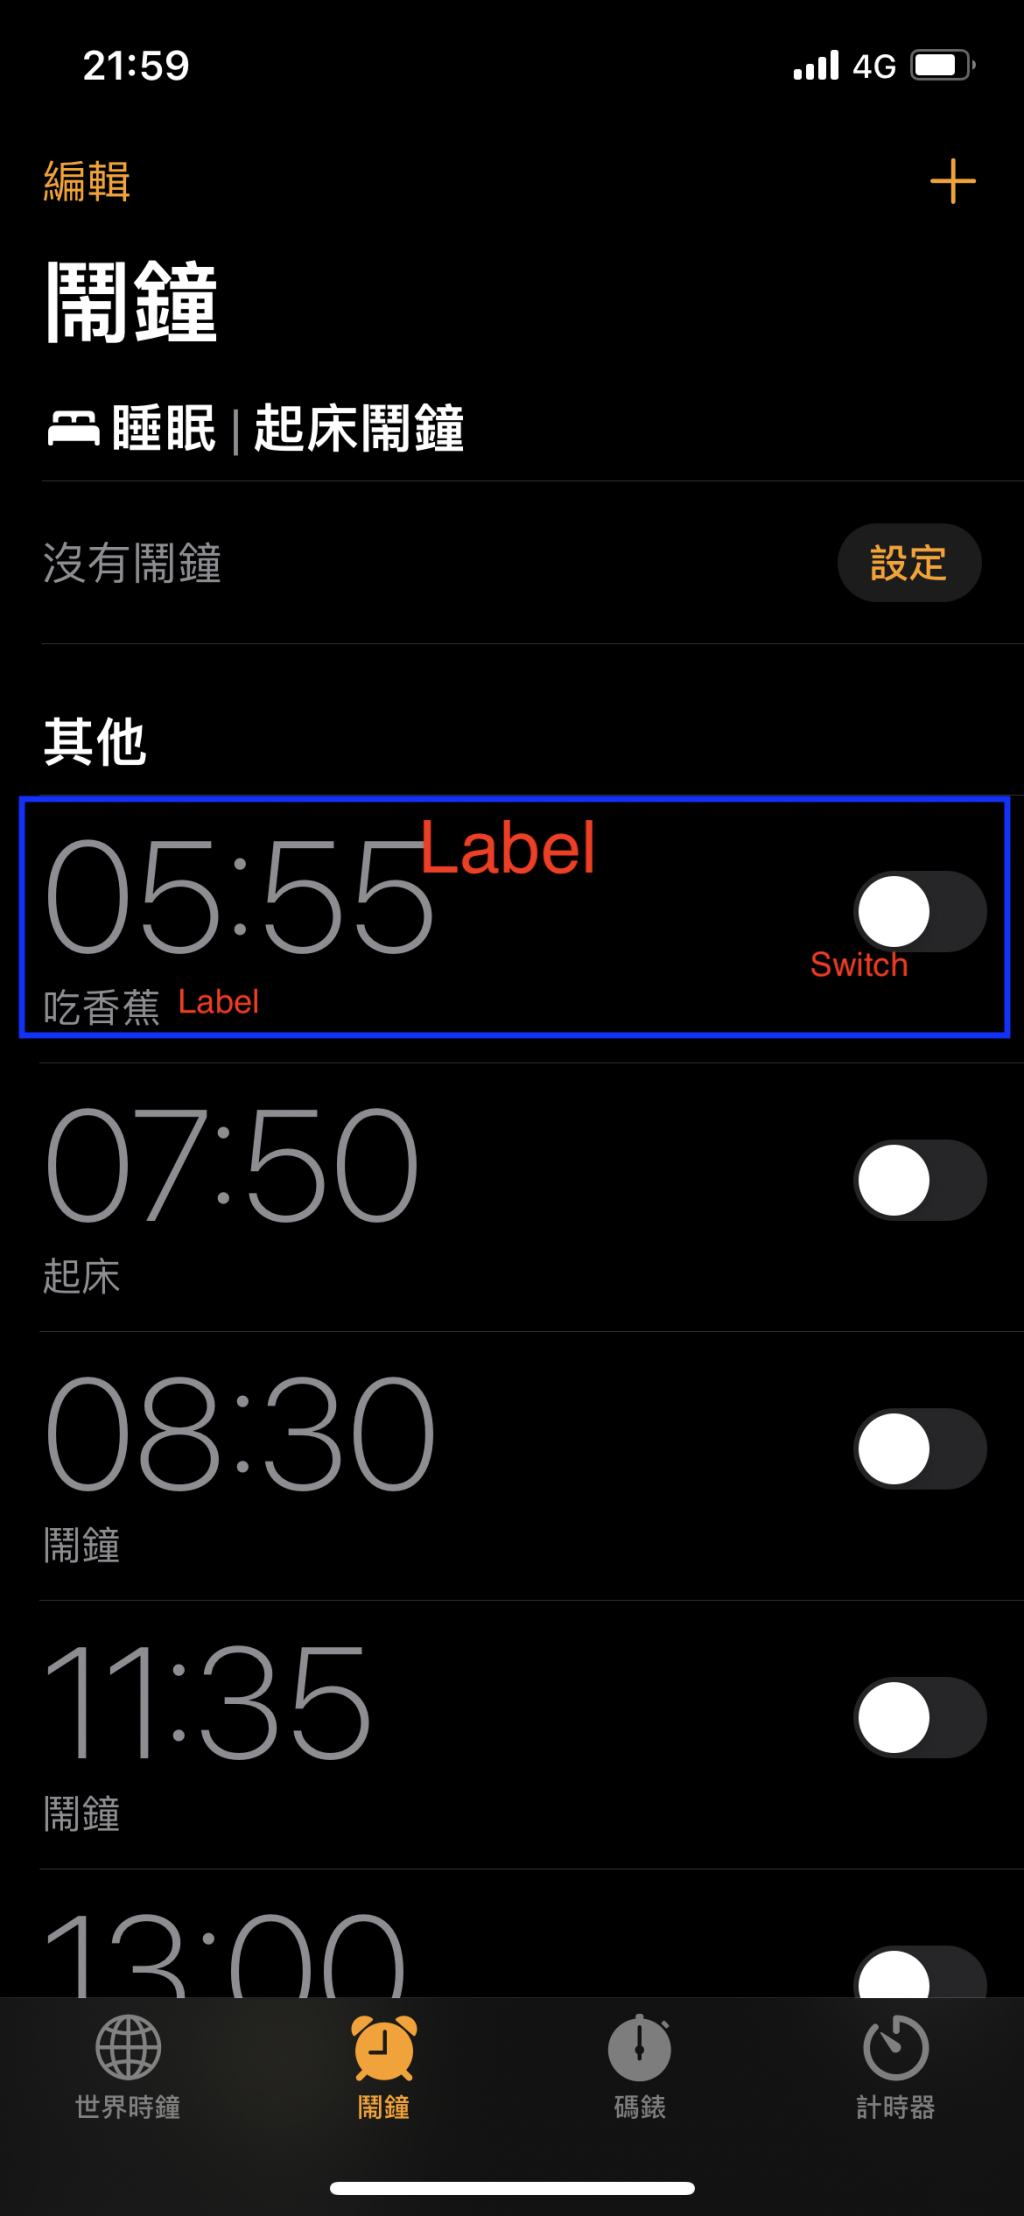
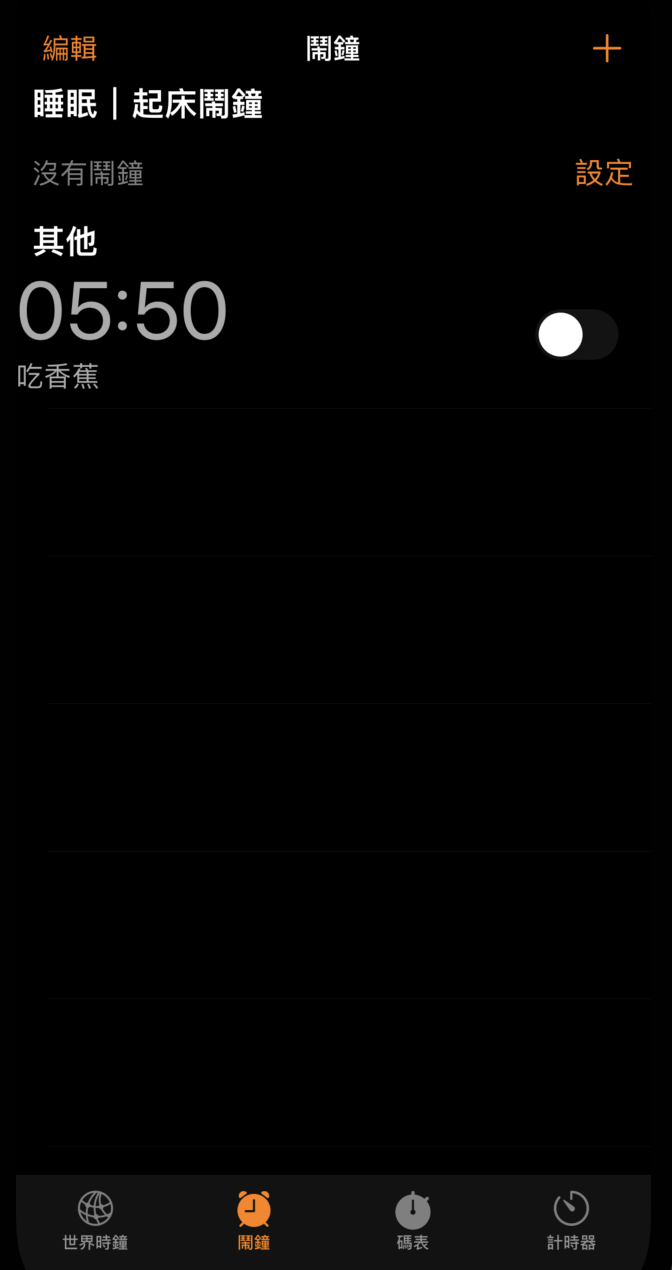
我們已經將第一個Section下的Cell設置完畢了,接下來馬上來實作第二個Section的Cell,
可以看到有兩個Label,一個UISwitch(之前有介紹過的)
讓我們的門面更好看吧!
let alarmTimeLabel: UILabel = {
        let label = UILabel()
        // Label字體大小
        label.font = UIFont.systemFont(ofSize: 50)
        // 先暫時給個假定時間
        label.text = "05:50"
        // Label文字顏色
        label.textColor = .lightGray
        return label
    }()
let alarmNoteLabel: UILabel = {
        let label = UILabel()
        label.text = "吃香蕉"
        label.textColor = .lightGray
        return label
    }()
override init(style: UITableViewCell.CellStyle, reuseIdentifier: String?) {
        super.init(style: style, reuseIdentifier: reuseIdentifier)
        self.backgroundColor = .clear
        // 設定accessoryView 為 UISwitch
        self.accessoryView = UISwitch(frame: .zero)
        setViews()
        setLayouts()
    }
接著設定Layou和將元件加入Cell,整體的Code看起來會像以下
class AlarmOtherTableViewCell: UITableViewCell {

    static let identifier = "alarmOtherTableViewCell"

    // MARK: - IBOutLets
    let alarmTimeLabel: UILabel = {
        let label = UILabel()
        // Label字體大小
        label.font = UIFont.systemFont(ofSize: 50)
        // 先暫時給個假定時間
        label.text = "05:50"
        // Label文字顏色
        label.textColor = .lightGray
        return label
    }()

    let alarmNoteLabel: UILabel = {
        let label = UILabel()
        label.text = "吃香蕉"
        label.textColor = .lightGray
        return label
    }()

    // MARK: - Init
    override init(style: UITableViewCell.CellStyle, reuseIdentifier: String?) {
        super.init(style: style, reuseIdentifier: reuseIdentifier)
        self.backgroundColor = .clear
        // 設定accessoryView 為 UISwitch
        self.accessoryView = UISwitch(frame: .zero)
        setViews()
        setLayouts()
    }

    required init?(coder: NSCoder) {
        fatalError("init(coder:) has not been implemented")
    }
    // MARK: - setViews
    func setViews() {
        self.addSubview(alarmTimeLabel)
        self.addSubview(alarmNoteLabel)
    }

    // MARK: - setLayouts
    func setLayouts() {
        alarmTimeLabel.snp.makeConstraints { make in
            make.top.equalTo(self)
        }

        alarmNoteLabel.snp.makeConstraints { make in
            make.top.equalTo(alarmTimeLabel.snp.bottom)
            make.bottom.equalTo(self).offset(-10)
        }
    }
}
Cell做好之後,接著就是去要用這個Cell的TableView去註冊他,因此回到「AlarmViewController」內
找到「alarmTableView」,加入Code去註冊他
let alarmTableView: UITableView = {

        let tableView = UITableView()

        // 註冊 WakeUpTableViewCell
        tableView.register(WakeUpTableViewCell.self, forCellReuseIdentifier: WakeUpTableViewCell.identifier)
        // 註冊 AlarmOtherTableViewCell
        tableView.register(AlarmOtherTableViewCell.self, forCellReuseIdentifier: AlarmOtherTableViewCell.identifier)
        // 將alarmTableView的背景色更改為灰色
        tableView.backgroundColor = .black

        return tableView
    }()
註冊完後,只要把TableView Delegate設定一下Cell應該就會出來囉!
因此找到TableView Delegate的「cellForRowAt」,並新增Code讓Cell顯示
func tableView(_ tableView: UITableView, cellForRowAt indexPath: IndexPath) -> UITableViewCell {

        switch indexPath.section {
        // 第一個Header要顯示哪個Cell
        case 0:
            // 將實作的WakeUpTableViewCell實體化,並顯示於第一個Section的畫面上
            guard let cell = tableView.dequeueReusableCell(withIdentifier: WakeUpTableViewCell.identifier, for: indexPath) as? WakeUpTableViewCell else { return UITableViewCell() }
            return cell
        case 1:
            // 將實作的AlarmOtherTableViewCell實體化,並顯示於第二個Section的畫面上
            guard let cell = tableView.dequeueReusableCell(withIdentifier: AlarmOtherTableViewCell.identifier, for: indexPath) as? AlarmOtherTableViewCell else { return UITableViewCell() }
            return cell
        default:
            // 由於 cellForRowAt 這個function一定要return 一個 TableViewCell
            // 因此其餘的Section皆回傳空的Cell
            return UITableViewCell()
        }
    }
別忘了到TableView Delegate的「numberOfRowsInSection」內,新增要回傳的Cell個數
func tableView(_ tableView: UITableView, numberOfRowsInSection section: Int) -> Int {
        switch section {
        case 0:
            // 第一個Section下顯示一個Cell即可
            return 1
        case 1:
            // 第二個Section先暫時顯示一個Cell
            return 1
        default:
            // 其餘不顯示任何Cell
            return 0
        }
    }
執行程式看看吧!
哇靠!太美了吧![]()
但有沒有發現UISwitch的背景色怪怪的?好像太黑了
明天再來對UISwitch好好修改造改造![]()
