還記得區域元件有自己的作用域嗎?已知外層元件可以跟內層元件傳遞資料(props),或是傳遞事件(emit),但是當有另外兩個子元件,彼此需要傳遞又該怎麼做?
mitt 介紹概念圖: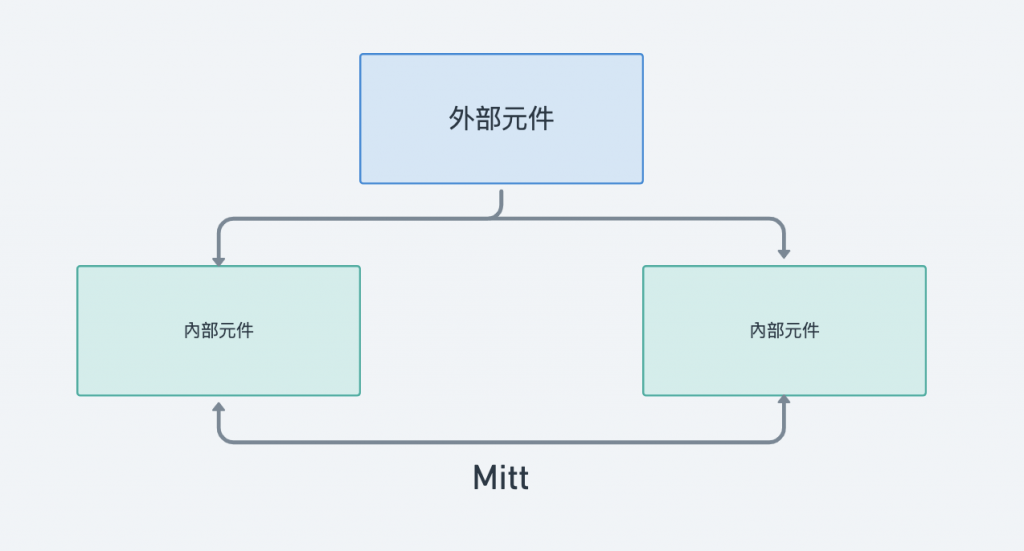
Vue 2中要進行跨元件常使用的方式就是Event Bus,只要使用$on與$emit這兩個語法,就能達到跨元件的溝通,但是在Vue 3移除了$on、$emit..等語法。
Vue 3 可以使用mitt套件來達成相同作用,寫法與Vue 2的Event Bus相當接近。
mitt 建立npm安裝:$ npm install --save mitt
cdn引入:<script src="https://unpkg.com/mitt/dist/mitt.umd.js"></script>
建立mitt()實體,指定到emitter上:
const emitter = mitt();
<div id="app">
        <h4>{{ text }}</h4>
        <con-tainer></con-tainer>
        <con-tainer2></con-tainer2>
    </div>
const emitter = mitt();
const app = Vue.createApp({
  data() {
    return {
      text: "外部元件"
    };
  }
});
app.component("ConTainer", {
  data() {
    return {
      text: "component1",
      componentText: "由元件1傳入的文字",
    };
  },
  methods: {
    click() {
      emitter.emit('componentText', this.componentText);
    }
  },
  template: `<div>
    <h4>{{ text }}</h4>
    <button @click="click">Click me!</button>
  </div>`
});
app.component("ConTainer2", {
  data() {
    return {
      text: "component2",
      componentText: ""
    };
  },
  created() {
    emitter.on('componentText', (data) => {
      this.componentText = data;
    })
  },
  template: `<div>
    <h4>{{ text }}</h4>
    <h4>{{ componentText }}</h4>
  </div>`
});
app.mount('#app');
emitter.emit('componentText', this.componentText);,傳遞component1裡data的componentText的值。emitter.on,(data)裡就是emitter.emit傳出來的值。上面範例就是mitt的使用方法,比slot簡單又好寫呢。