先前介紹了很多關於 Git 的常用指令以及使用情況,但目前我們都只是在本地端操作而已,如果需要跟別人共同製作專案,或是想要傳送到開放空間請教各個寫 Code 大師,這時候我們就會需要 Push 到遠端數據庫啦!
現在最常聽見與使用的遠端數據庫是 GitHub ,接下來就讓我們慢慢了解 GitHub 是什麼,我們又要怎麼把我們的檔案傳送到 GitHub 呢?
簡單來說,GitHub 就是一個提供存取 Git 的站點、遠端數據庫,可以將自己寫好的專案分享上傳。
但要注意的是!Git 跟 GitHub 兩個完全是不一樣的東西唷!
👉 Git 被作為工具,讓我們執行檔案的管理並提交到儲存庫;而 GitHub 則是一個網站,本體是一個 Git Server ,提供除了基本的存取站點,也提供一些社群功能。
GitHub 是一個由 GitHub 公司所建立的網站,同時提供付費帳戶與免費帳戶,讓使用著可以在這個 Git Server 建立自己的數據庫,並存取保管中的代碼。而相較於其他的 Git Server ,GitHub 還有一個特點是它類似於一個社群網頁,擁有追蹤( Fallow )、按讚( Star )其他使用者、數據庫有誰參與並追蹤最新版本,也有評論並提供複製( Fork )專案給予其他人的專案建議,而其他人同樣也可以回饋給你的專案。
除此之外,提醒 GitHub 的 G 跟 H 都是大寫英文喔!
了解 GitHub 是什麼以後,接下來就動手將我們的專案 Push 上去吧~
到 GitHub 官網註冊會員。

註冊完後,點擊 Profile ,可以進入個人的 GitHub 頁面。
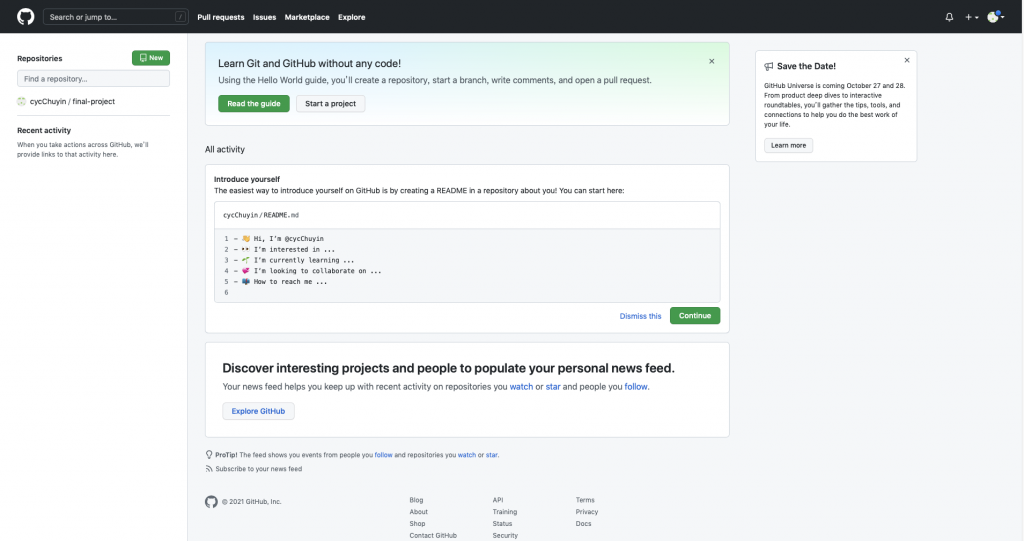
當要上傳檔案時,我們需要在 GitHub 開新的專案。
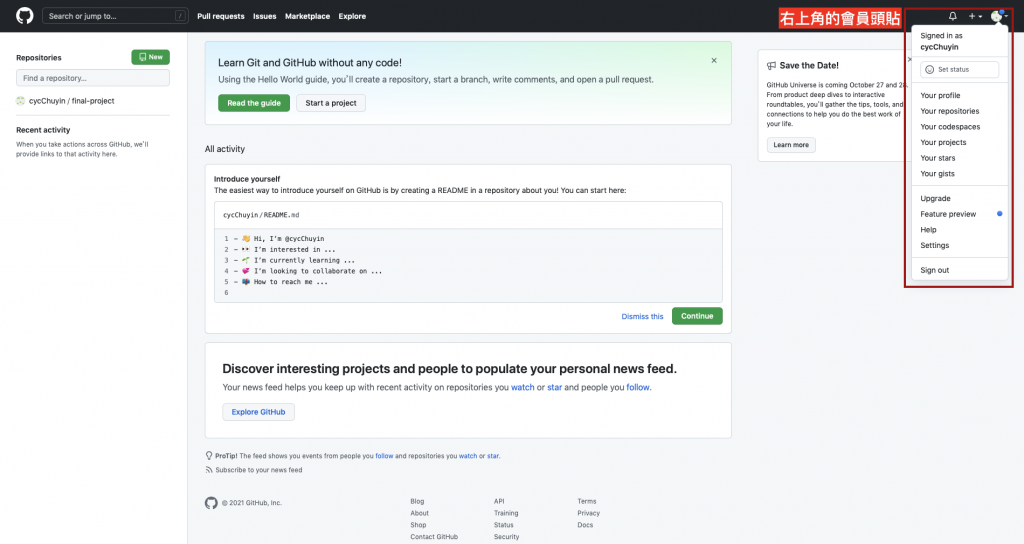
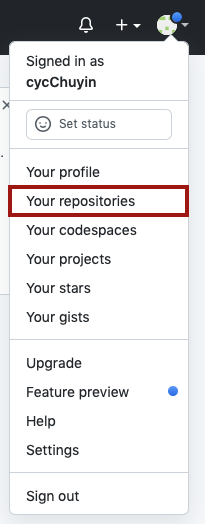
可以點選右上角會員頭貼的下拉選單,選擇「Your Repositiories」後進入頁面,再點選 「 New 」新增專案。
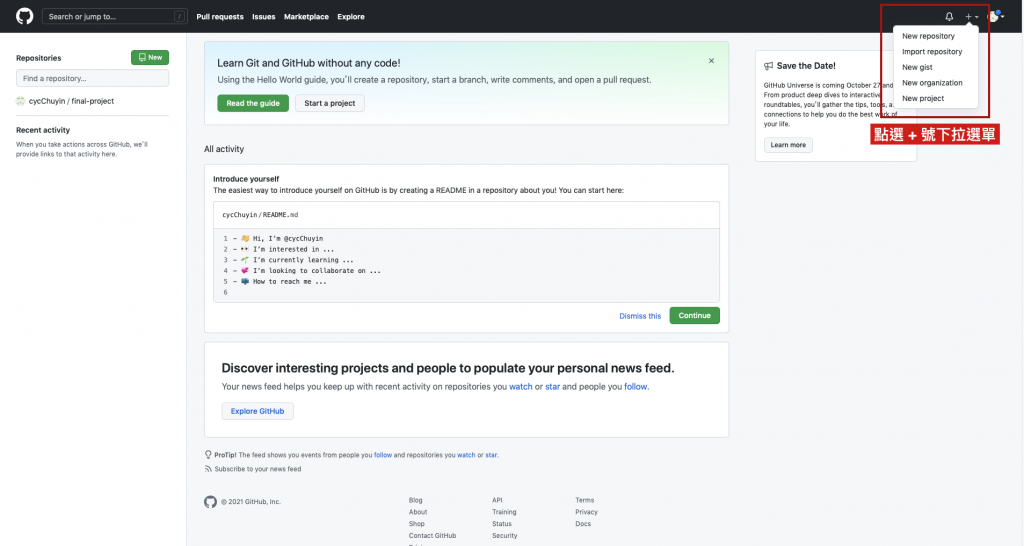
或是旁邊的 + 號也可以選擇 「New repository」
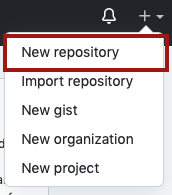
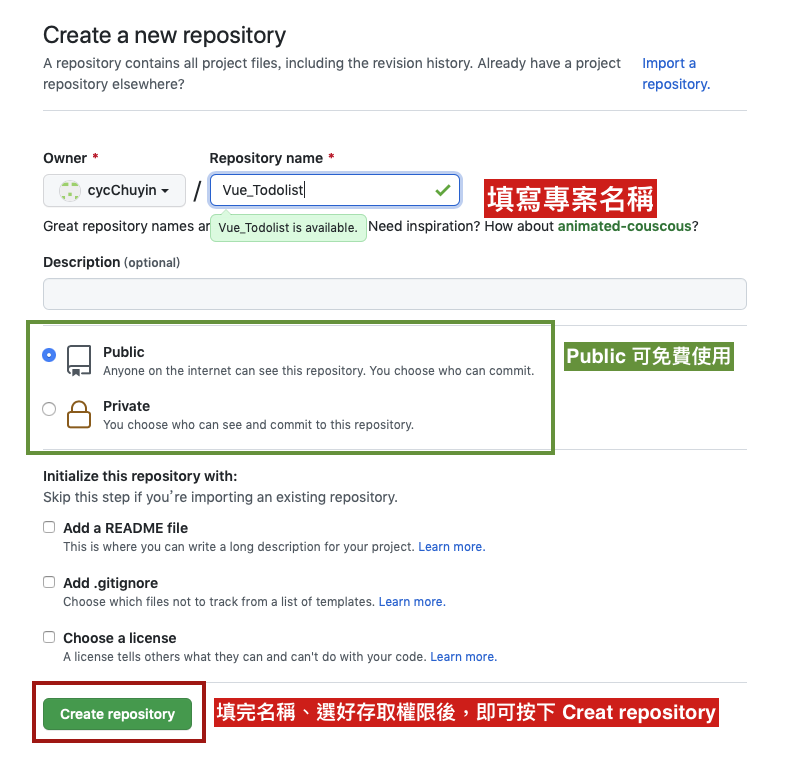
之後就會進入到 Creat a new repository 的頁面:
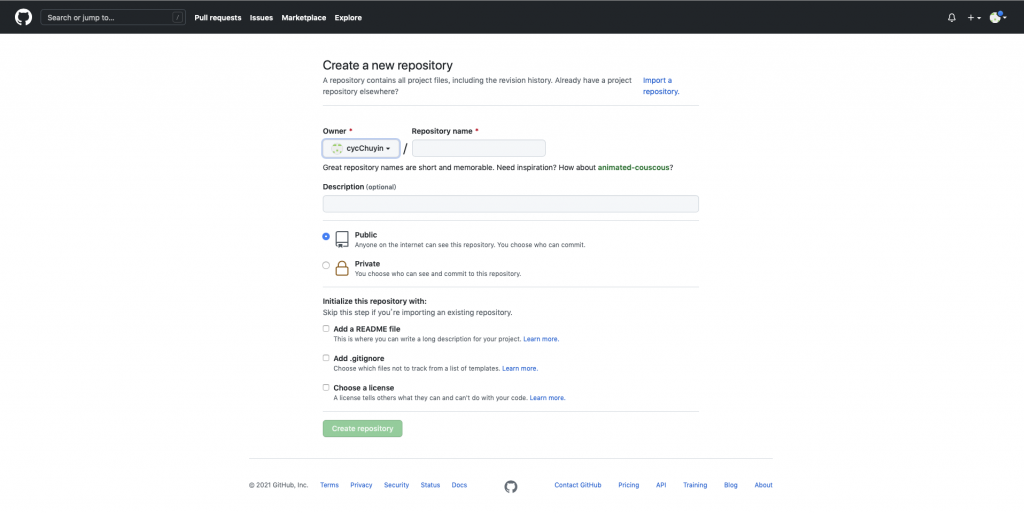
填寫專案名稱、選擇存取權限、按下 Creat repository 完成新增專案。
接下來會導入到以下這個畫面:
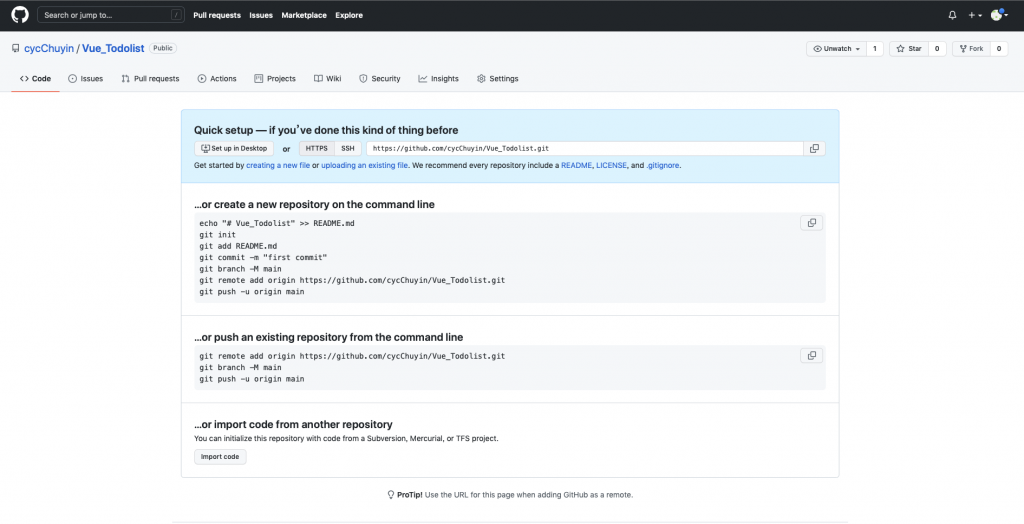
頁面說明|
creat a new repository on the command line - 適用於全新開始push an existing repository from the command line - 上傳現存專案接下來可以先把網址複製起來,後續步驟會用到。

假設我們目前什麼都沒有,要找一個空的目錄。
因此我們跟著 create a new repository on the command line 這個步驟執行指令:
$ echo "# Vue_Todolist" >> README.md # 建立一個 README.md 檔案

git init 指令建立 Git 版本控制$ git init # 進行版本控制

$ git add README.md # 將 [README.md](http://README.md) 檔案加至暫存區

$ git commit -m "first commit"

$ git branch -M main

將檔案推上遠端數據庫 |設定一個端節的節點
$ git remote add origin https://github.com/cycChuyin/Vue_Todolist.git
git remote 指令 - 跟遠端有關係的操作( remote ,遠端之意)add 指令 → 加入一個遠端的節點origin 為指向位置的代名詞,這裡代表後面提供的伺服器位置(此位置與我們先前複製的相同)。
將檔案推上遠端數據庫 |git push
設定好節點後,可以將檔案 push 上去
$ git push -u origin main
說明 Push 指令:
main 這個分支的內容推向 origin 這個位置。先前
origin已經有代指我們 GitHub 要上傳的位子
origin 如果沒有 main ,則自動建立一個同樣叫做 main 的分支。如果本來就有 main 分支,則會將此分支指向最新進度。-u 參數,設定 upstream。
執行 Push 指令時,可能會要求你輸入 GitHub 的帳號密碼。而這裡的回饋訊息是說會需要一個 token ,可以根據訊息回饋來操作。
Token authentication requirements for Git operations - 說明為何遇到這種情況及解決方式如何進行。
Creating a personal access token - 後續跟著指示操作,得到金鑰以後便可以回到 Git 繼續操作。

之後回到頁面上重新整理:
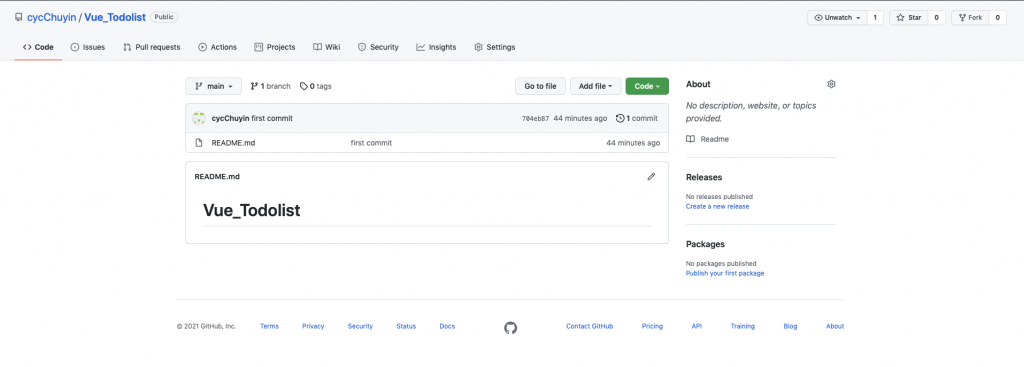
看到這個檔案代表專案建立成功啦!
之後也可以跟著這些步驟繼續上傳新的版本~

