目標:掌握 Line Messaging API,客製自動回覆功能,這次串接是參考 Line Messaging API 串接手冊
上一篇認識了 Quick Reply 的功能,這篇要來試試另一個有趣的功能 Rich Menu
一般官方帳號後台就可以讓你設定 Rich Menu,功能其實很夠用了
如果是用 Line Messaging API 可以讓圖文選單有更多樣的變化!
用 API 建立圖文選單的話有四個步驟
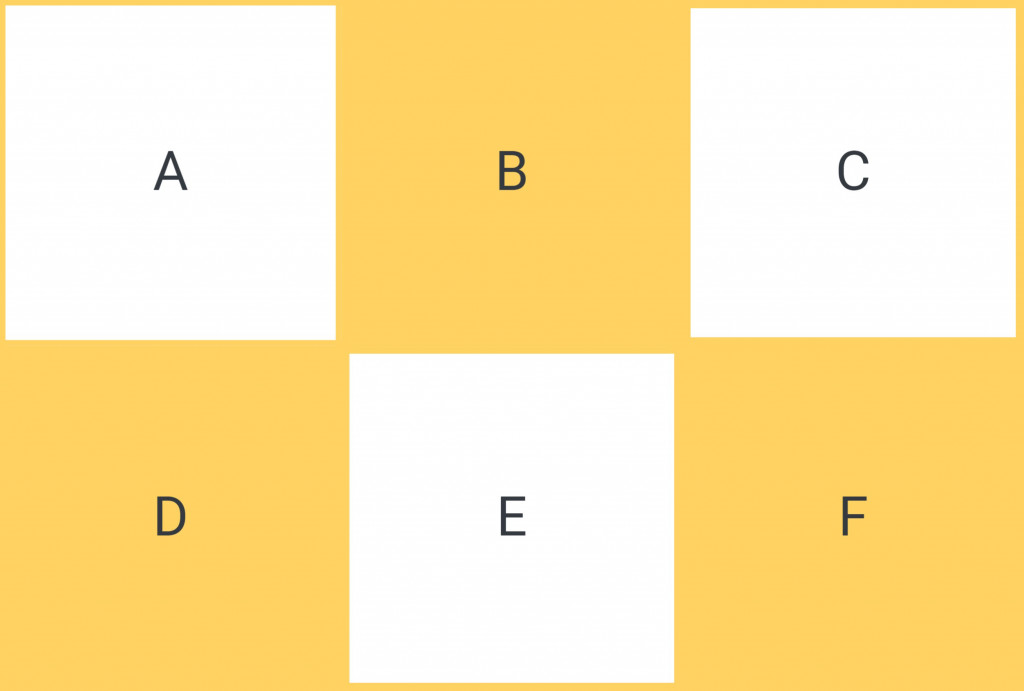
因為圖文選單的功能是依照圖片的 x, y 座標認定,可以自行規劃圖片的哪個範圍是要甚麼按鈕
或是快速一點的話可以用 Line 官方帳號的後台快速做出基本版型
ex. 一個六宮格的圖文選單圖片
這個步驟要打 API 建立你的圖文選單的樣板
| Url | https://api.line.me/v2/bot/richmenu |
|---|---|
| header | Authorization: Bearer {channel access token} |
| Content-Type: application/json | |
| 方式 | POST |
參數
| 欄位 | 說明 |
|---|---|
| size | 圖文選單的長寬 |
| selected | true 預設顯示,false 預設不顯示 |
| name | 圖文選單名稱 |
| chatBarText | 展開選單的按鈕名稱 |
| areas | 區塊設定,最多可以設定 20 個區塊 |
以 php 為例
$Payload = '{
  "size": {
    "width": 2500,
    "height": 1686
  },
  "selected": false,
  "name": "我的圖文選單",
  "chatBarText": "選單",
  "areas": [
    {
      "bounds": {
        "x": 0,
        "y": 0,
        "width": 833,
        "height": 843
      },
      "action": {
        "type": "message",
        "label": "A",
        "text":"Test A postbck"
      }
    },
    {
      "bounds": {
        "x": 833,
        "y": 0,
        "width": 833,
        "height": 843
      },
      "action": {
        "type": "message",
        "label": "B",
        "text":"Test B Postback"
      }
    },
    {
      "bounds": {
        "x": 1666,
        "y": 0,
        "width": 833,
        "height": 843
      },
      "action": {
        "type": "message",
        "label": "C",
        "text": "test C"
      }
    },
    {
      "bounds": {
        "x": 0,
        "y": 843,
        "width": 833,
        "height": 843
      },
      "action": {
        "type": "message",
        "label": "D",
        "text": "test D"
      }
    },
    {
      "bounds": {
        "x": 833,
        "y": 843,
        "width": 833,
        "height": 843
      },
      "action": {
        "type": "message",
        "label": "E",
        "text": "test E"
      }
    },
    {
      "bounds": {
        "x": 1666,
        "y": 843,
        "width": 834,
        "height": 843
      },
      "action": {
        "type": "message",
        "label": "F",
        "text": "test F"
      }
    }
 ]
}';

$url = 'https://api.line.me/v2/bot/richmenu';

$ch = curl_init();
curl_setopt($ch, CURLOPT_URL, $url);
curl_setopt($ch, CURLOPT_POST, true);
curl_setopt($ch, CURLOPT_CUSTOMREQUEST, 'POST');
curl_setopt($ch, CURLOPT_RETURNTRANSFER, true);
curl_setopt($ch, CURLOPT_SSL_VERIFYHOST, false);
curl_setopt($ch, CURLOPT_SSL_VERIFYPEER, false);
curl_setopt($ch, CURLOPT_POSTFIELDS, $Payload);
curl_setopt($ch, CURLOPT_HTTPHEADER, [
  'Content-Type: application/json',
  'Authorization: Bearer ' . $ChannelAccessToken,
]);
$Result = curl_exec($ch);
curl_close($ch);
echo $Result; // {"richMenuId":"richmenu-xxxxxxxxxxxxxxxxxxxxxxxxxxx"}
每個區塊的位置(x,y)、大小(width,height)、按鈕功能(action) 都可以自行設定,action 的種類可以參考 Action Objects
如果成功建立就會回應 {"richMenuId":"richmenu-xxxxxxxxxxxxxxxxxxxxxxxxxxx"}
下一個步驟會用到 richMenuId
| URL | https://api-data.line.me/v2/bot/richmenu/ {Step 2 收到的 richMenuId}/content |
|---|---|
| header | Authorization: Bearer {channel access token} |
| Content-Type: image/jpeg | |
| 方式 | POST |
參數
| 欄位 | 說明 |
|---|---|
| image.jpg | 圖片檔 |
以 php 為例
$richMenuId='richmenu-XXXXXXXXXXXXXXXXXXXXXXXXXXXXXXXX'; // Step 2 收到的 richMenuId
$image = './richmenu_image.jpg'; // 第一步準備好的圖片
$url = 'https://api.line.me/v2/bot/user/all/richmenu/'.$richMenuId;

$ch = curl_init();
curl_setopt($ch, CURLOPT_URL, $url);
curl_setopt($ch, CURLOPT_POST, true);
curl_setopt($ch, CURLOPT_CUSTOMREQUEST, 'POST');
curl_setopt($ch, CURLOPT_RETURNTRANSFER, true);
curl_setopt($ch, CURLOPT_SSL_VERIFYHOST, false);
curl_setopt($ch, CURLOPT_SSL_VERIFYPEER, false);
curl_setopt($ch, CURLOPT_POSTFIELDS, file_get_contents($image));
curl_setopt($ch, CURLOPT_SAFE_UPLOAD, true);
curl_setopt($ch, CURLOPT_HTTPHEADER, [
  'Content-Type: image/jpeg',
  'Authorization: Bearer ' . $ChannelAccessToken,
  'Content-Length: '.filesize($image)
]);
$Result = curl_exec($ch);
curl_close($ch);

echo $Result; // {}
如果成功會回應空的 JSON object {}
| URL | https://api.line.me/v2/bot/user/all/richmenu/{ Step2 收到的 richMenuId} |
|---|---|
| header | Authorization: Bearer {channel access token} |
| 方式 | POST |
如果成功會回應空的 JSON object {}
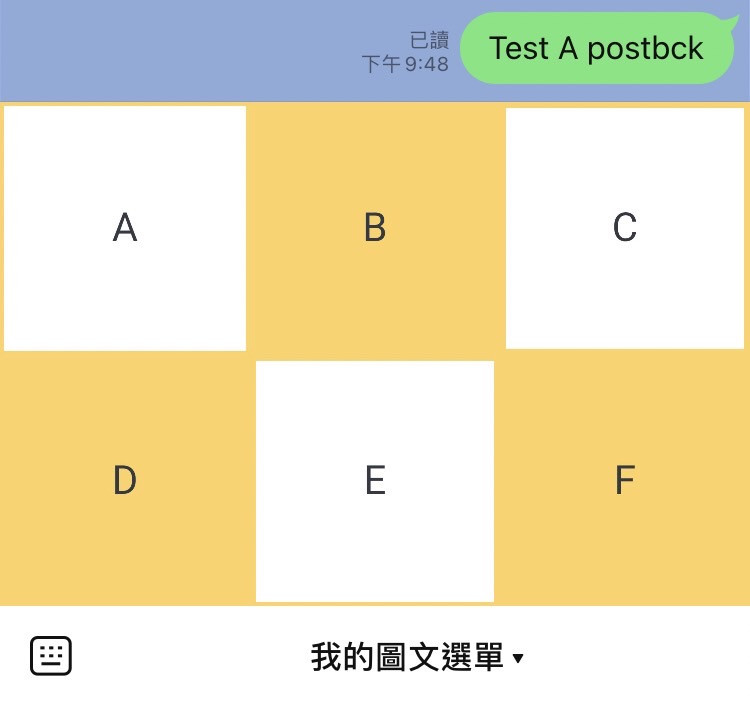
四步驟完成後手機上的圖文選單就設定好了~

之前 POST 都是 JSON 資料,這次第一次 POST 圖片,寫法跟之前不太一樣,但也不會太困難,比較特別的是可以用 x、y設定範圍,這樣還蠻彈性的,比較麻煩就是要自己知道每個按鈕的x、y跟長寬。
