今天會來設定環境與建立第一個helloworld 的 service (終於要寫 code 了嗎?)
因為 Kubernetes 是 linux-based , 加上 Quarkus 可以 compile native. 所以準備 Mac/Linux 環境是最適合的。如果你是 Windows 可以安裝 WSL2 。
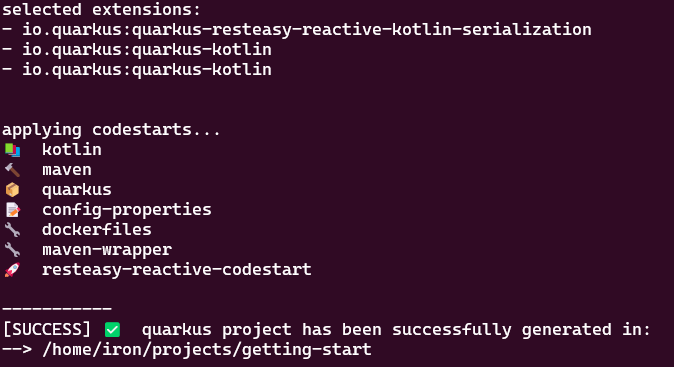
以下會安裝的幾個必要的環境,與用 quarkus command line 建立第一個 Quarkus kotlin service
可以參考這篇 https://ithelp.ithome.com.tw/articles/10255920
因為之後需要執行 Intellij ,wsl2 還需要安裝 xorg
sudo apt install xorg
我們需要 sdkman https://sdkman.io/install 照著網站說明就可以了。或是可以參考聖佑的文章。
安裝/管理多個版本的 JDK
sdk install java 22.2.r11-mandrel
sdk install quarkus
有了 quarkus cli , 我們建立的 app 就是輕而易舉,在習慣的 project folder 鍵入以下指令
quarkus create app tw.brandy.ironman:getting-start \
--extension=kotlin,quarkus-resteasy-reactive-kotlin-serialization

恭喜你已經完成第一個 Quarkus 的 app 建立。而且是 Kotlin 的,快來執行看看吧
cd getting-start
quarkus dev
什麼,我的 Quarkus Service 已經起起來了!!
這個project 已自帶 sample service 打開 http://localhost:8080/hello 就可以看到回應囉

用 cat 先看如何用 Kotlin quarkus 完成一個 endpoint
cat src/main/kotlin/tw/brandy/ironman/GreetingResource.kt
原來只要 fun 就可以很開心的回應字串了呢。
@Path("/hello")
class GreetingResource {

    @GET
    @Produces(MediaType.TEXT_PLAIN)
    fun hello() = "Hello from RESTEasy Reactive"
}
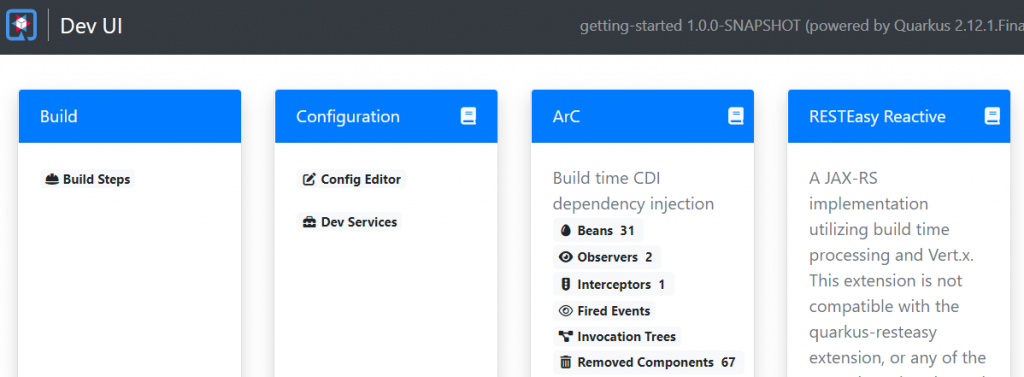
用 Browser 開 http://localhost:8080/q/dev 就可以看到內建的開發面板。可以看到各種 service 的資訊。對於開發非常有用,這也是 Quarkus developer joy 的一部份!! 明天就帶大家導覽這個面版吧! (結果今天還是沒寫到 code)

