經過了四天,心裡覺得有點不踏實,於是翻閱了官方 Jetpack Compose 教學,還是乖乖地把理論基礎讀過一遍,避免以後 Copy/Past 不清楚運作原理。今天的官方來源為:https://developer.android.com/jetpack/compose/tutorial
如同 Day1 介紹,要建立一個 compose UI,必須先寫一個 composable function, 只要在 function 上面加一個 @Composable annotation 就可以了。
@Composable
fun Greeting(name: String) {
    Text(text = "Hello $name!")
}
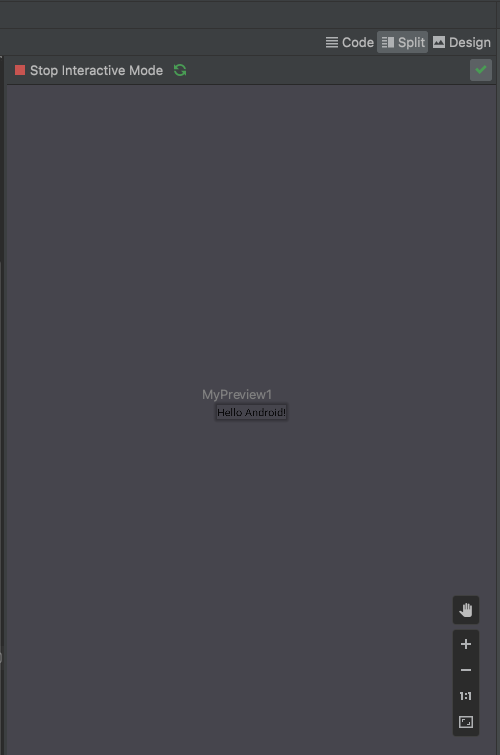
如果想要在 Android Studio 上預覽 Activity 畫面,需要訂一個 preview function。很簡單,建立一個 function 上面除了 @Composable annotation 還需要加上一個 @Preview 的 annotation。
@Preview
@Composable
fun MyPreview1() {
    ExampleDay5Theme {
        Greeting("Android")
    }
}
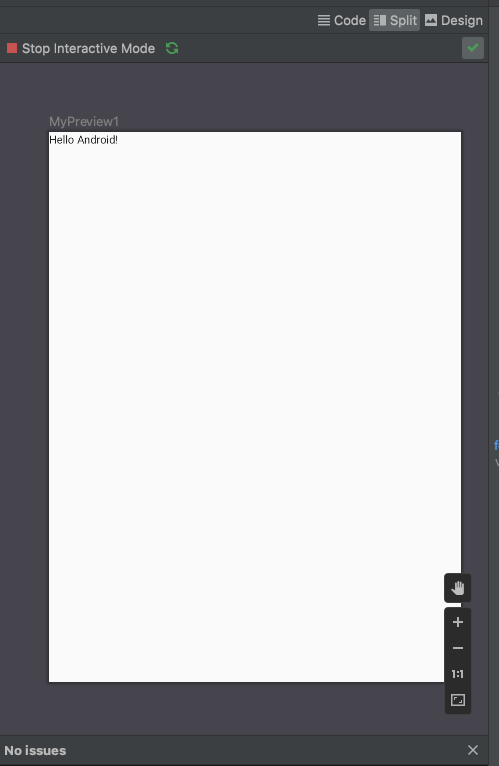
這個Preview annotation 是可以加上參數的,是否要顯示背景以及設定畫面大小:
@Preview(showBackground = true, widthDp = 600, heightDp = 800)
@Composable
fun MyPreview1() {
    ExampleDay5Theme {
        Greeting("Android")
    }
}
與 React 一樣,Compose UI 可以多層次的結構,元件與元件之間是可以疊加的。 我們來寫一個筆記列表的 UI 來練習 compose 的排版。首先我們要先認識下面兩個 Layout 元件 Column 與 Row:
Column 函数會以垂直的方向排列元素,Row 函數會以水平的方向排列元素。
我們希望可以把筆記的資訊 UI layout 設計如下: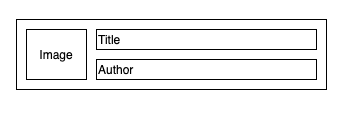
我們先定義一下一個 Data Class:
data class Note(val title: String, val author: String)
每一個 Note Object 交給 NoteItem 來顯示畫面,我們應用了 Row, Column 函式來排版:
@Composable
fun NoteItem(note: Note, cover: Int) {
    Row(modifier = Modifier
        .fillMaxWidth()
        .padding(all = 8.dp)) {
        Image(
            painter = painterResource(R.drawable.ic_profile_face1),
            contentDescription = "Contact profile picture",
            modifier = Modifier
                // Set image size to 40 dp
                .size(40.dp)
                // Clip image to be shaped as a circle
                .clip(CircleShape)
        )

        // Add a horizontal space between the image and the column
        Spacer(modifier = Modifier.width(8.dp))

        Column {
            Text(text = note.title)
            // Add a vertical space between the author and message texts
            Spacer(modifier = Modifier.height(4.dp))
            Text(text = note.author)
        }
    }
}
接著我們實作一個 NoteList 來顯示多個 NoteItem:
@Composable
fun NoteList() {
    Column {
        NoteItem(note = Note(author = "Mary", title = "Kotlin Tutorial"), R.drawable.ic_profile_face1)
        Divider(modifier = Modifier.height(1.dp), color = Color.Gray)
        NoteItem(note = Note(author = "Shawn", title = "Java Tutorial"), R.drawable.ic_profile_face2)
        Divider(modifier = Modifier.height(1.dp), color = Color.Gray)
        NoteItem(note = Note(author = "Eric", title = "Golang Tutorial"), R.drawable.ic_profile_face2)
        Divider(modifier = Modifier.height(1.dp), color = Color.Gray)
        NoteItem(note = Note(author = "Joye", title = "Node JS Tutorial"), R.drawable.ic_profile_face1)
    }
}
顯示結果如下: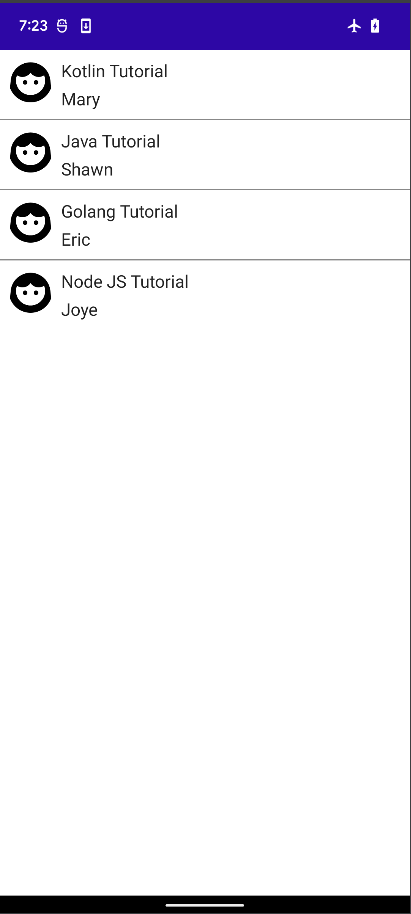
明天我們會繼續學習:Material Design、ListView與動畫