之前提到狀態變數雖然能幫我們做很多事,但只要使用者離開當前頁面(跳到其他頁面或是刷新頁面),原本狀態變數的值就會重新回到初始值,所以為了讓狀態變數成為全域狀態變數,我們要借助一個好用的工具幫忙 - Redux Toolkit。

yarn add @reduxjs/toolkit react-redux
新增 src/redux 資料夾,並建立 store.js ,然後從 @reduxjs/toolkit 中引入 configureStore 元件,目前先建立並輸出一個空的 Redux store
import { configureStore } from '@reduxjs/toolkit'

export const store = configureStore({
  reducer: {},
})
打開 src/index.js 並引入剛剛建立好的 store ,還有從 react-redux 引入 Provider 元件,然後將 <Provider> 包住 <App /> ,並傳入 store 參數
import React from 'react';
import ReactDOM from 'react-dom/client';
import './index.css';
import App from './App';
import reportWebVitals from './reportWebVitals';
import { store } from './redux/store';
import { Provider } from 'react-redux';

const root = ReactDOM.createRoot(document.getElementById('root'));
root.render(
  <React.StrictMode>
    <Provider store={store}>
      <App />
    </Provider>
  </React.StrictMode>
);

reportWebVitals();
在 src/redux 資料夾下建立 postSlice.js 檔案,並從 @reduxjs/toolkit 引入 createSlice 元件。
然後為這個 slice 命名一個可辨識的名稱(name)、初始值(initialState),以及一個或以上的 reducers 函數(用來定義 state 要如何被更新),之後我們就可以輸出建立好的 action 及 reducer 並使用它。
import { createSlice } from '@reduxjs/toolkit';

const initialState = {
    posts: [],
};

export const postSlice = createSlice({
    name: 'post',
    initialState,
    reducers: {
        addPost: (state, action) => {
            state.posts = [...state.posts, { ...action.payload }];
        },
    },
});

// Action creators are generated for each case reducer function
export const { addPost } = postSlice.actions;

export default postSlice.reducer;
接著將剛剛建立好的 reducer 從 ./postSlice 引入,並把它加進 store 中
import { configureStore } from '@reduxjs/toolkit';
import postReducer from './postSlice';

export const store = configureStore({
    reducer: {
        post: postReducer,
    },
});
最後我們就可以在元件中使用啦~
useSelector → 讀取全域變數useDispatch → 使用控制全域變數的 actionimport React, { useState } from 'react';
import { useDispatch } from 'react-redux';
import { addPost } from '../redux/postSlice';
import Header from '../components/Header';
import Footer from '../components/Footer';
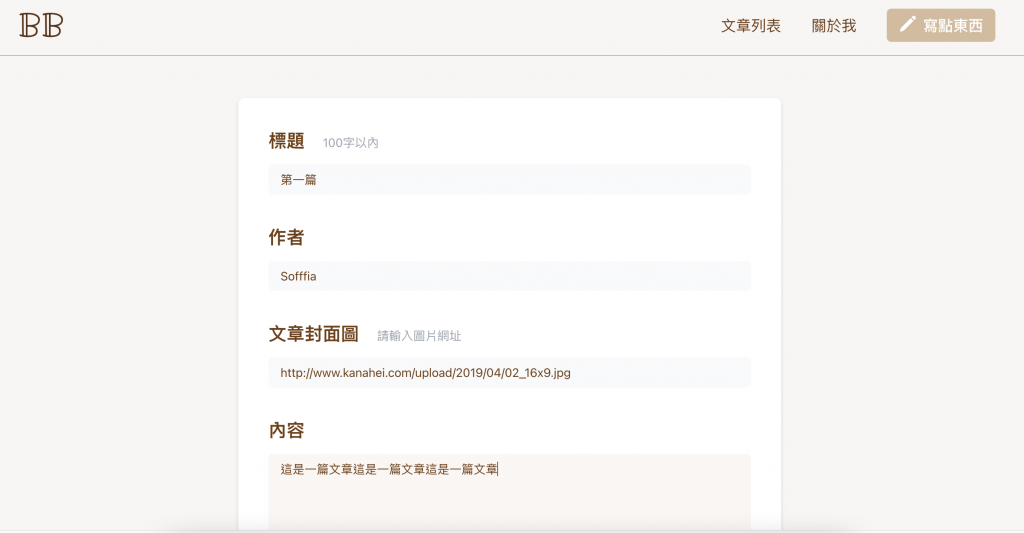
export default function AddPost() {
const [title, setTitle] = useState('');
const [author, setAuthor] = useState('');
const [image, setImage] = useState('');
const [content, setContent] = useState('');
const dispatch = useDispatch();
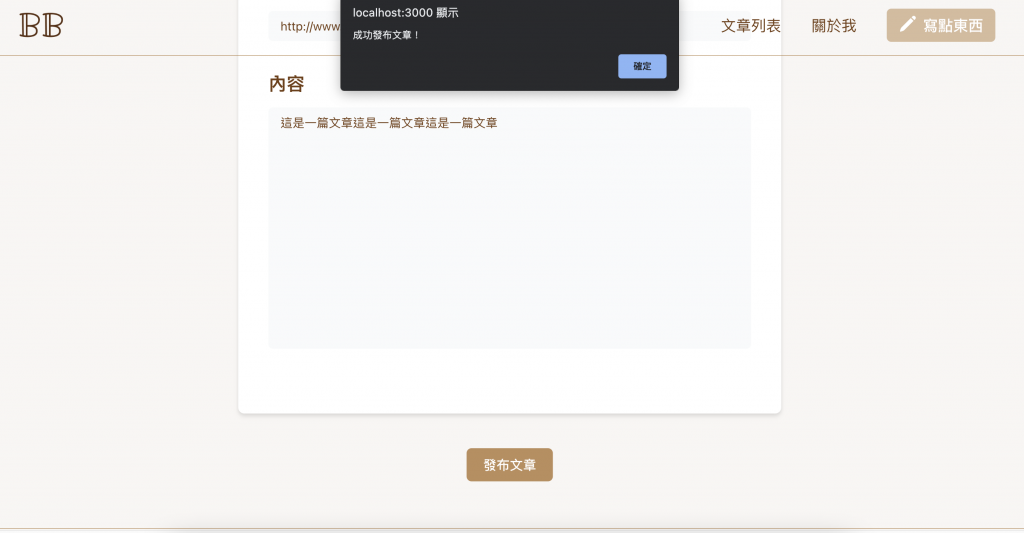
const handleAddPost = () => {
dispatch(addPost({ title, author, image, content }));
alert('成功發布文章!');
setTitle('');
setAuthor('');
setImage('');
setContent('');
};
return (
<div className="flex flex-col items-center">
...
<button
onClick={handleAddPost}
className="mx-5 text-white font-medium px-5 py-2 bg-yellow-700/40 hover:bg-yellow-700/70 rounded-md mt-12 hover:scale-110 transition ease-in"
>
發布文章
</button>
<Footer />
</div>
);
}
這樣就可以順利的在切換頁面時,資料還保存著不會消失啦~