在安裝 Istio 前,需先準備好 Kubernetes 及 Kubectl ,流程可參考上一篇教學
kubectl cluster-info
(輸出結果)
Kubernetes control plane is running at https://127.0.0.1:50031
CoreDNS is running at https://127.0.0.1:50031/api/v1/namespaces/kube-system/services/kube-dns:dns/proxy
本篇參考 Istio Getting Started 教學,官方提供的 Istioctl 工具,讓我們可透過簡單的指令就將 Istio 元件安裝至 Kubernetes ,接下來就來看看如何使用吧!
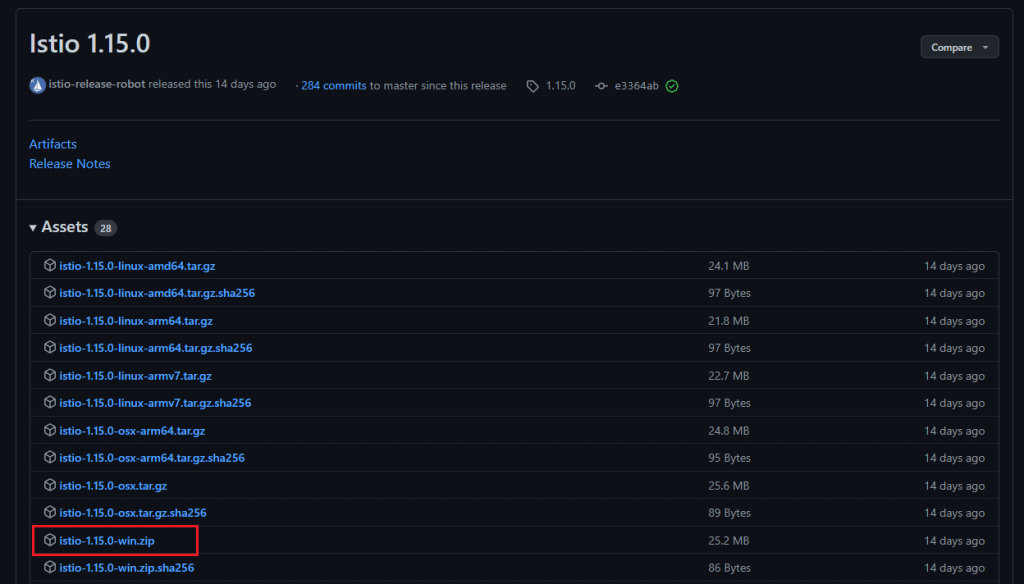
curl 下載程式檔curl -L https://istio.io/downloadIstio | ISTIO_VERSION=1.15.0 TARGET_ARCH=x86_64 sh -
本篇安裝的是 Istio 1.15.0 版本
cd istio-1.15.0
export PATH=$PWD/bin:$PATH
istioctl version
(輸出結果)
no running Istio pods in "istio-system"
1.15.0
no running Istio pods in "istio-system" 代表還沒將 Istio 元件安裝到 Kubernetes
C:\ 目錄底下Path 底下新增 C:\istio-1.15.0\bin -> 確定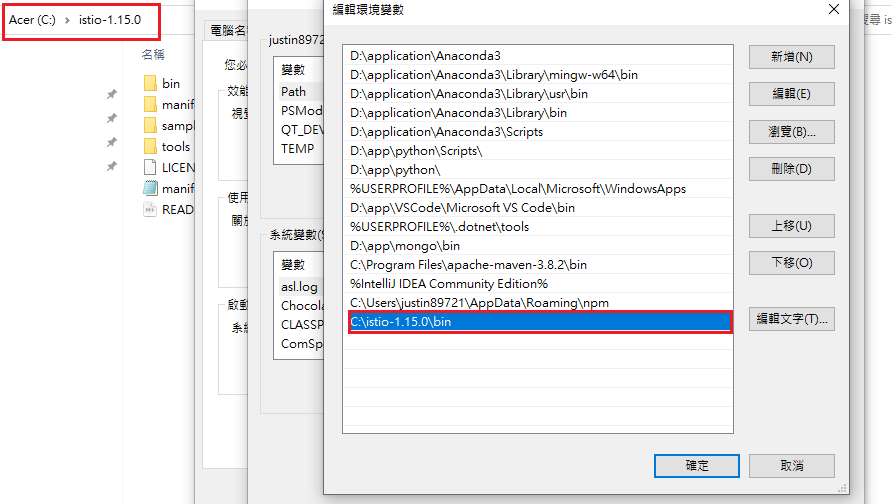
no running Istio pods in "istio-system"
1.15.0
Istioctl 準備好後,只需一個指令,即可將 Istio 元件安裝至 Kubernetes 。
istioctl install 安裝 Istio 元件istioctl install
(輸出結果)
This will install the Istio 1.15.0 default profile with ["Istio core" "Istiod" "Ingress gateways"] components into the cluster. Proceed? (y/N) y
✔ Istio core installed
✔ Istiod installed
✔ Ingress gateways installed
✔ Installation complete
Making this installation the default for injection and validation.
安裝採取 default 設定,會安裝
istio-ingressgateway與istiod基本元件,若想調整配置可參考 configuration profile
kubectl get pods -n istio-system
(輸出結果)
NAME                                   READY   STATUS    RESTARTS   AGE
istio-ingressgateway-d54ff84fc-fpts7   1/1     Running   0          37s
istiod-68df67c57b-krrdx                1/1     Running   0          53s
會安裝至
istio-systemNamespace,Istio 的 Control Plane 指的就是這些元件
之前提到 Istio 分為 Control Plane 及 Data Plane , Control Plane 已經安裝在 istio-system Namespace 裡,而 Data Plane 會以 Sidecar 模式注入到每一個 Pod ,至於實際情況如何,就來測試看看吧。
kubectl run <name> 指令建立 Podkubectl run nginx --image=nginx --restart=Never
kubectl get pods 查看 Podskubectl get pods
(輸出結果)
# 等待到 Pod 建置完成
NAME    READY   STATUS              RESTARTS   AGE
nginx   0/1     ContainerCreating   0          4s
# Pod 建置完成
NAME    READY   STATUS    RESTARTS   AGE
nginx   1/1     Running   0          64s
會發現並無 Sidecar 注入,是因為 Istio 會根據 Namespace
istio-injection=enabledLabel 有無來決定是否注入 Sidecar
istio-injection=enabled Labelkubectl label namespace default istio-injection=enabled --overwrite
kubectl get namespace -L istio-injection
(輸出結果)
namespace/default labeled
NAME              STATUS   AGE     ISTIO-INJECTION
default           Active   78m     enabled
istio-system      Active   6m27s
...
在 Default Namespace 設定好 Label 後,重新建立一個 Pod。
kubectl delete pods nginx
kubectl run nginx --image=nginx --restart=Never
kubectl get pods 查看 Podskubectl get pods
(輸出結果)
# 等待到 Pod 建置完成
NAME    READY   STATUS            RESTARTS   AGE
nginx   0/2     PodInitializing   0          3s
# Pod 建置完成
NAME    READY   STATUS    RESTARTS   AGE
nginx   2/2     Running   0          7s
會發現從原本
1/1改為2/2,代表說在這個 Pod 裡建立了兩個 Container
kubectl describe pod <name> 查看 Pod 資訊kubectl describe pod nginx
Normal  Created    89s   kubelet            Created container istio-init
Normal  Started    89s   kubelet            Started container istio-init
...
Normal  Created    88s   kubelet            Created container nginx
Normal  Started    88s   kubelet            Started container nginx
...
Normal  Created    88s   kubelet            Created container istio-proxy
Normal  Started    88s   kubelet            Started container istio-proxy
從資訊裡即可看出創建的 Container 一個為 Application(nginx),另一個為 Sidecar(istio-proxy)
kubectl delete pods <name> 刪除 Podkubectl delete pod nginx
本篇完成了 Istio 在 Kubernetes 的安裝,下一篇將會介紹 Bookinfo 專案,讓你能在 Kubernetes 快速部署 Microservices 實驗環境。


 iThome鐵人賽