昨天我們介紹了ConstraintLayout和LinearLayout,今天要繼續把剩餘的兩個Layout講完!!
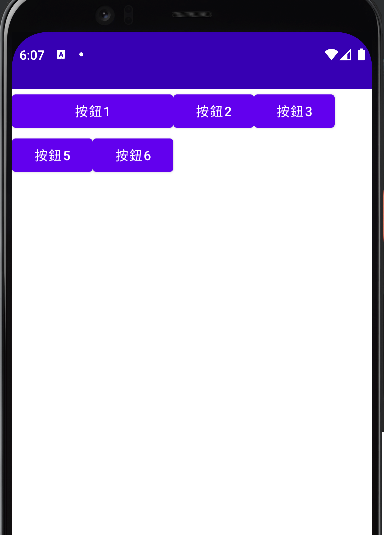
TableLayout這一個布局是使用表格的方式來排列组件,而TableLayout裡是透過TableRow來區別每一列,其中最多欄位的TableRow將會是這一個TableLayout的基準,其他的TableRow也會是相同的欄位。
以下程式碼如果要設定1和3序號,則要輸入"0,2"。
android:collapseColumns="</*要隱藏的序號*/>"
android:shrinkColumns="</*要收縮的序號*/>"
android:stretchColumns="</*要拉伸的序號*/>"
        <TableRow>

            <Button
                android:layout_width="wrap_content"
                android:layout_height="wrap_content"
                android:layout_span="2"
                android:text="按鈕1" />

            <Button
                android:layout_width="wrap_content"
                android:layout_height="wrap_content"
                android:text="按鈕2" />

            <Button
                android:layout_width="wrap_content"
                android:layout_height="match_parent"
                android:text="按鈕3" />

        </TableRow>

        <TableRow>

            <Button
                android:layout_width="wrap_content"
                android:layout_height="wrap_content"
                android:text="按鈕5" />

            <Button
                android:layout_width="wrap_content"
                android:layout_height="wrap_content"
                android:text="按鈕6" />
        </TableRow>
android:layout_column="</*要跳過的格子*/>"
android:layout_span="</*要合併的格子數*/>"
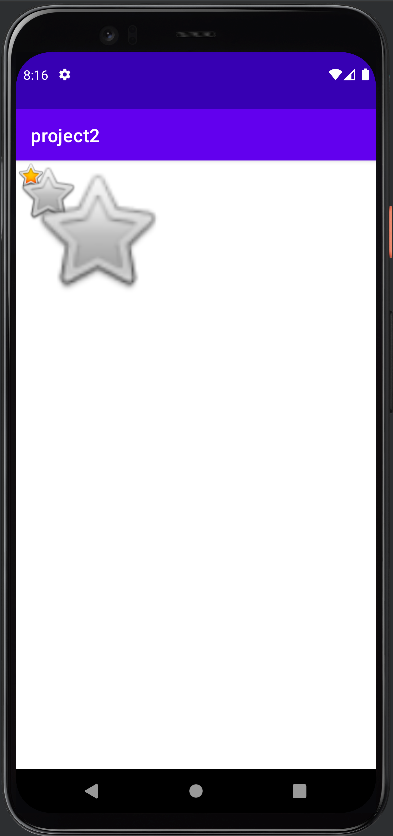
這個布局會讓元件重疊顯示,依照前後的關係,最先出現元件會放在底部,最後的元件會在頂部。
<FrameLayout
    xmlns:android="http://schemas.android.com/apk/res/android"
    xmlns:app="http://schemas.android.com/apk/res-auto"
    xmlns:tools="http://schemas.android.com/tools"
    android:layout_width="match_parent"
    android:layout_height="match_parent"
    android:orientation="vertical">

    <ImageView
        android:id="@+id/imageView6"
        android:layout_width="179dp"
        android:layout_height="150dp"
        android:layout_gravity="bottom"
        app:srcCompat="@android:drawable/star_big_on" />

    <ImageView
        android:id="@+id/imageView"
        android:layout_width="wrap_content"
        android:layout_height="wrap_content"
        app:srcCompat="@android:drawable/btn_star_big_on" />

    <ImageView
        android:id="@+id/imageView3"
        android:layout_width="69dp"
        android:layout_height="70dp"
        app:srcCompat="@android:drawable/btn_star_big_off" />
</FrameLayout>
Layout差不多講到這,如果想在研究這兩個Layout可以到以下網址。
TableLayout:Android Developers/TableLayout
FrameLayout:Android Developers/FrameLayout


 iThome鐵人賽