CRUD 對應的是 Create、Read、Update、Delete,而 Read 我習慣又分為 List 及 Detail,代表一次性列出相同 Table 的資料及該 Table 中指定 Row的資料,由於已經有用 Seeder 產生的假資料,個人的習慣是會由 Read -> Create -> Update -> Delete 這樣的順序來實作。
今天會先以 Product 的 List 來做介紹,首先在 Dcat 的教學中是會使用 Repository 這一層 Class 來跟資料庫撈資料,概念有點像是 Model 只負責寫一些設定,實際撈取資料的動作會寫在 Repository 這一層,而因為 Dcat 並沒有附帶指令能協助創建這個檔案所以必須自己手動建立。
mkdir app/Admin/Repositoriestouch app/Admin/Repositories/ProductRepository.php
建立了之後將以下 Code 貼上,繼承 EloquentRepository 及設定要指向的 Model
<?php

namespace App\Admin\Repositories;

use Dcat\Admin\Repositories\EloquentRepository;
use App\Models\Product;

class ProductRepository extends EloquentRepository
{
     protected $eloquentClass = Product::class;
}
接著要建立 Controller ,記得不要跟 API 的 Controller 建立在一起
touch app/Admin/Controllers/ProductController.php
然後先將 Controller 的基本繼承及 Class name 寫好。
<?php

namespace App\Admin\Controllers;

use Dcat\Admin\Grid;
use Dcat\Admin\Layout\Content;
use App\Http\Controllers\Controller;
use App\Admin\Repositories\ProductRepository;

class ProductController extends Controller
{
}
要注意到有先 use 四個 Class,這是稍後實作時會用到的
先到後台的 Route: app/Admin/routes.php 設定路由
Route::group([
    'prefix'        => config('admin.route.prefix'),
    'namespace'     => config('admin.route.namespace'),
    'middleware'    => config('admin.route.middleware'),
], function (Router $router) {
    Route::group(['prefix' => 'products'], function (Router $router) {
        $router->get('/', 'ProductController@index');
    });

    $router->get('/', 'HomeController@index');

});
將 Product 相關的功能包成一個 Group,並且盡量遵守 RESTful API 的常見作法將 Model 改成多數,指向ProductController 的 index Method。指向完畢後於 Controller 新增 index Method 並寫一個小小的測試資料來確認有沒有成功指向。
public function index(Content $content)
{
   return 'index';
}

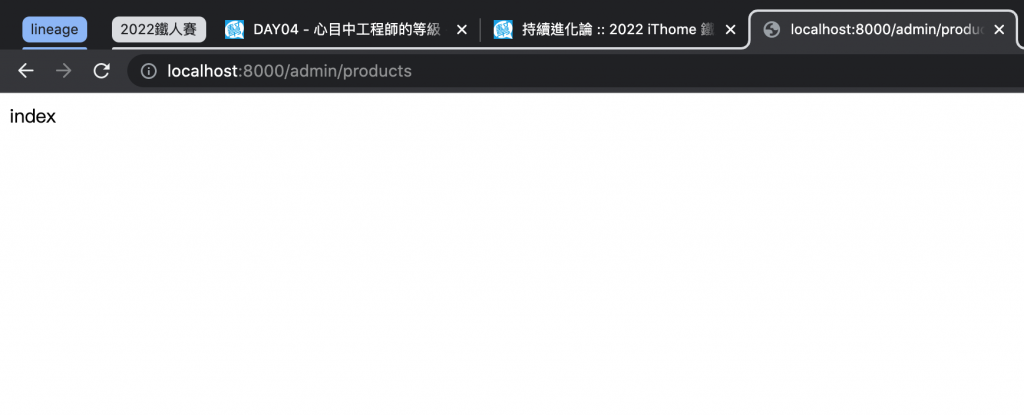
開此連結 localhost:8000/admin/products 檢查功能是否正常。
如果正常就可以繼續做下去,不能連線的話可能是因為沒有開服務 php artisan serve 或是 route.php 有錯字。
沒問題之後繼續回到 ProductController 這個 Class , 首先先加上兩個後續會常用的屬性: title 及 description
protected $title = '商品';

protected $description = [
    'index'  => '列表',
];
title 負責後續顯示 product 這個頁面的標題, description 則是負責描述各個頁面的功能,如列表、編輯、修改、刪除等等,有了屬性之後要有搭配的 Method 才能將屬性拿來使用
protected function title()
{
    return $this->title ?: admin_trans_label();
}

protected function description()
{
    return $this->description;
}
admin_trans_label 這個 Function 是如果 title 的值是 null 的話會自動幫忙用 Class name 來當作 title
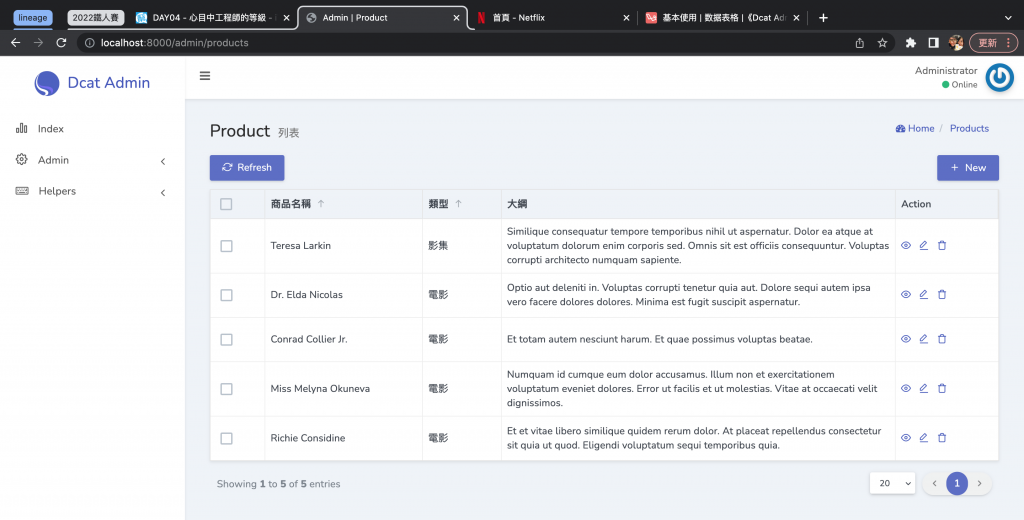
兩個簡單的屬性介紹完之後就要講今天的重點: Grid ,Grid 會負責要顯示哪些欄位、欄位的寬度、特殊功能等等功能。
protected function grid()
{
    return Grid::make(new ProductRepository(), function (Grid $grid) {
        $grid->setActionClass(Grid\Displayers\Actions::class);
        $grid->column('name', '商品名稱')->sortable()->width('20%');
        $grid->column('type', '類型')->sortable()->width('10%')
            ->display(function () { return [0 => '電影', 1 => '影集'][$this->type];});
        $grid->column('outline', '大綱')->width('50%');
    });
}
第一個 setActionClass Method 會去設定每個 Row 可以做一些特別的操作,能做什麼操作則會寫在 Actions 這個 Class,關於這個 Class 在後面會多開一集來專門做講解。
第二個 column Method 則是最基本的,負責將撈出來的資料顯示至每一個 Row , column 的第二個參數是用來指定該 column 的 title ,如果沒有設定的話則是使用 column 來當作 title。
第三個 sortable Method 則是設定該欄位是否能排序。
第四個 width Method 則是設定每個 column 的寬度,可以使用 px 或是 % 來做設定。
第五個 display Method 則是對於 Row data 做更易讀的顯示,像是 type 這個 column 我是使用 0/1 來儲存,但對於使用者來說卻不易讀,這時候就可以用 display 來處理。
基本的 Method 處理好之後就可以來調整 index 了。
public function index(Content $content)
{
    return $content->title($this->title())
        ->description($this->description()['index'] ?? trans('admin.list'))
        ->body($this->grid()->withBorder()->toolsWithOutline(false));
}
withBorder 這個 Method 會負責讓資料之間會有格線
toolsWithOutline 這個 Method 則是讓一些按鈕的顏色有變化
完成之後就可以整理頁面了。
對於不擅長 Front-End 的人來說這樣的功能真是一大福音呢,今天的介紹就到這邊,地震走了我要準備去避難了。
