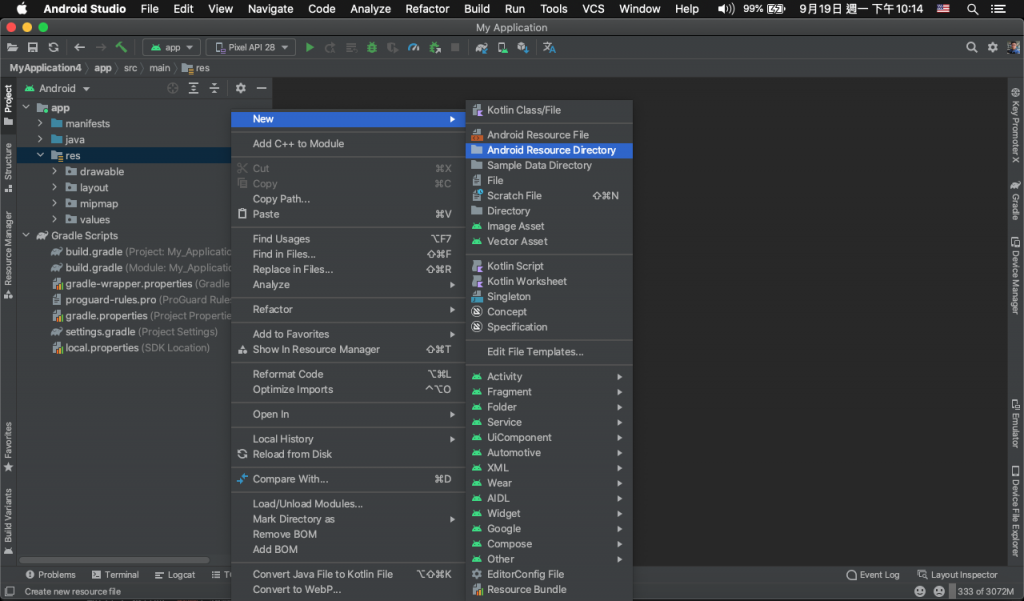
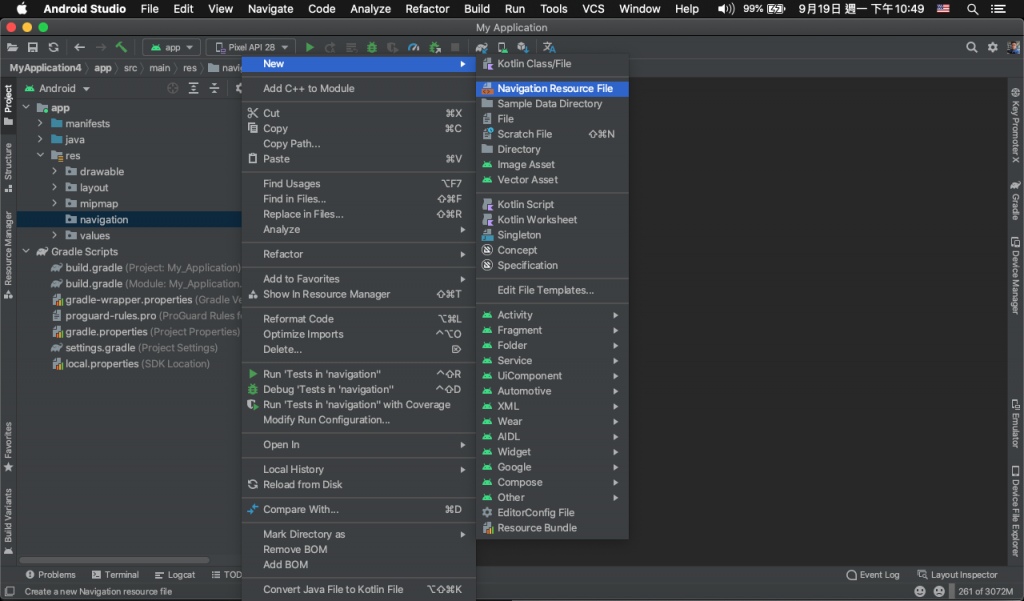
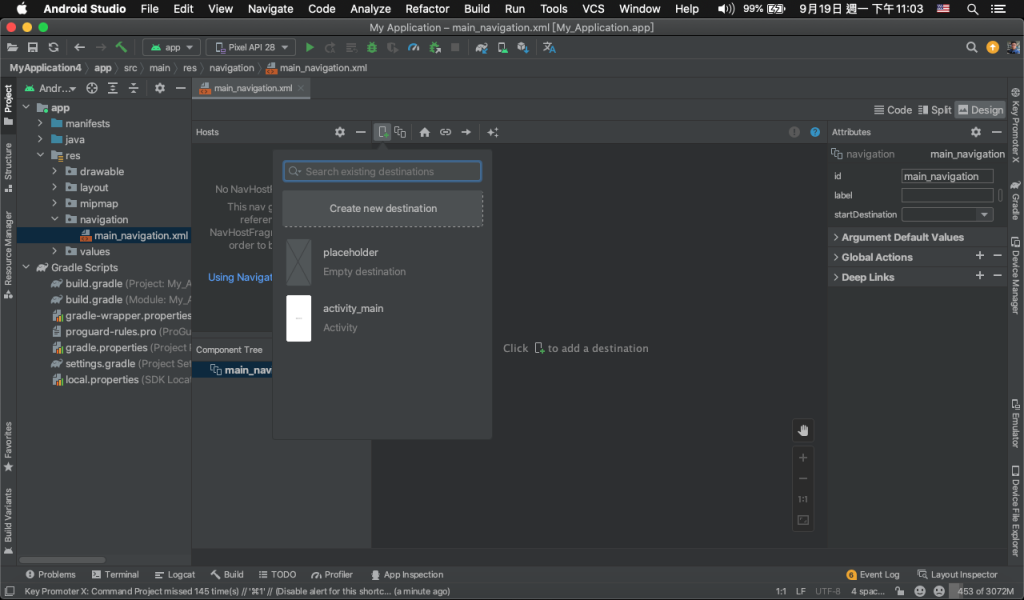
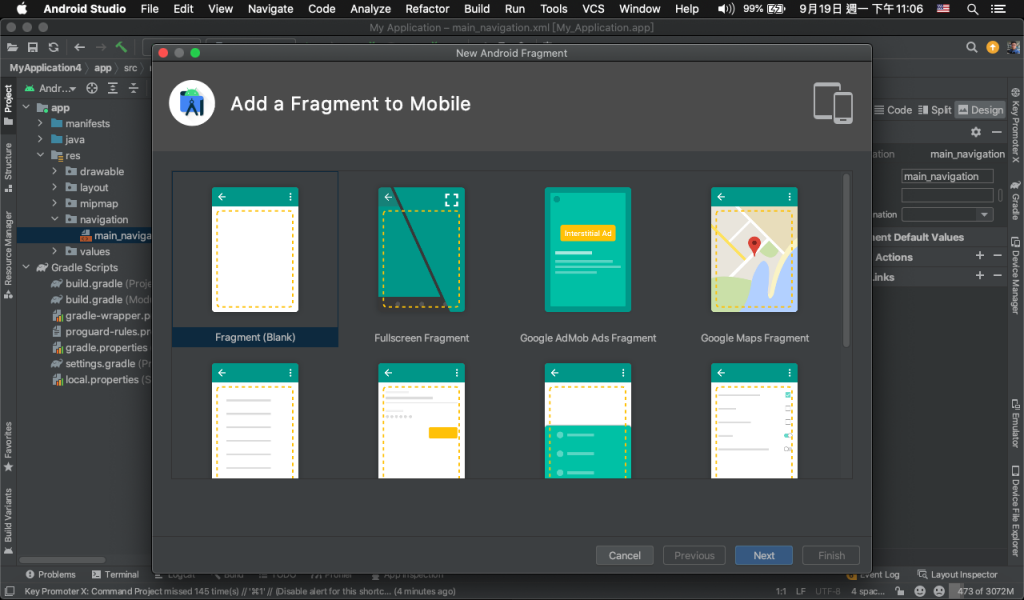
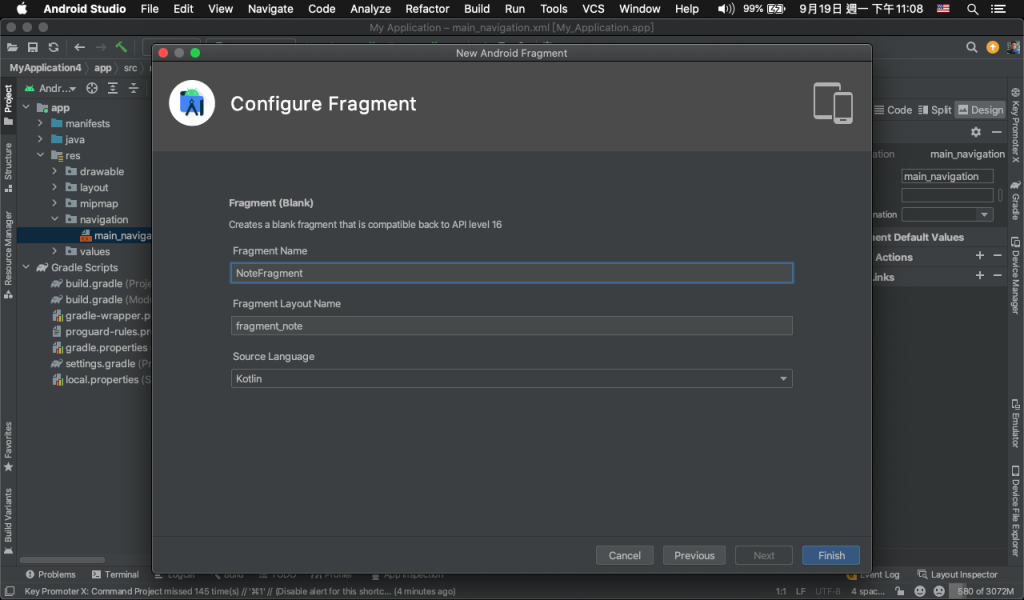
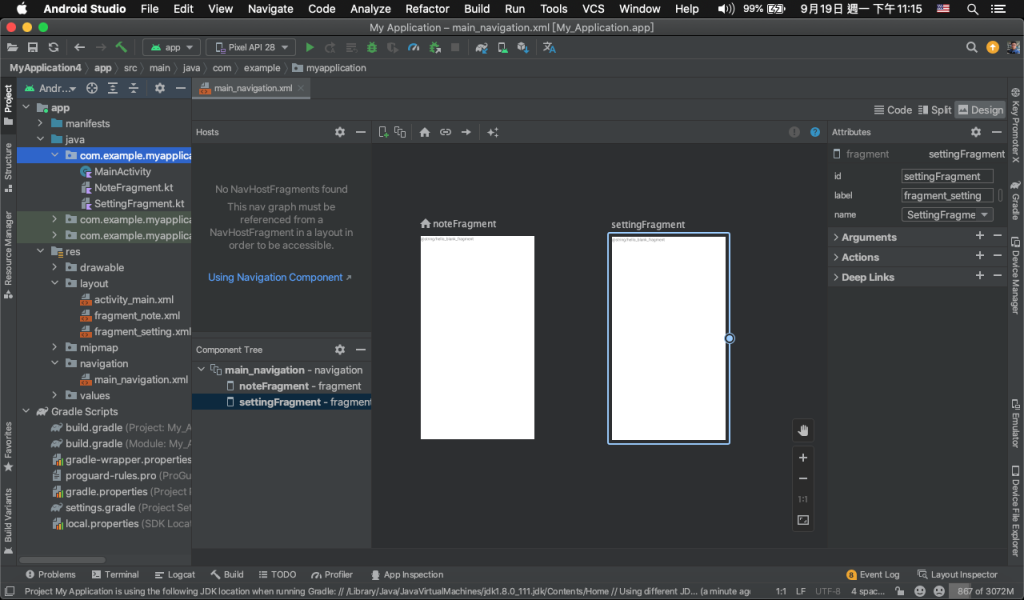
先來從 App 的畫面開始吧,這次鐵人賽的 App 會有兩個畫面,一個是設定頁,另一個是筆記頁,所以先把這兩個頁面建立好
在activity_main.xml貼上
<?xml version="1.0" encoding="utf-8"?>
<androidx.constraintlayout.widget.ConstraintLayout xmlns:android="http://schemas.android.com/apk/res/android"
xmlns:app="http://schemas.android.com/apk/res-auto"
xmlns:tools="http://schemas.android.com/tools"
android:layout_width="match_parent"
android:layout_height="match_parent"
tools:context=".MainActivity">
<androidx.fragment.app.FragmentContainerView
android:id="@+id/amMainNavigation"
android:name="androidx.navigation.fragment.NavHostFragment"
android:layout_width="0dp"
android:layout_height="0dp"
app:defaultNavHost="true"
app:layout_constraintBottom_toBottomOf="parent"
app:layout_constraintEnd_toEndOf="parent"
app:layout_constraintStart_toStartOf="parent"
app:layout_constraintTop_toTopOf="parent"
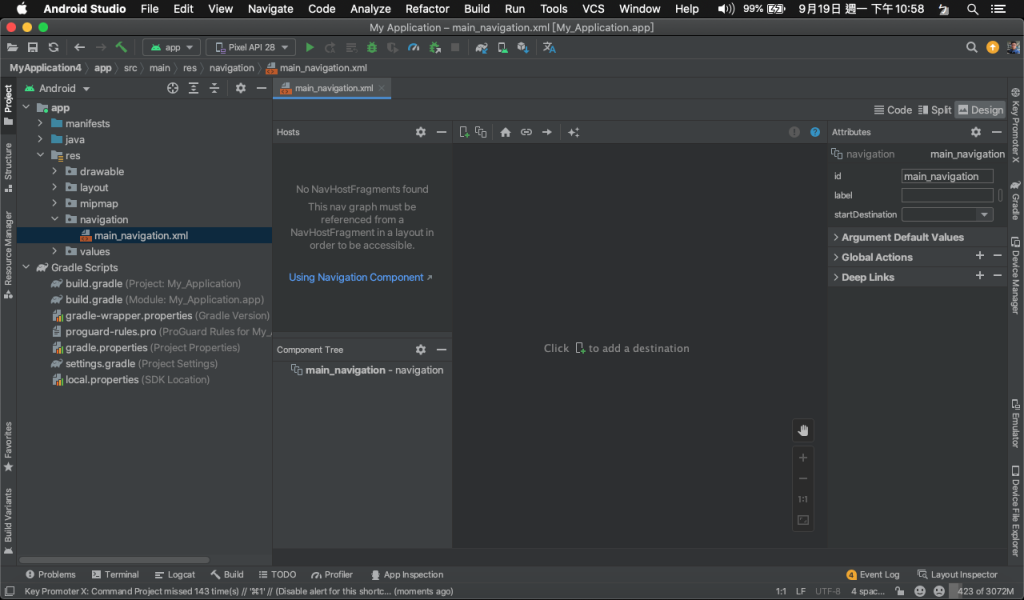
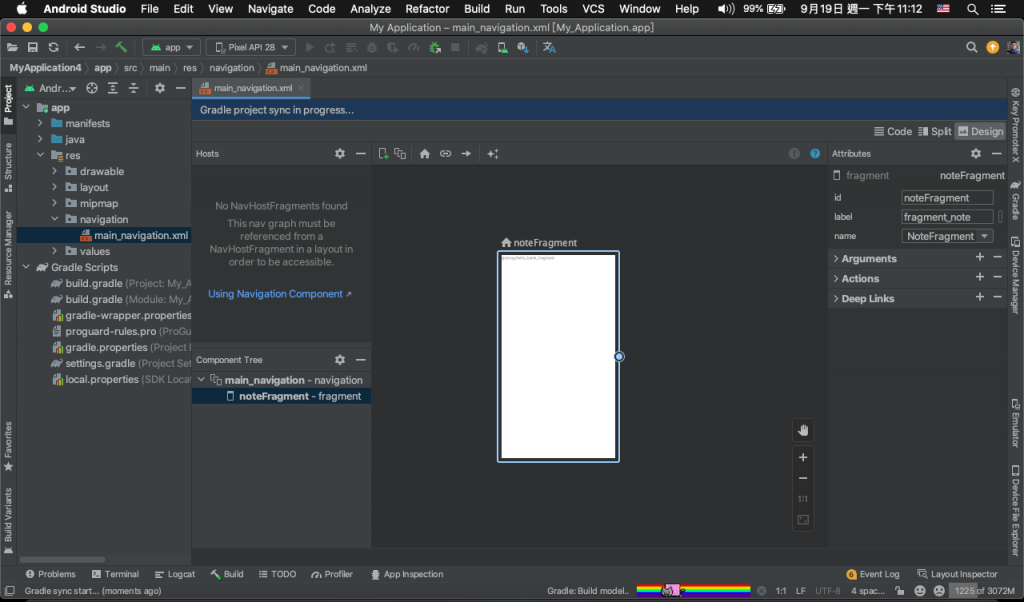
app:navGraph="@navigation/main_navigation" />
</androidx.constraintlayout.widget.ConstraintLayout>
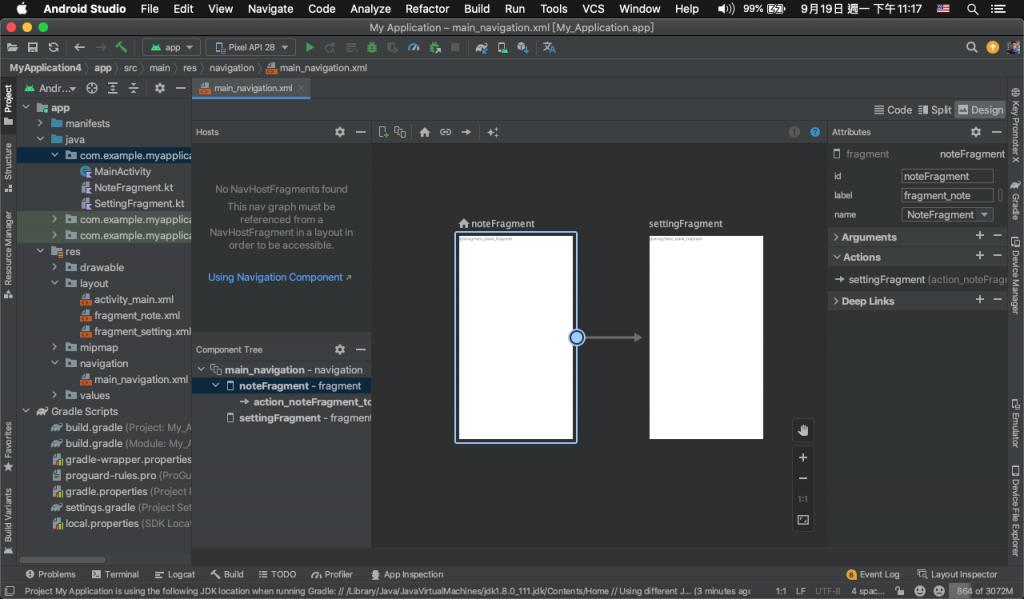
<action的 id 找出來setOnClickListener {
findNavController().navigate(R.id.action_noteFragment_to_settingFragment)
}
這個也是先筆記起來,之後會用到
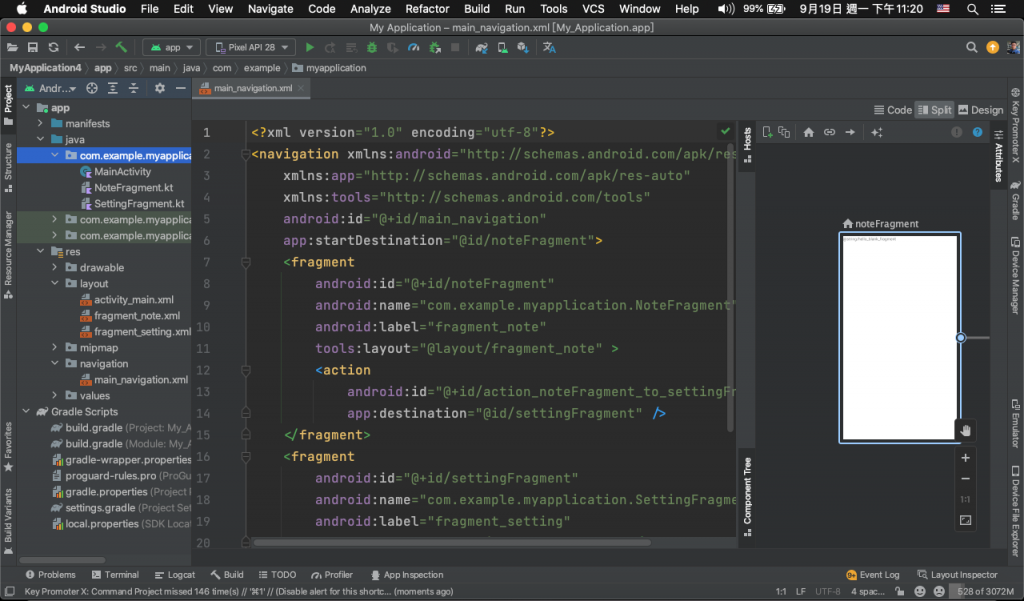
<fragment
    android:id="@+id/Fragment">
    <argument
        android:name="你的Key"
        app:argType="資料形態" />
</fragment>
findNavController直接寫入findNavController().navigate(你的FragmentDirections.actionFragmentToFragment(你的值))
private val args: 你的FragmentArgs by navArgs()
args.你的Key


 iThome鐵人賽