來到第九日,今日講一講mouse control, 即係用滑鼠去移動object嘅方法, 下圖就係今日要做嘅目標
第一我地係要諗點樣可以知道滑鼠喺螢幕上的位置
window.addEventListener('mousemove', (event)=>
{
    console.log(event.clientX, event.clientY)
})

由於現在我們的scene 係800x600, 所以cursor 都係顯示0-800, 0-600
本來我們可以用這個數字來直接用, 但考慮到唔同螢幕的比例同大細都不一樣, 所以要上個方法能在不同大細螢幕上都有相同的用戶體驗
const cursor={x:0, y:0}

window.addEventListener('mousemove', (event)=>
{
    cursor.x=  0.5-event.clientX/sizes.width // 原因是希望x軸的數值在-0.5至0.5之間, 螢幕中心為0
    cursor.y=  event.clientY/sizes.height -0.5 // 原因是希望y軸的數值在-0.5至0.5之間, 螢幕中心為0
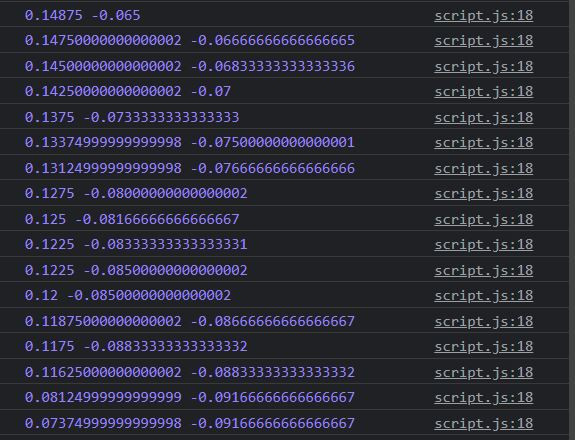
    console.log(cursor.x, cursor.y)

})

之後你就會從console 到睇到數值已經改變
你會發現左下角是(-0.5,-0.5), 而右上角是(0.5,0.5)
原因是這個mouse cursor 是控制camera 的方向, 同物件移動xy軸的方向相反
即係物件向上時, camera 其實是往下移動
現在知道滑鼠移動的數據, 就可以控制camera方向
const tick =() =>
{
    //time
    const elapsedTime = clock.getElapsedTime()
    camera.position.x= cursor.x
    camera.position.y= cursor.y

    //render
    renderer.render(scene, camera)
    window.requestAnimationFrame(tick)
}

tick()

你可以見到現在圖形已經根據滑鼠移動的方向行動, 但移動的幅度相對世
我已更改cursor 的系數大細嚟符合設計的需求, 並且加上rotation 令圖形更加生動
camera.position.x= cursor.x*10
camera.position.y= cursor.y*8
mesh.rotation.y += 0.01

第9日完
