聊天機器人Line Bot與使用者互動。最簡單的範例就是User傳送給 Line Bot 訊息 Line Bot 就會回覆使用相同的訊息,就像鸚鵡學人說話一樣,所以人們也叫聊天機器人為- 鸚鵡 Line Bot
Line Bot API 運行需要Chanel Secret & Channel Token
Chanel Secret: 選單 Basic settings 下面的 Chanel Secret (若沒出現可以按issue)
Chanel Token: 選單Messaging API 下面的 Channel access token
(若沒出現可以按issue)
使用Line Bot API 讓Line Bot 與使用者互動,必須安裝Line Bot SDK才能在程式中加入Line Bot API。建議使用IDE軟體撰寫程式與串接,我使用的是Pycharm
在終端機打以下指令: pip install line-bot-sdk==1.8.0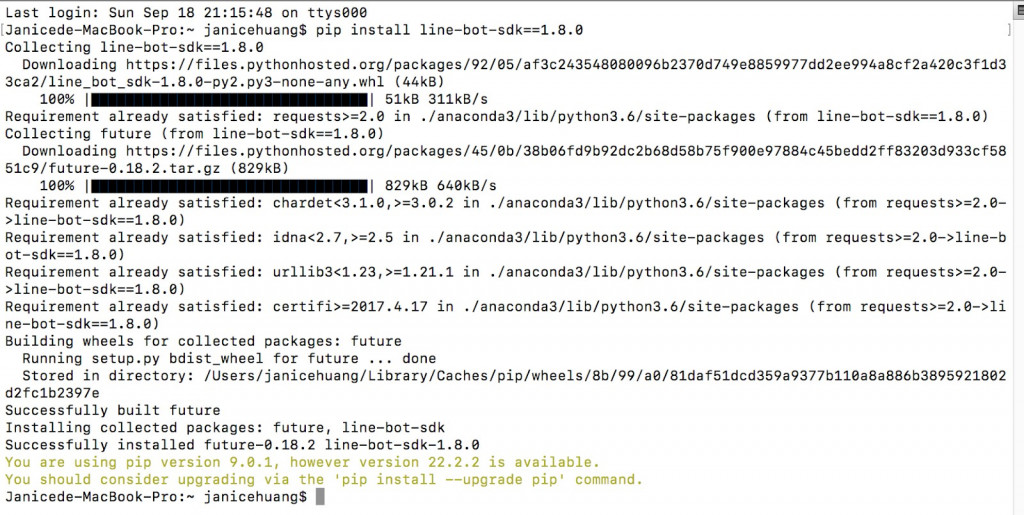
建立一個 linebotTest1.py檔 並複製以下程式碼, 記得要改成你自己Line Bot 的 Channel Token & Channel Secret
此程式碼的作用:
設定Channel secret&Channel access tocken
建立callback route & check the Line Bot info.
Automatically send the message back, when the user send the message to the Line Bot
from flask import Flask
app = Flask(__name__)

from flask import Flask, request, abort
from linebot import LineBotApi, WebhookHandler
from linebot.exceptions import InvalidSignatureError
from linebot.models import MessageEvent, TextMessage, TextSendMessage

line_bot_api = LineBotApi('輸入你的channel token')
handler = WebhookHandler('輸入你的channel secret')

@app.route("/callback", methods=['POST'])
def callback():
    signature = request.headers['X-Line-Signature']
    body = request.get_data(as_text=True)
    try:
        handler.handle(body, signature)
    except InvalidSignatureError:
        abort(400)
    return 'OK'

@handler.add(MessageEvent, message=TextMessage)
def handle_message(event):
    line_bot_api.reply_message(event.reply_token,
        TextSendMessage(text=event.message.text))

if __name__ == '__main__':
    app.run()
Line Bot use “webhook url” as a server connection. webhook have 2 requiremnets:
must be an address ( can’t be IP address)
the networking must be “https”
ngrok acts on behalf of a server, which can built the “http” and “https” servers. It’s absolutly a perfect choice for Line Bot development!
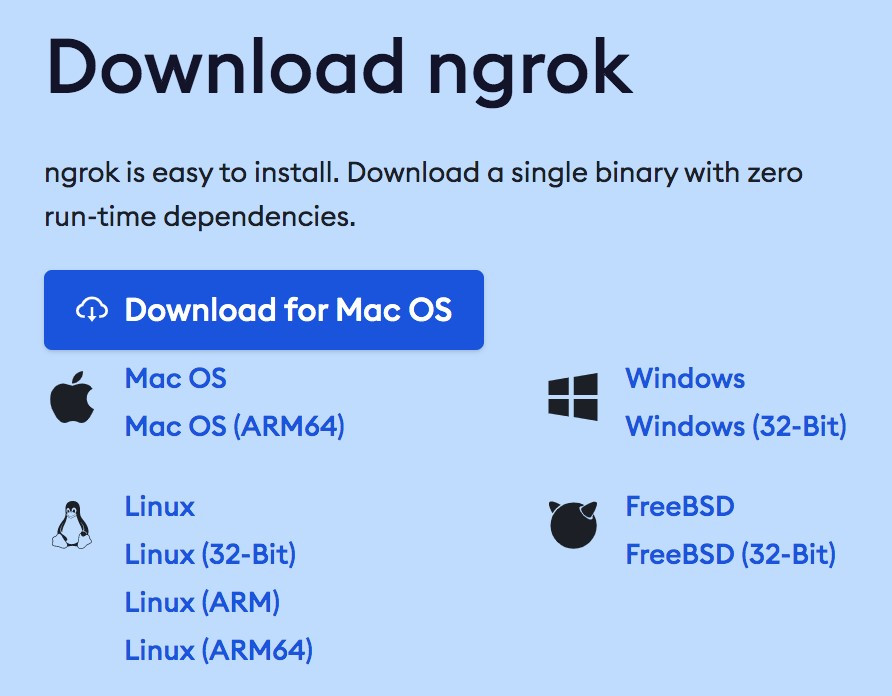
Fist, download the apporiate version of ngrok https://ngrok.com/download or https://dashboard.ngrok.com/get-started/setup that is match your device’s operation system (example is Mac OS)
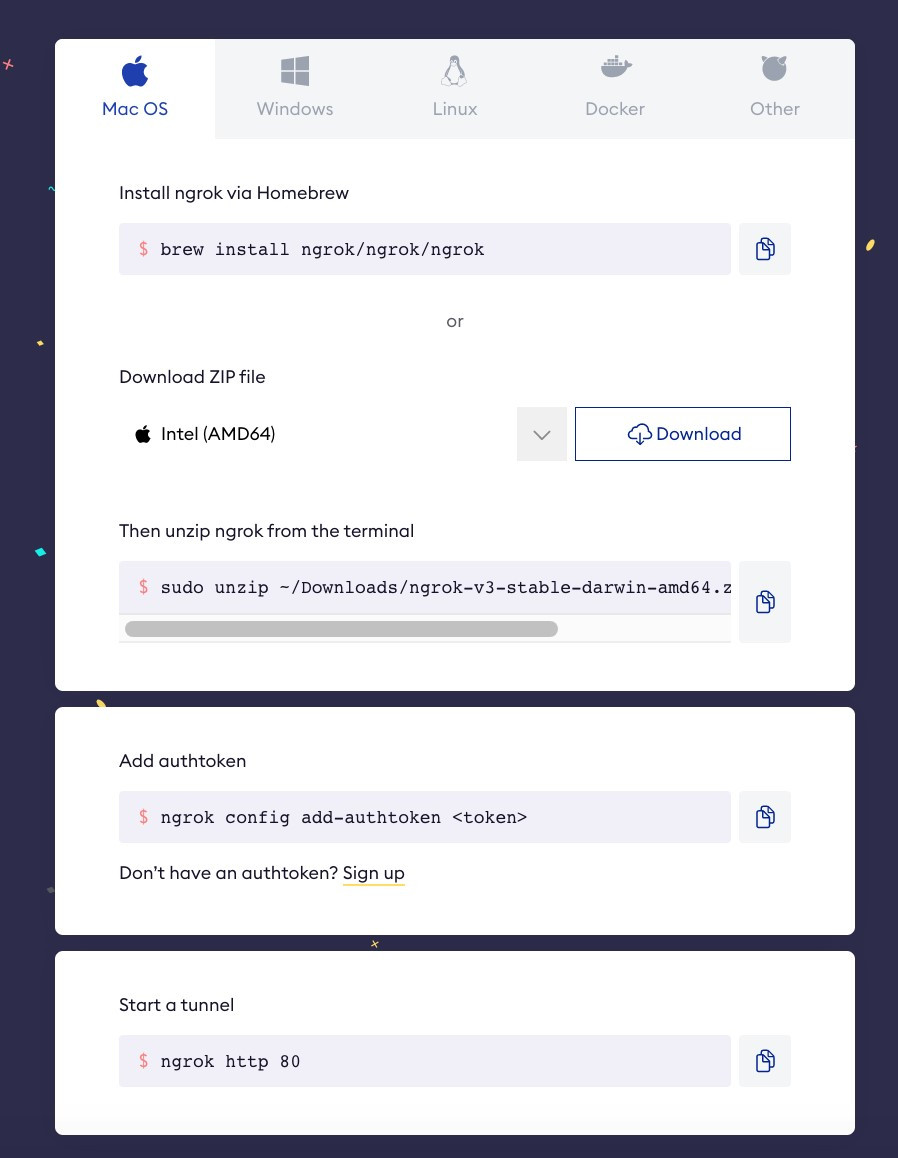
Then, unzip the .exe. Remenber, don’t forget to register (can use google account) the ngrok for your authority token. Next, you can enable the ngrok terminal.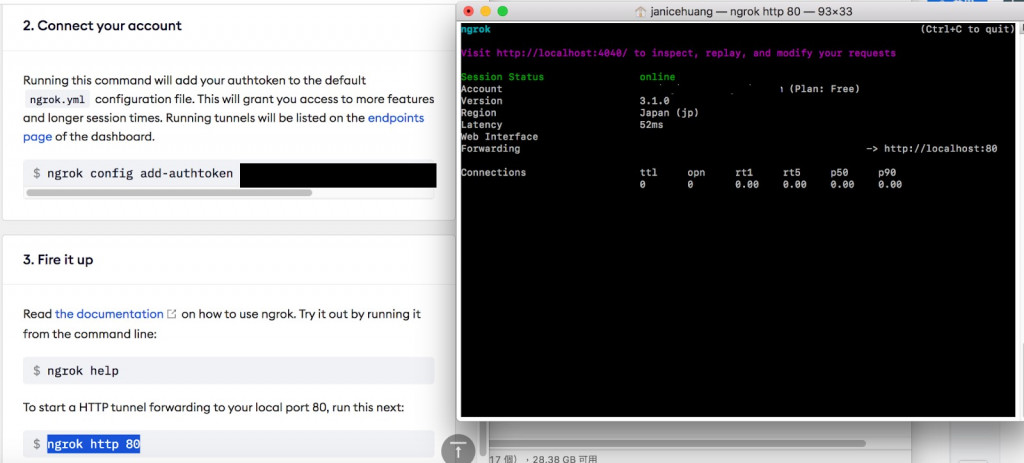
Copy the ngrok.exe to your Pycharm project’s folder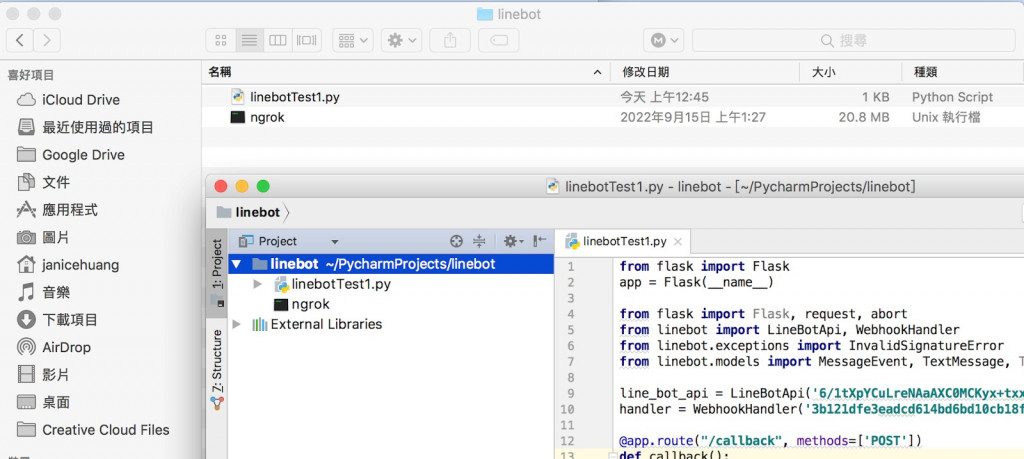
Open a new Terminal > cd to the folder path of “linebotTest1.py” > type python linebotTest1.py. Don’t forget to press the “Stop” buttom from Python, otherwise it will shows the error as below.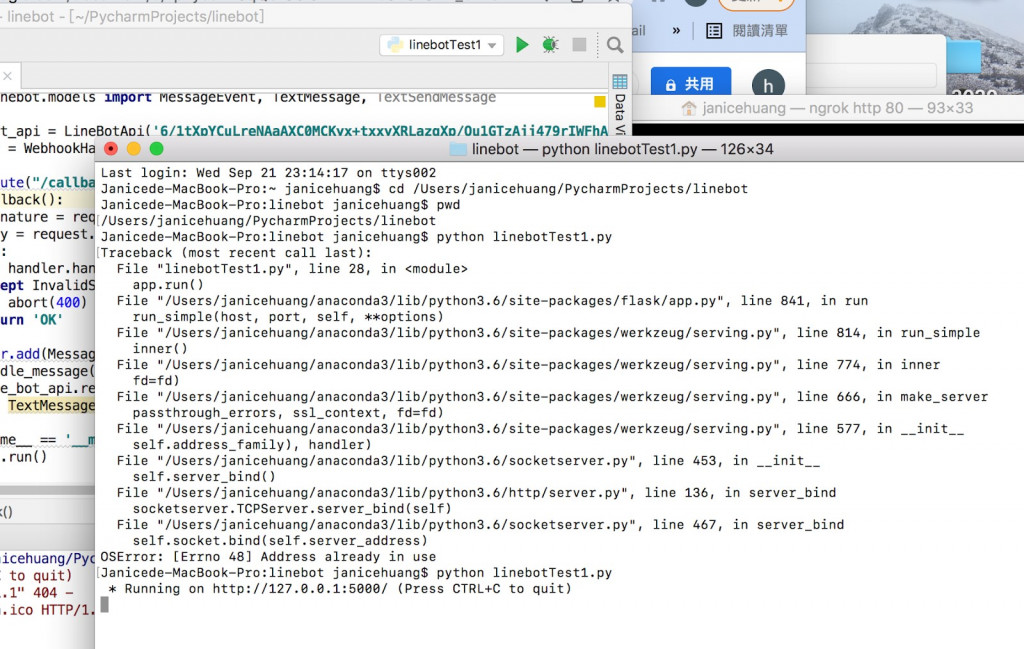
The default setting for Flask PORT is “500”.
Open a new terminal > cd to the folder path of “linebotTest1.py” > type ngrok http 5000 to enable ngrok server. (p.s. Don’t forget to close the previous’ ngrok terminal, otherwise it will retuurn the error code)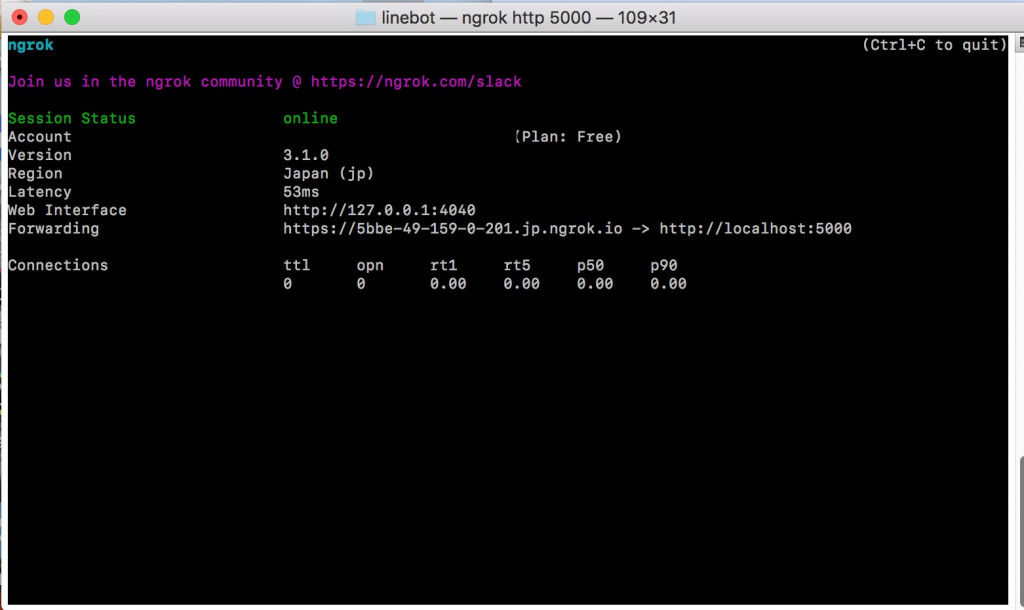
After complete the connection of ngrok server. We have to set the Line Bot’s Webhook URL as ngrok server, which is the server adderess of “https” . Then the Line Bot can automatically return the same message from the user.
Open Line Bot “Messsaging API” > Click Webhook URL “Edit”
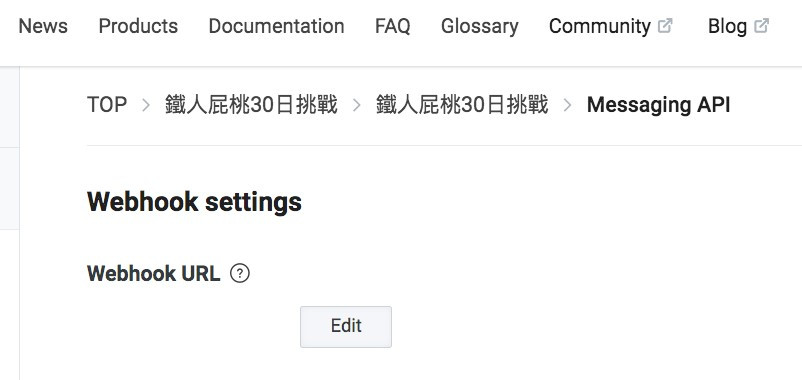
Enter “ https://5bbe-49-159-0-201.jp.ngrok.io/callback” in Webhook URL. (The Forwarding part of Ngrok + “/callback”. Last, Click “Update” and Click the “Use webhook” as “Enable”. Then it’s Done !
每當 Ngrok伺服器重新啟動後,網址會改變,所以每次重新啟動 Ngrok 伺服器的時候,就必須要到 Line Bot設定頁面修改 Webhook URL的部分~ (有機會/時間的話~我在考慮部署到雲端哈哈, 就不用改了)
可以在Line 對話框做測試, 結果如下圖~