Biometric可進行指紋認證的功能,而官方也有提供關於此的一些方法,整體用法我覺得跟之前的Fingerprint蠻相似的,都是去產生一個Dialog視窗讓你透過手機的掃描器來進行指紋辨識的認證,另外如果對指紋辨識這些感興趣的,也可以看看有關Fido2的文獻或範例,那麼現在先加入今天需要的Biometric依賴到gradle中。
implementation 'androidx.biometric:biometric:1.1.0'
今天建的生物辨識視窗相對簡易,主要會由三大部分組成:
指紋辨識窗的設定BiometricPrompt.PromptInfo prompt=new BiometricPrompt.PromptInfo.Builder()
.setTitle("")//設定視窗標題
.setSubtitle("")//設定視窗副標題
.setNegativeButtonText("")//設定返回按鈕文字
.build();
BiometricPrompt開啟認證、並回傳認證是否成功
BiometricPrompt biometricPrompt=new BiometricPrompt(this, ContextCompat.getMainExecutor(this),
new BiometricPrompt.AuthenticationCallback() {
@Override
public void onAuthenticationError(int errorCode, @NonNull CharSequence errString) {
super.onAuthenticationError(errorCode, errString);
//當發生Error...(按了返回按鈕也是進這邊)
}
              @Override
              public void onAuthenticationSucceeded(@NonNull BiometricPrompt.AuthenticationResult result) {
                  super.onAuthenticationSucceeded(result);
                  //當驗證成功...
              }

              @Override
              public void onAuthenticationFailed() {
                  super.onAuthenticationFailed();
                  //當驗證失敗...
              }
          });
``
可判斷此裝置支援什麼驗證
//滿足3類生物識別
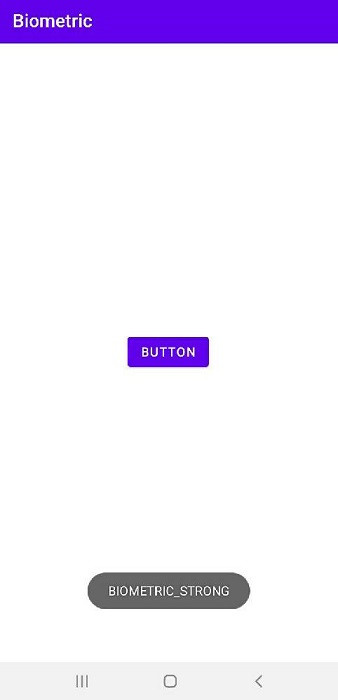
if(manager.canAuthenticate(BiometricManager.Authenticators.BIOMETRIC_STRONG)==
BiometricManager.BIOMETRIC_SUCCESS){
Toast.makeText(this,"BIOMETRIC_STRONG",Toast.LENGTH_SHORT).show();
}
//滿足2類生物識別
else if(manager.canAuthenticate(BiometricManager.Authenticators.BIOMETRIC_WEAK)==
BiometricManager.BIOMETRIC_SUCCESS){
Toast.makeText(this,"BIOMETRIC_WEAK",Toast.LENGTH_SHORT).show();
}
//裝置可進行非生物辨識的認證(PIN、圖案、密碼)
else if(manager.canAuthenticate(BiometricManager.Authenticators.DEVICE_CREDENTIAL)==
BiometricManager.BIOMETRIC_SUCCESS){
Toast.makeText(this,"DEVICE_CREDENTIAL",Toast.LENGTH_SHORT).show();
}
else{
Toast.makeText(this,"此裝置無法進行生物辨識",Toast.LENGTH_SHORT).show();
}
切記,一定要先去你的裝置先新增你的指紋,不然他讀不到喔!那麼直接進入到程式,今天就不放UI了(主要只放了一顆id為btn_biometric的Button)。
public class MainActivity extends AppCompatActivity {
//管控裝置支援什麼類型的認證
private BiometricManager manager;
//指紋辨識窗的設定
private BiometricPrompt.PromptInfo prompt;
//開啟認證、並回傳認證是否成功
private BiometricPrompt biometricPrompt;
private Button btn_biometric;
@Override
protected void onCreate(Bundle savedInstanceState) {
super.onCreate(savedInstanceState);
setContentView(R.layout.activity_main);
manager = BiometricManager.from(this);
btn_biometric=findViewById(R.id.btn_biometric);
prompt=new BiometricPrompt.PromptInfo.Builder()
.setTitle("指紋辨識")
.setSubtitle("請使用掃描器進行認證")
.setNegativeButtonText("取消認證")
.build();
biometricPrompt = new BiometricPrompt(this, ContextCompat.getMainExecutor(this),
new BiometricPrompt.AuthenticationCallback() {
@Override
public void onAuthenticationError(int errorCode, @NonNull CharSequence errString) {
super.onAuthenticationError(errorCode, errString);
Toast.makeText(getApplicationContext(),"Authen Error:"+errString, Toast.LENGTH_SHORT).show();
}
@Override
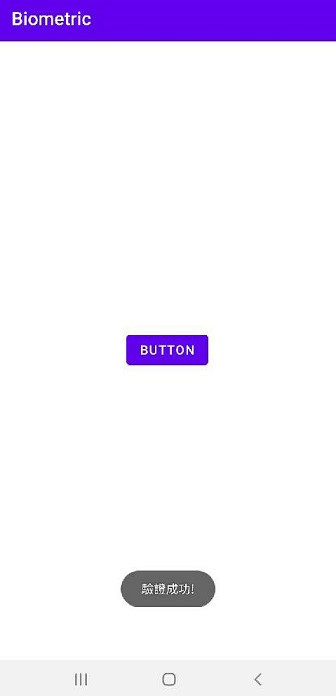
public void onAuthenticationSucceeded(@NonNull BiometricPrompt.AuthenticationResult result) {
super.onAuthenticationSucceeded(result);
Toast.makeText(getApplicationContext(), "驗證成功!", Toast.LENGTH_SHORT).show();
}
@Override
public void onAuthenticationFailed() {
super.onAuthenticationFailed();
Toast.makeText(getApplicationContext(),"Authen Failed",Toast.LENGTH_SHORT).show();
}
});
btn_biometric.setOnClickListener(view -> {
biometricPrompt.authenticate(prompt);//開始認證
});
//滿足3類生物識別
if(manager.canAuthenticate(BiometricManager.Authenticators.BIOMETRIC_STRONG)==
BiometricManager.BIOMETRIC_SUCCESS){
Toast.makeText(this,"BIOMETRIC_STRONG",Toast.LENGTH_SHORT).show();
}
//滿足2類生物識別
else if(manager.canAuthenticate(BiometricManager.Authenticators.BIOMETRIC_WEAK)==
BiometricManager.BIOMETRIC_SUCCESS){
Toast.makeText(this,"BIOMETRIC_WEAK",Toast.LENGTH_SHORT).show();
}
//裝置可進行非生物辨識的認證(PIN、圖案、密碼)
else if(manager.canAuthenticate(BiometricManager.Authenticators.DEVICE_CREDENTIAL)==
BiometricManager.BIOMETRIC_SUCCESS){
Toast.makeText(this,"DEVICE_CREDENTIAL",Toast.LENGTH_SHORT).show();
}
else{
Toast.makeText(this,"此裝置無法進行生物辨識",Toast.LENGTH_SHORT).show();
}
}
}


 iThome鐵人賽