首先我們先用 rails指令建立專案,進入 blog 資料夾後,可以看到有許多自動產生的檔案。接著可以用專案內的 bin/rails 指令(會幫忙引入一些專案內的設定)來將 server 跑起來測試一下。
如果都在虛擬機上面的話直接開瀏覽器打 localhost:3000 就能看到一個預設畫面,因為我使用 ssh 遠端連線到虛擬機裡面開發,想要讓外部也能連到 server 的話,要額外加上參數,IP 也要換成虛擬機的 IP。
rails new blog
cd blog
bin/rails server -b 0.0.0.0
接著我們來做一個文章的 Controller
bin/rails generate controller articles
修改一下 config/routes.rb,這是用來設定網址和頁面關係的地方,我們設定一種資源 articles
Rails.application.routes.draw do
  # Define your application routes per the DSL in https://guides.rubyonrails.org/routing.html

  # Defines the root path route ("/")
  resources :articles

  root "articles#index"
end
接下來用指令可以看到預設的資源和網址,接下來會照這邊來實作三個頁面。
$ bin/rails routes

      Prefix Verb   URI Pattern                   Controller#Action
    articles GET    /articles(.:format)           articles#index
             POST   /articles(.:format)           articles#create
 new_article GET    /articles/new(.:format)       articles#new
edit_article GET    /articles/:id/edit(.:format)  articles#edit
     article GET    /articles/:id(.:format)       articles#show
             PATCH  /articles/:id(.:format)       articles#update
             PUT    /articles/:id(.:format)       articles#update
             DELETE /articles/:id(.:format)       articles#destroy
        root GET    /
...
我們先在 article 的 controller 新增方法,
class ArticlesController < ApplicationController
    def new
    end
end
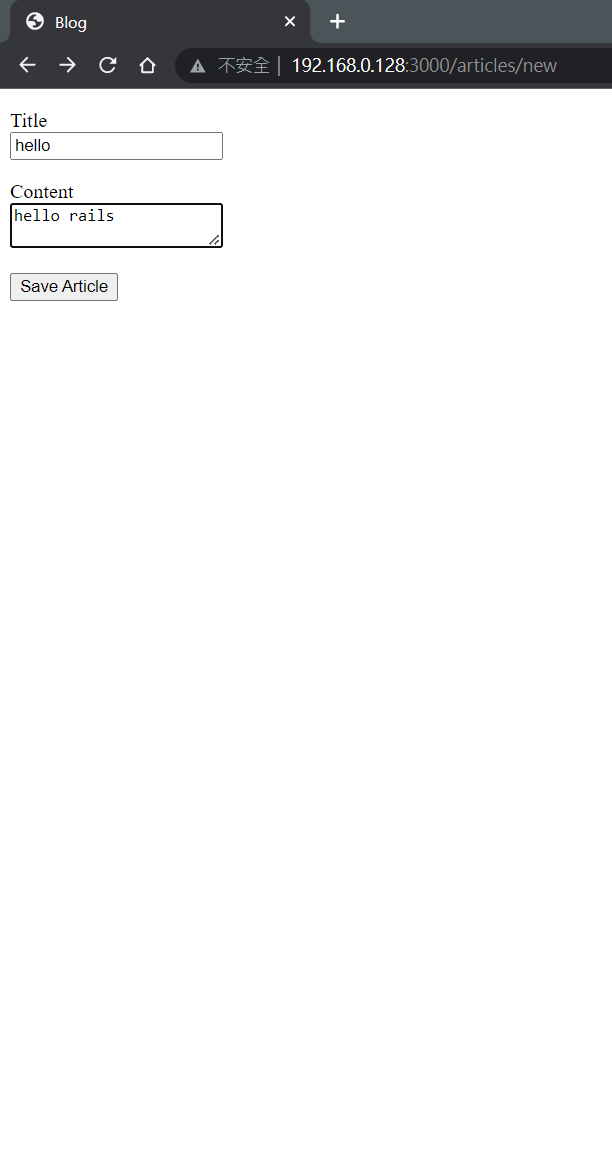
還有要寫一個新增文章的頁面,內容是一個可以新增文章的表單。
<%= form_for :article, url: aritcles_path do |f| %>
  <p>
    <%= f.label :title %><br>
    <%= f.text_field :title %>
  </p>

  <p>
    <%= f.label :content %><br>
    <%= f.text_area :content %>
  </p>

  <p>
    <%= f.submit %>
  </p>
<% end %>
這樣我們到 articles/new 頁面時,就可以看到畫面了。接下來我們要繼續做按下儲存文章時,會自動跳轉到新增好的文章頁面。
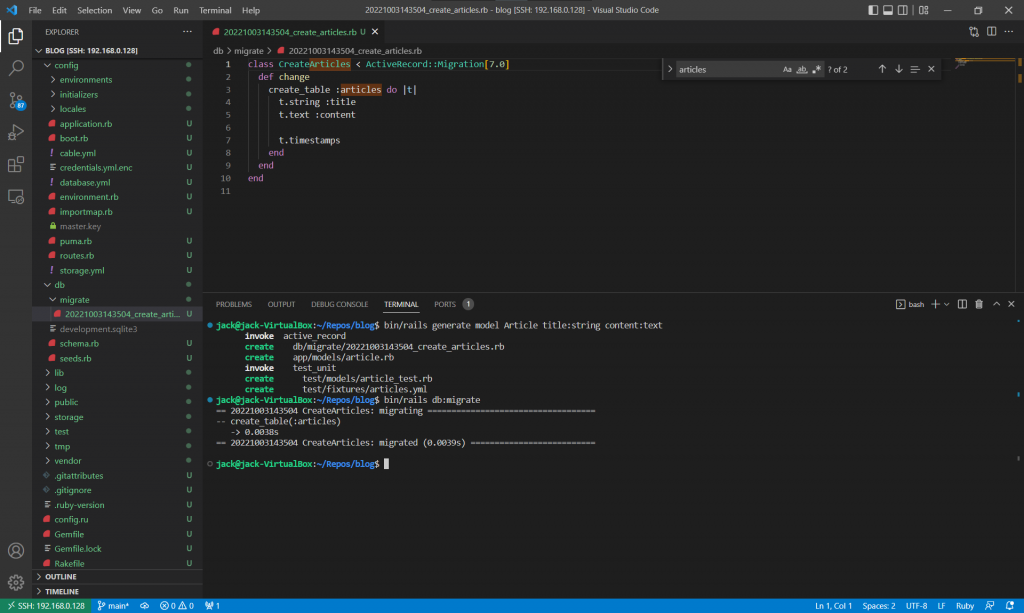
剛剛的設定只是能呈現畫面,但還沒辦法將資料存到資料庫,所以我們來設定一下資料庫,用 generate mode 來新增 Article 的定義,再用 db:migrate 來初始化一個資料庫。
bin/rails generate model Article title:string content:text
bin/rails db:migrate
接下來我們要寫新增文章後,要跳轉道的文章內容頁。同樣先在 Controller 中增加方法,
class ArticlesController < ActionController::Base
    def new
    end
    def create
        @article = Article.new(params.require(:article).permit(:title, :content))

        @article.save
        redirect_to @article
    end
    def show
        @article = Article.find(params[:id])
    end
end
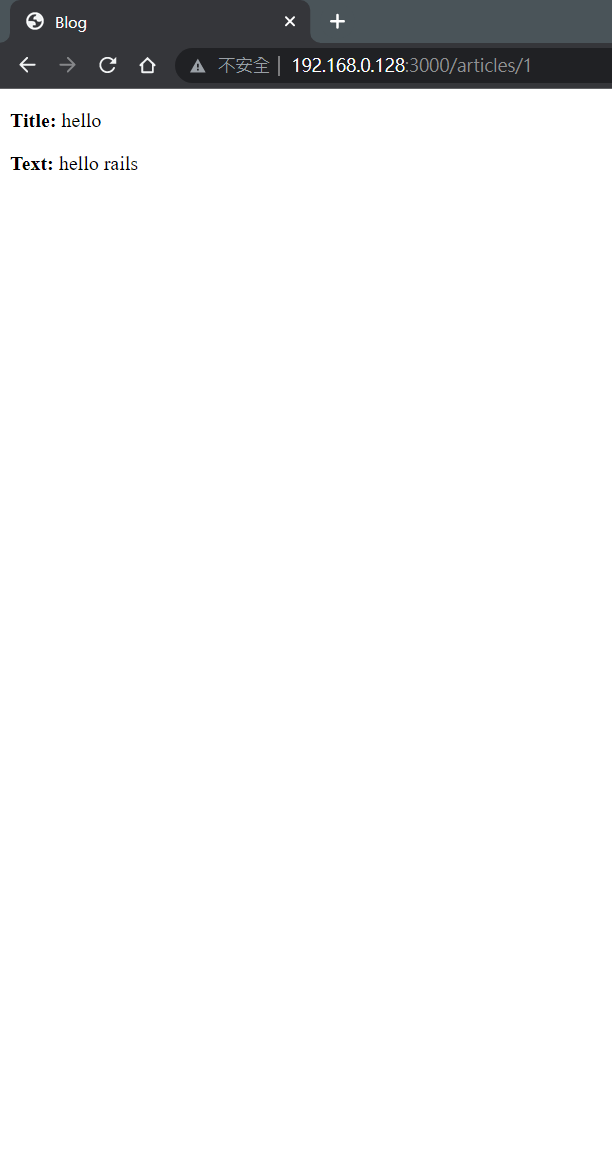
再來就是增加顯示單篇文章內容的畫面。
<p>
  <strong>Title:</strong>
  <%= @article.title %>
</p>

<p>
  <strong>Text:</strong>
  <%= @article.content%>
</p>
這樣我們就能在按下新增文章後,將文章存到資料庫,接下來跳轉到新增的文章頁,從資料庫中拉出那篇文章並顯示。
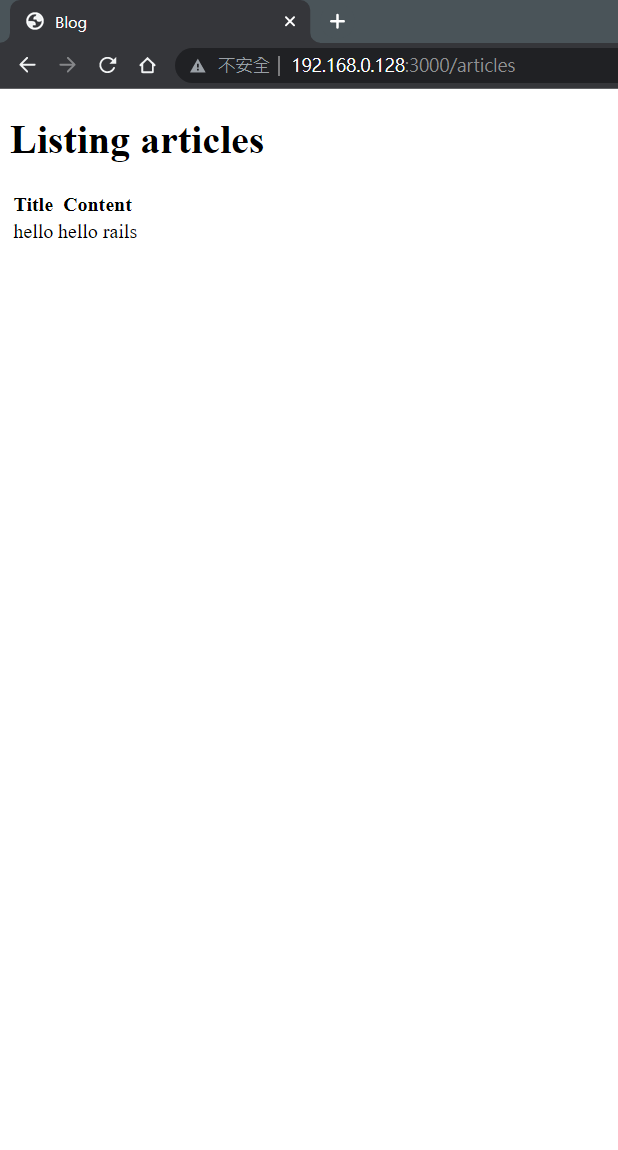
最後我們再寫一個可以列出所有文章的畫面。
<h1>Listing articles</h1>

<table>
  <tr>
    <th>Title</th>
    <th>Content</th>
  </tr>

  <% @articles.each do |article| %>
    <tr>
      <td><%= article.title %></td>
      <td><%= article.content %></td>
    </tr>
  <% end %>
</table>
今天突然做了一堆東西,接下來我們就一一來解釋每個細節吧。


 iThome鐵人賽