今天開始我們將會介紹來自微軟的 Azure Cutom Vision 雲端服務,這項雲端服務主要目的是提供影像分類(Classification)、物件辨識(Object Detect)功能,並且提供完整的資料處理、模型訓練相關工具平台,使用者只需要將資料圖片上傳至雲端平台,並透過雲端平台輔助完成圖片標籤、模型訓練,最後將此模型發布,即可透過 Azure Cutom Vision SDK、REST API 使用此模型,傳送圖片資料後 API 將會回傳辨識結果喔,真是非常的方便呢!
![]()
Azure 學生版提供 18 歲以上在學學生期限 12 個月 100 美金的 Azure 點數,不需要額外輸入信用卡就能註冊,點數用完帳戶會自動停用,若想繼續使用升級即可,建立必須要使用學術帳號才能順利驗證身分。
首先去到 Azure 官網取得 Azure 學生版帳戶
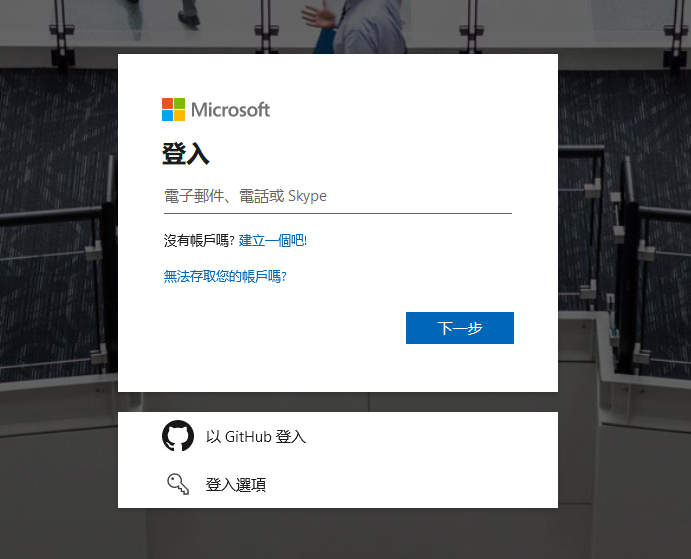
在這之前需要先登入 Microsoft 帳號,若沒有的話可先申請一支,也可用 Github 登入
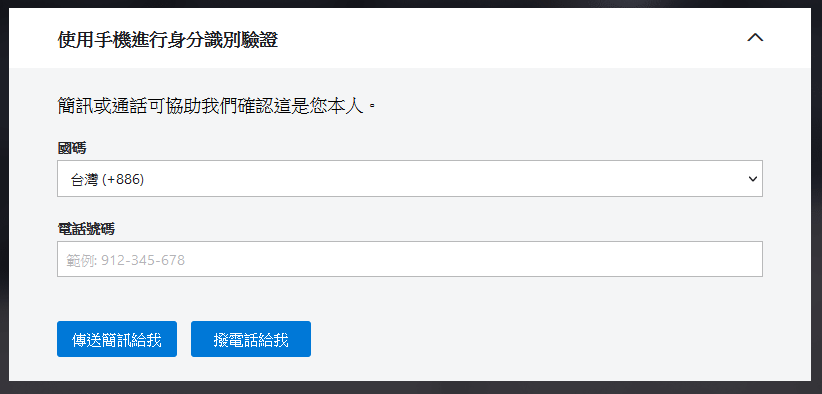
輸入手機號碼(台灣在比較上面)。
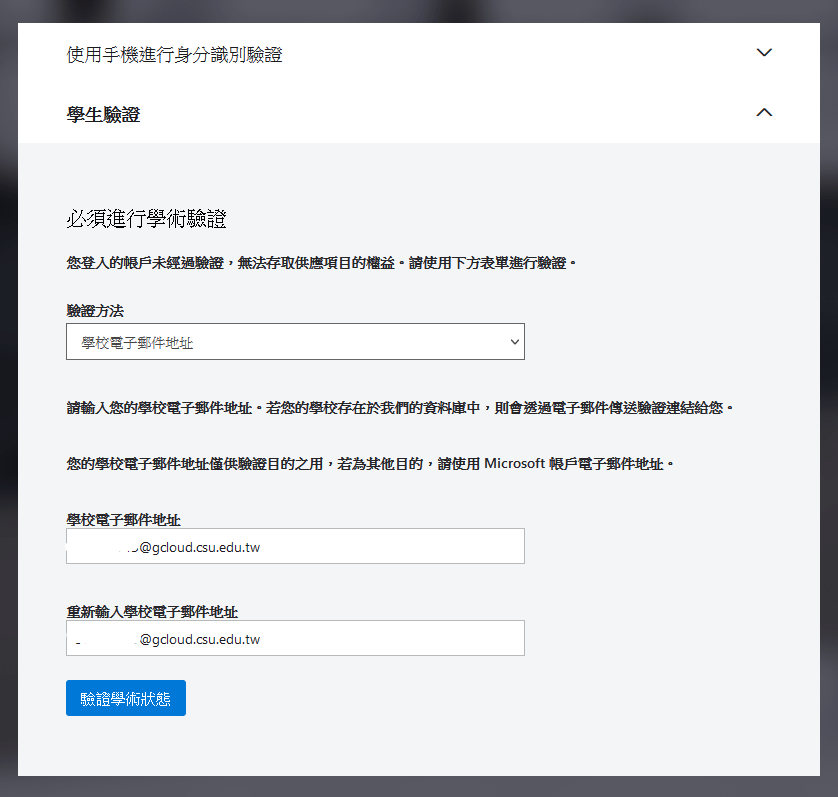
學生驗證:輸入學校電子郵件。
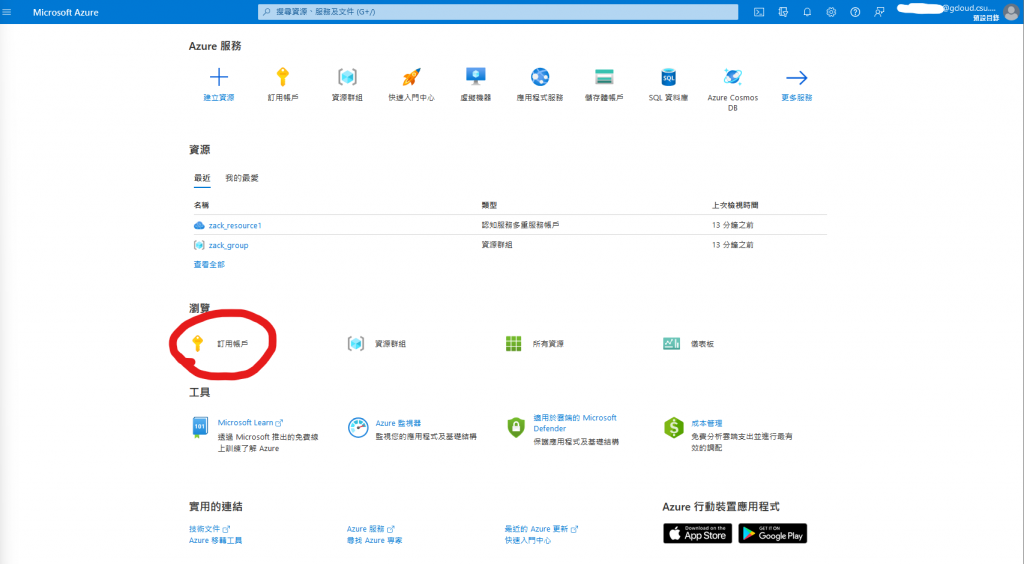
完成後我們進入 Azure Console 首頁,選擇定用帳戶,應該會看到有一個 Azure for Students,這樣就表示取得學生版成功摟~。
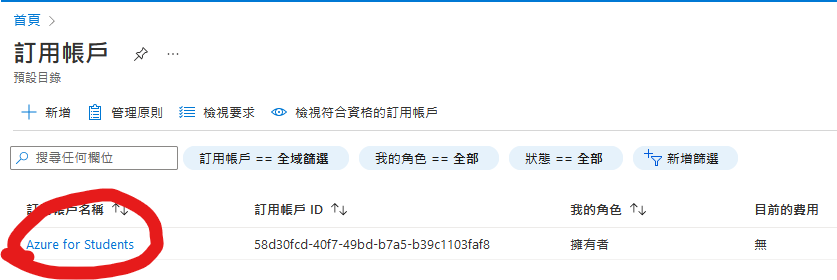
接著我們回到首頁建立資源,選擇建立資源。
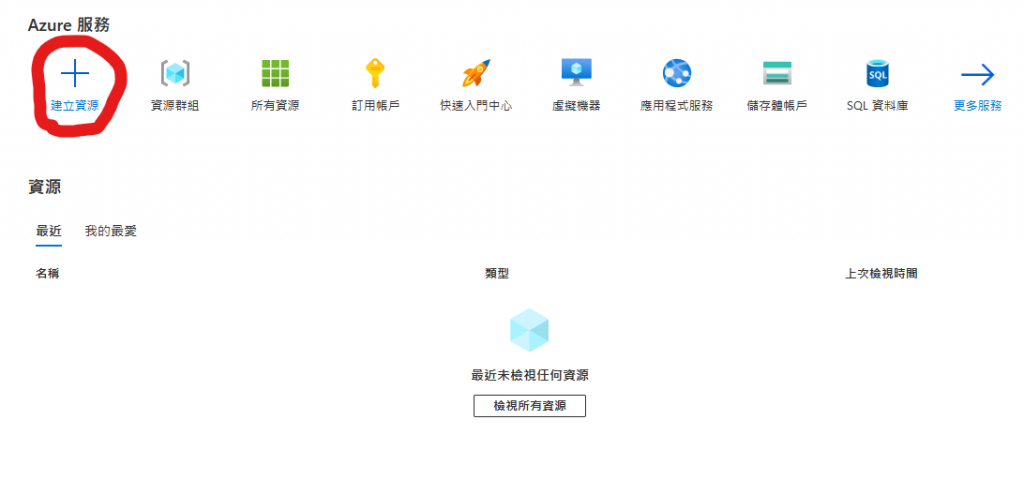
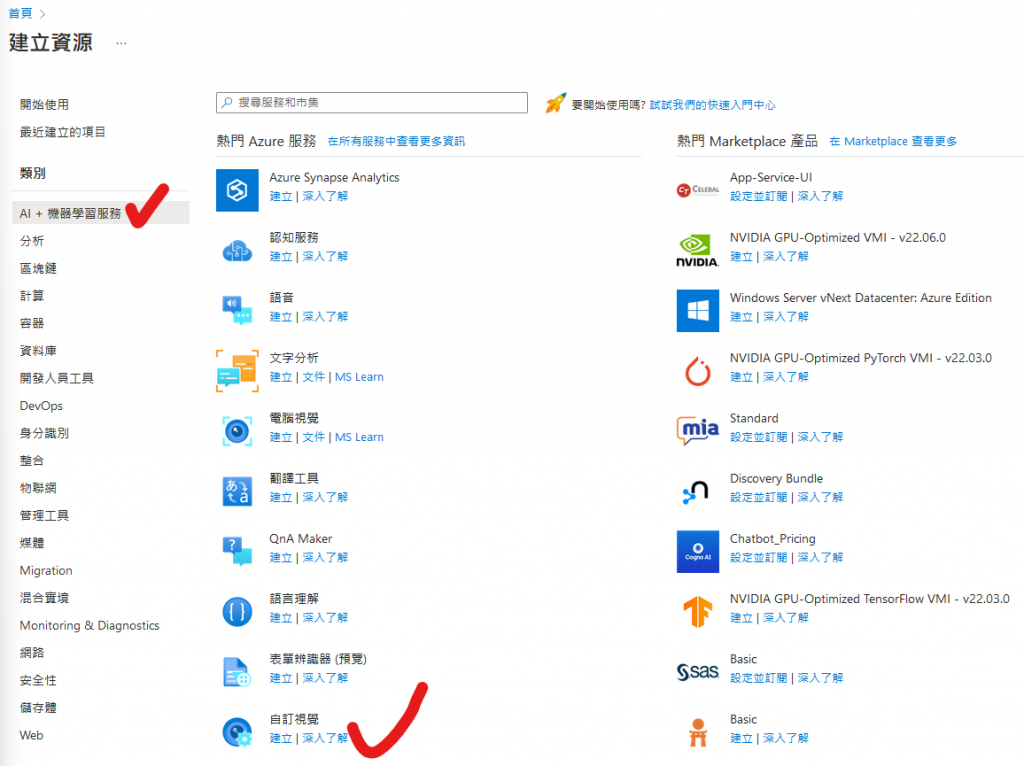
左側分類選擇 AI + 機器學習服務,選擇”自訂視覺”服務。
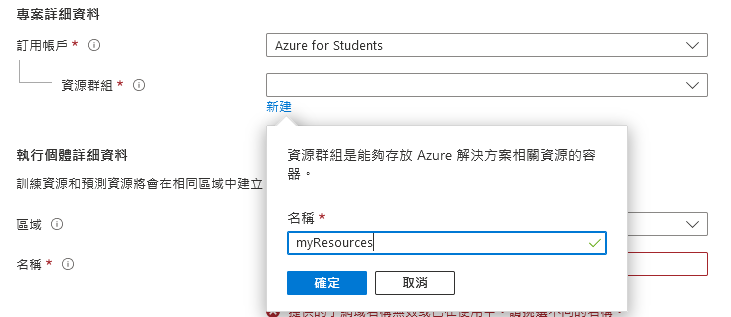
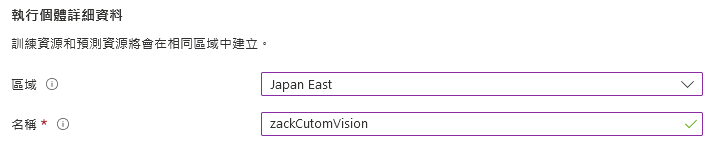


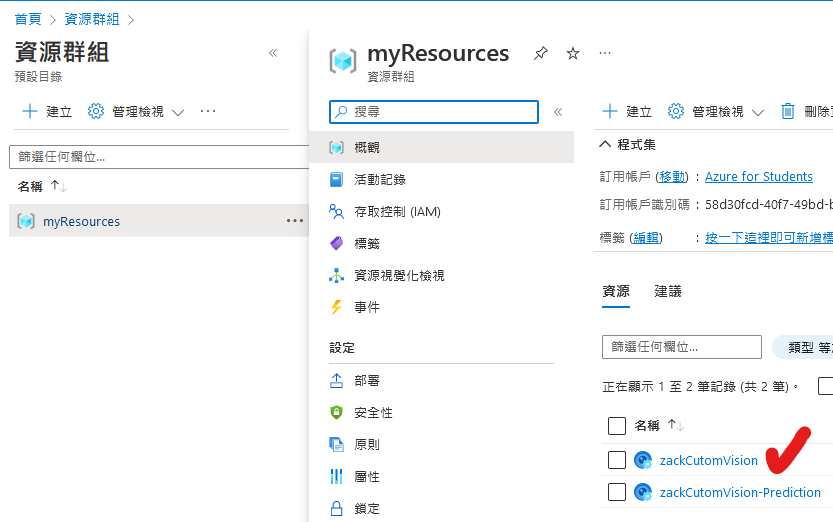
可直接從網址進入,或按照以下方式,選擇資源群組內的自訂視覺資源
選擇”自訂視覺入口網站”
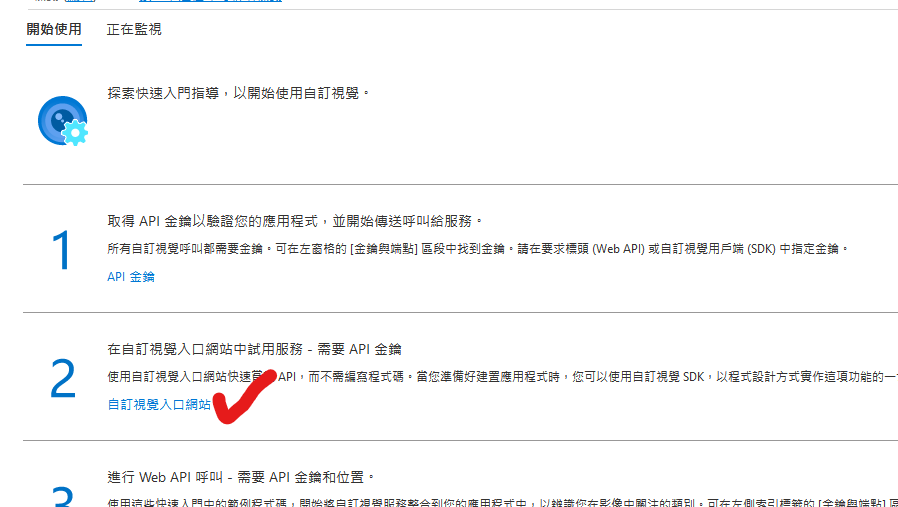
自訂視覺入口網站如下
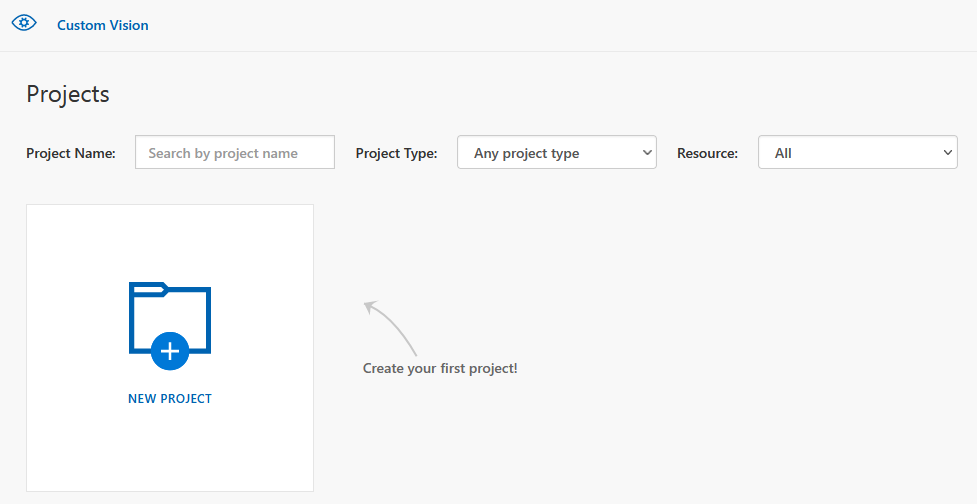
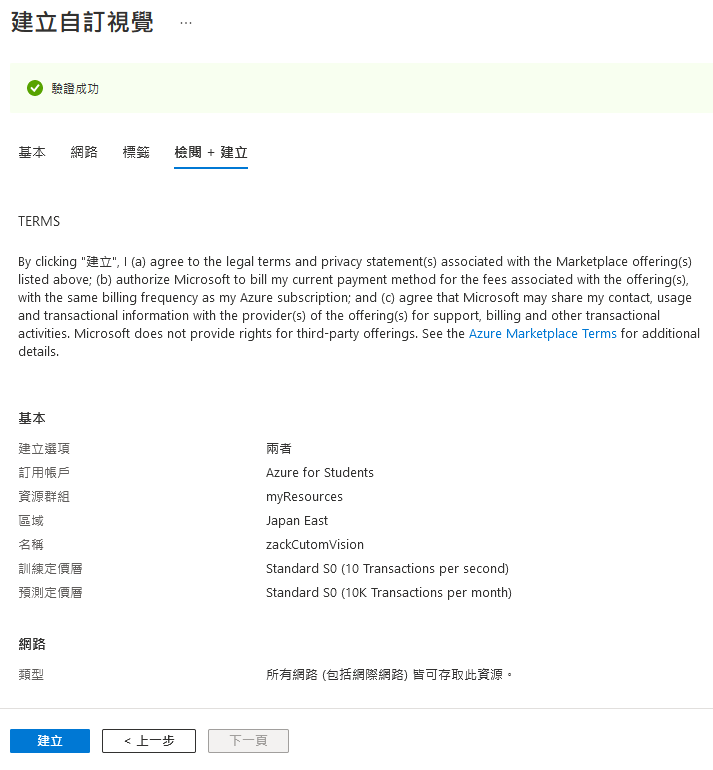
選擇 NEW PROJECT 建立新專案,輸入專案名稱、描述、選擇先前建立的資源,專案類型選擇影像分類(Classification),分類類型選擇 Multiclass,Domain 選擇 General[A2]。

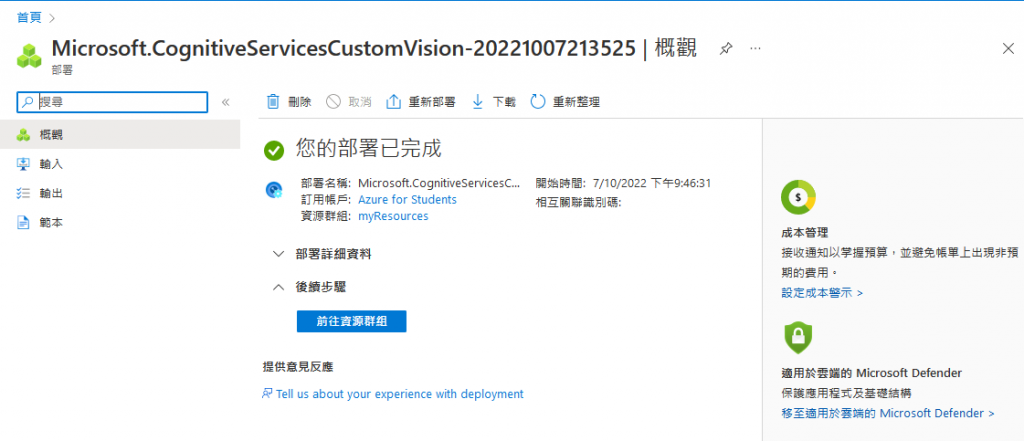
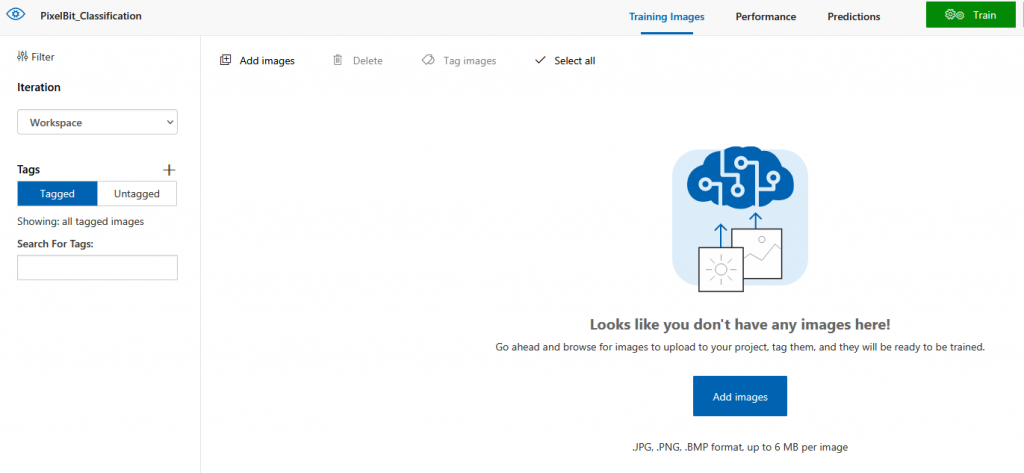
專案建立完成
今天稍微花點時間註冊帳號與建立專案,沒錯!剛開始用 Azure 其實會覺得稍微有點麻煩,有些小步驟需要注意,不過常用就能理解需要這些步驟的原因,明天我們將會開始訓練影像分類模型,我們明天見。