每天的專案會同步到 github 上,可以前往 這個網址 如果對於專案有興趣或是想討論一些問題,歡迎留言 OR 來信討論,信箱為:nickchen1998@gmail.com
今天我們要來介紹如何設定在 GitLab 上的 yaml 檔案,讓 GitLab 可以替我們進行自動化測試以及部屬
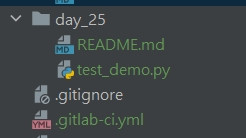
在整個專案的 "最外層" 建立 .gitlab-ci.yml 檔
於 day_25 內新增 test_demo.py 用來存放測試案例
直接將工作名稱寫在最外層,並於其下一層利用 stage 表示此工作階段的名稱
execute-test:
  stage: test
將要執行的指令依序寫在 scripts 後方
execute-test:
  stage: test
  script:
    - pip3 install pytest
    - pytest -s -v ./day_25/test_demo.py
最後利用 tag 指定我們要執行這個任務的 runner (昨天文章有提到該如何建立 runner)
execute-test:
stage: test
script:
  - pip3 install pytest
  - pytest -s -v ./day_25/test_demo.py
tags:
  - nickchen1998_ithelp_2022_marathon
透過設定 stage 可以來管理我們要執行哪個部份的腳本
透過下面這段程式碼,我們就成功設定執行所有 stage 為 test 的任務了
stages:
  - test

execute-test:
  stage: test
  script:
    - pip3 install pytest
    - pytest -s -v ./day_25/test_demo.py
  tags:
    - nickchen1998_ithelp_2022_marathon
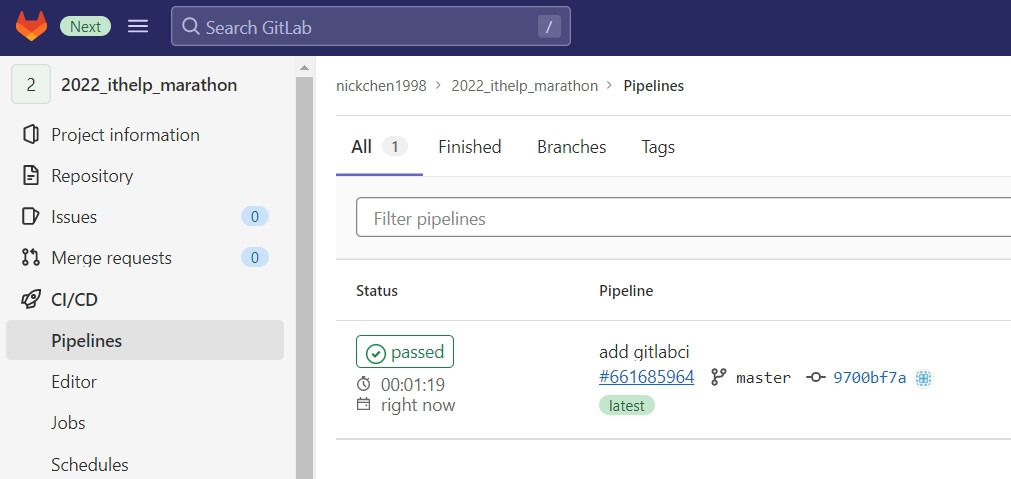
將整份專案連同 .gitlab-ci.yml 一起 push 到 GitLab 上
可以看到下圖中 GitLab 順利為我們生成一條 CI pipline
點進去後可以看到他替我們生成了 test 這個 stage 並且生成了一個名為 execute-test 的任務
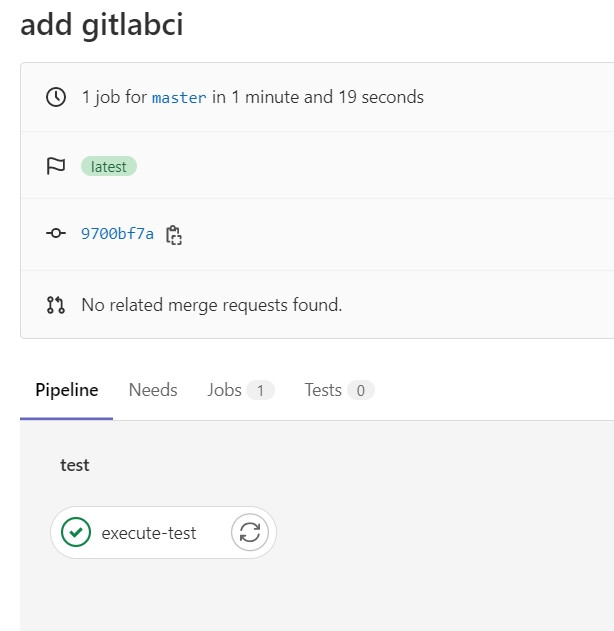
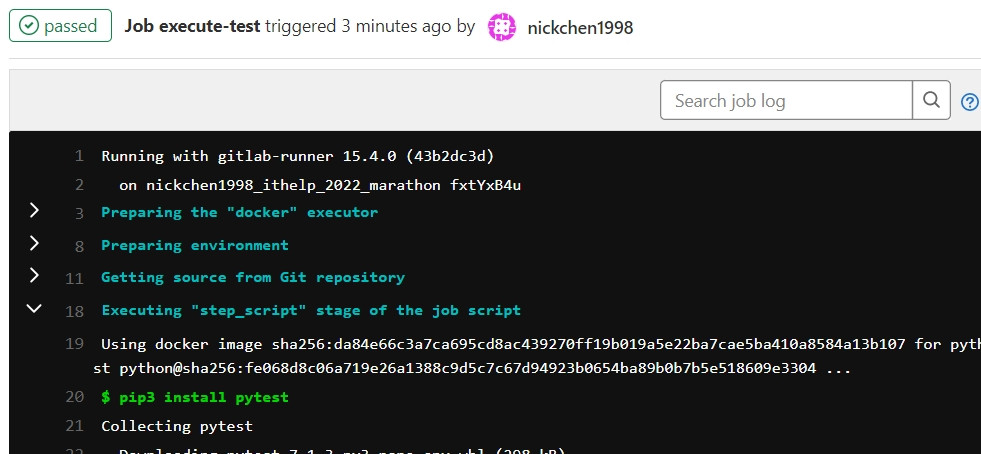
點選想查看的任務即可跳轉至任務執行時詳細的 log
今天我們介紹了如何編寫 GitLab 的 yaml 來替我們執行 CI/CD,明天我們會介紹該如何在 GitLab 上進行 Selenium 與前端的測試