iT邦幫忙

2022 iThome 鐵人賽

DAY 30
0
Modern Web

30天全端網頁學習之旅系列 第 30

範例練習(上架網頁)

  • 分享至 

  • xImage
  •  

在做好動態網頁後,我們可以透過HeroKu來上架你的作品,讓大家欣賞你的成果吧!

創建項目

進入HeroKu註冊帳戶

按右上角的Create new app
https://ithelp.ithome.com.tw/upload/images/20221013/20152607iWc4VOLQEA.png

照著Deploy輸入指令
https://ithelp.ithome.com.tw/upload/images/20221013/20152607DO1JKC7w97.png
下載Heroku CLI

heroku login

檔案設定

client

在client資料夾中輸入只令

npm run build

現在client最上方會有build資料夾
https://ithelp.ithome.com.tw/upload/images/20221013/20152607qaYXzpCEbe.png
將auth.service.js中的API_URL更改成

const API_URL = "https://你的heroku app名.herokuapp.com/api/contact";

sample

在sample的package.json中的scripts更改如下

"scripts": {
    "test": "echo \"Error: no test specified\" && exit 1",
    "build": "cd client && npm run build",
    "install-client": "cd client && npm install",
    "heroku-postbuild": "npm run install-client && npm run build",
    "start": "node index.js",
    "client": "cd client && npm start"
  },

創建.gitignore檔

node_modules/

上架網頁

將資料夾路徑設到sample,一樣輸入deploy後續指令
https://ithelp.ithome.com.tw/upload/images/20221013/20152607ruV1SV2ROv.png

git init
heroku git:remote -a 你的deploy上名稱
git add .
git commit -m "init"
git push heroku master

這樣就可以在heroku上查到你上架的網址囉

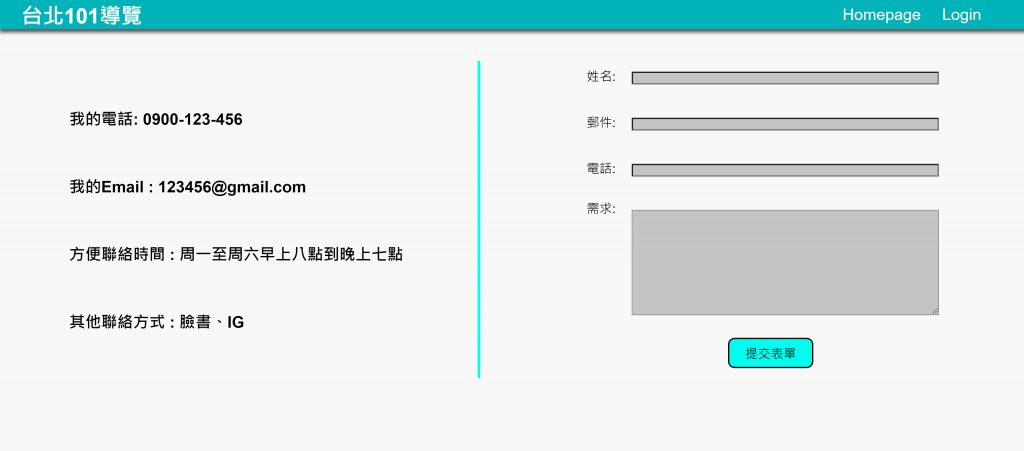
https://ithelp.ithome.com.tw/upload/images/20221013/20152607KVtmQ8UaNw.png
https://ithelp.ithome.com.tw/upload/images/20221013/20152607UbQiIXUwO4.png
https://ithelp.ithome.com.tw/upload/images/20221013/20152607N7pYPhS7PV.png
https://ithelp.ithome.com.tw/upload/images/20221013/20152607kzFBk4Aa1P.png


上一篇
範例練習(前端)
系列文
30天全端網頁學習之旅30
圖片
  直播研討會
圖片
{{ item.channelVendor }} {{ item.webinarstarted }} |
{{ formatDate(item.duration) }}
直播中

尚未有邦友留言

立即登入留言