最後一個單元要來介紹如何匯出專案,也就是產生出可以部署在網站上的檔案。首先回到 package.json,有一個指令是 build:
"scripts": {
  "serve": "vue-cli-service serve",
  "build": "vue-cli-service build",
  "lint": "vue-cli-service lint"
},
這個 build 對應到 vue-cli-service build,表示使用 Vue3 的 CLI 工具來產生檔案,所以開啟終端機,並且在專案的目錄下,輸入:
npm run build
就會開始自動產生檔案,如果產生過程沒問題,可以看到以下結果:
 DONE  Build complete. The dist directory is ready to be deployed.
 INFO  Check out deployment instructions at https://cli.vuejs.org/guide/deployment.html
看到以上的內容,就表示檔案產生完畢,回到專案目錄會發現多了 dist 資料夾:
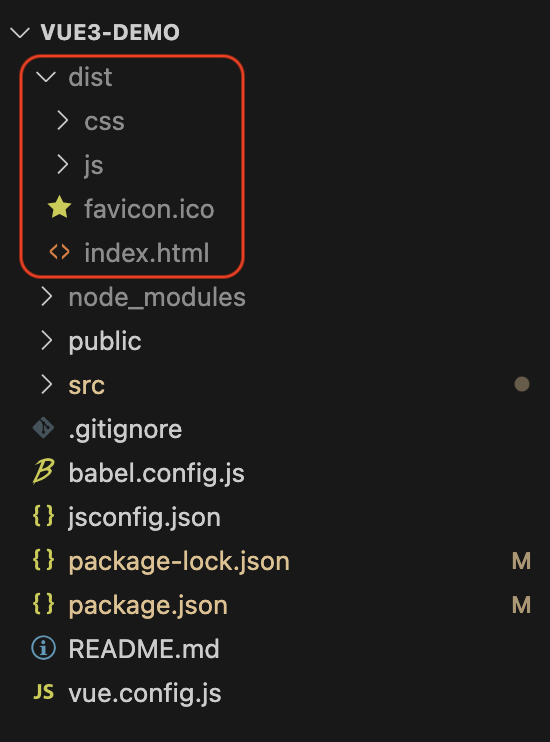
直接開啟 dist 資料夾的所在位置:

這個 index.html 就是整個專案的首頁,但是用瀏覽器開啟 index.html,會發現呈現一片空白:
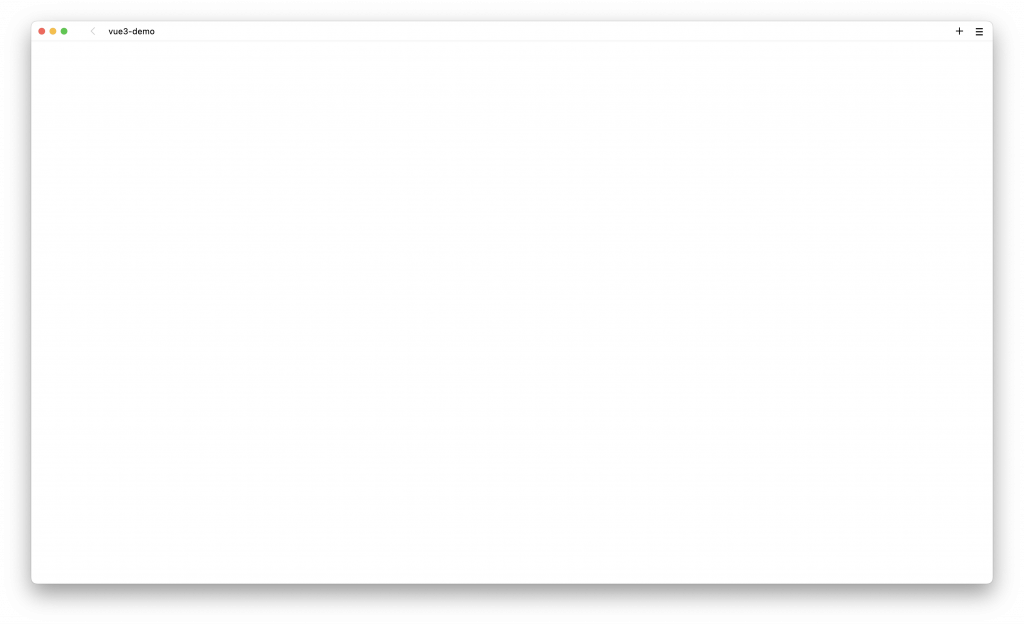
使用 npm run build ,在 /dist 資料夾直接開啟 index.html 會有空白的問題,可以用下面這個方法解決,修改 vue.config.js:
const { defineConfig } = require('@vue/cli-service')
module.exports = defineConfig({
  transpileDependencies: true,
  publicPath: './'
})
新增 publicPath: './' 這一行。
然後開啟 /router/index.js,修改:
import { createRouter, createWebHashHistory } from 'vue-router'

const routes = [
  {
    path: '/',
    name: 'home',
    component: () => import('../views/HomeView.vue')
  },
  {
    path: '/about',
    name: 'about',
    component: () => import('../views/AboutView.vue')
  }
]

const router = createRouter({
  history: createWebHashHistory(),
  routes
})

export default router
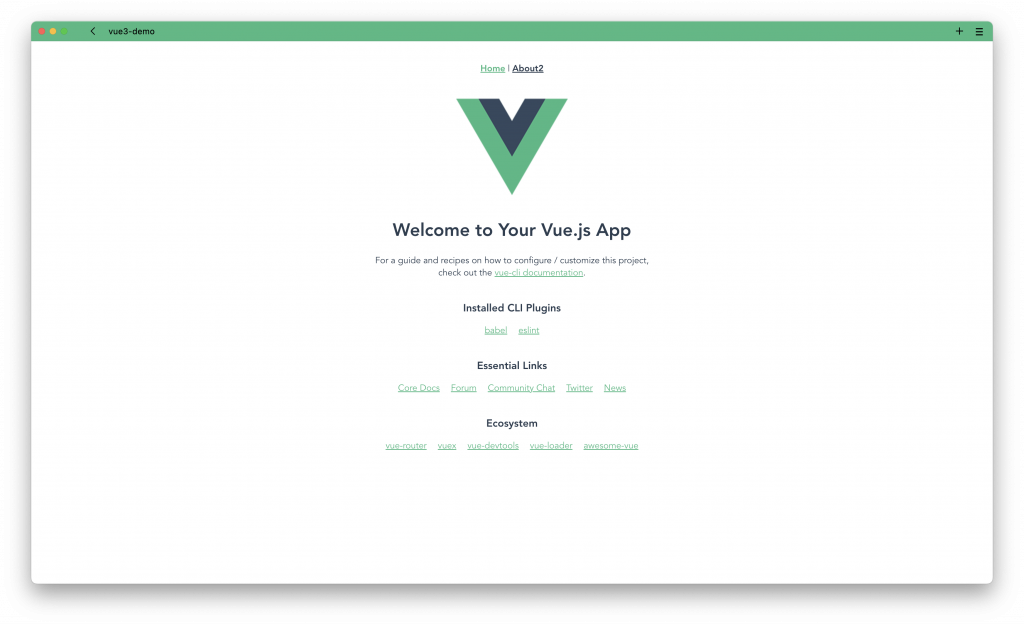
修改為 history: createWebHashHistory()。
再度重新執行 npm run build,重新產生檔案後,在 /dist 資料夾直接用瀏覽器開啟 index.html,首頁就會出現了:
至此
Vue3 - 從零開始學 30 天之旅結束拉!
首先先回顧一下這 30 天的內容:
專案建立:
Vue3 - 從零開始學 - Day1 - 建立專案
Vue3 - 從零開始學 - Day2 - 專案結構
Hello World 基本語法:
Vue3 - 從零開始學 - Day3 - Hello World
Vue3 - 從零開始學 - Day4 - if 判斷式
Vue3 - 從零開始學 - Day5 - 迴圈
Vue3 - 從零開始學 - Day6 - 函式
Vue3 - 從零開始學 - Day7 - Demo
表單處理:
Vue3 - 從零開始學 - Day8 - 表單 input
Vue3 - 從零開始學 - Day9 - 表單常用欄位
Vue3 - 從零開始學 - Day10 - 表單 submit
變數監聽:
Vue3 - 從零開始學 - Day11 - computed
Vue3 - 從零開始學 - Day12 - 監聽
元件:
Vue3 - 從零開始學 - Day13 - 元件
Vue3 - 從零開始學 - Day14 - 元件傳入參數
Vue3 - 從零開始學 - Day15 - 元件數值傳出
Vue3 - 從零開始學 - Day16 - 元件更新
Vue3 - 從零開始學 - Day17 - 元件 slot
Vue3 - 從零開始學 - Day18 - 製作 Tab 瀏覽
生命週期與模組:
Vue3 - 從零開始學 - Day19 - 生命週期
Vue3 - 從零開始學 - Day20 - 模組共用
Composition API:
Vue3 - 從零開始學 - Day21 - Composition
Vue3 - 從零開始學 - Day22 - Composition 函式
Vue3 - 從零開始學 - Day23 - Composition input
Vue3 - 從零開始學 - Day24 - Composition 監聽
Vue3 - 從零開始學 - Day25 - Composition 生命週期
Vue3 - 從零開始學 - Day26 - Composition 元件
Vue3 - 從零開始學 - Day27 - Composition 模組
路由:
Vue3 - 從零開始學 - Day28 - Route
Vue3 - 從零開始學 - Day29 - Route 參數傳遞
以及本文的專案發佈:
雖然稱不上什麼大作的文章,但也算是屬於自己的學習筆記,這真的是一種很棒的學習方式,邊學邊寫,然後分享。
那麼 Vue3 - 從零開始學 結束了嗎?
不了,這只是開始而已,在前端的世界還有更多挑戰等著我們去理解,例如呼叫 Server API,讀取 JSON 資料與傳輸資料,部署到 AWS S3 或者 Firebase。
希望未來還有機會用這樣的方式跟大家見面。
最後的最後,前端框架學習只是整個開發的一部分,必須還要搭配切版,這邊附上我的另外一個挑戰
歡迎有興趣的朋友可以去逛逛。
恭喜自己完賽~!!
Vue3 - 從零開始學 - 本季[終]

