留言板需要兩個label、兩個text filed、兩個button、一個tableView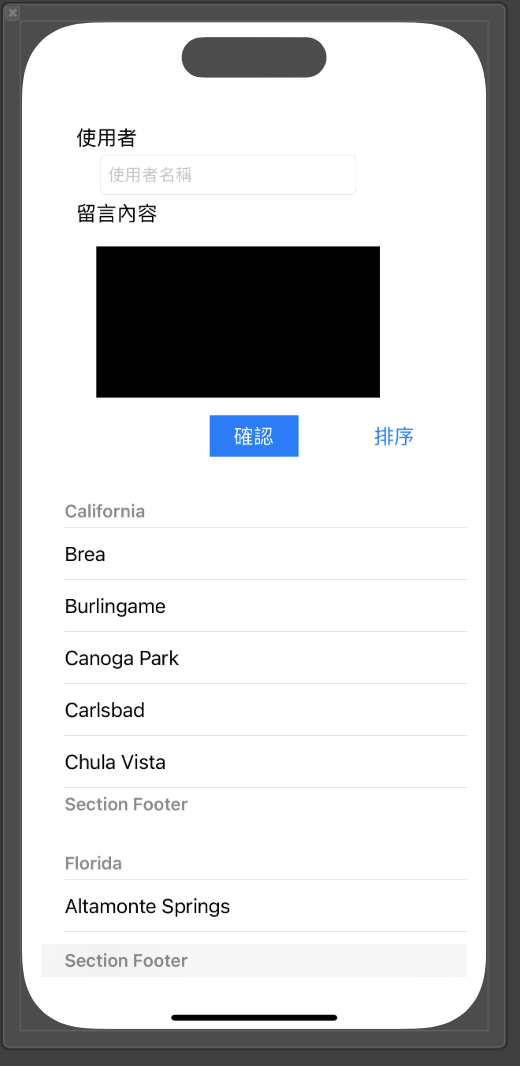
接下來先介紹tableView的用法
1.先去Cocoa touch Class檔,建立一個tabelViewCell檔,和其xib檔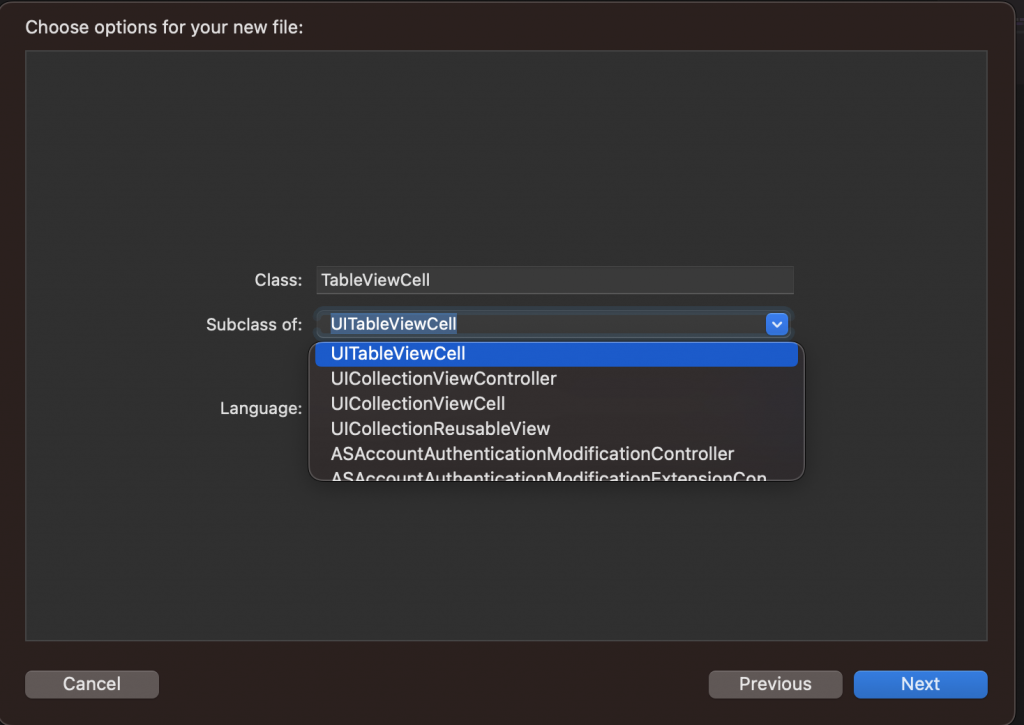
接下來在裡面先輸入 identifier 身份識別為哪裡
static let identifier = "MainTableViewCell"
之後再建立所需的元件,並且宣告、命名完成
而留言板所需顯示的每行row裡需要顯示留言人和其內容
所以我們需要拉兩個label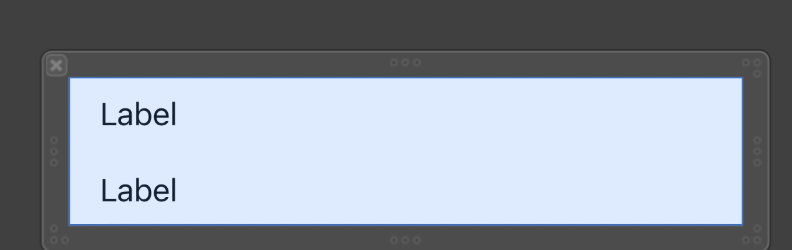
以上我們就完成了tableViewCell裡的部分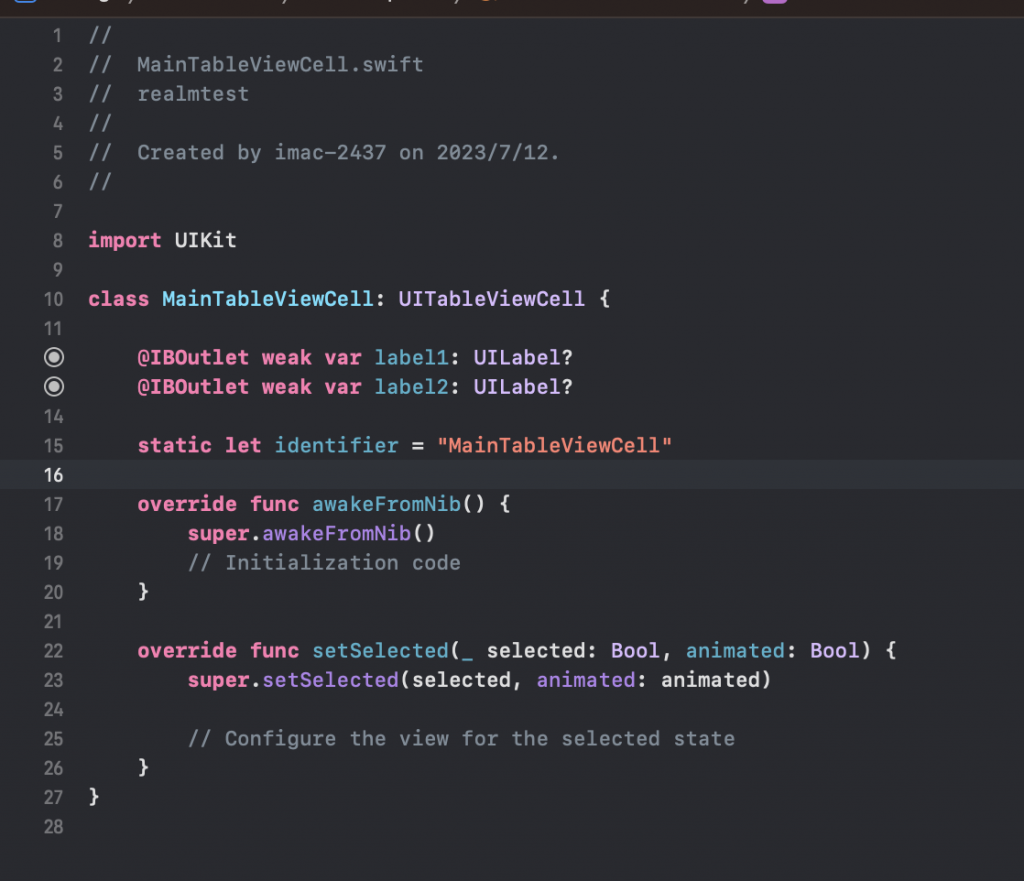
接下來我們回到ViewController裡
我們需要在我們需要在viewDidLoad裡註冊tableView.register
 tabelview?.register(UINib(nibName: "MainTableViewCell", bundle: nil),
                            forCellReuseIdentifier: MainTableViewCell.identifier)
        tabelview?.delegate = self
        tabelview?.dataSource = self
我們還需在class外面輸入一個extension
extension MainViewController: UITableViewDelegate, UITableViewDataSource {

    func tableView(_ tableView: UITableView, numberOfRowsInSection section: Int) -> Int{
        return 1
        //retrun 多少代表就要顯示幾個row
    }
    func tableView(_ tableView: UITableView, cellForRowAt indexPath: IndexPath) -> UITableViewCell {

        let cell = tabelview.dequeueReusableCell(withIdentifier:MainTableViewCell.identifier, for: indexPath) as! MainTableViewCell
        cell.label1?.text = "留言者"
        cell.label2?.text = "內容"
        return cell
    }
 }
以上最基本的tabelView用法就完成了