昨天我們根據官網的指示創建了一個快速入門的專案,但是如果每次都要這麼麻煩的複製貼上,那誰還要用啊!!
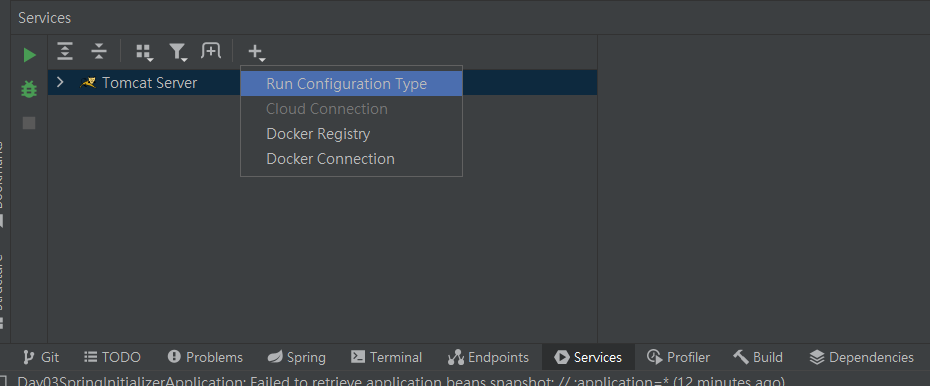
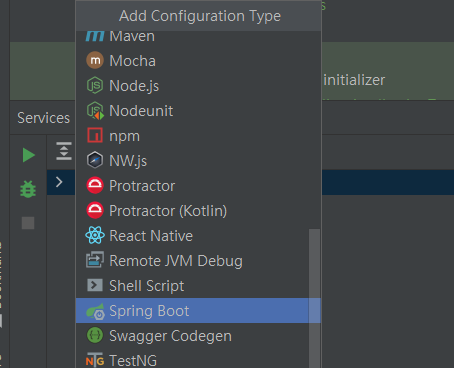
當然你想到的官方也想到了,Intellij也想到了,所以今天我們就將昨天做的再透過Spring Initializer再做一次吧!!
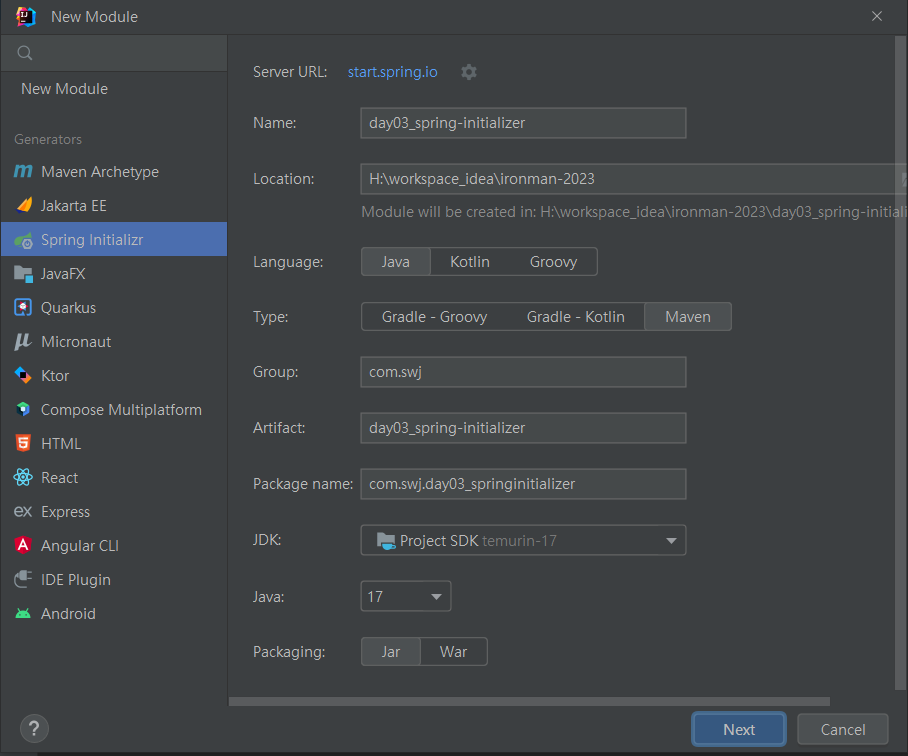
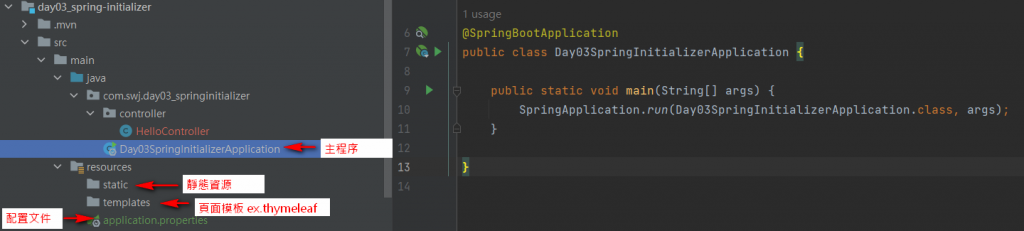
Spring Initializer整合官方各式各樣的功能任君挑選,這邊我們勾選Spring Web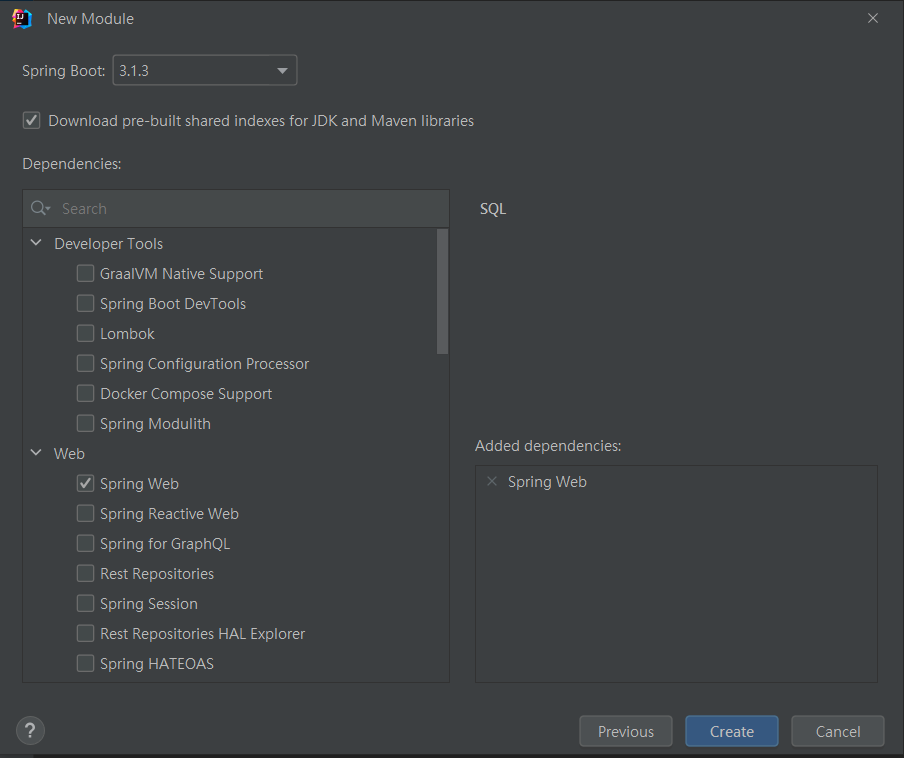
@RestController
public class HelloController {

    @RequestMapping("/hello")
    public String hello(){
        return "hello Spring  Initializer";
    }
}
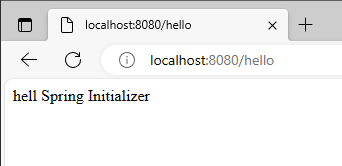
往後就可以直接點後方連結進入網站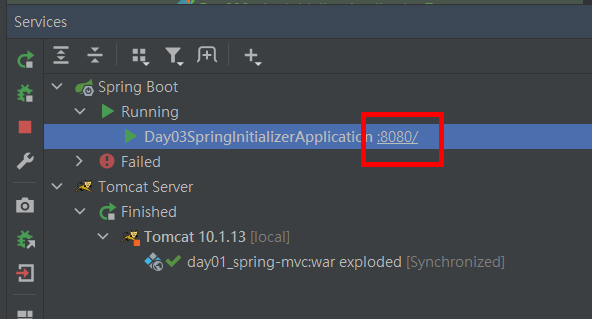
從Spring MVC手動配置專案,讓我們了解過往的痛點


 iThome鐵人賽