
在日益複雜的前端開發環境中,如何有效地組織和管理程式碼,已成為前端工程師不可迴避的課題。今天,我們將深入探討模組化開發的重要性,以及如何運用 React 的 context 和 useReducer 來管理和傳遞資料狀態。
模組化開發可以將大型程式碼拆分為小型、可重用的部分,從而實現以下好處:
context 為 React 提供了一個無需手動層層傳遞 props,就能在元件間共享資料的方法。而 useReducer 是一個能夠管理複雜狀態邏輯的 hook,尤其適用於那些涉及多個子值的狀態。
首先我們先新增一個 src 資料夾,並且在其底下新增兩個資料夾,分別為 store 和 components。
在這部分,我們要建立一個全局狀態管理。initialState 定義了我們的初始狀態,而 reducer 則為我們提供了根據不同的操作更新狀態的方法。
import { createContext, useReducer } from 'react'

const initialState = {
  inputText: '',
  todos: []
}

const reducer = (state, action) => {
  switch (action.type) {
    case 'SET_INPUT_TEXT':
      return {
        ...state,
        inputText: action.payload
      }
    case 'ADD_TODO':
      return {
        ...state,
        todos: [
          ...state.todos,
          {
            id: state.todos.length,
            text: action.payload,
            checked: false
          }
        ]
      }
    default:
      return state
  }
}

const Store = createContext(initialState)

const StoreProvider = ({ children }) => {
  const [state, dispatch] = useReducer(reducer, initialState)

  return (
    <Store.Provider value={{ state, dispatch }}>
      {children}
    </Store.Provider>
  )
}

export { Store, StoreProvider }
這裡,我們建立了一個 Head 元件,它從 context 中取得狀態和更新方法,然後根據輸入框的值更新或新增 todos。
import { useContext } from 'react'
import { Text, View, TextInput, TouchableOpacity, StyleSheet } from 'react-native'
import { Store } from '../store'

const Head = () => {
  const { state, dispatch } = useContext(Store)
  const { inputText, todos } = state

  const handleInputText = (text) => {
    dispatch({ type: 'SET_INPUT_TEXT', payload: text })
  }

  const handleAddItem = () => {
    dispatch({ type: 'ADD_TODO', payload: inputText })
  }

  return (
    <View style={styles.container}>
      <Text style={styles.title}>Todos</Text>
      <View style={styles.inputArea}>
        <TextInput
          value={inputText}
          placeholder='請輸入事項'
          onChangeText={handleInputText}
          style={styles.input}
        />
        <TouchableOpacity onPress={handleAddItem} style={styles.button}>
          <Text>新增</Text>
        </TouchableOpacity>
      </View>
    </View>
  )
}

const styles = StyleSheet.create({
  container: {
    alignItems: 'center'
  },
  title: {
    fontSize: 30,
    fontWeight: 500,
    alignSelf: 'flex-start',
    marginBottom: 10,
    color: '#eae6e6'
  },
  inputArea: {
    flexDirection: 'row',
    alignItems: 'center',
    gap: 10
  },
  input: {
    borderColor: '#bcb9b9',
    borderWidth: 1,
    borderRadius: 5,
    height: '100%',
    width: '80%',
    paddingHorizontal: 15,
    fontSize: 20,
    backgroundColor: '#fff'
  },
  button: {
    backgroundColor: '#fff',
    padding: 10,
    borderRadius: 5
  }
})

export default Head
在 App 的主體中,我們將整個應用包裹在 StoreProvider 中,這樣每個子元件都可以去讀取以及更新前面建立的狀態。
import { StoreProvider } from './src/store'
import Head from './src/components/Head'

export default function App() {
  return (
    <StoreProvider>
      <SafeAreaView style={styles.container}>
        <StatusBar style='auto' />
        <Head />
      </SafeAreaView>
    </StoreProvider>
  )
}
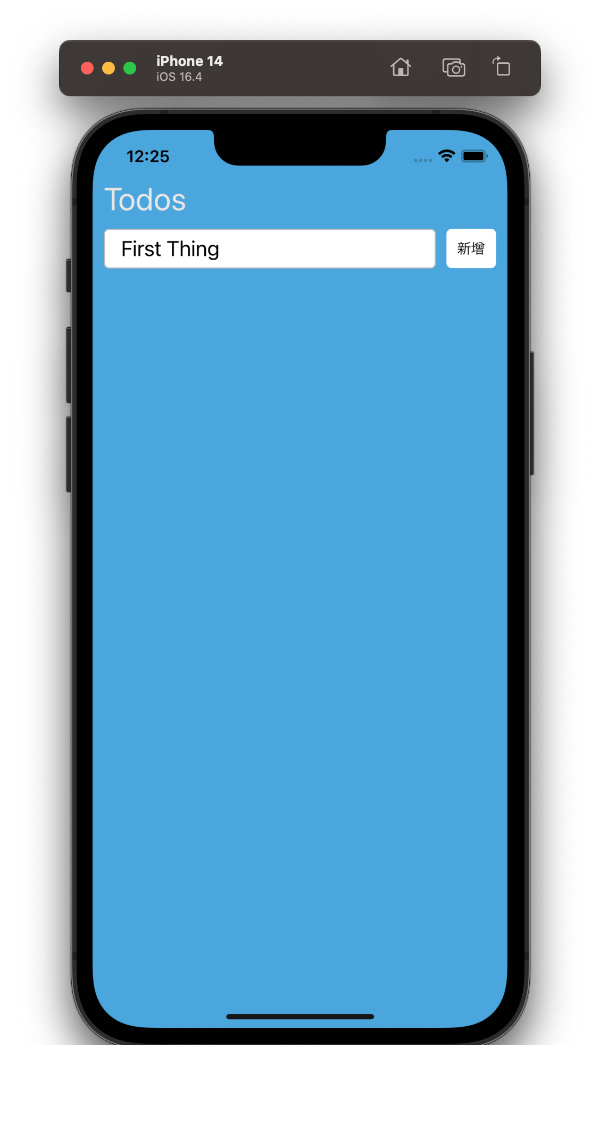
目前的畫面是這樣:
通過今天的練習,我們看到了如何利用 context 和 useReducer 來進行模組化的開發和狀態管理。這不僅使我們的程式碼更具組織性,還為我們提供了一個強大的狀態管理工具。
明天我們將會展示怎麼將輸入的文字,以列表的形式顯示到畫面上。
